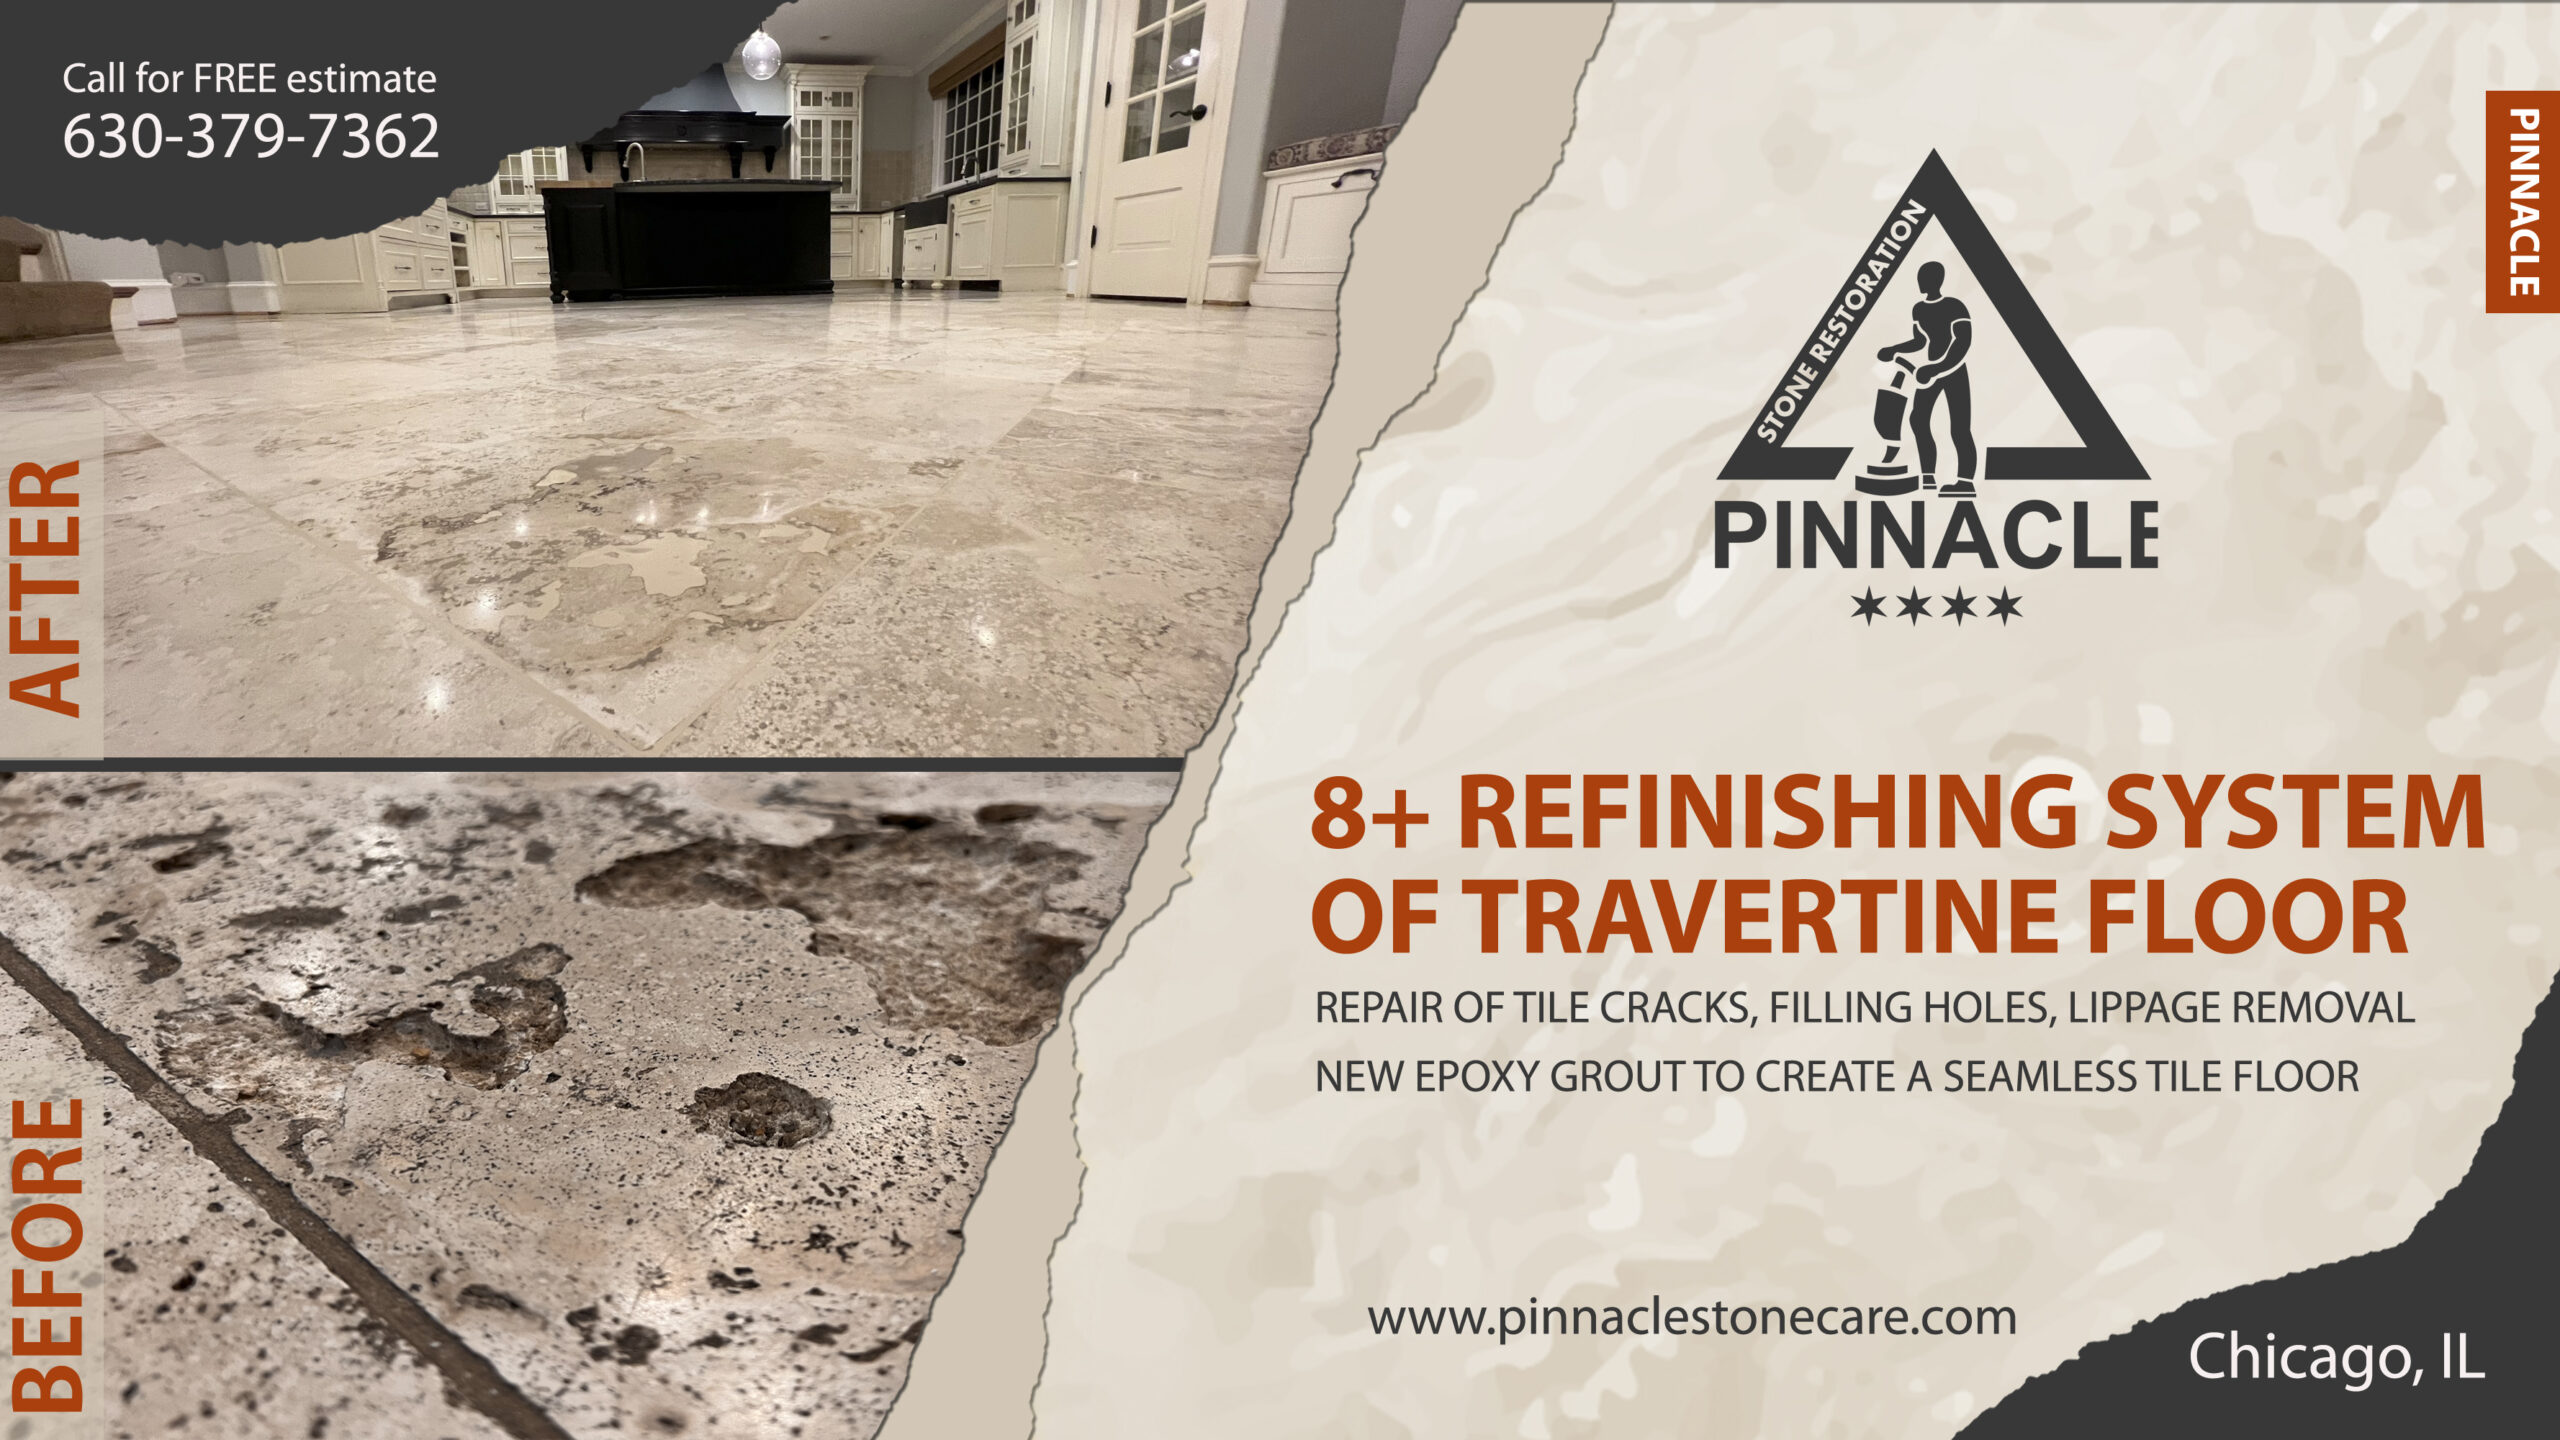
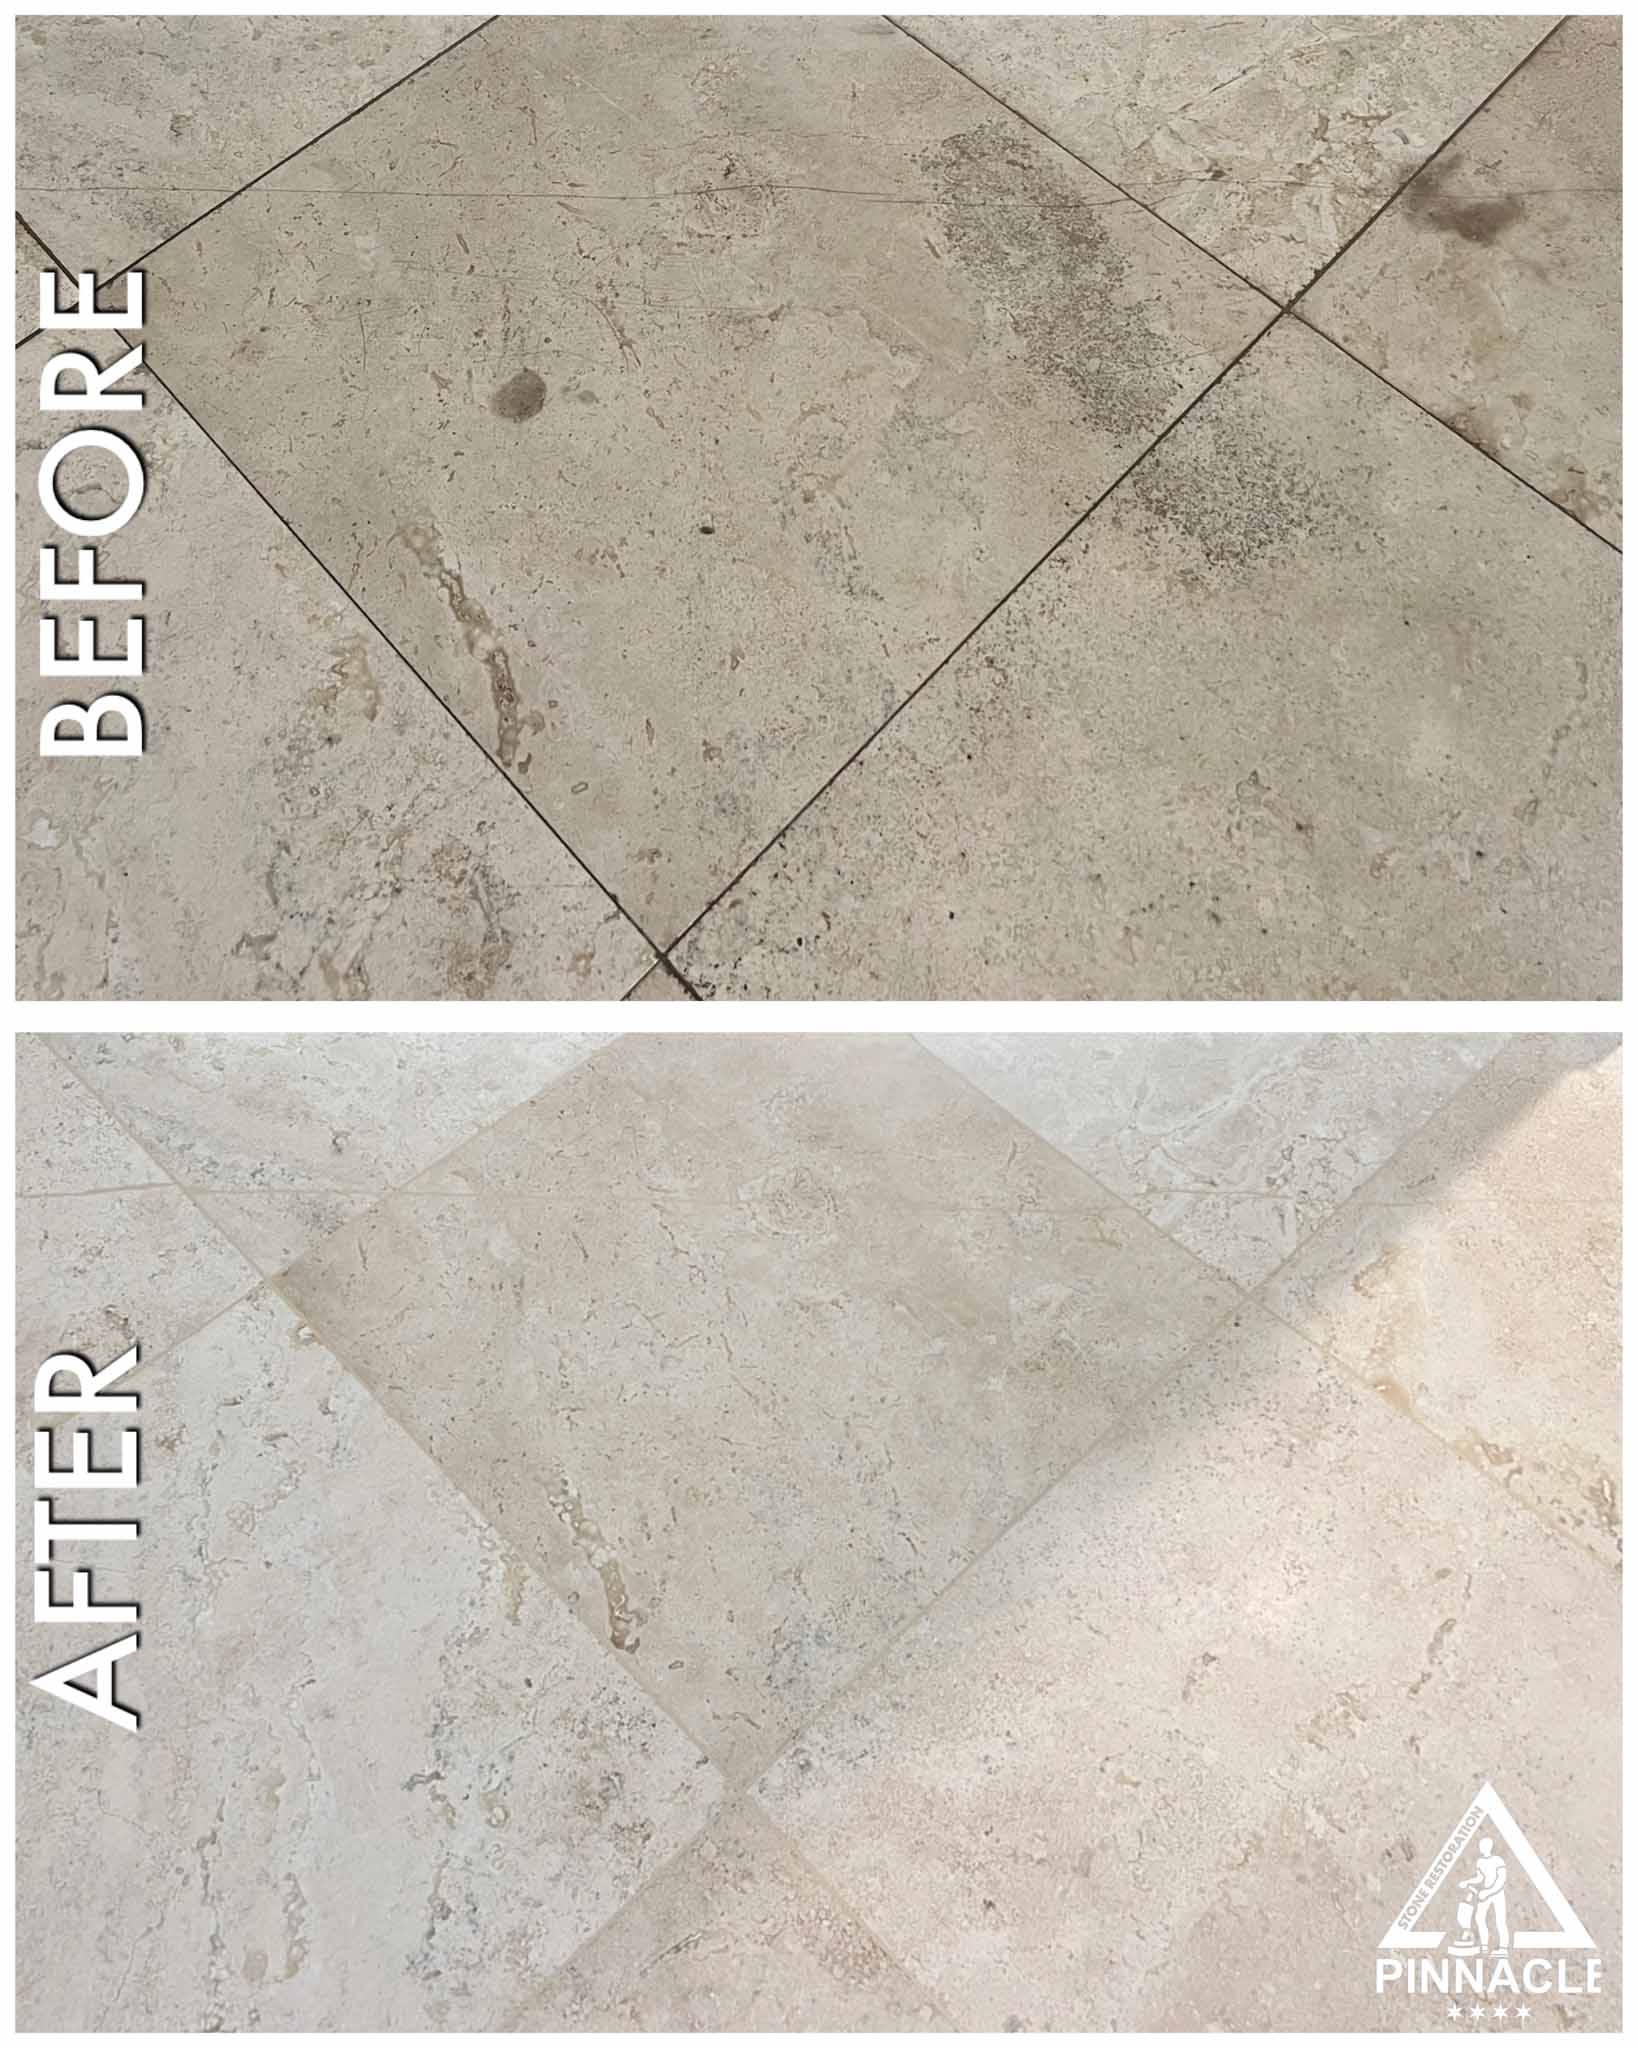
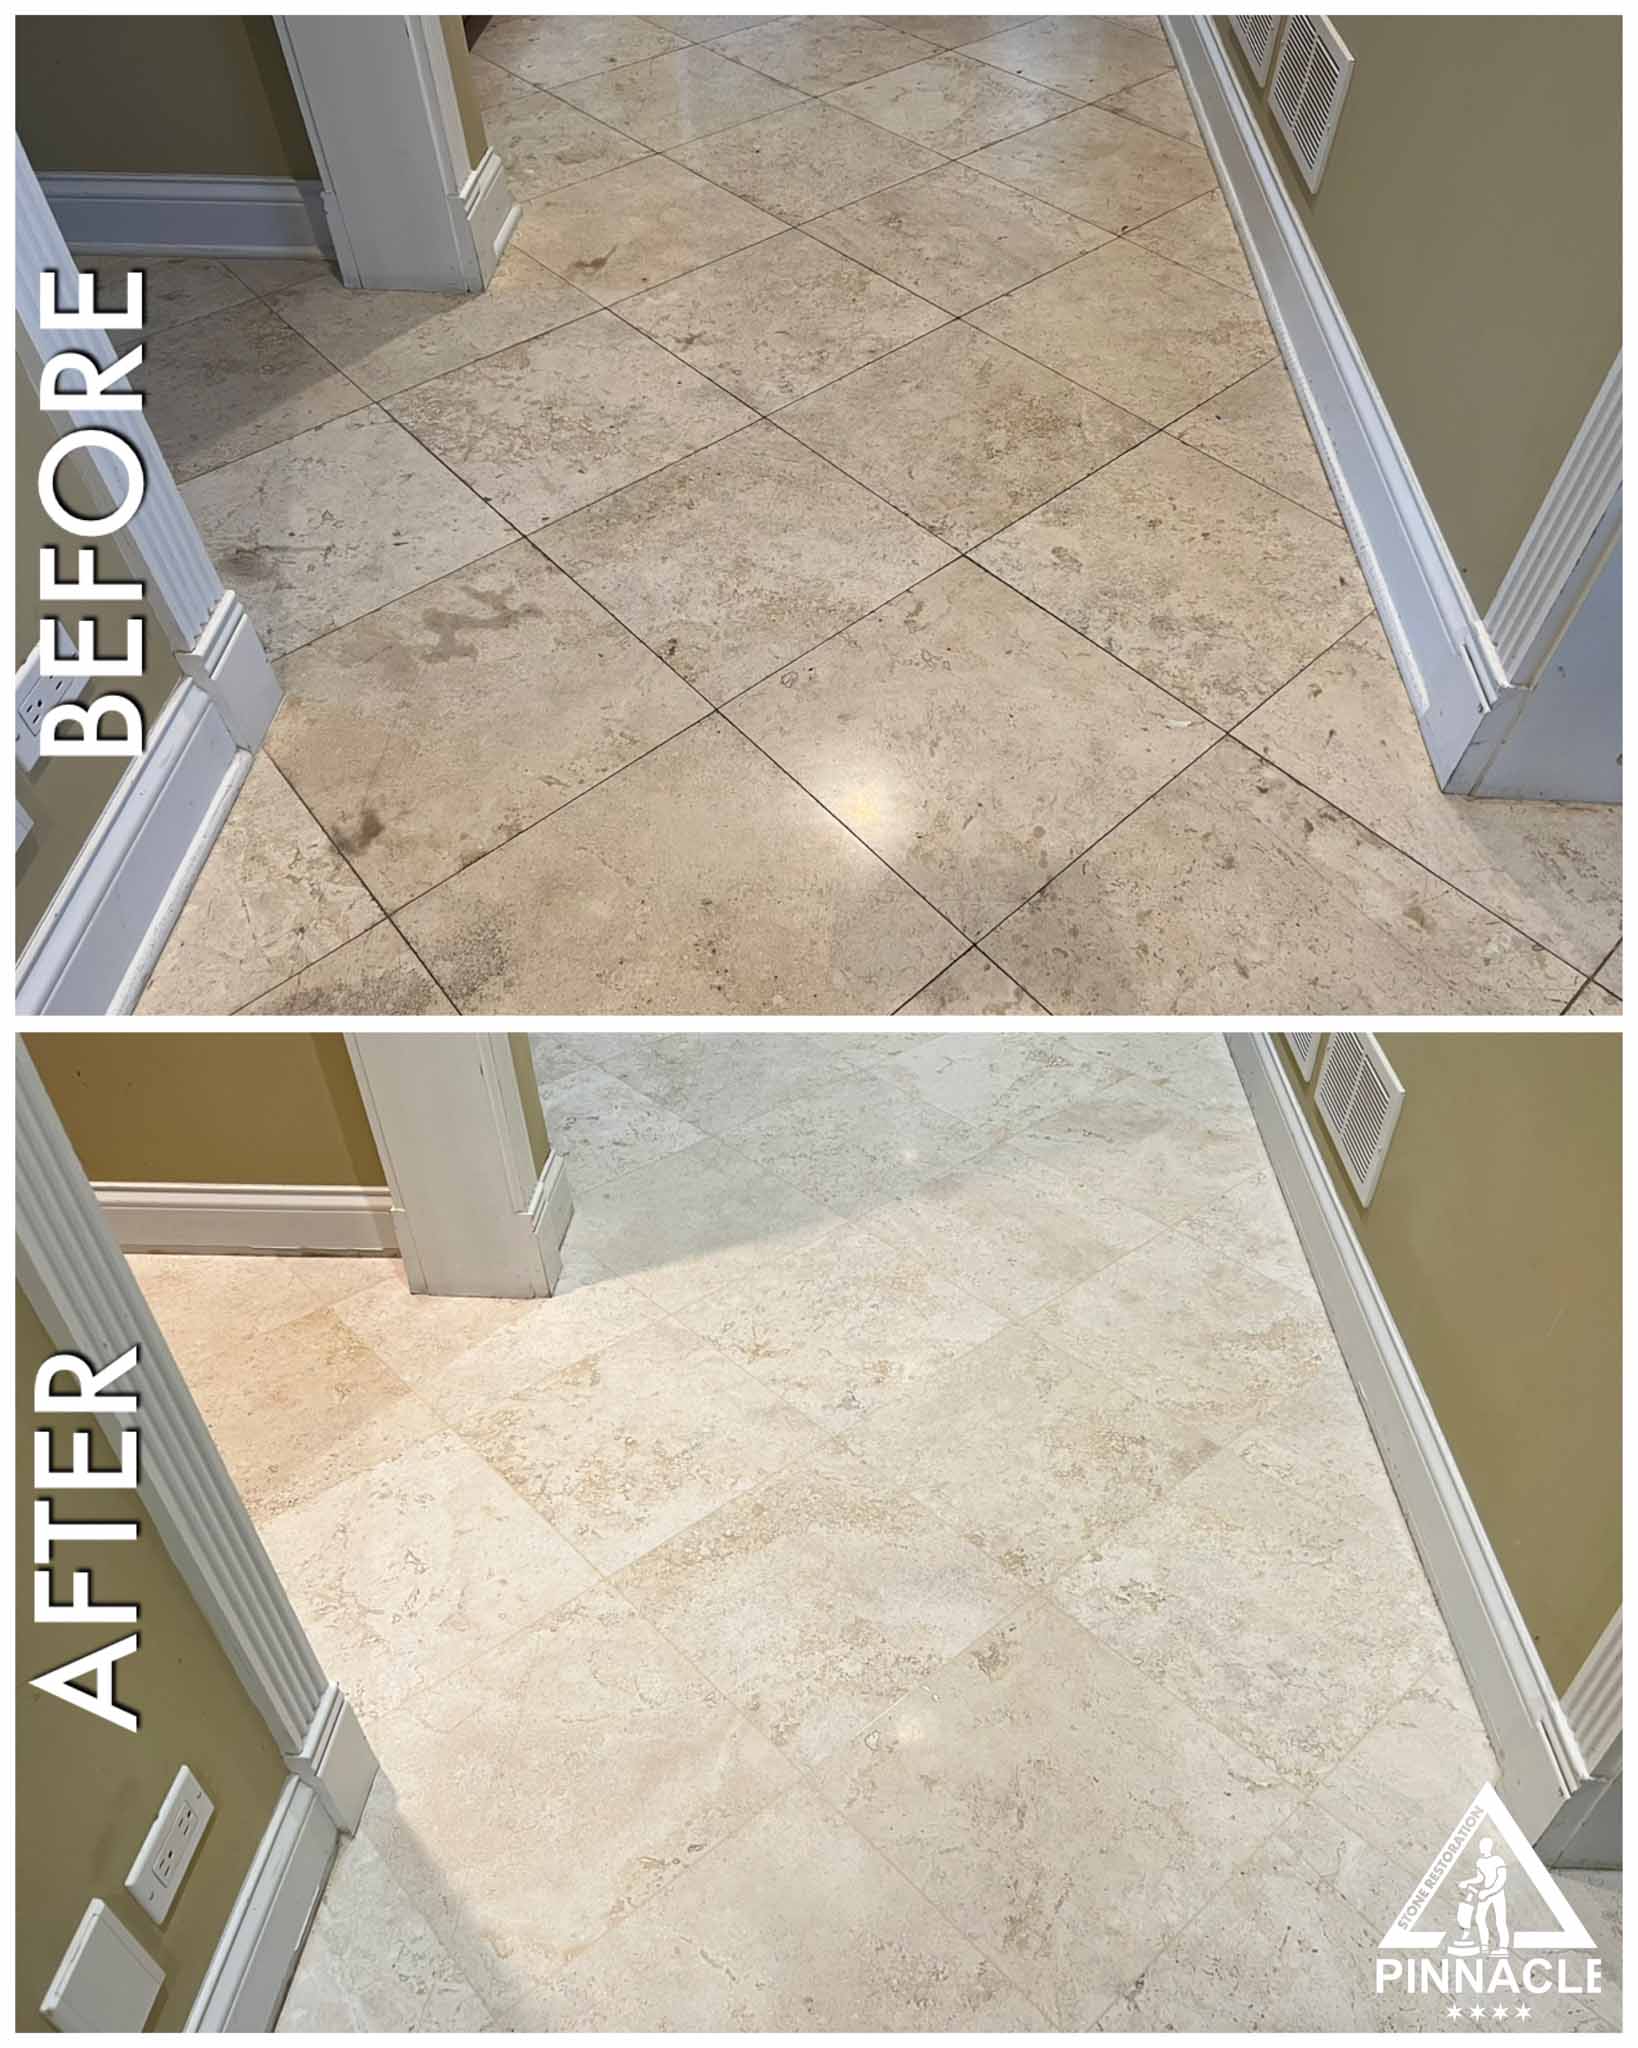
Before travertine restoration
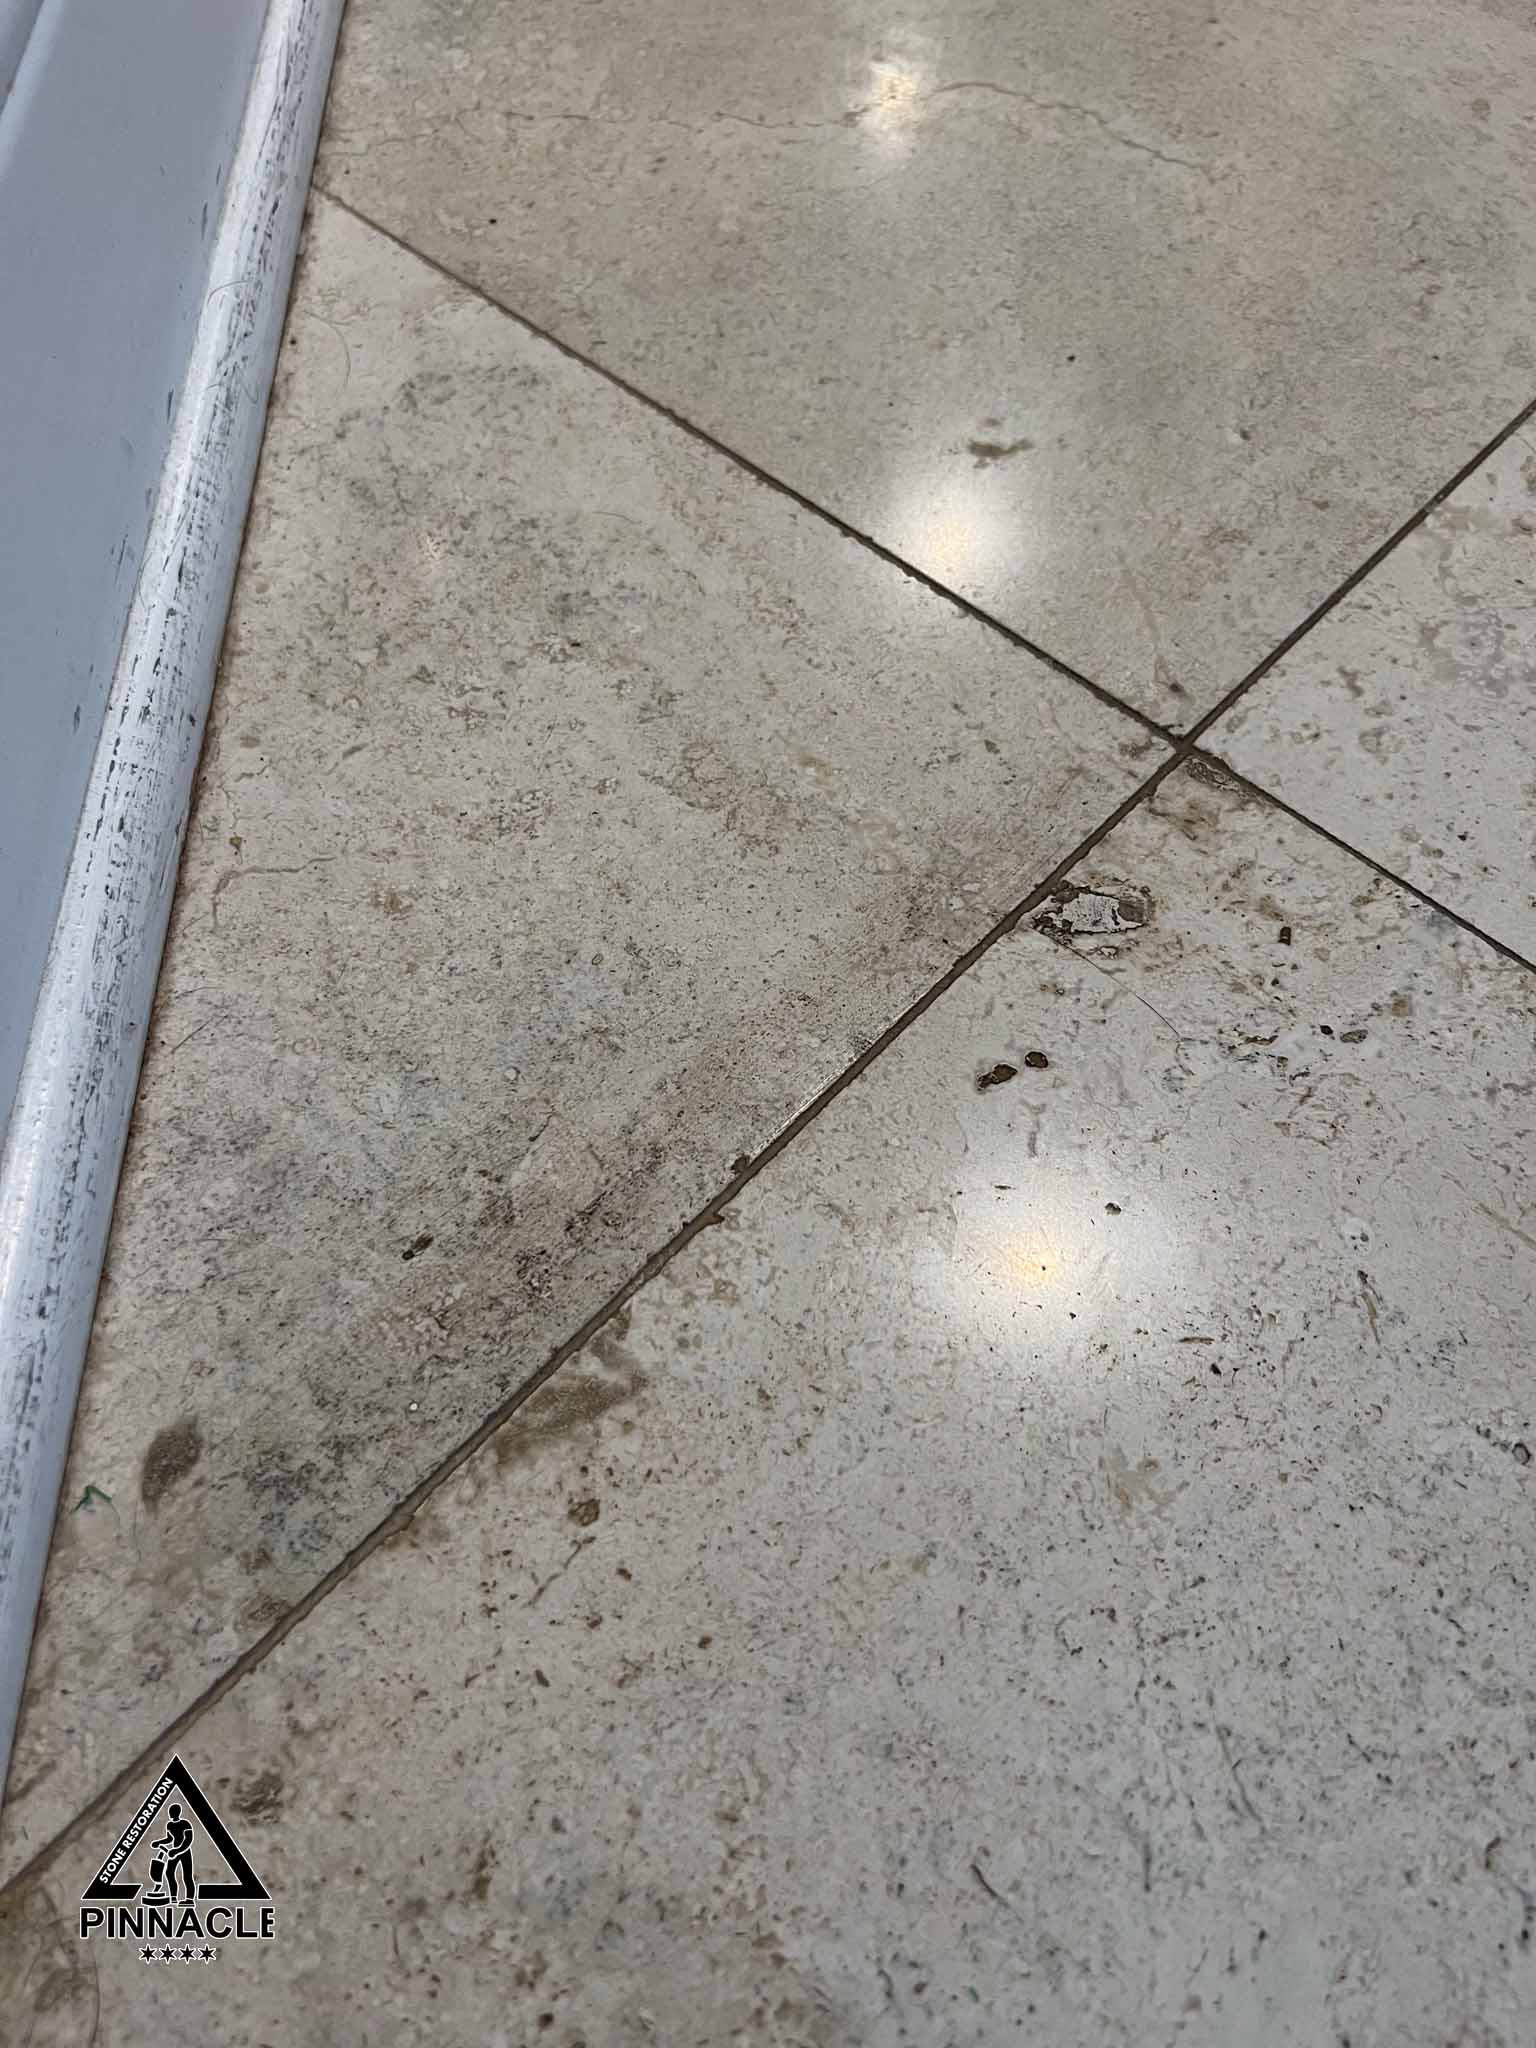
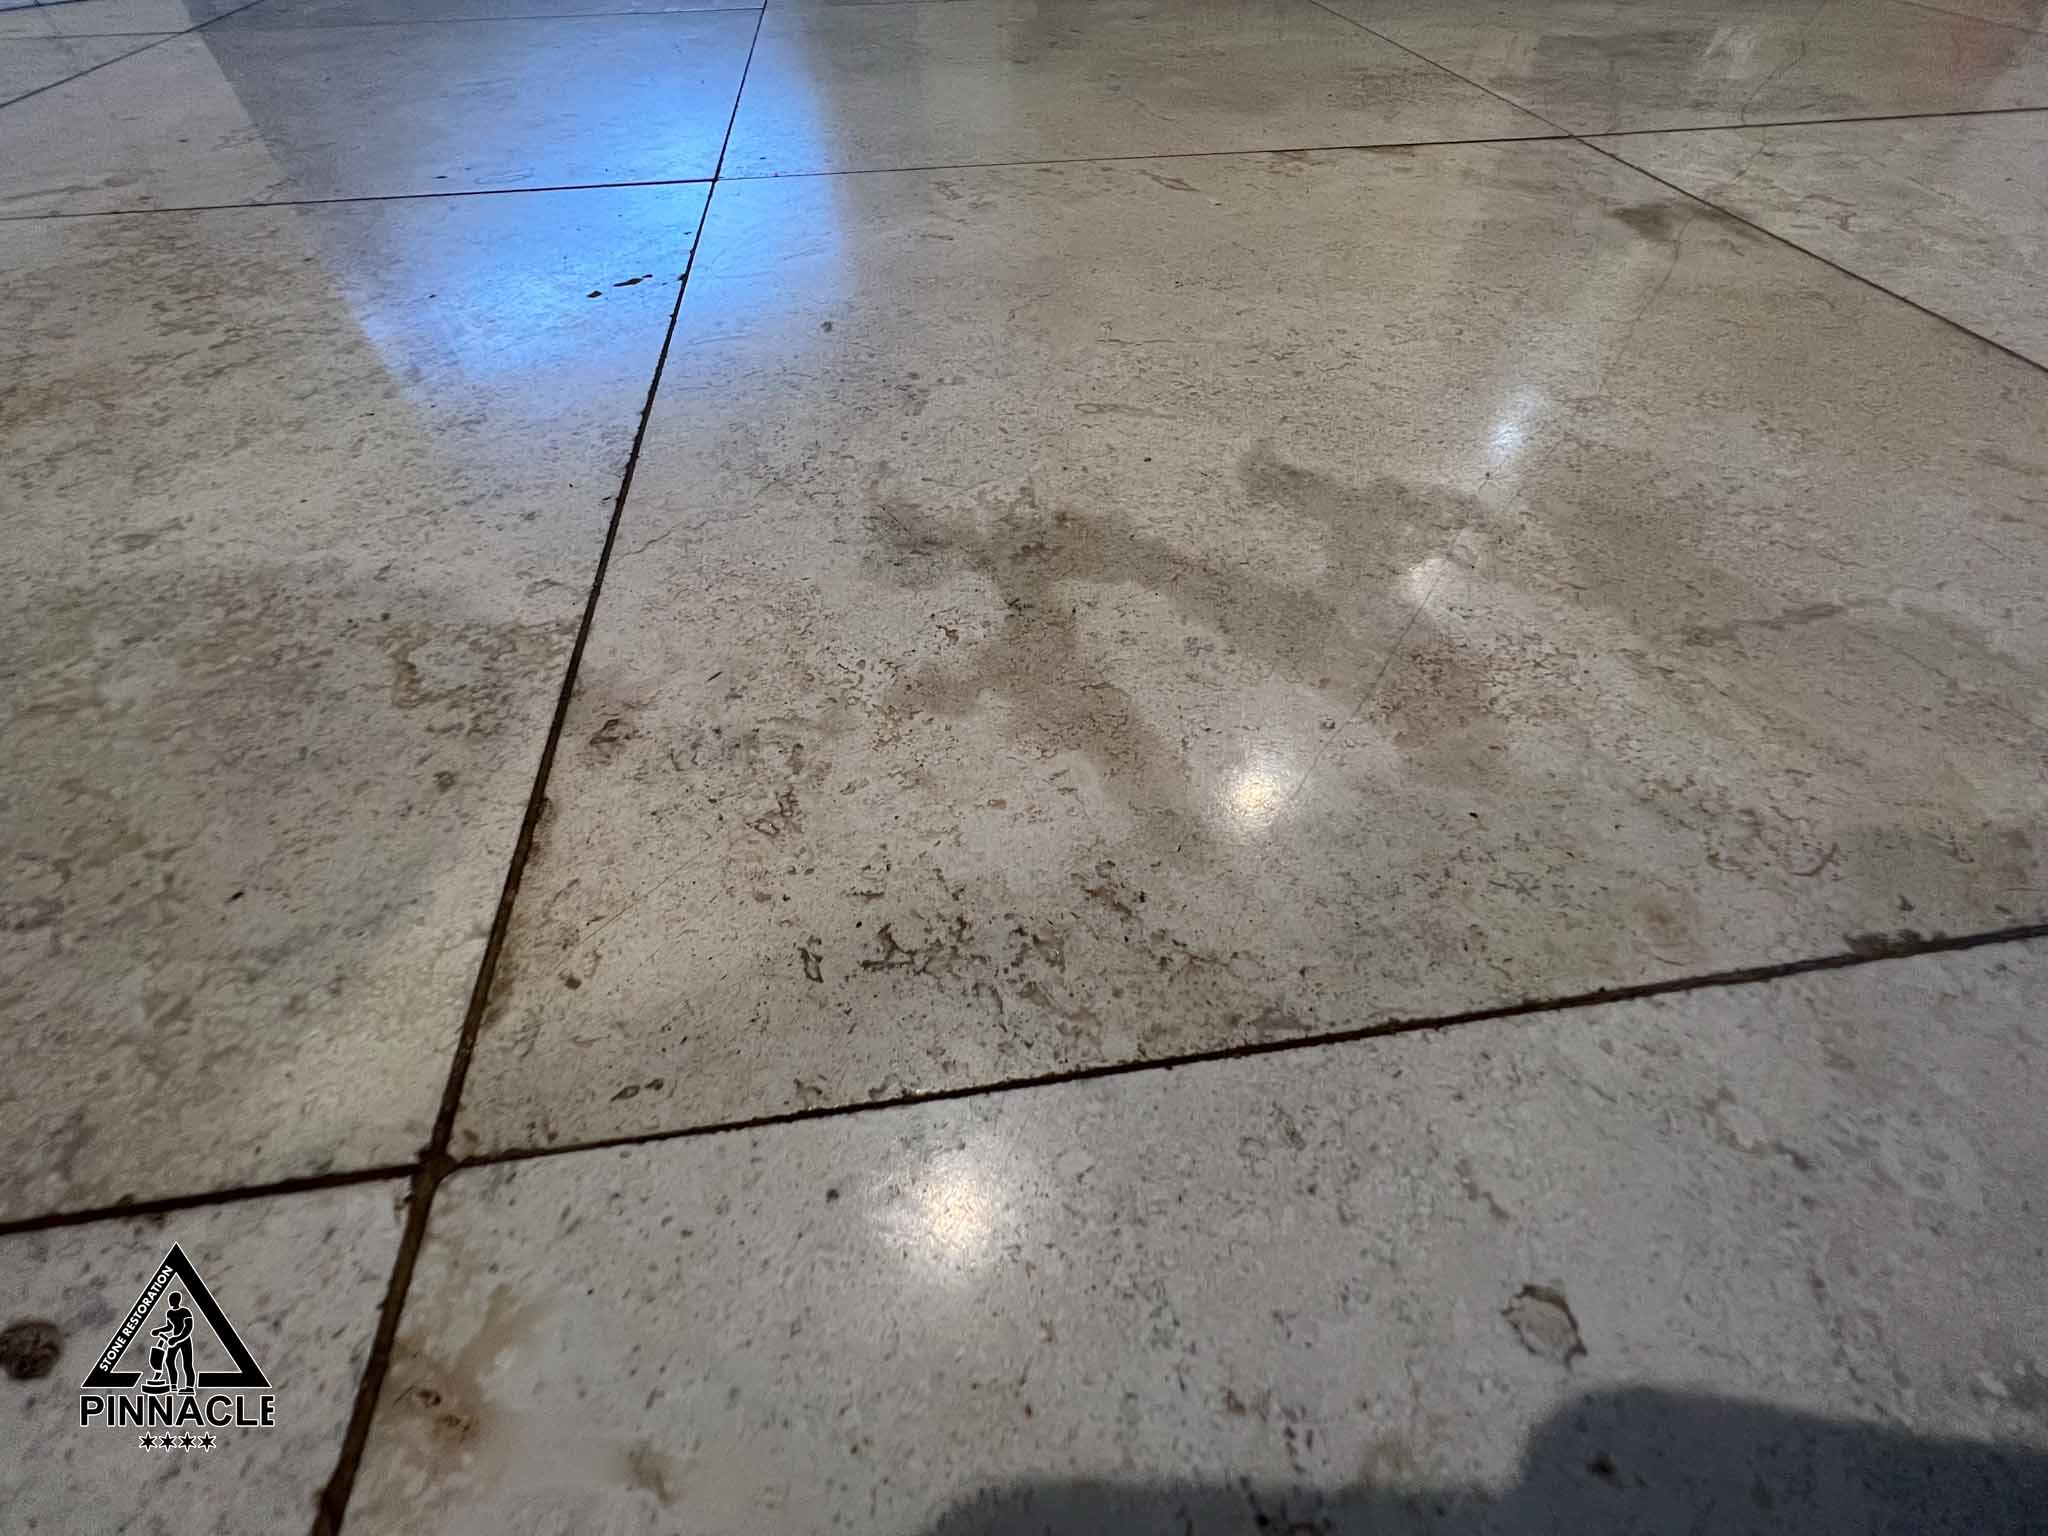

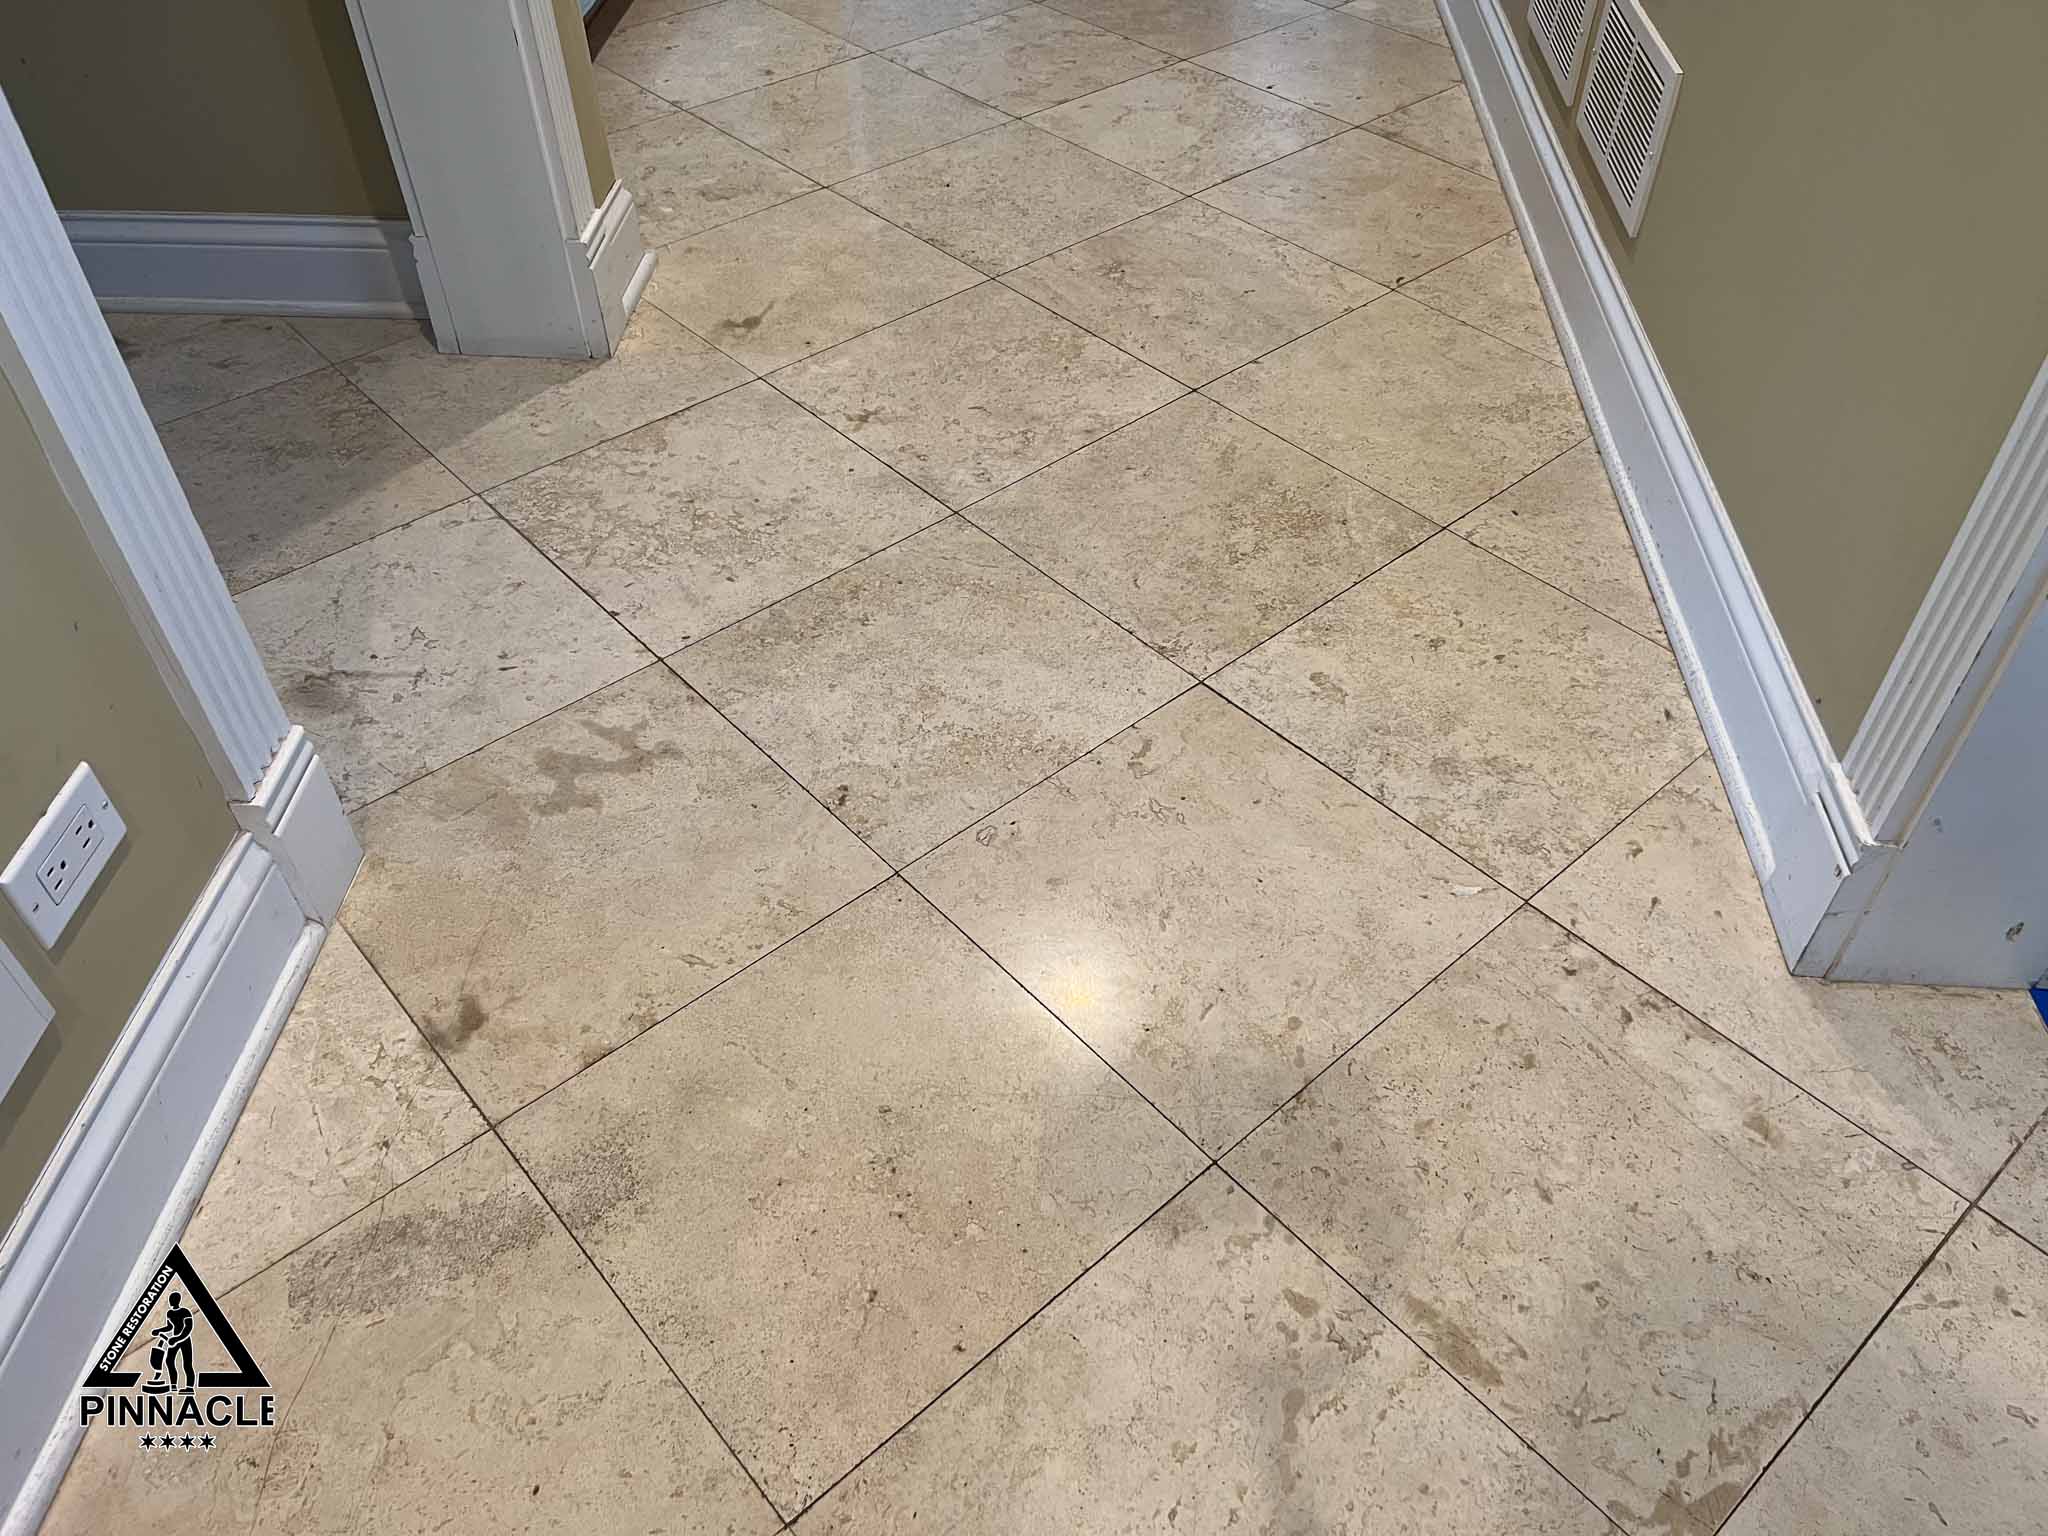
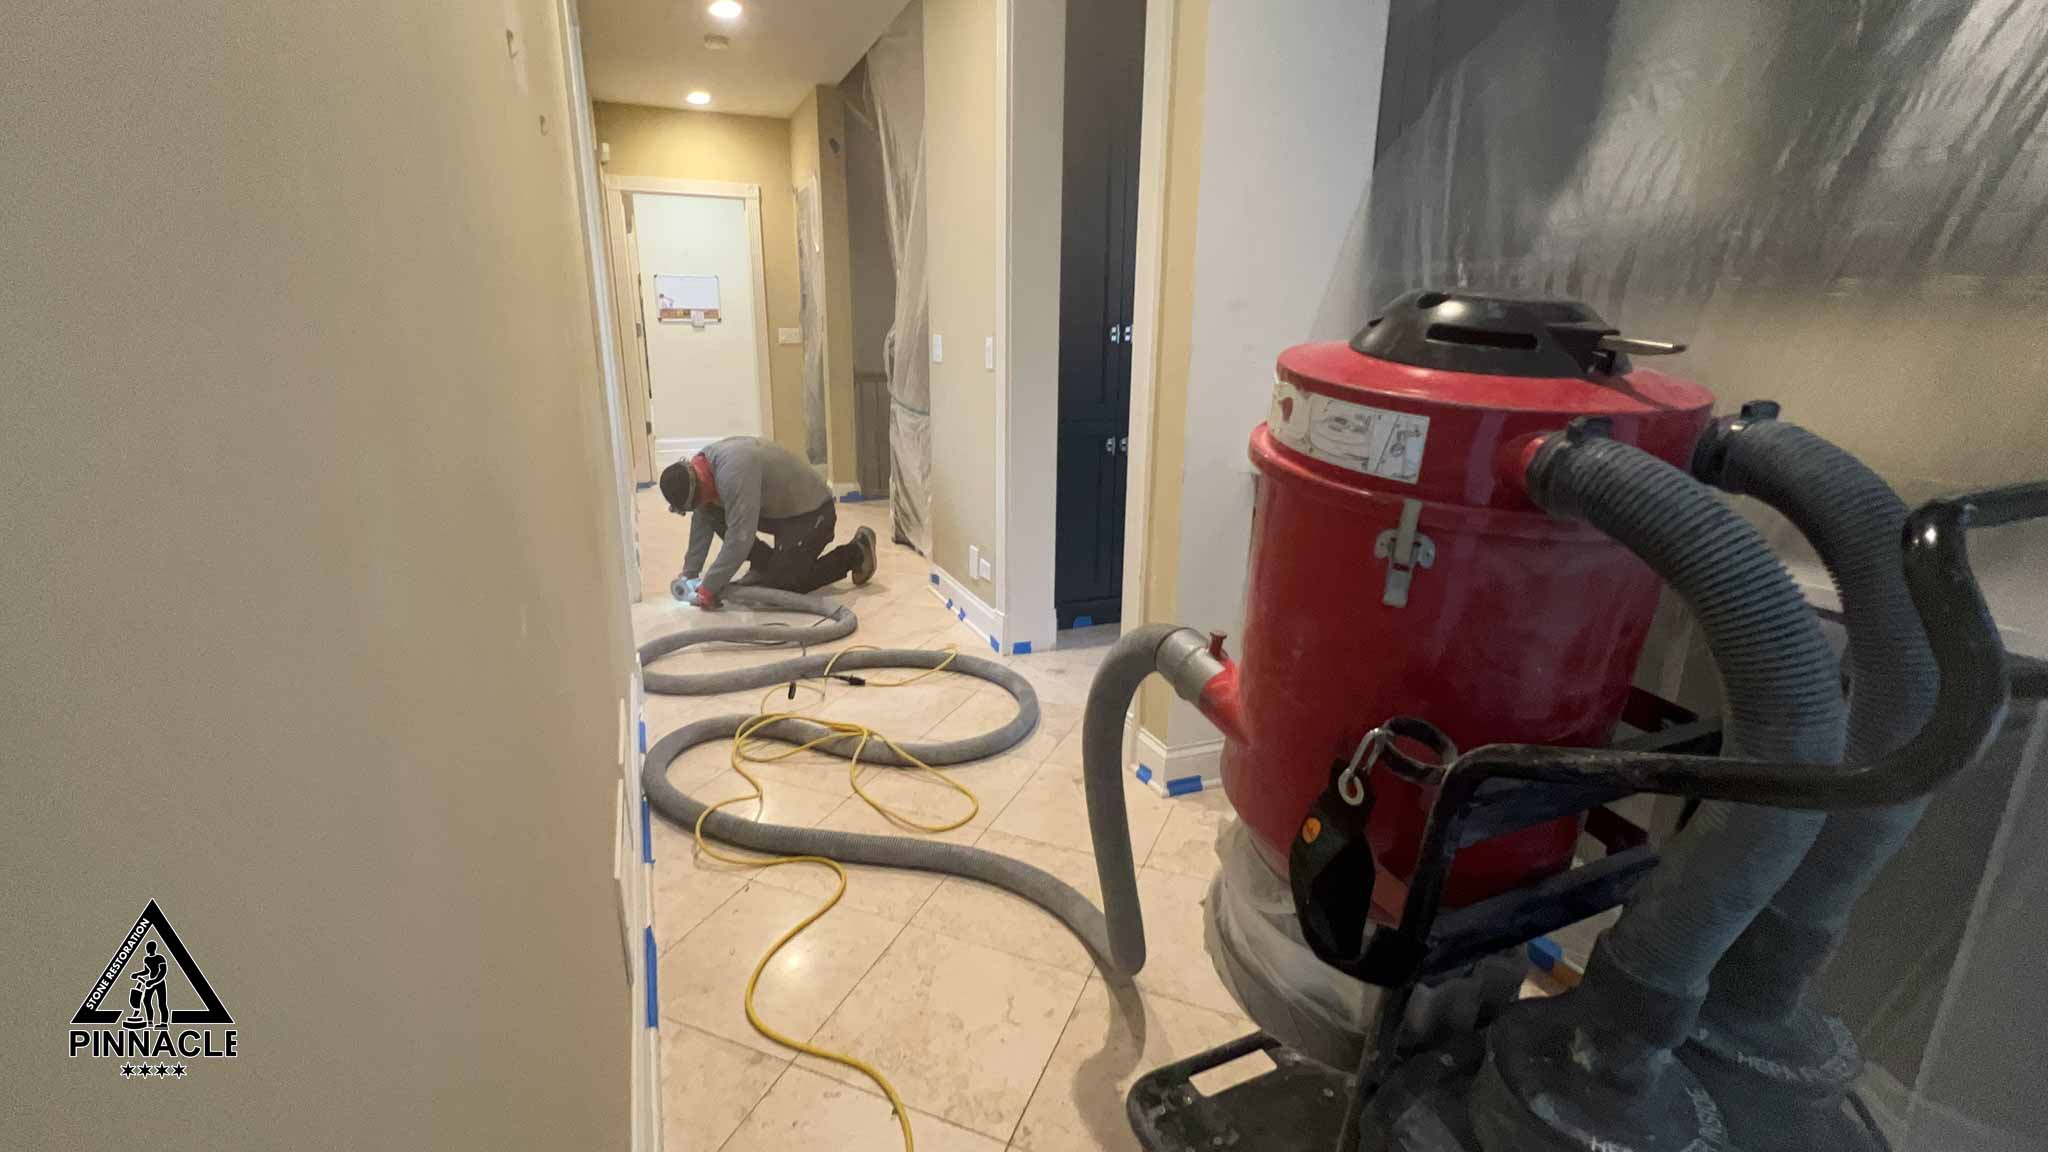
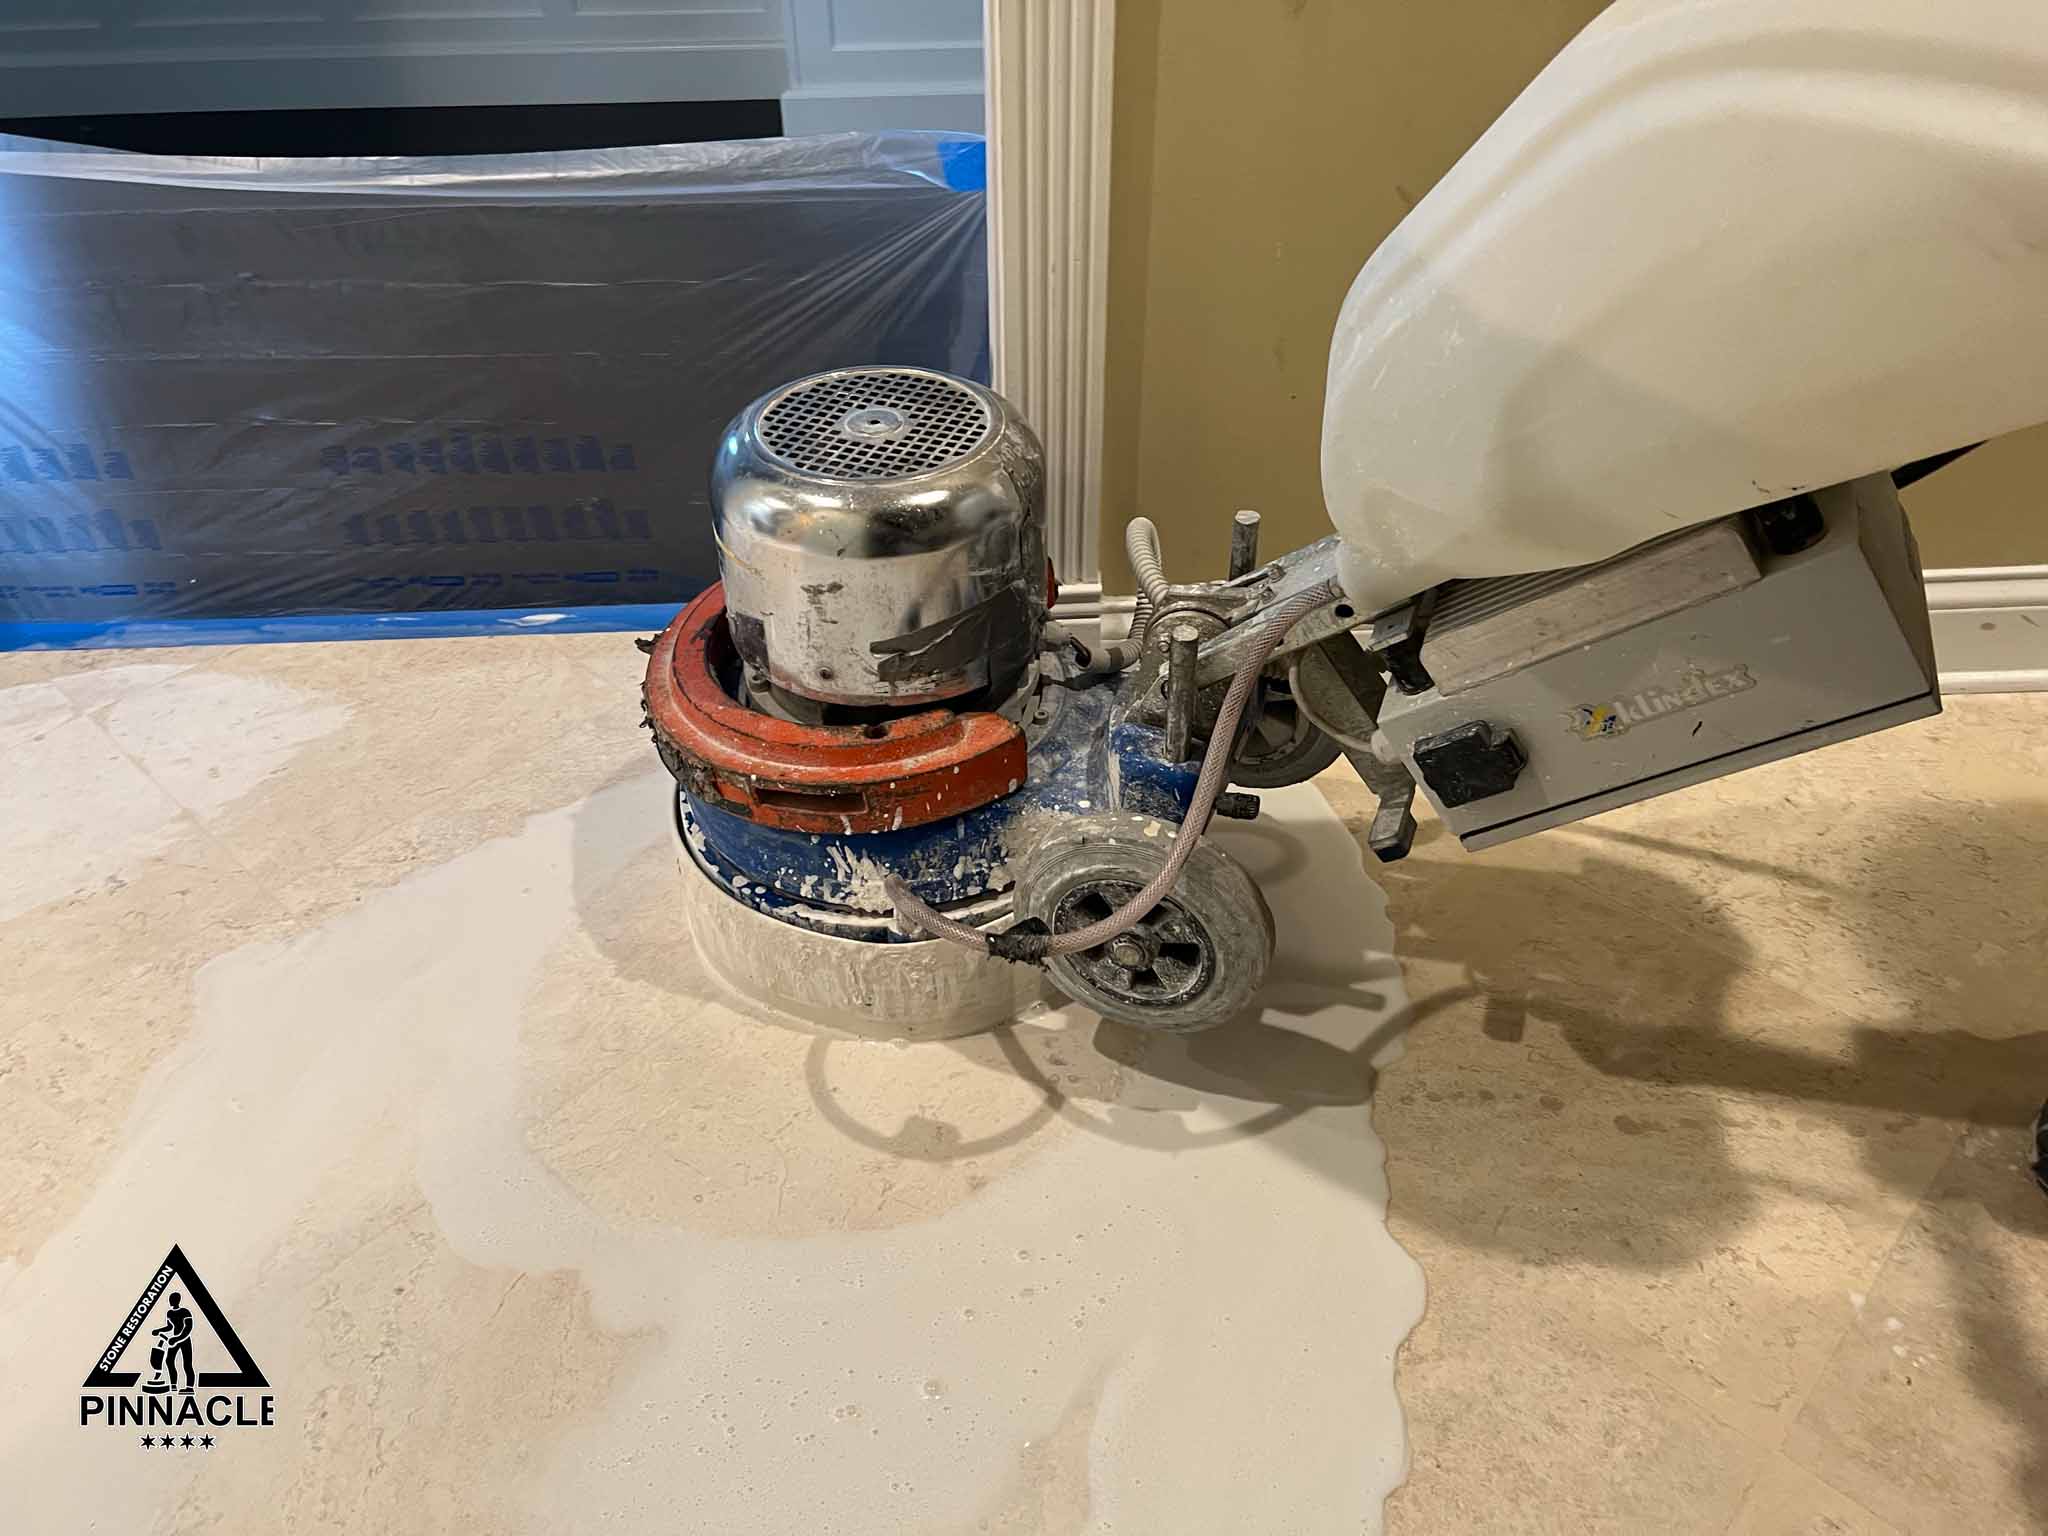
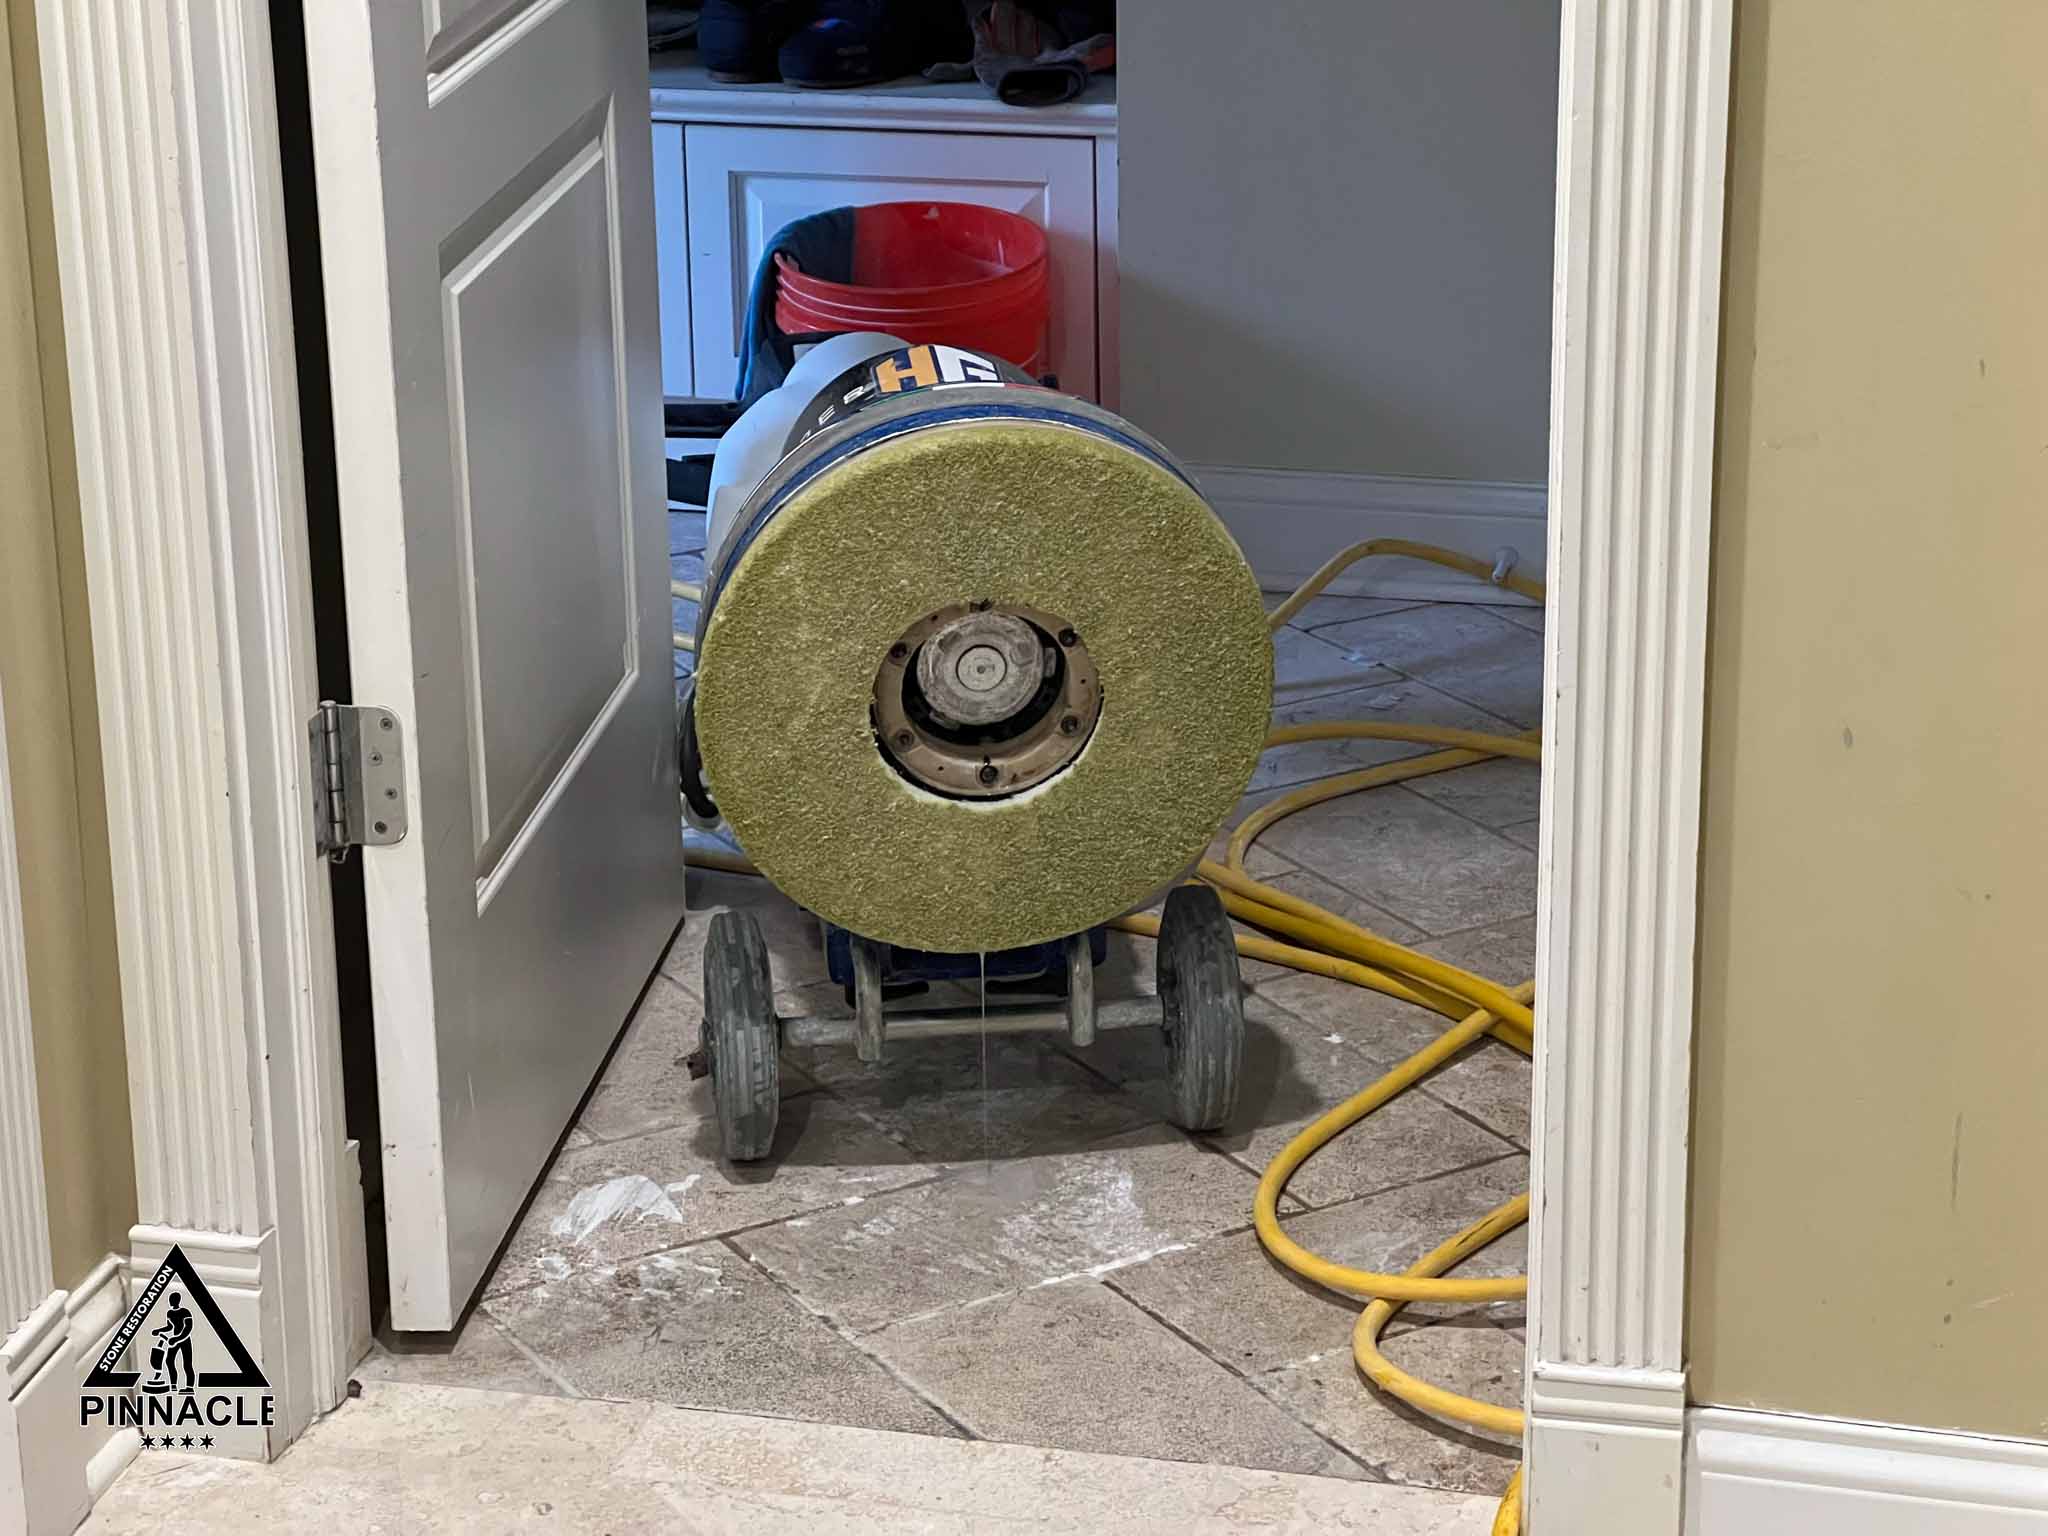
Before we begin projects like 8+ steps refinishing system of travertine tile floor we always make sure to protect other rooms and furniture from possible dust exposure. Although the method of grout removal we use is the most dustless method possible, there are still might be just a bit of leftovers of dust.

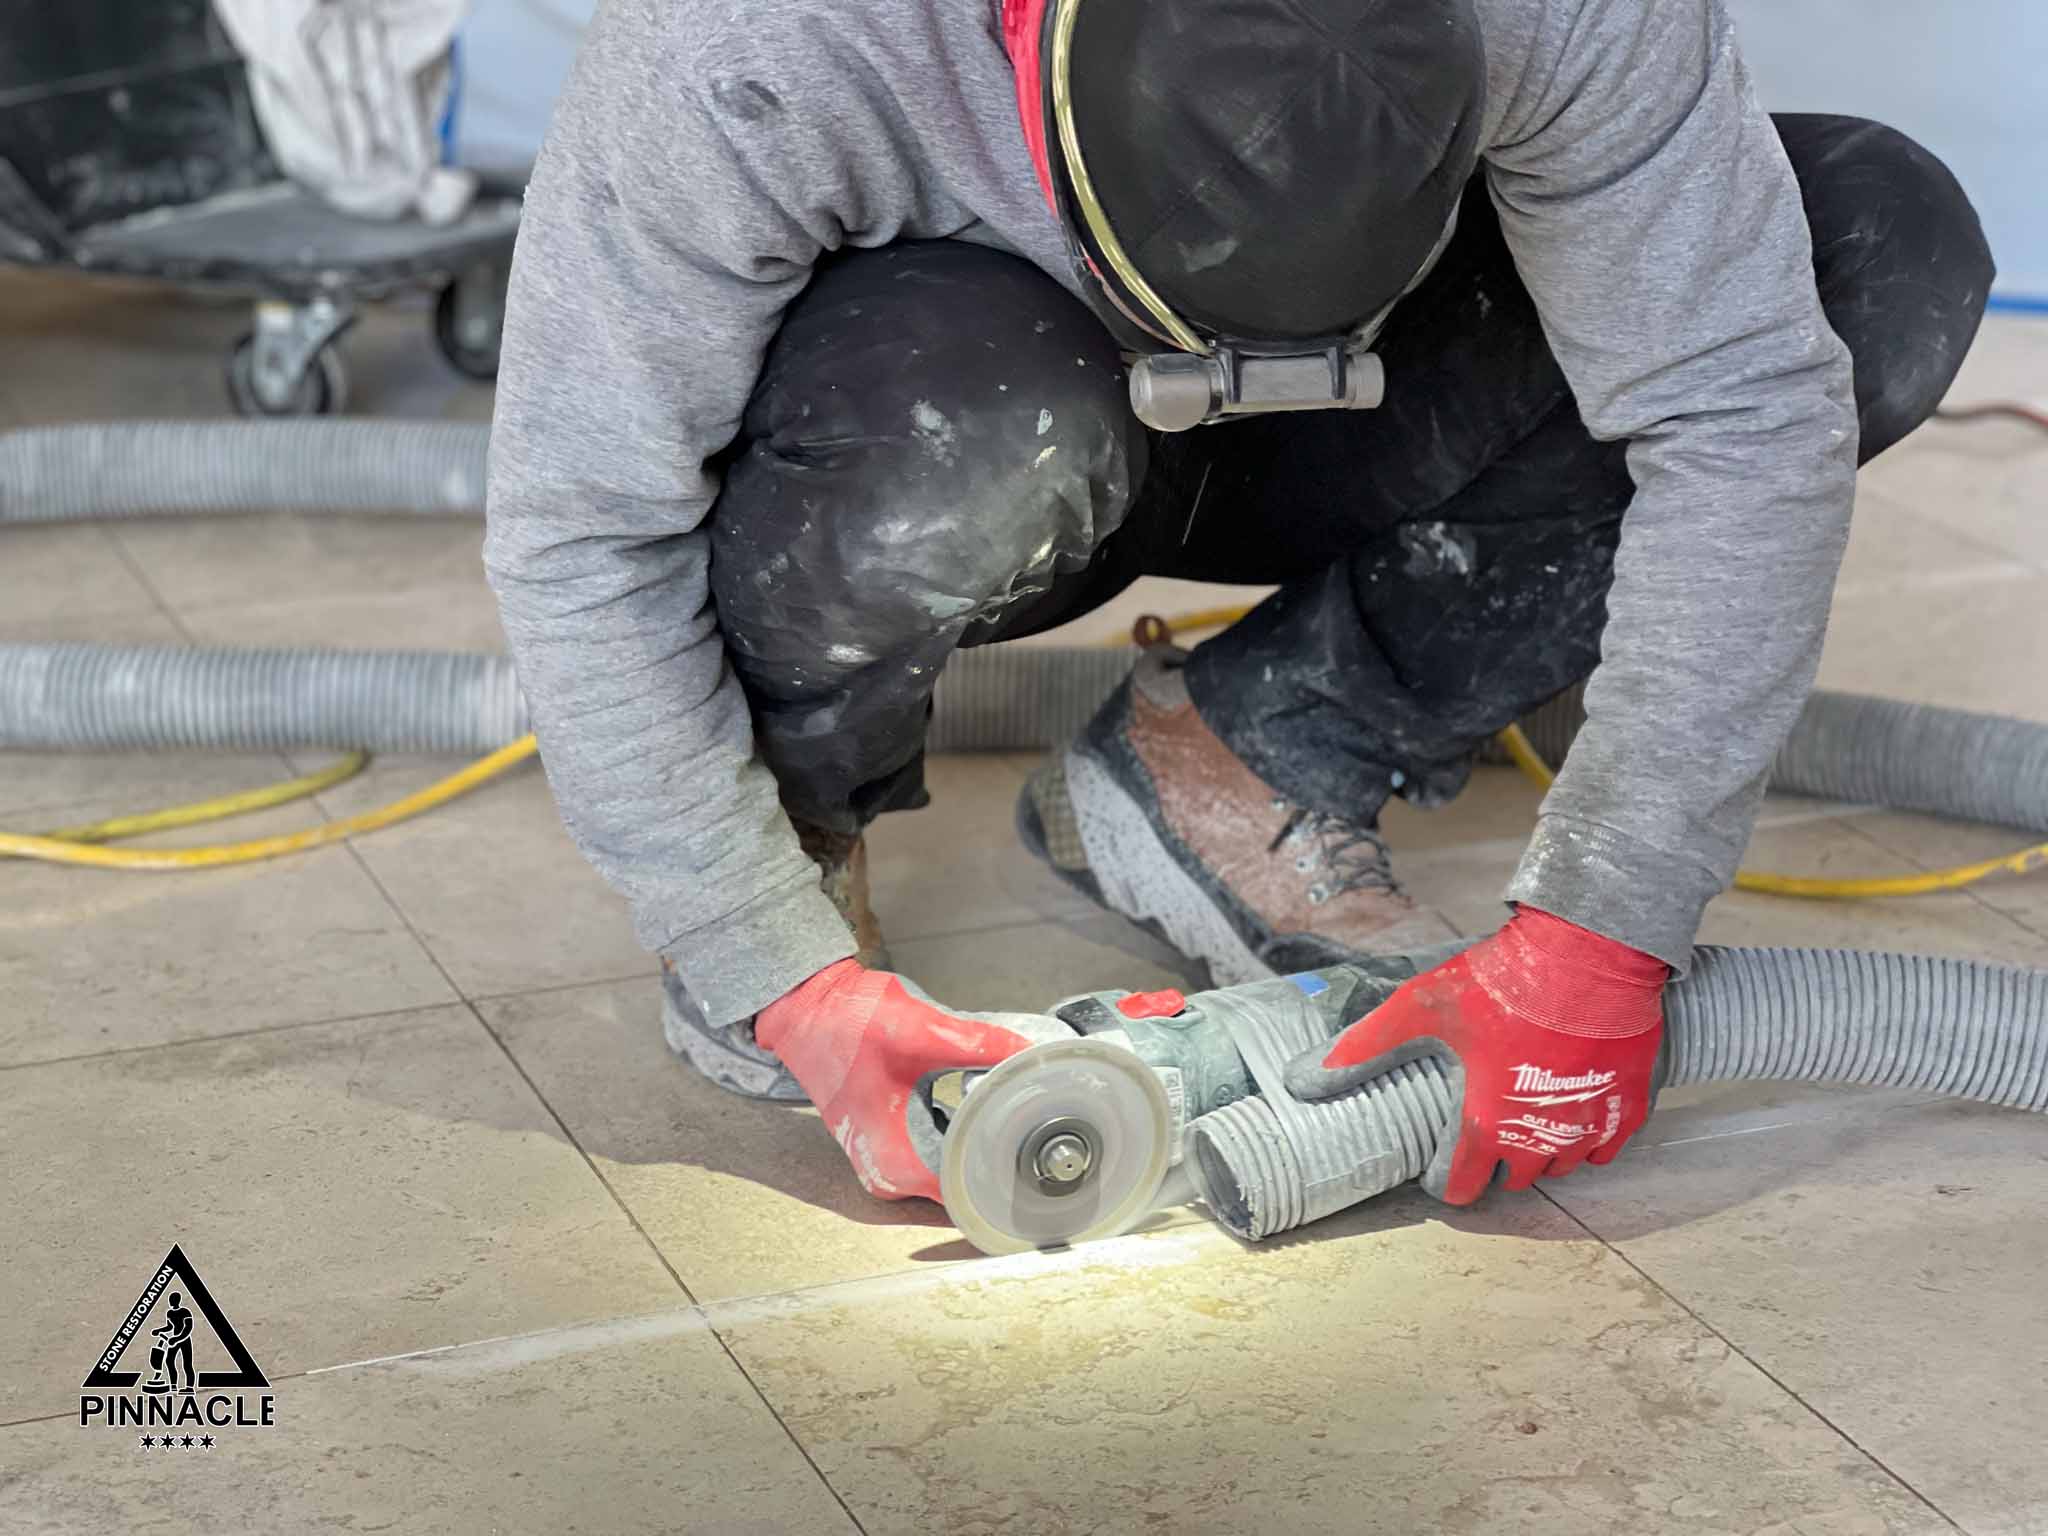
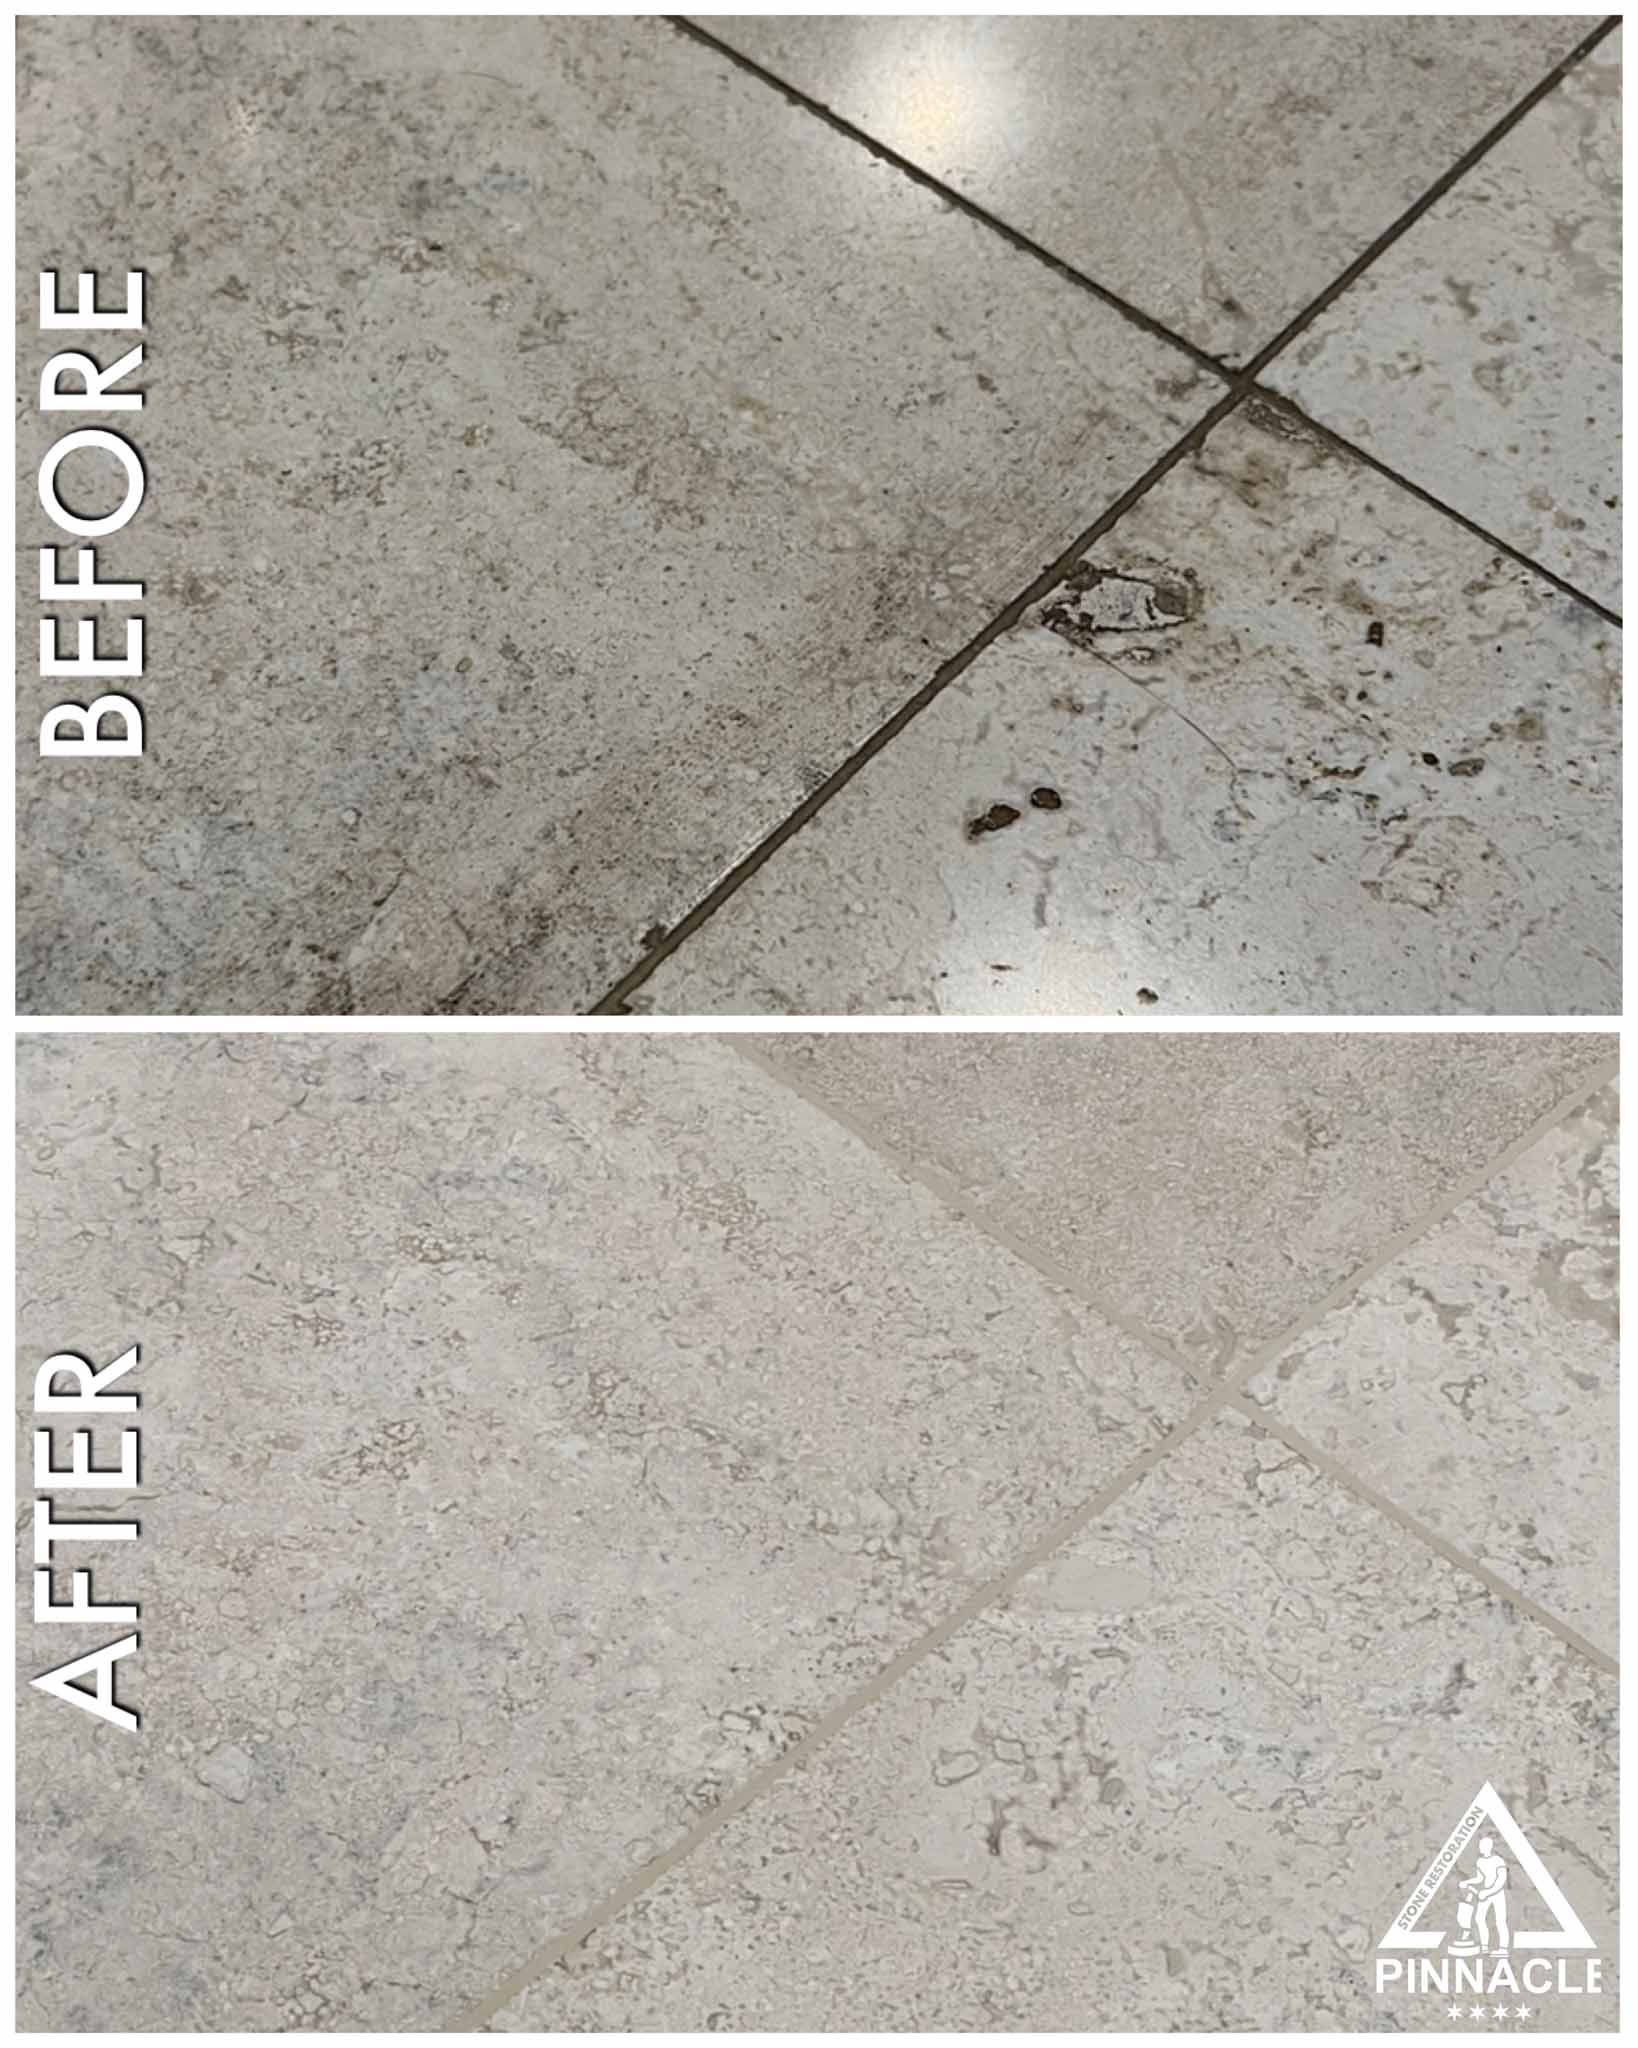
Grout removal. As always, we use our special vacuum system while cutting the old grout, so all the dust gets collected right away.
New epoxy grout. We use high quality travertine epoxy grout to fill all the emptied tile joints. We mix it with hardener and apply it in small batches because it cures pretty fast. When we are done with the entire surface, we leave it overnight and we begin grinding stage next morning.
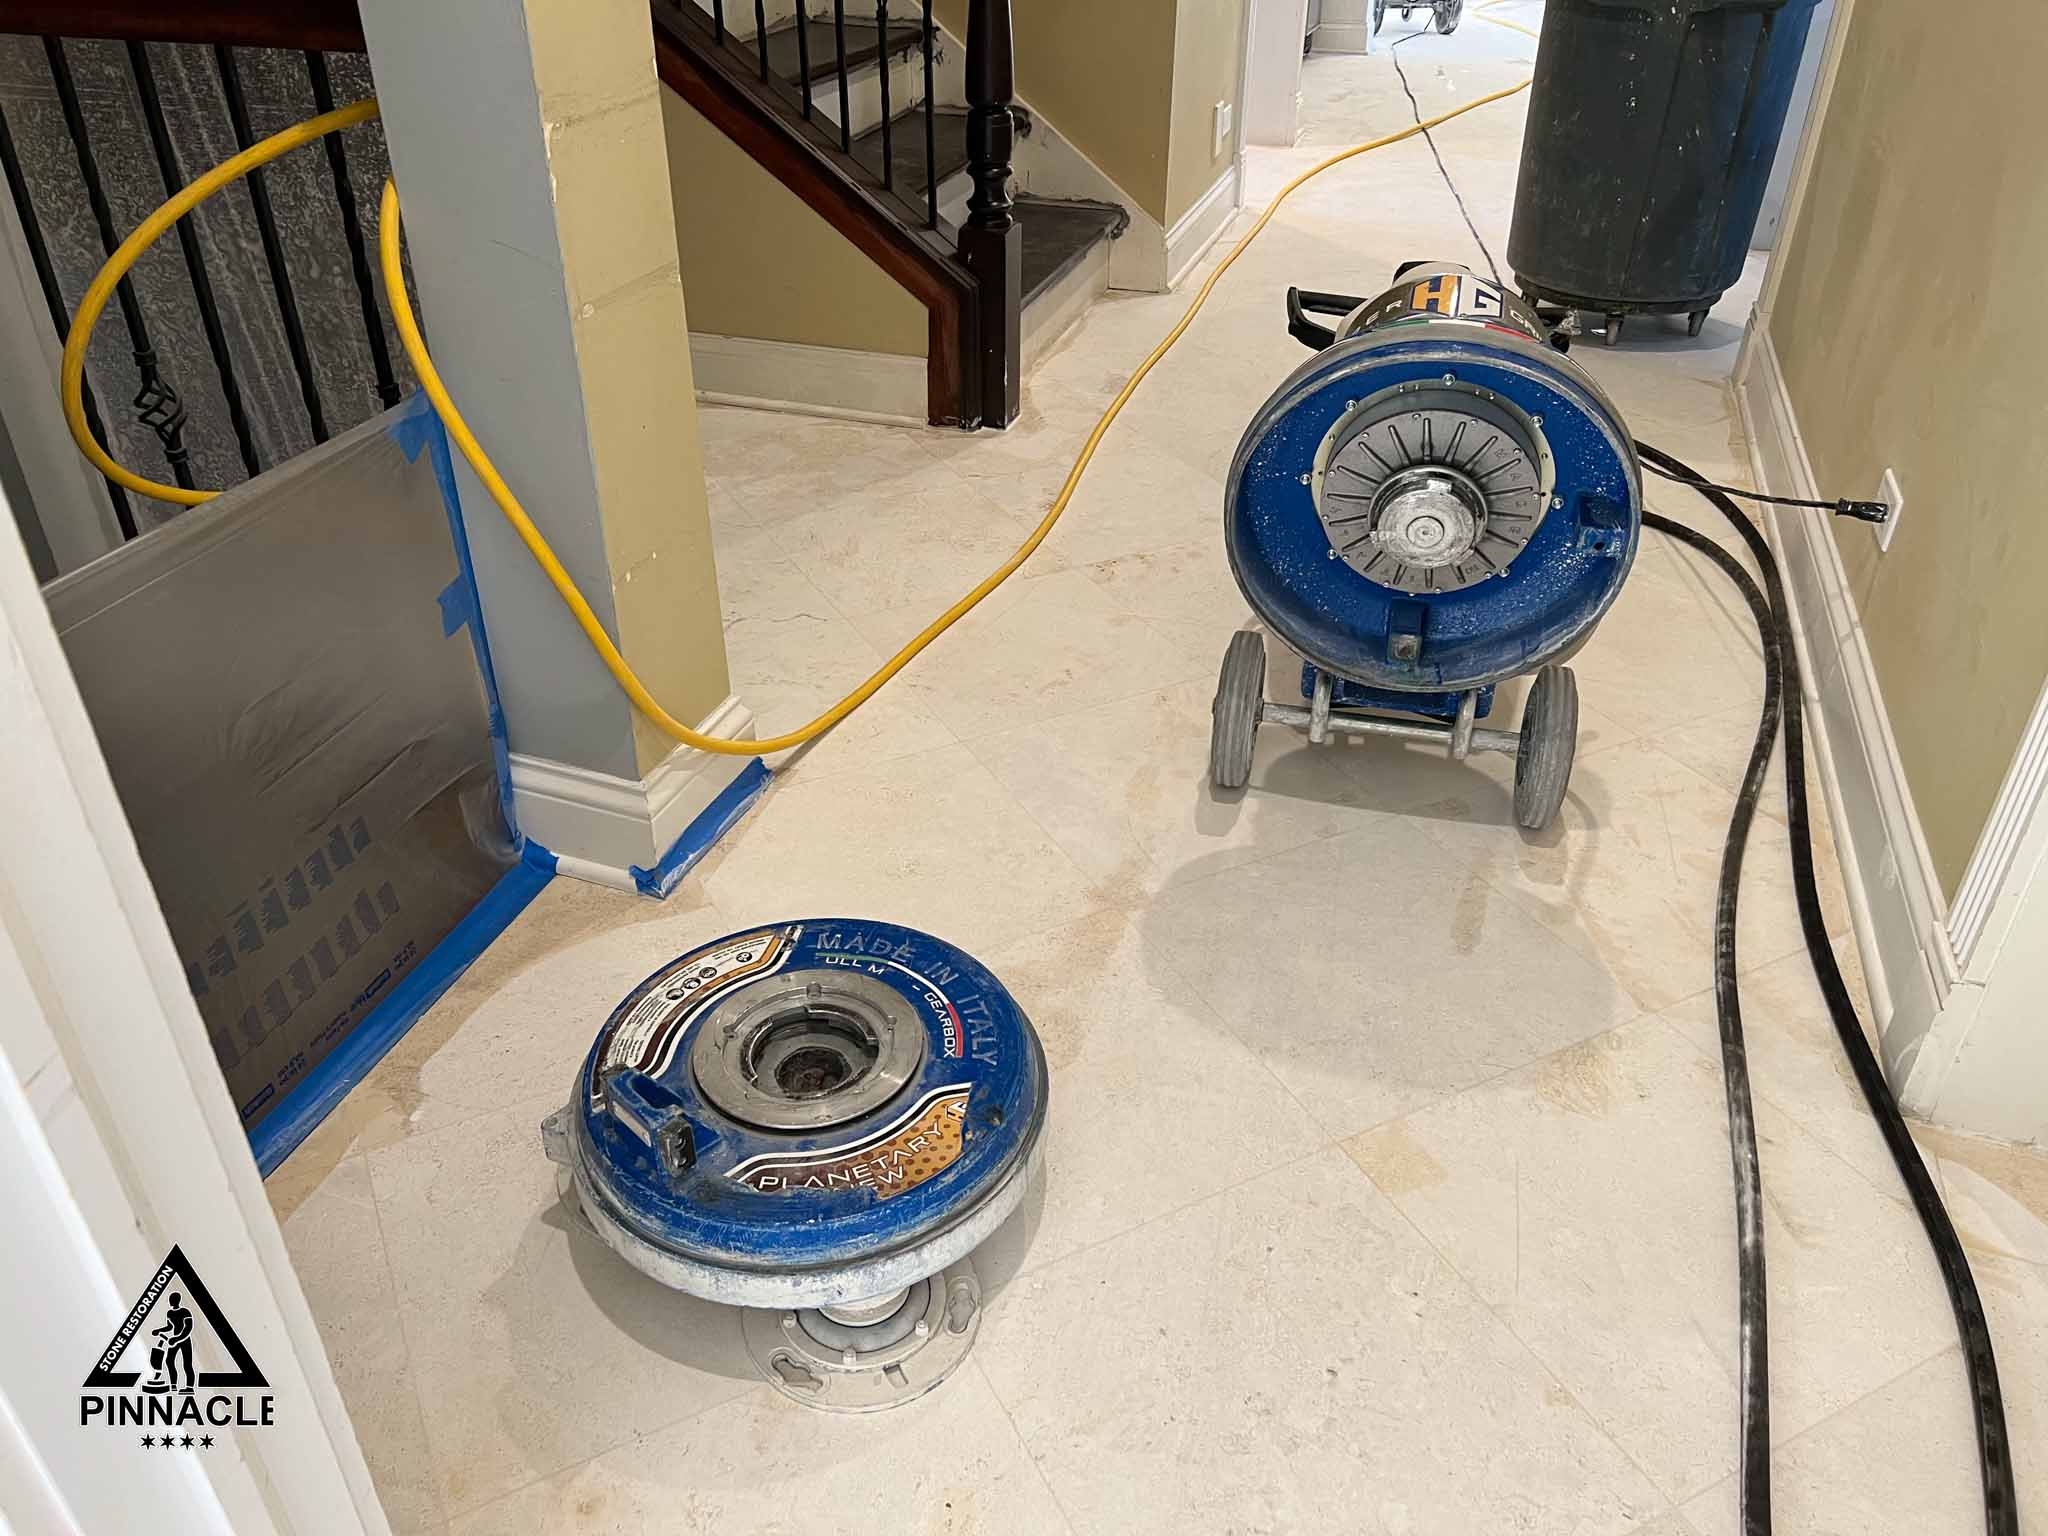
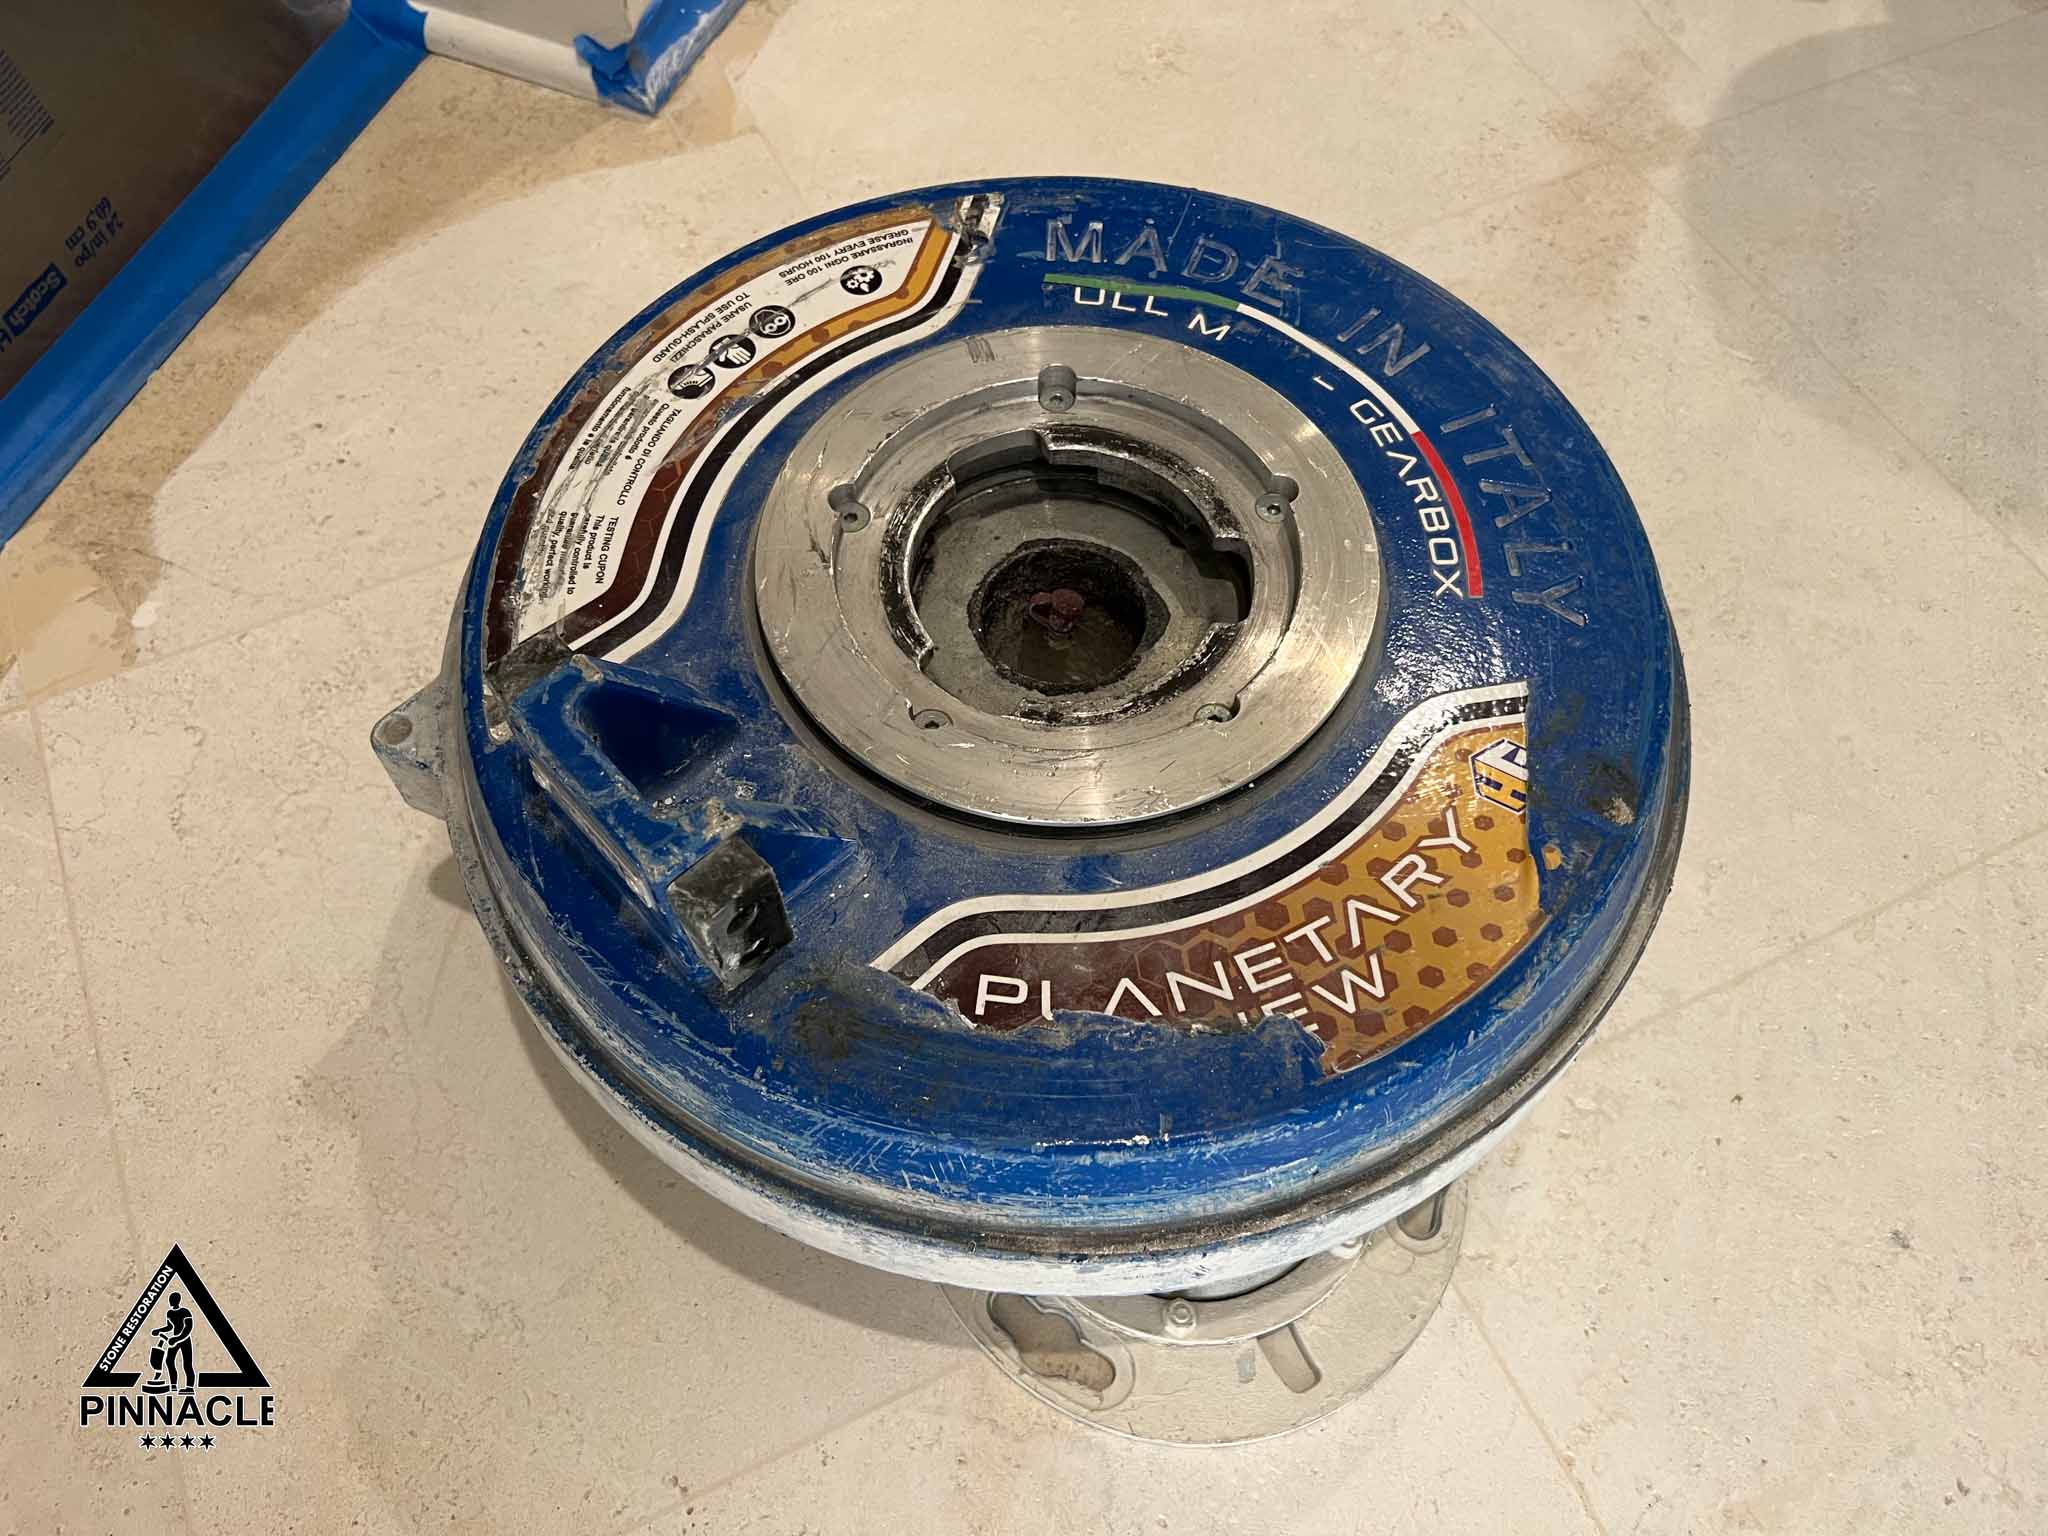
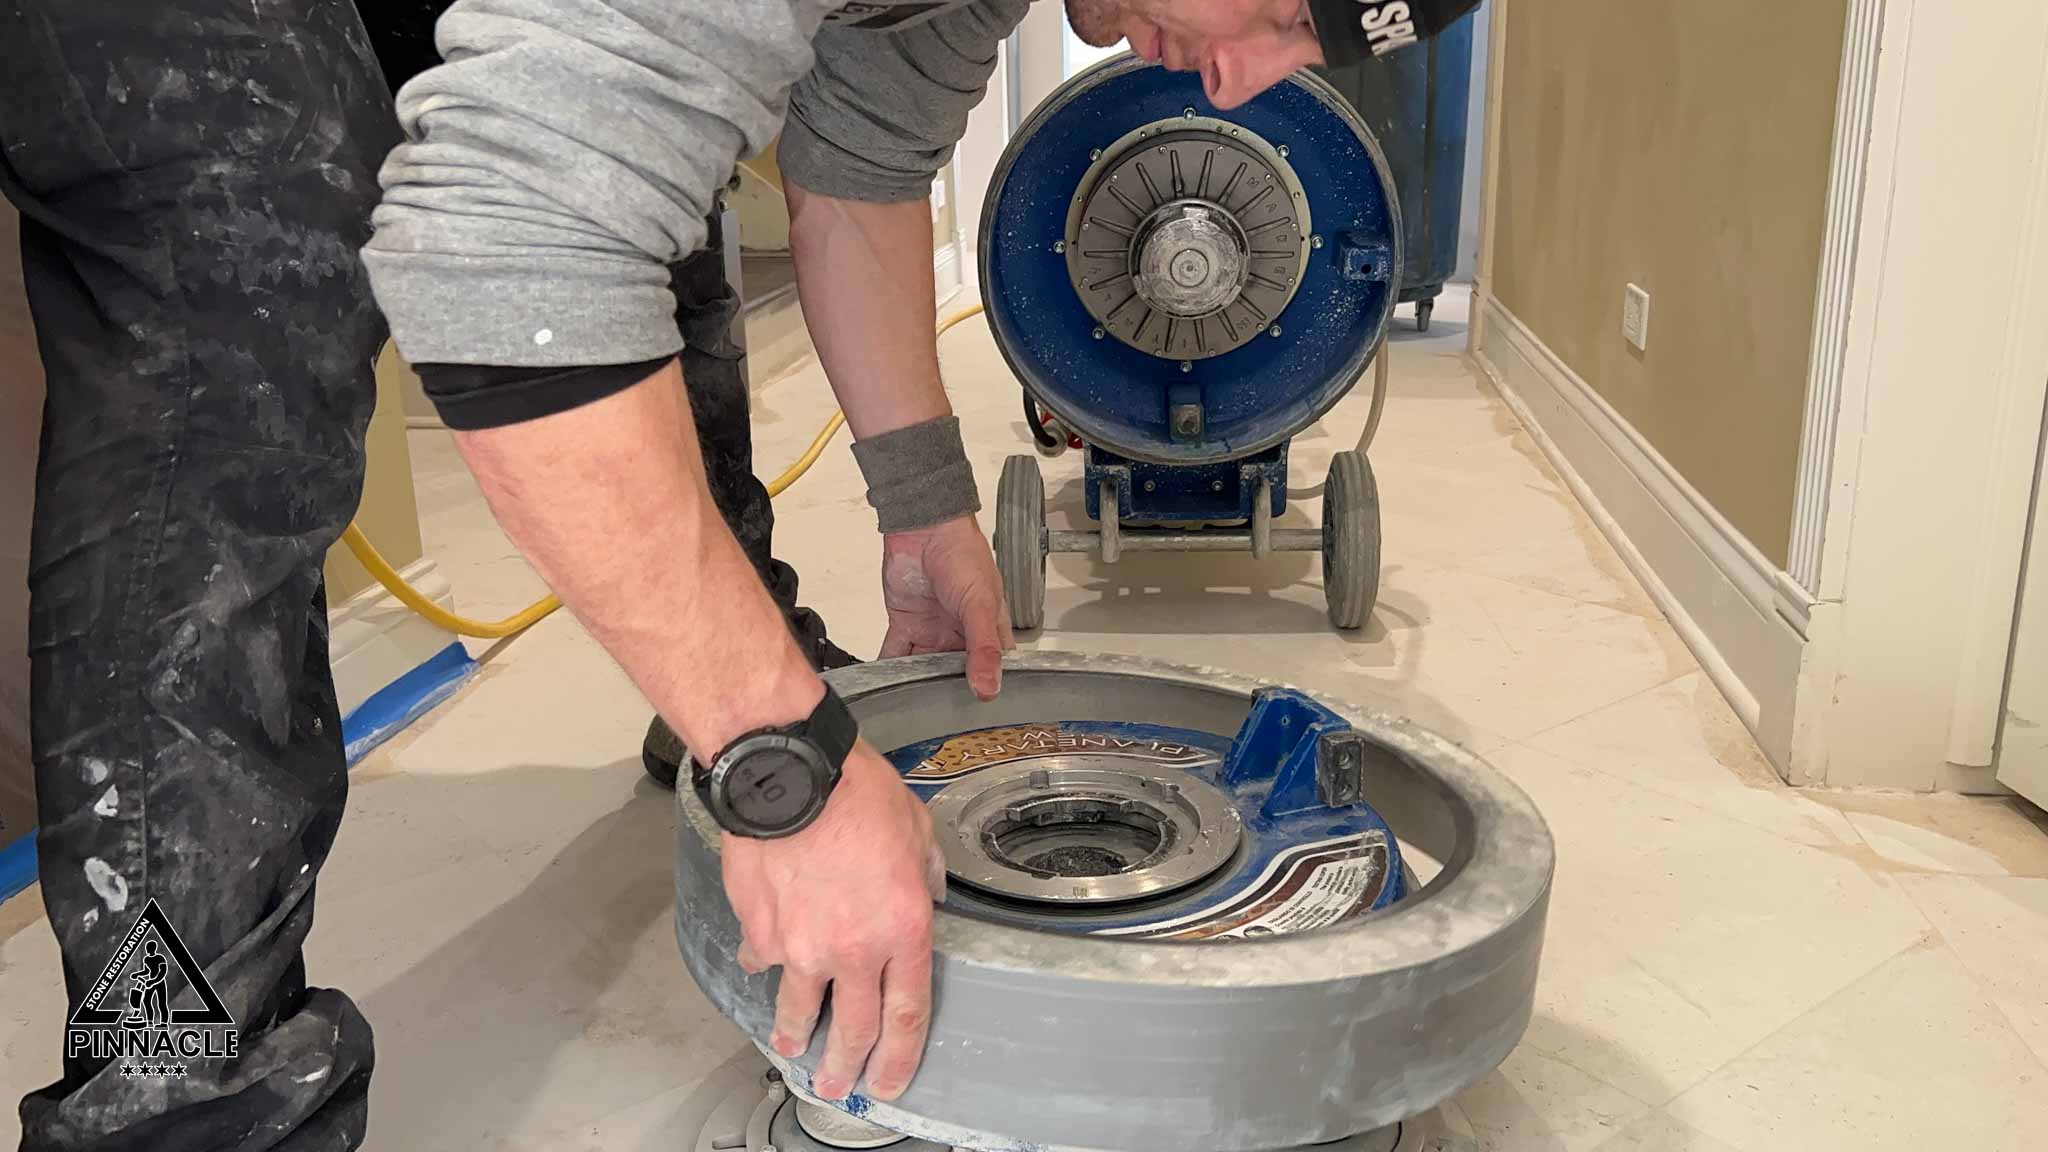
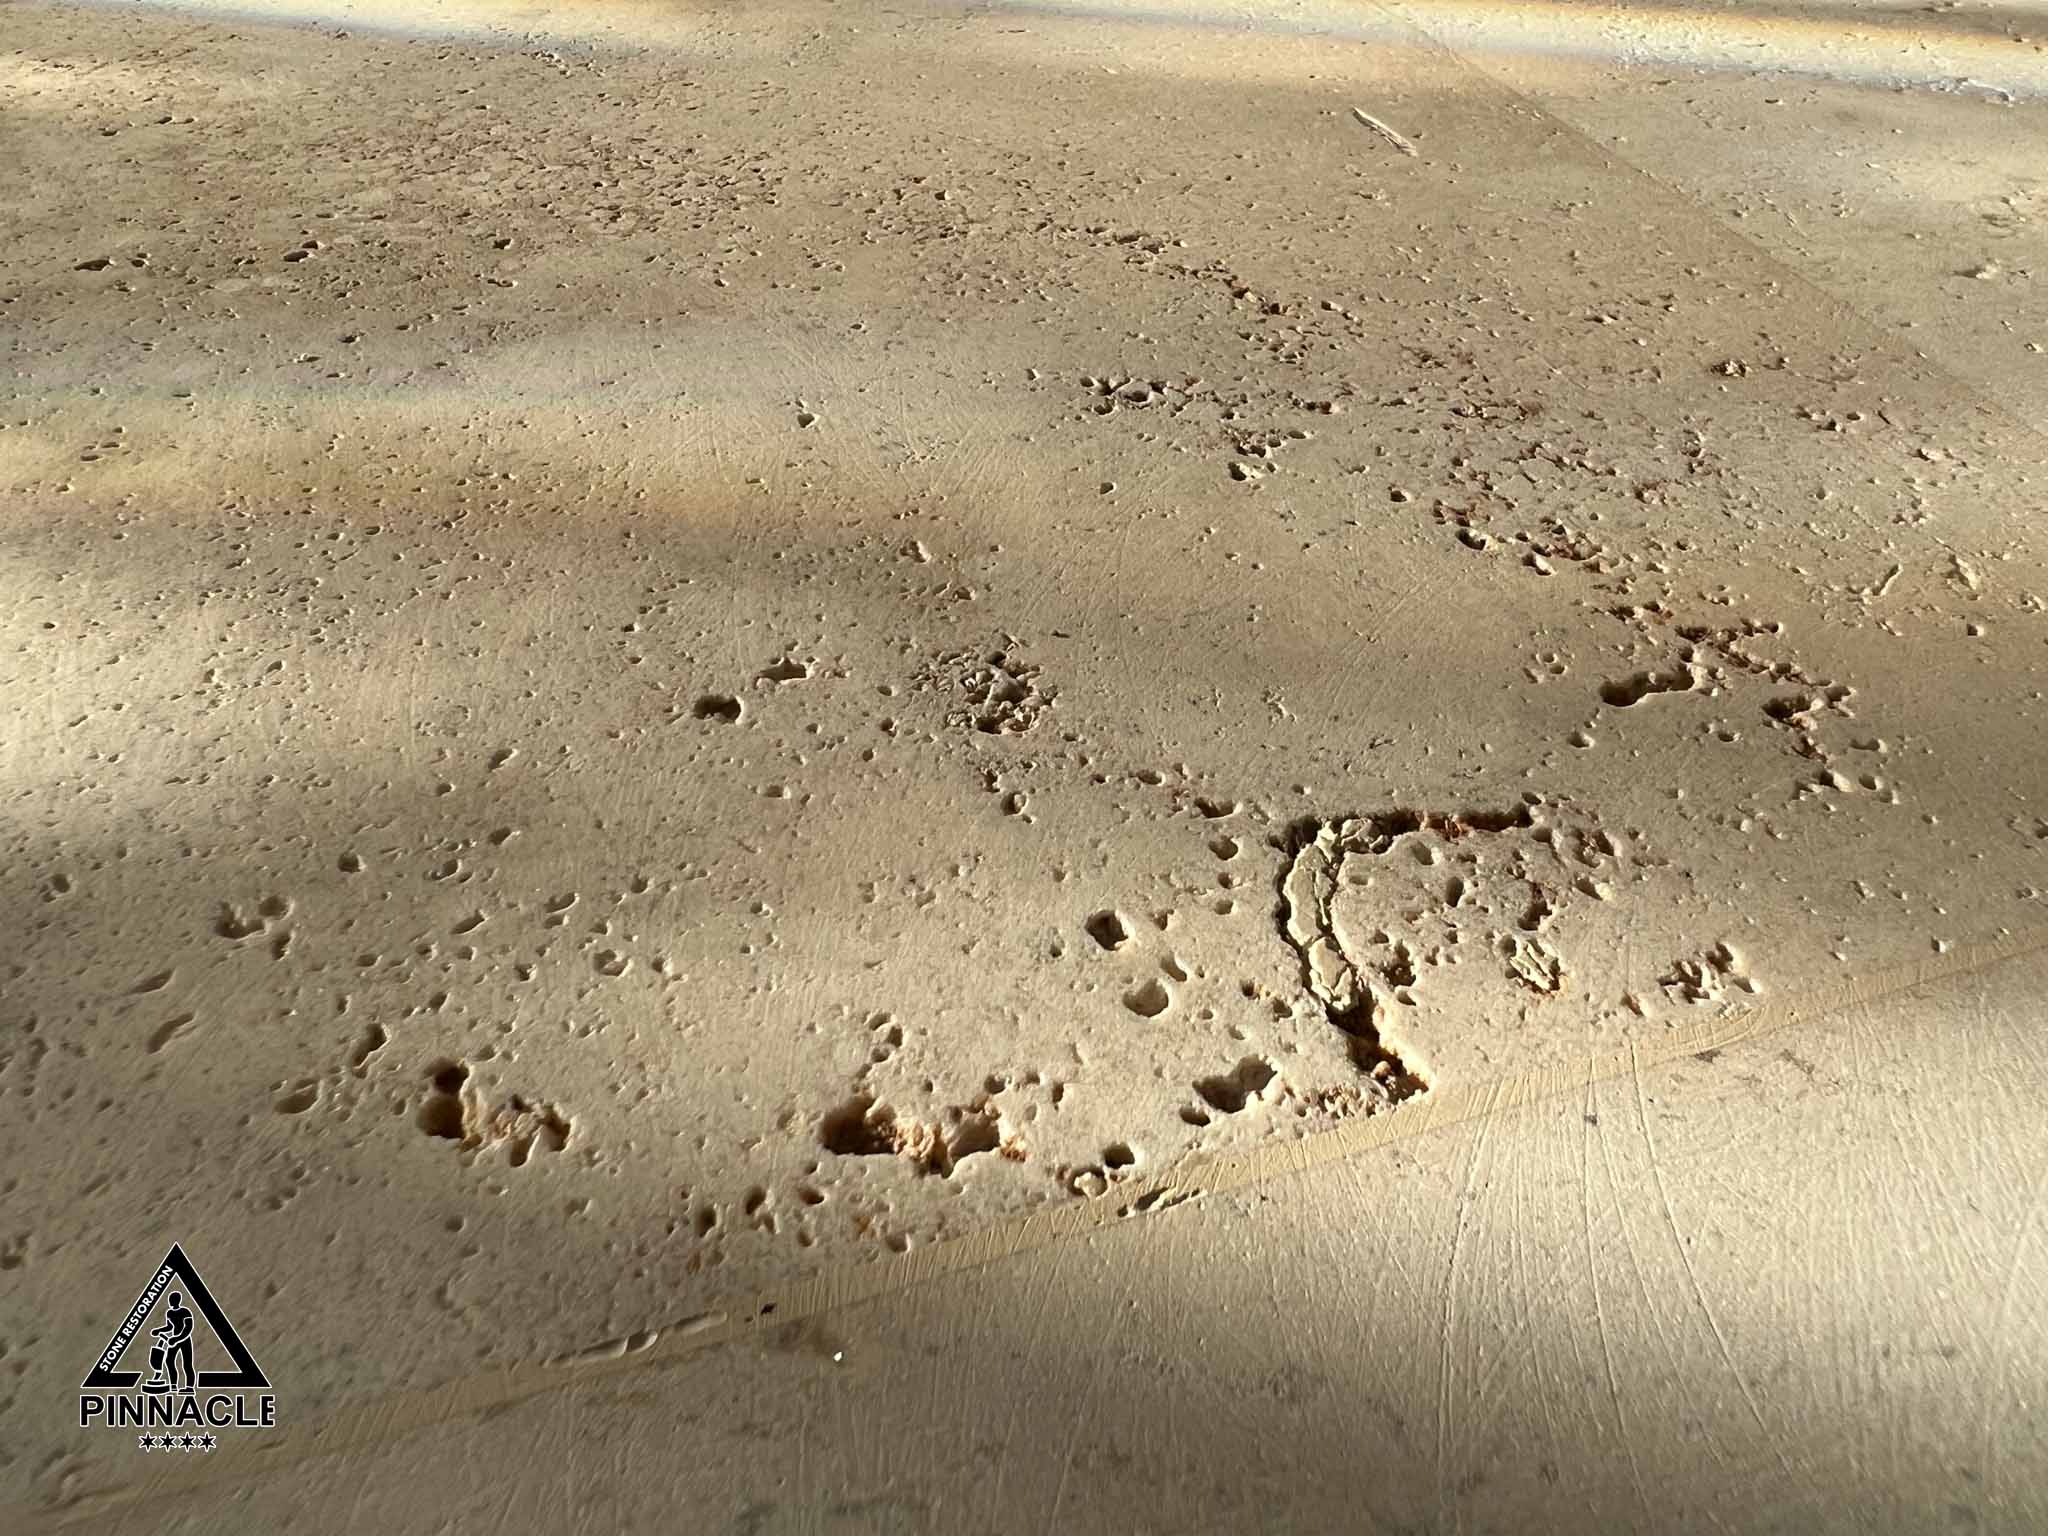
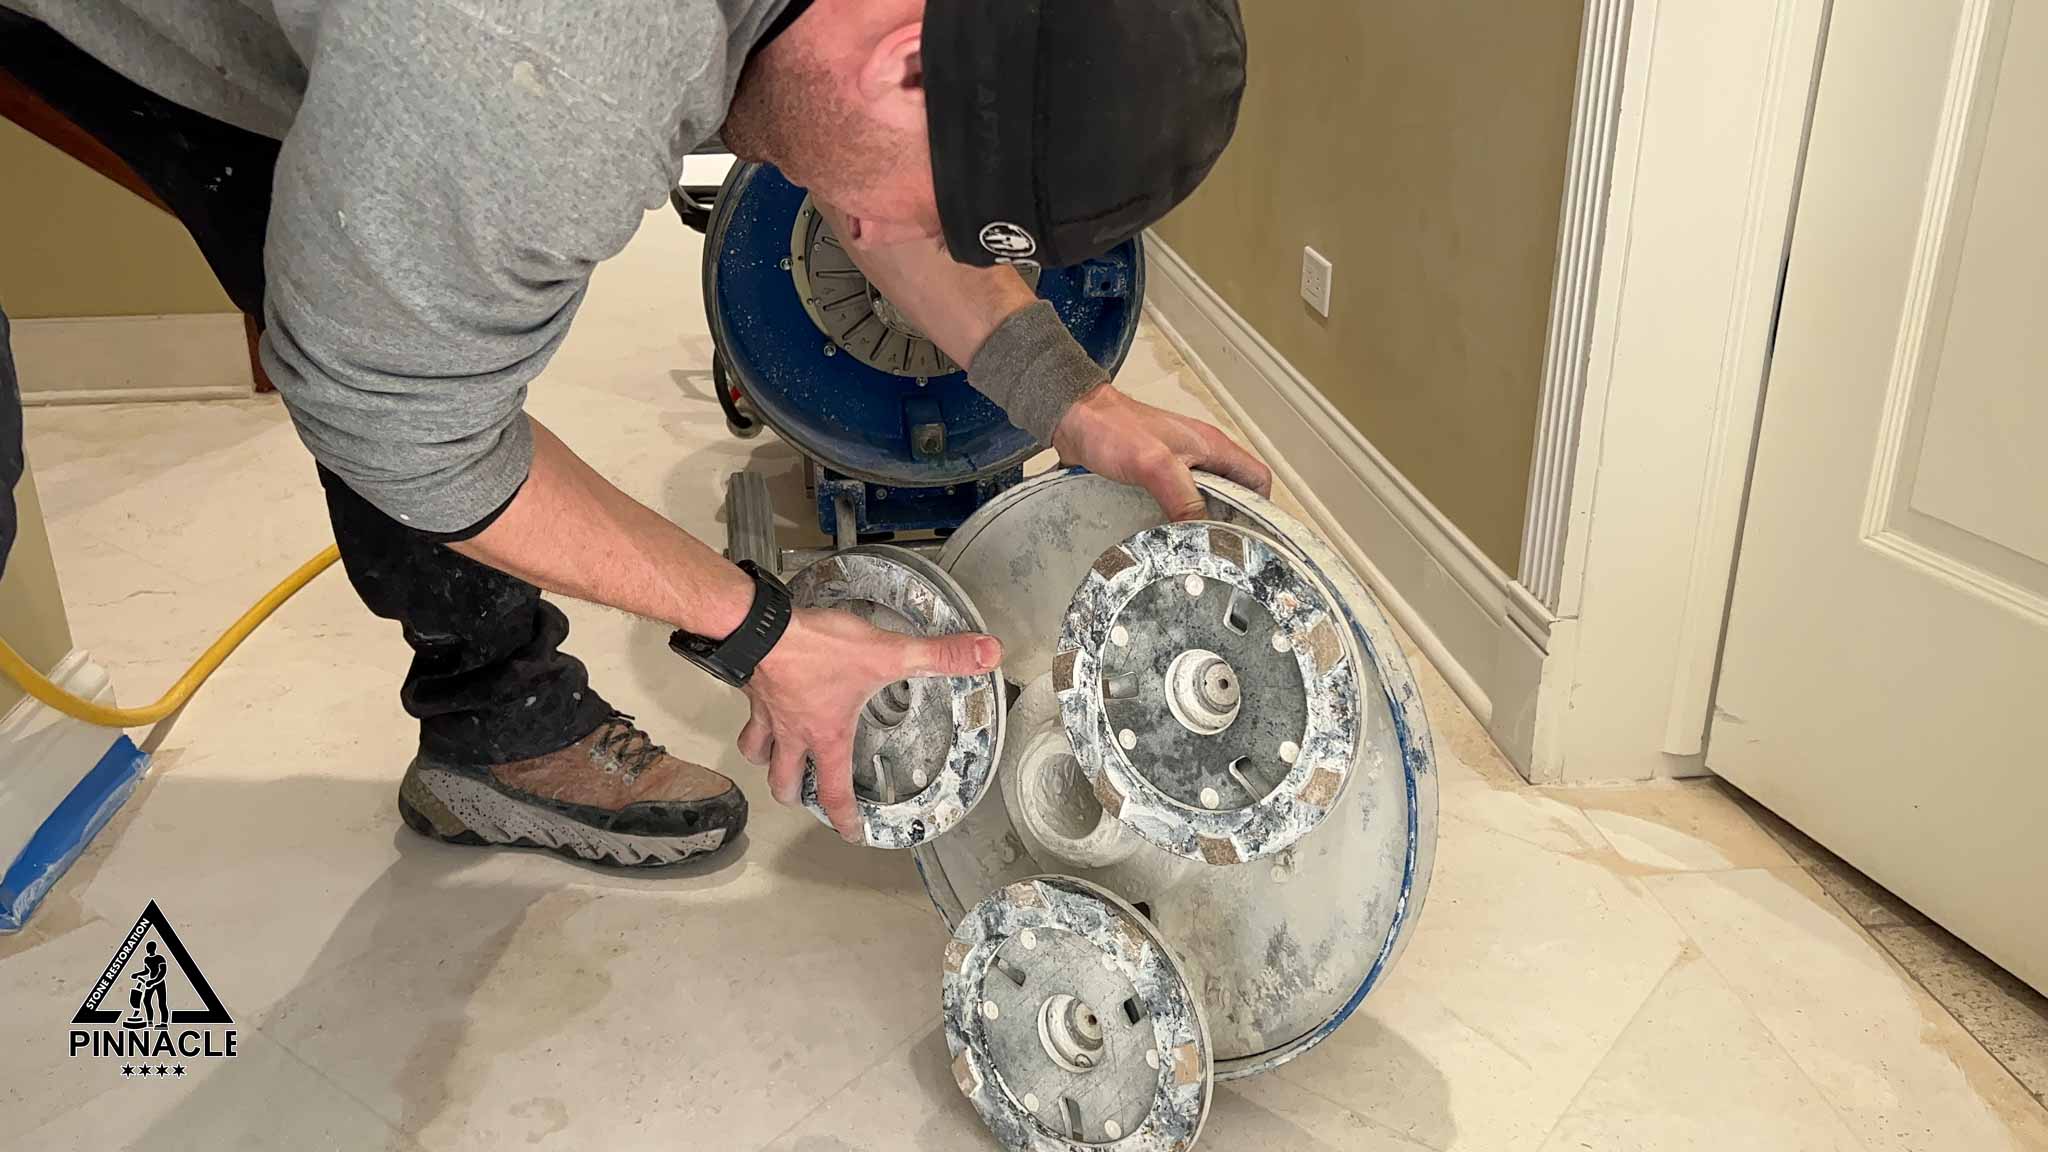
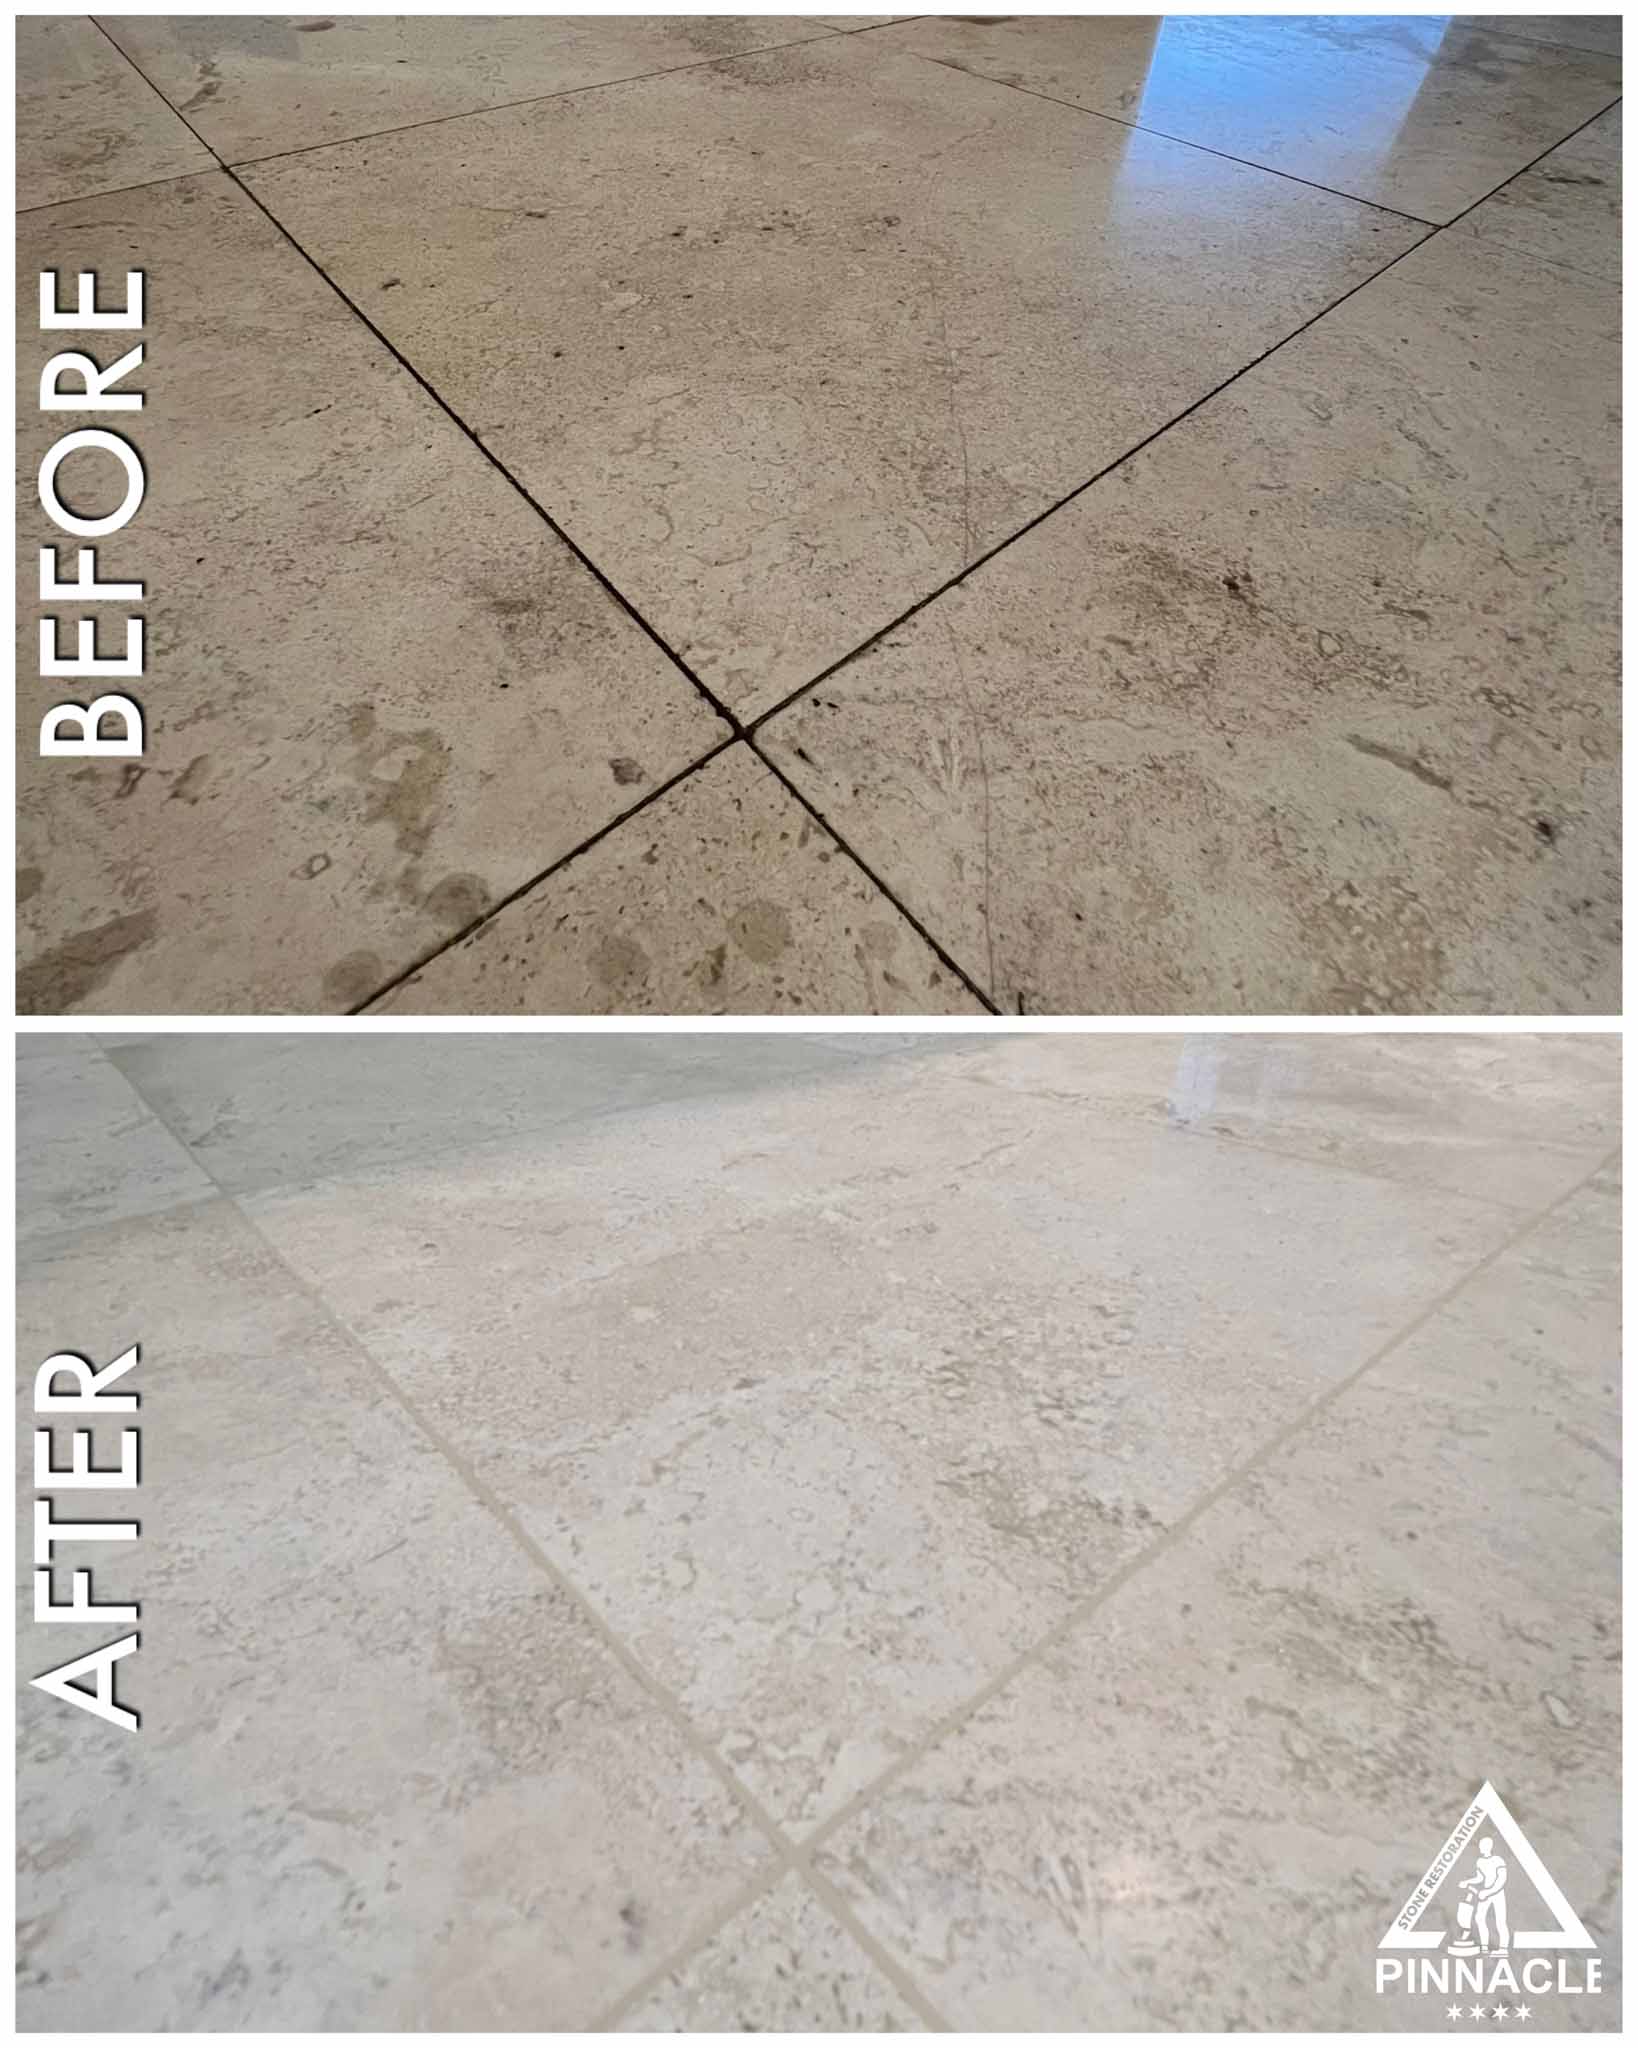
Grinding. We do heavy grinding of travertine tiles with heavy weights on top of our floor machine so we can get rid of all the lippage/unevenness of tiles and remove excess epoxy grout. We get a rough solid floor at this stage.
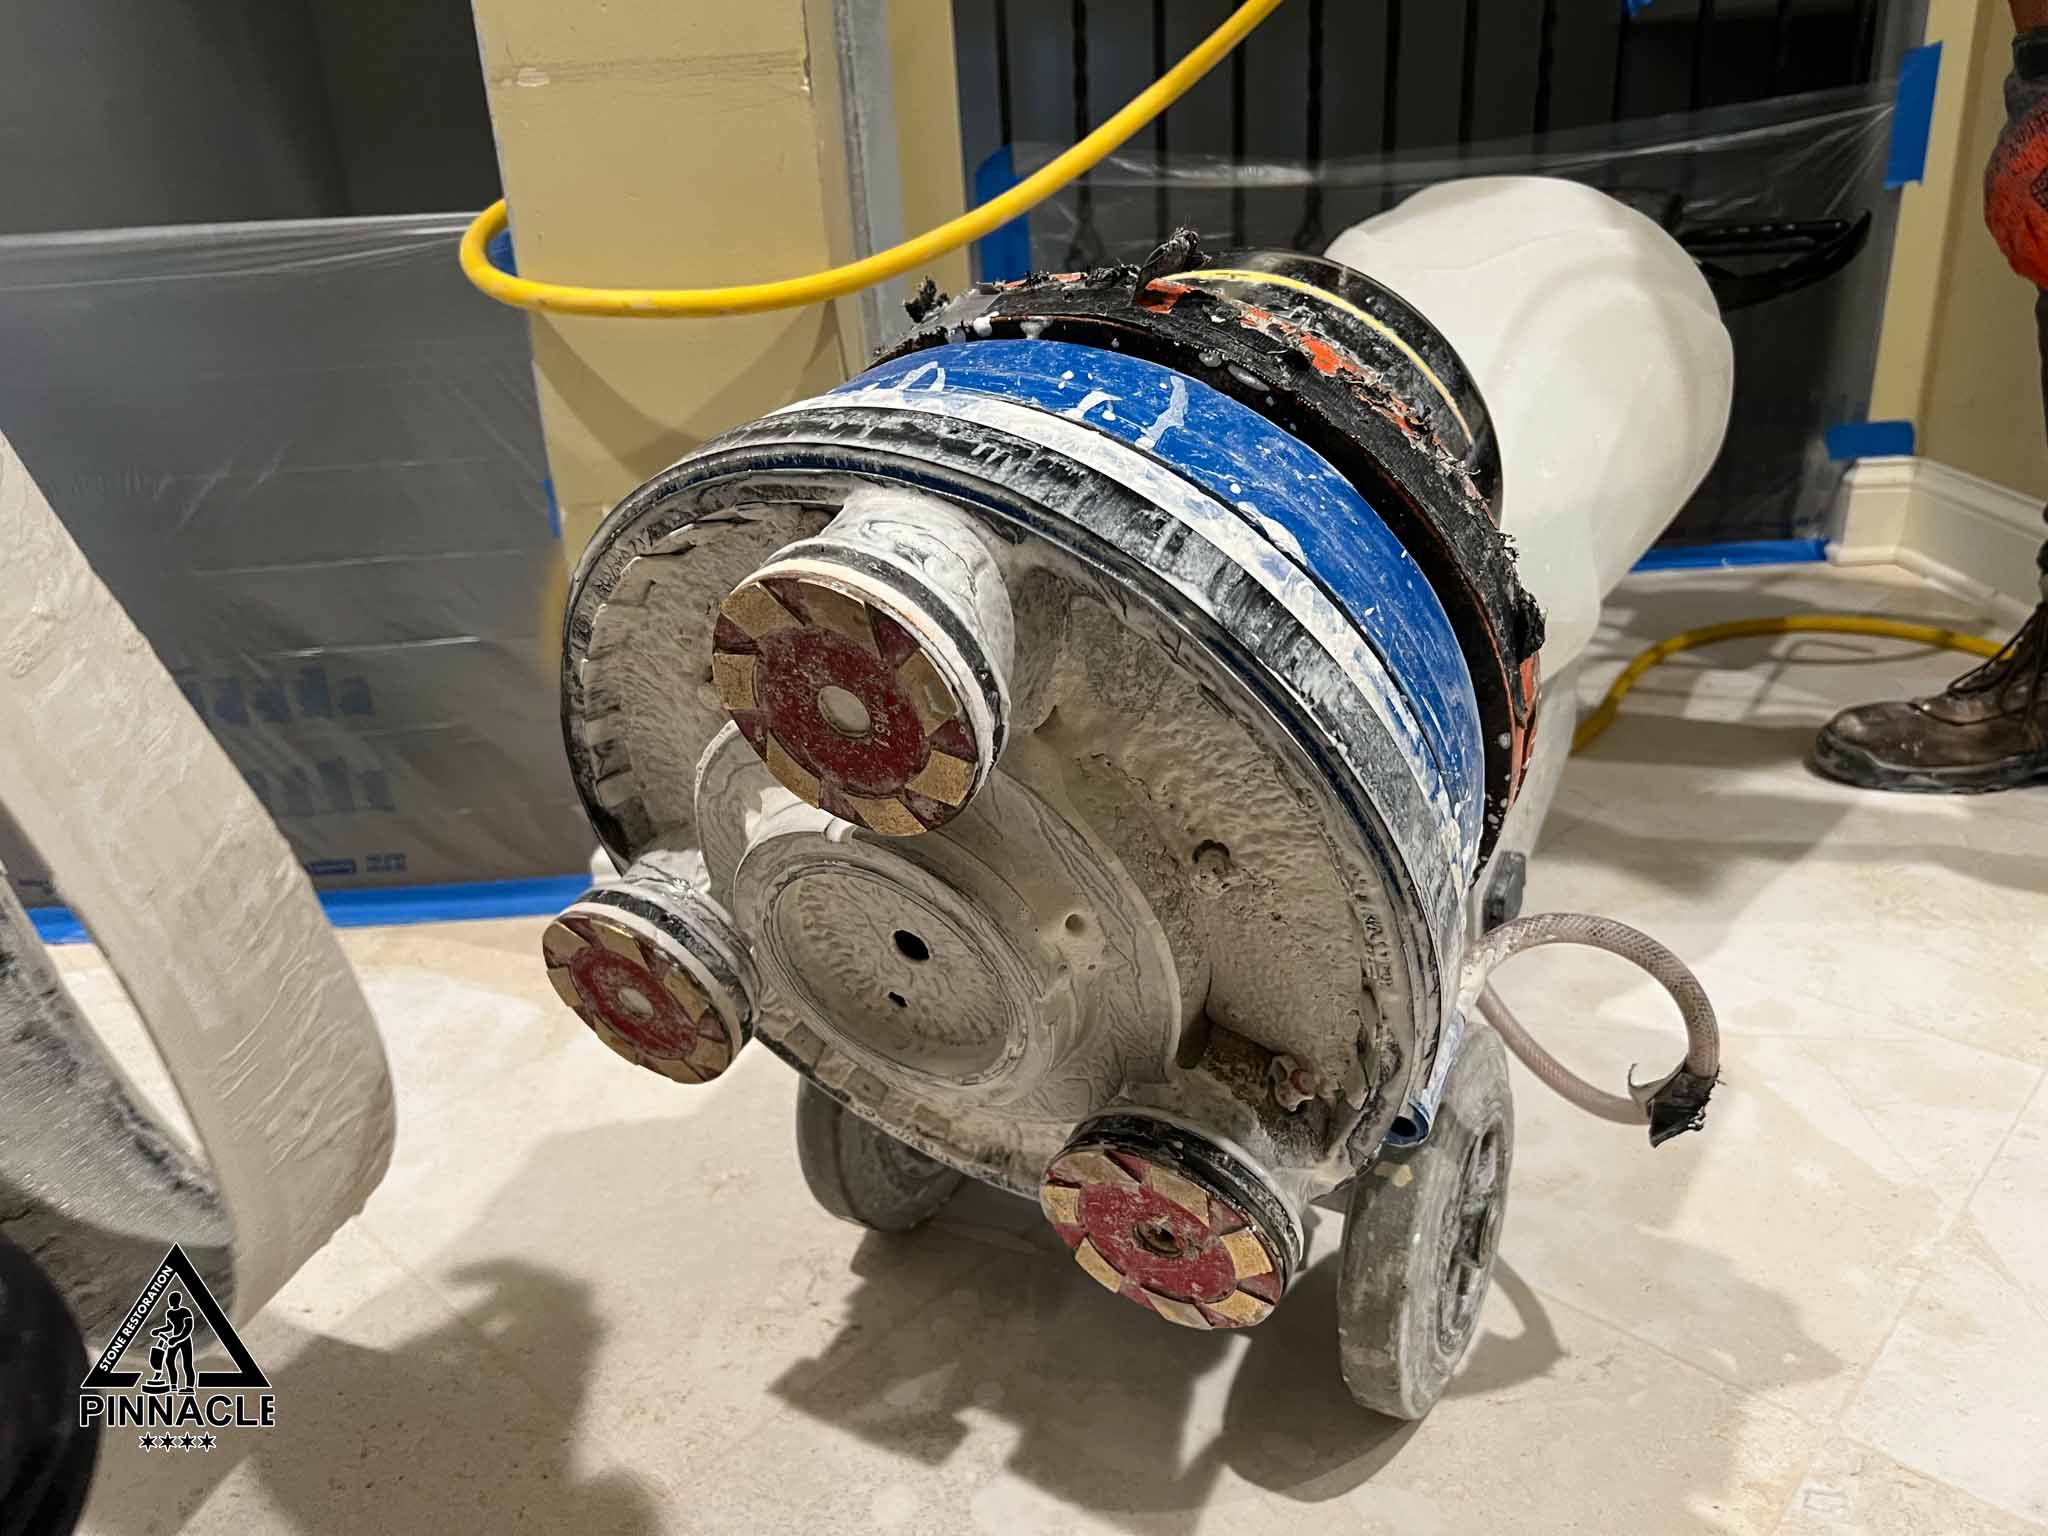

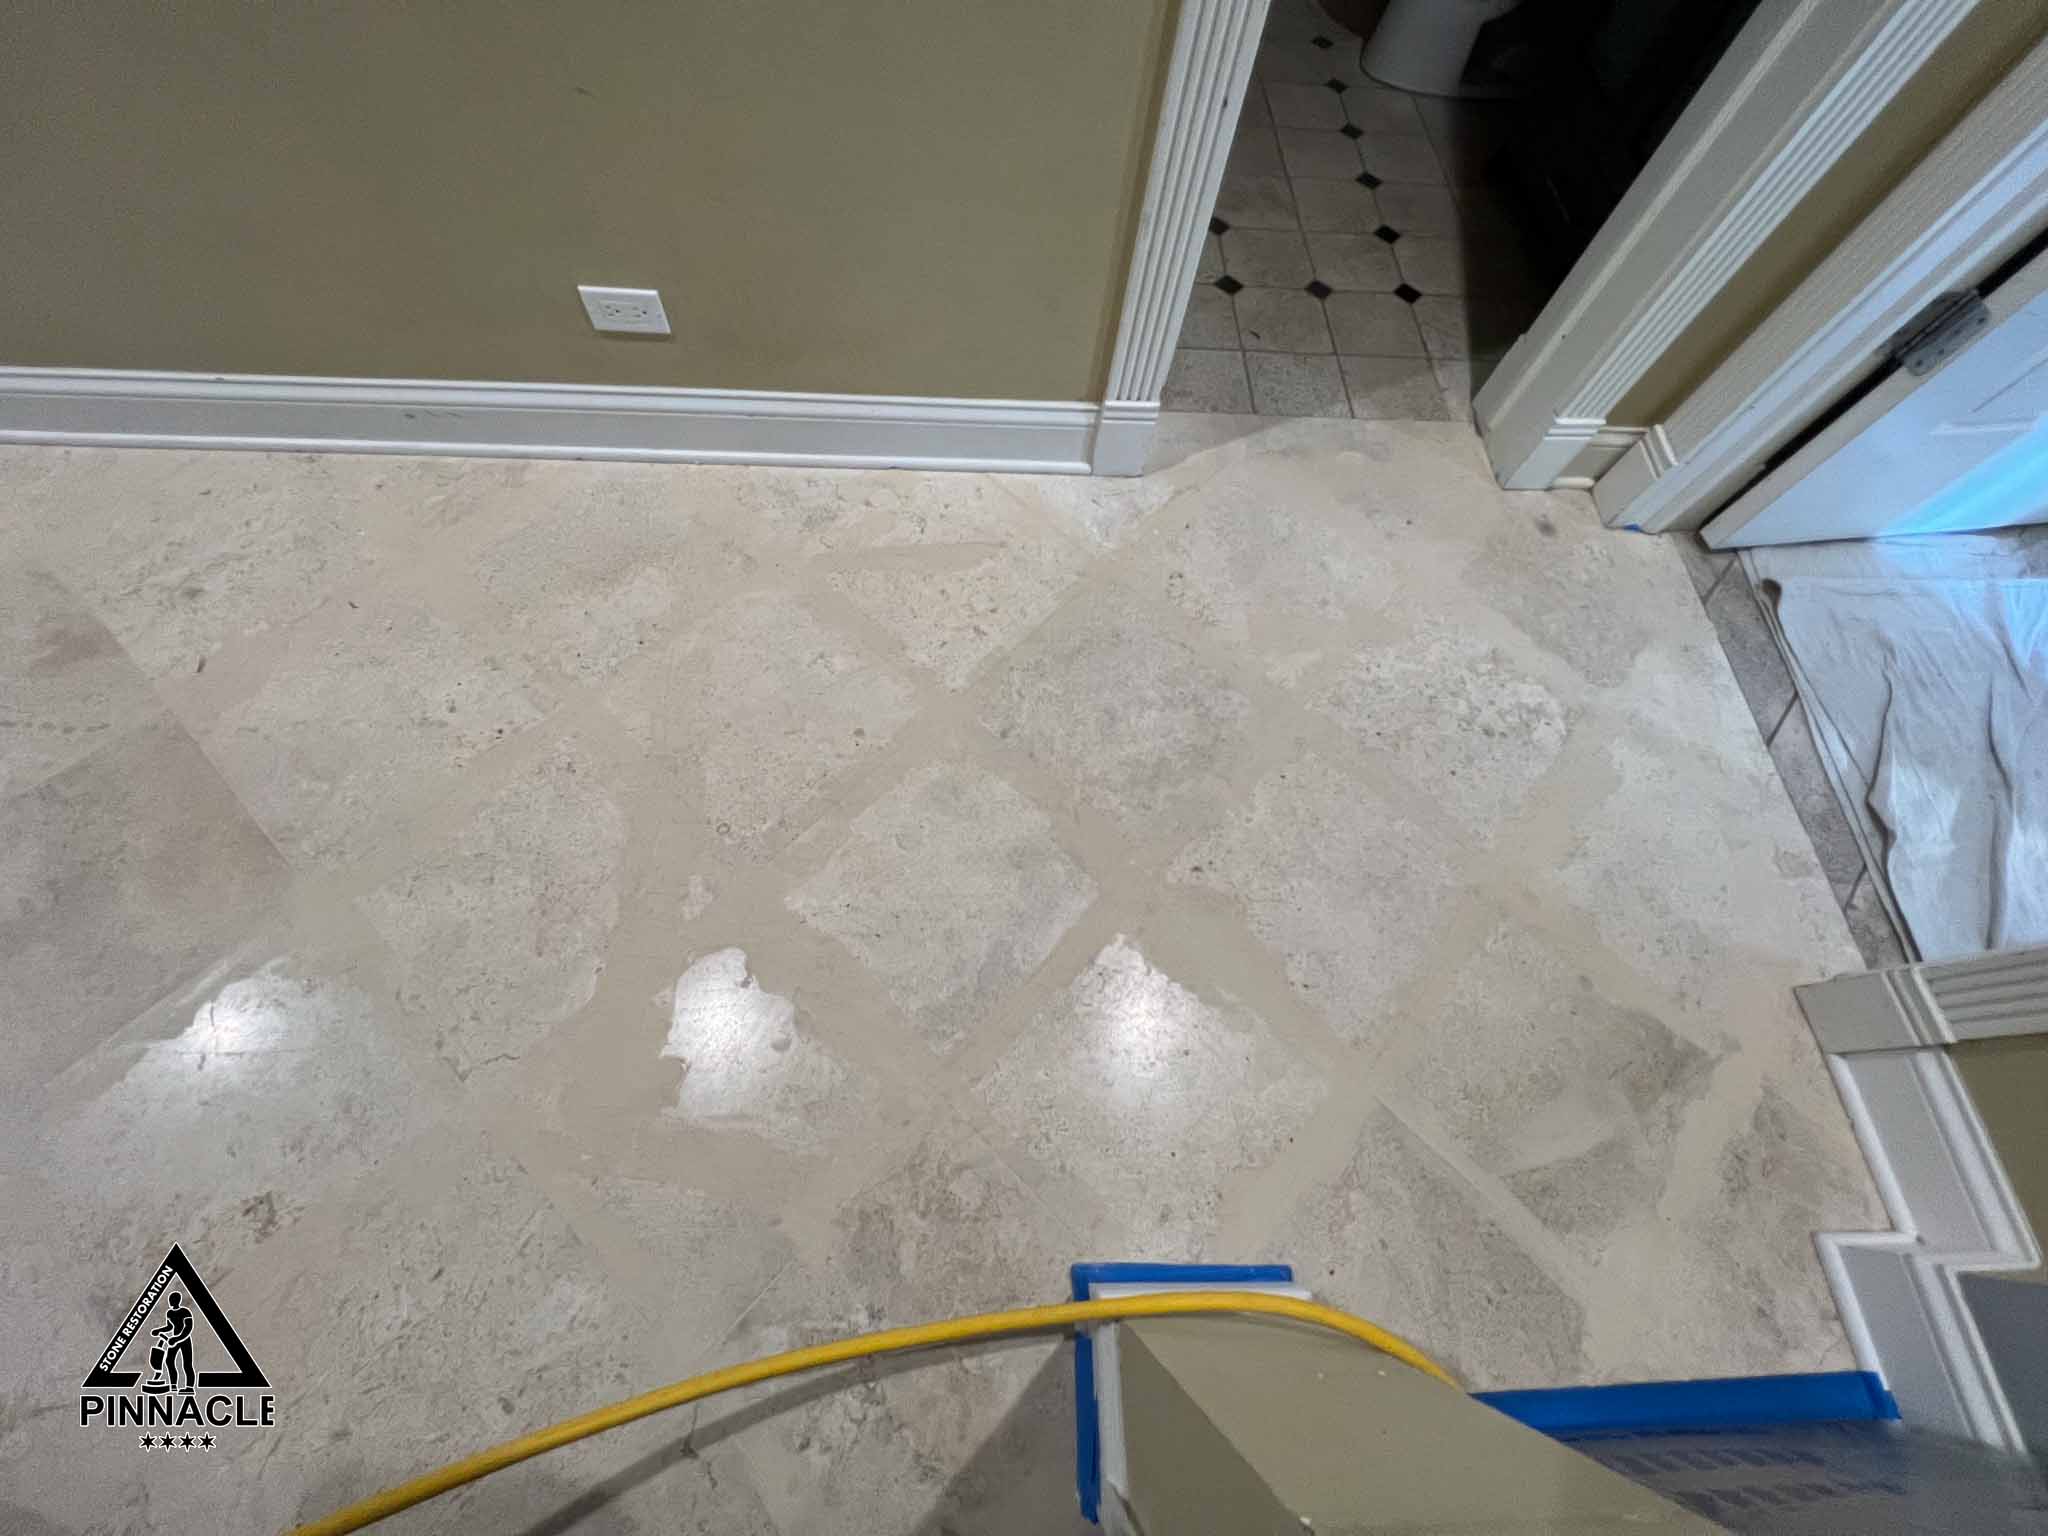
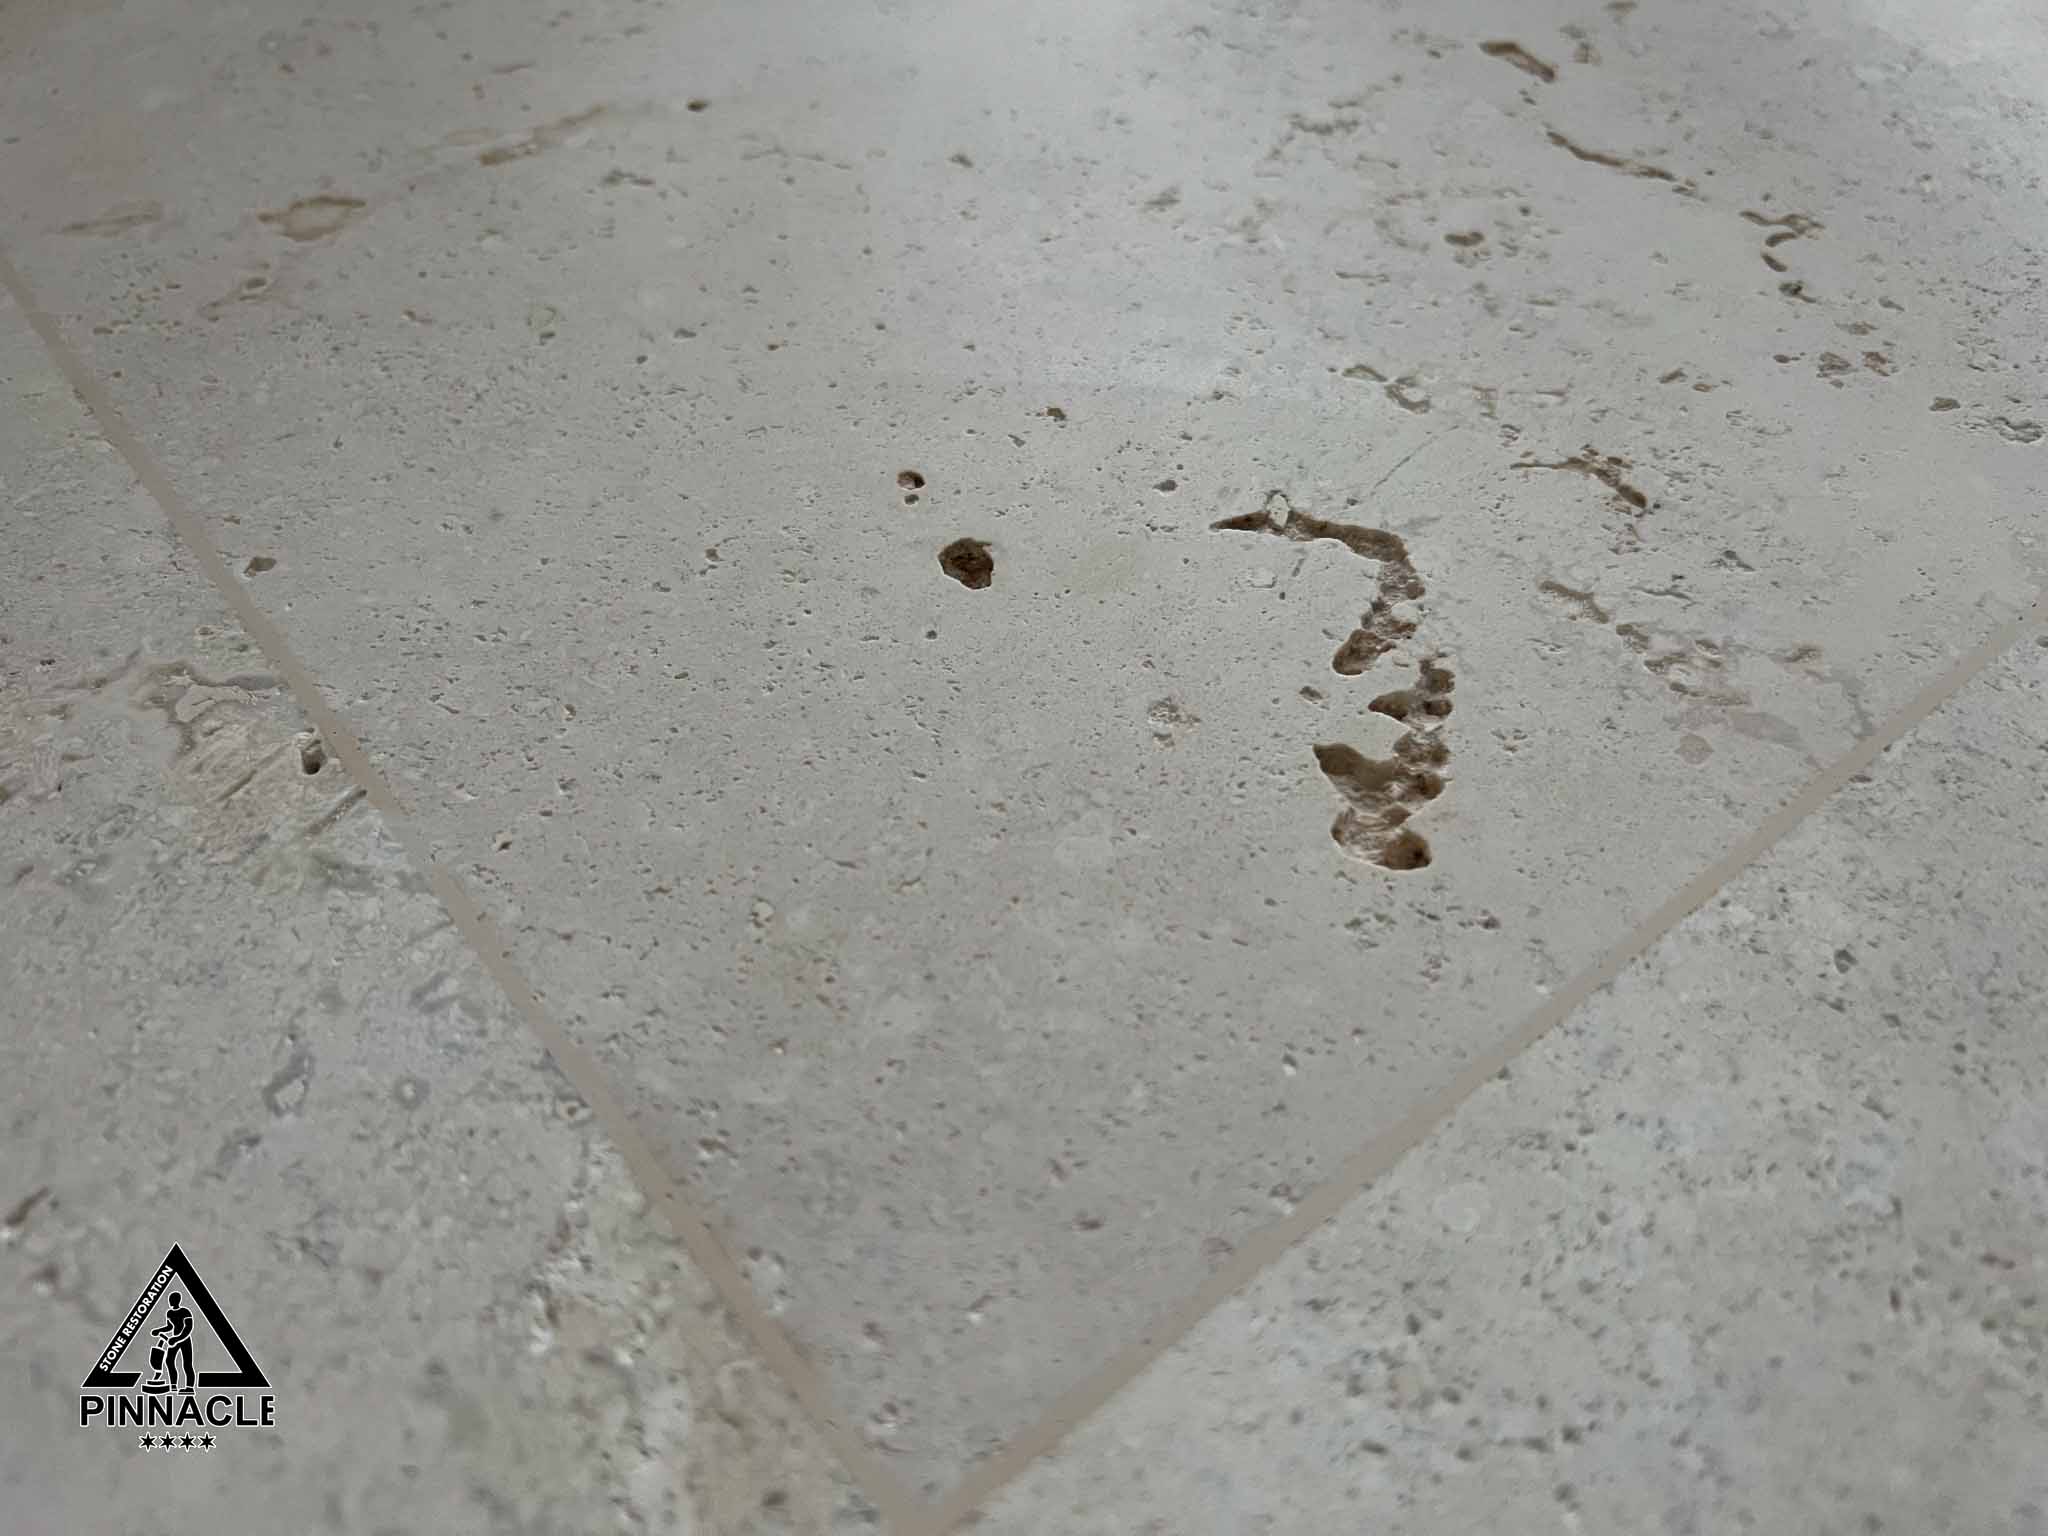
Filling holes. Heavy grinding usually allows the naturally occurring holes in travertine get exposed. Our task is to fill all the holes to make flooring as solid as possible. We grout the entire floor and leave it to cure overnight (not less). Next morning, we continue with grinding and remove excess grout on the surface.
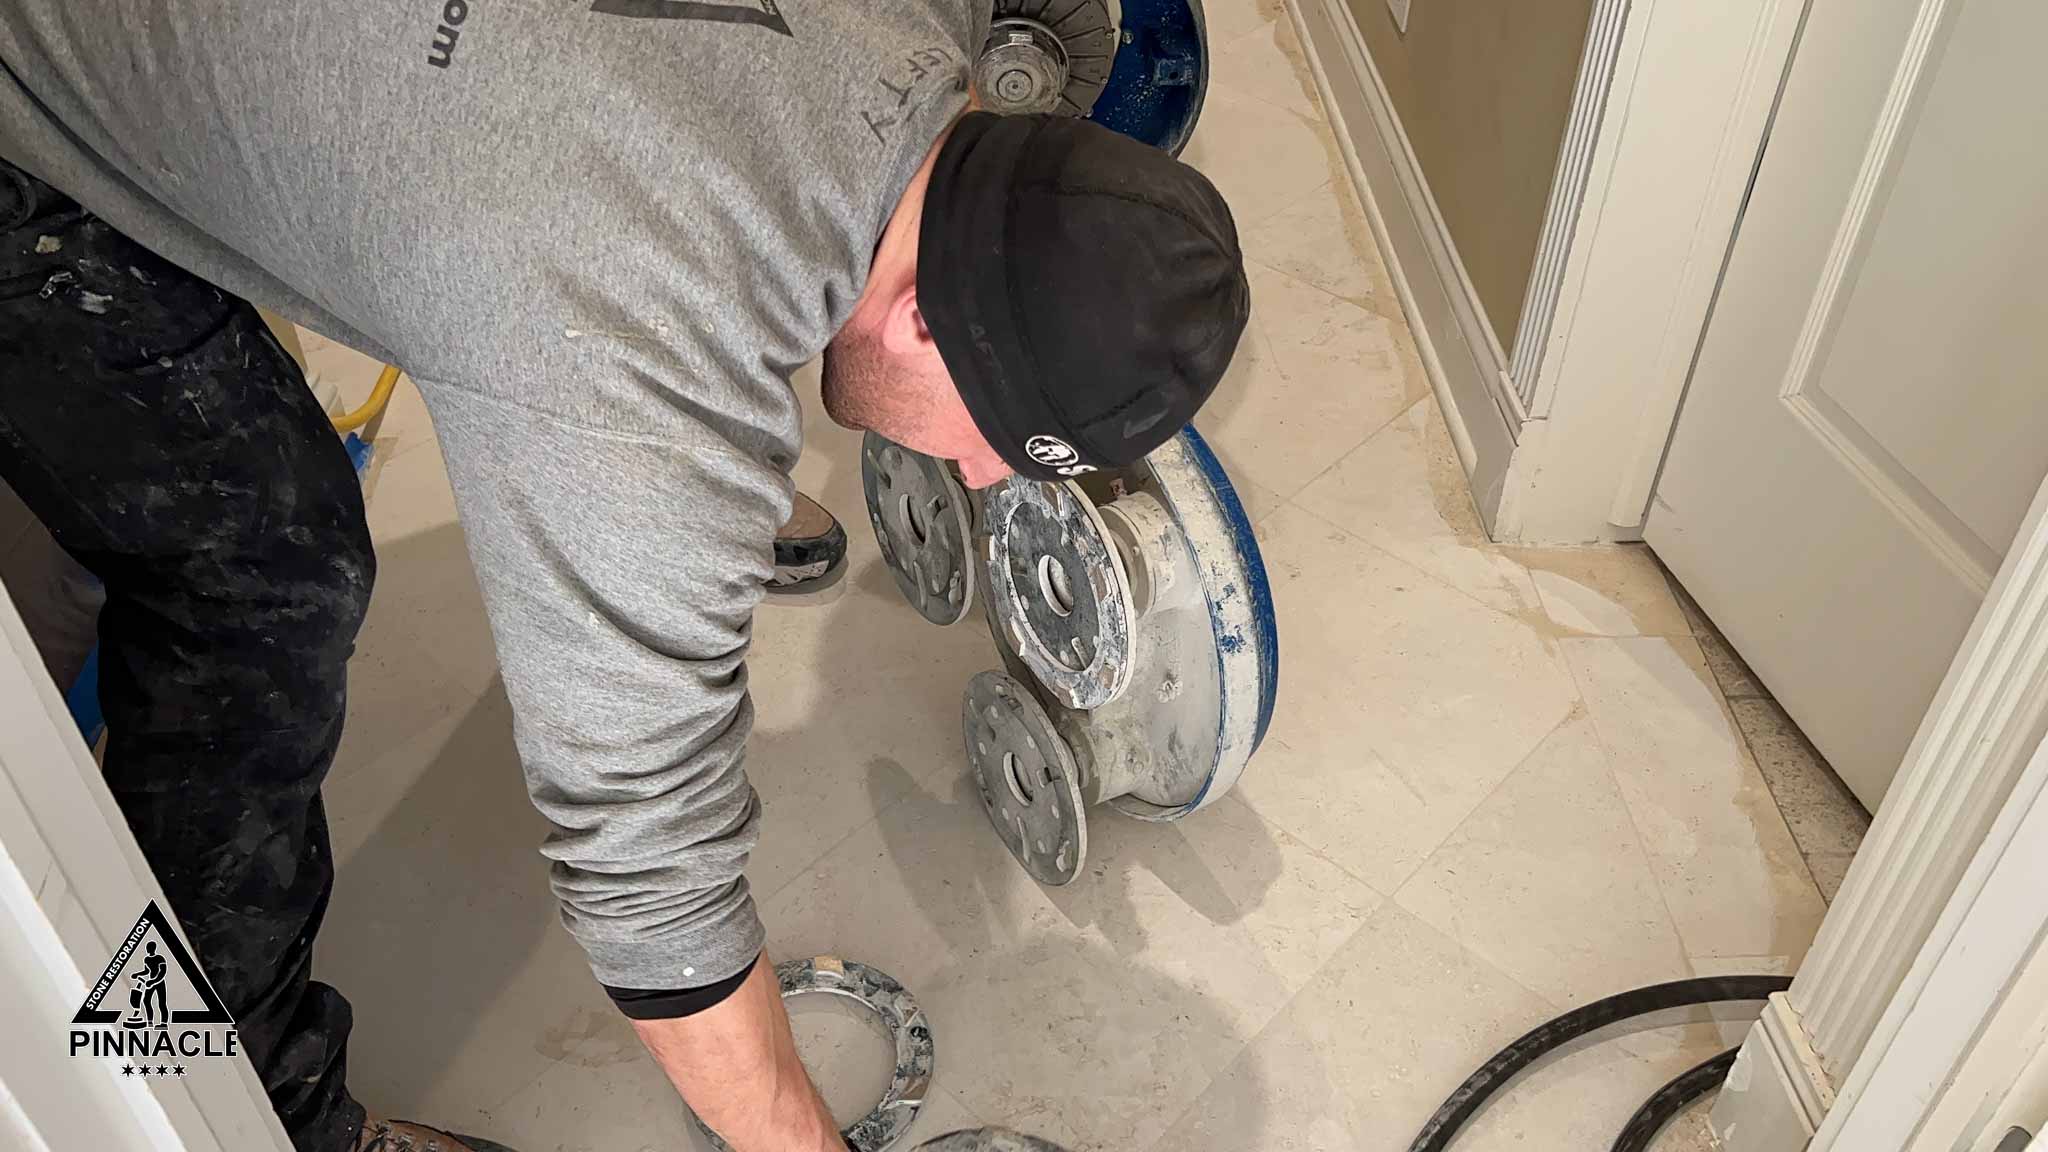
Working on edges. Edges are always tricky. We can’t get around any restoration project that requires grinding, without working on edges with handheld machines. They ensure we cover all the hard-to-reach spots (like under stairs) and areas where floor machine can’t do a great job by itself, like corners and edges.
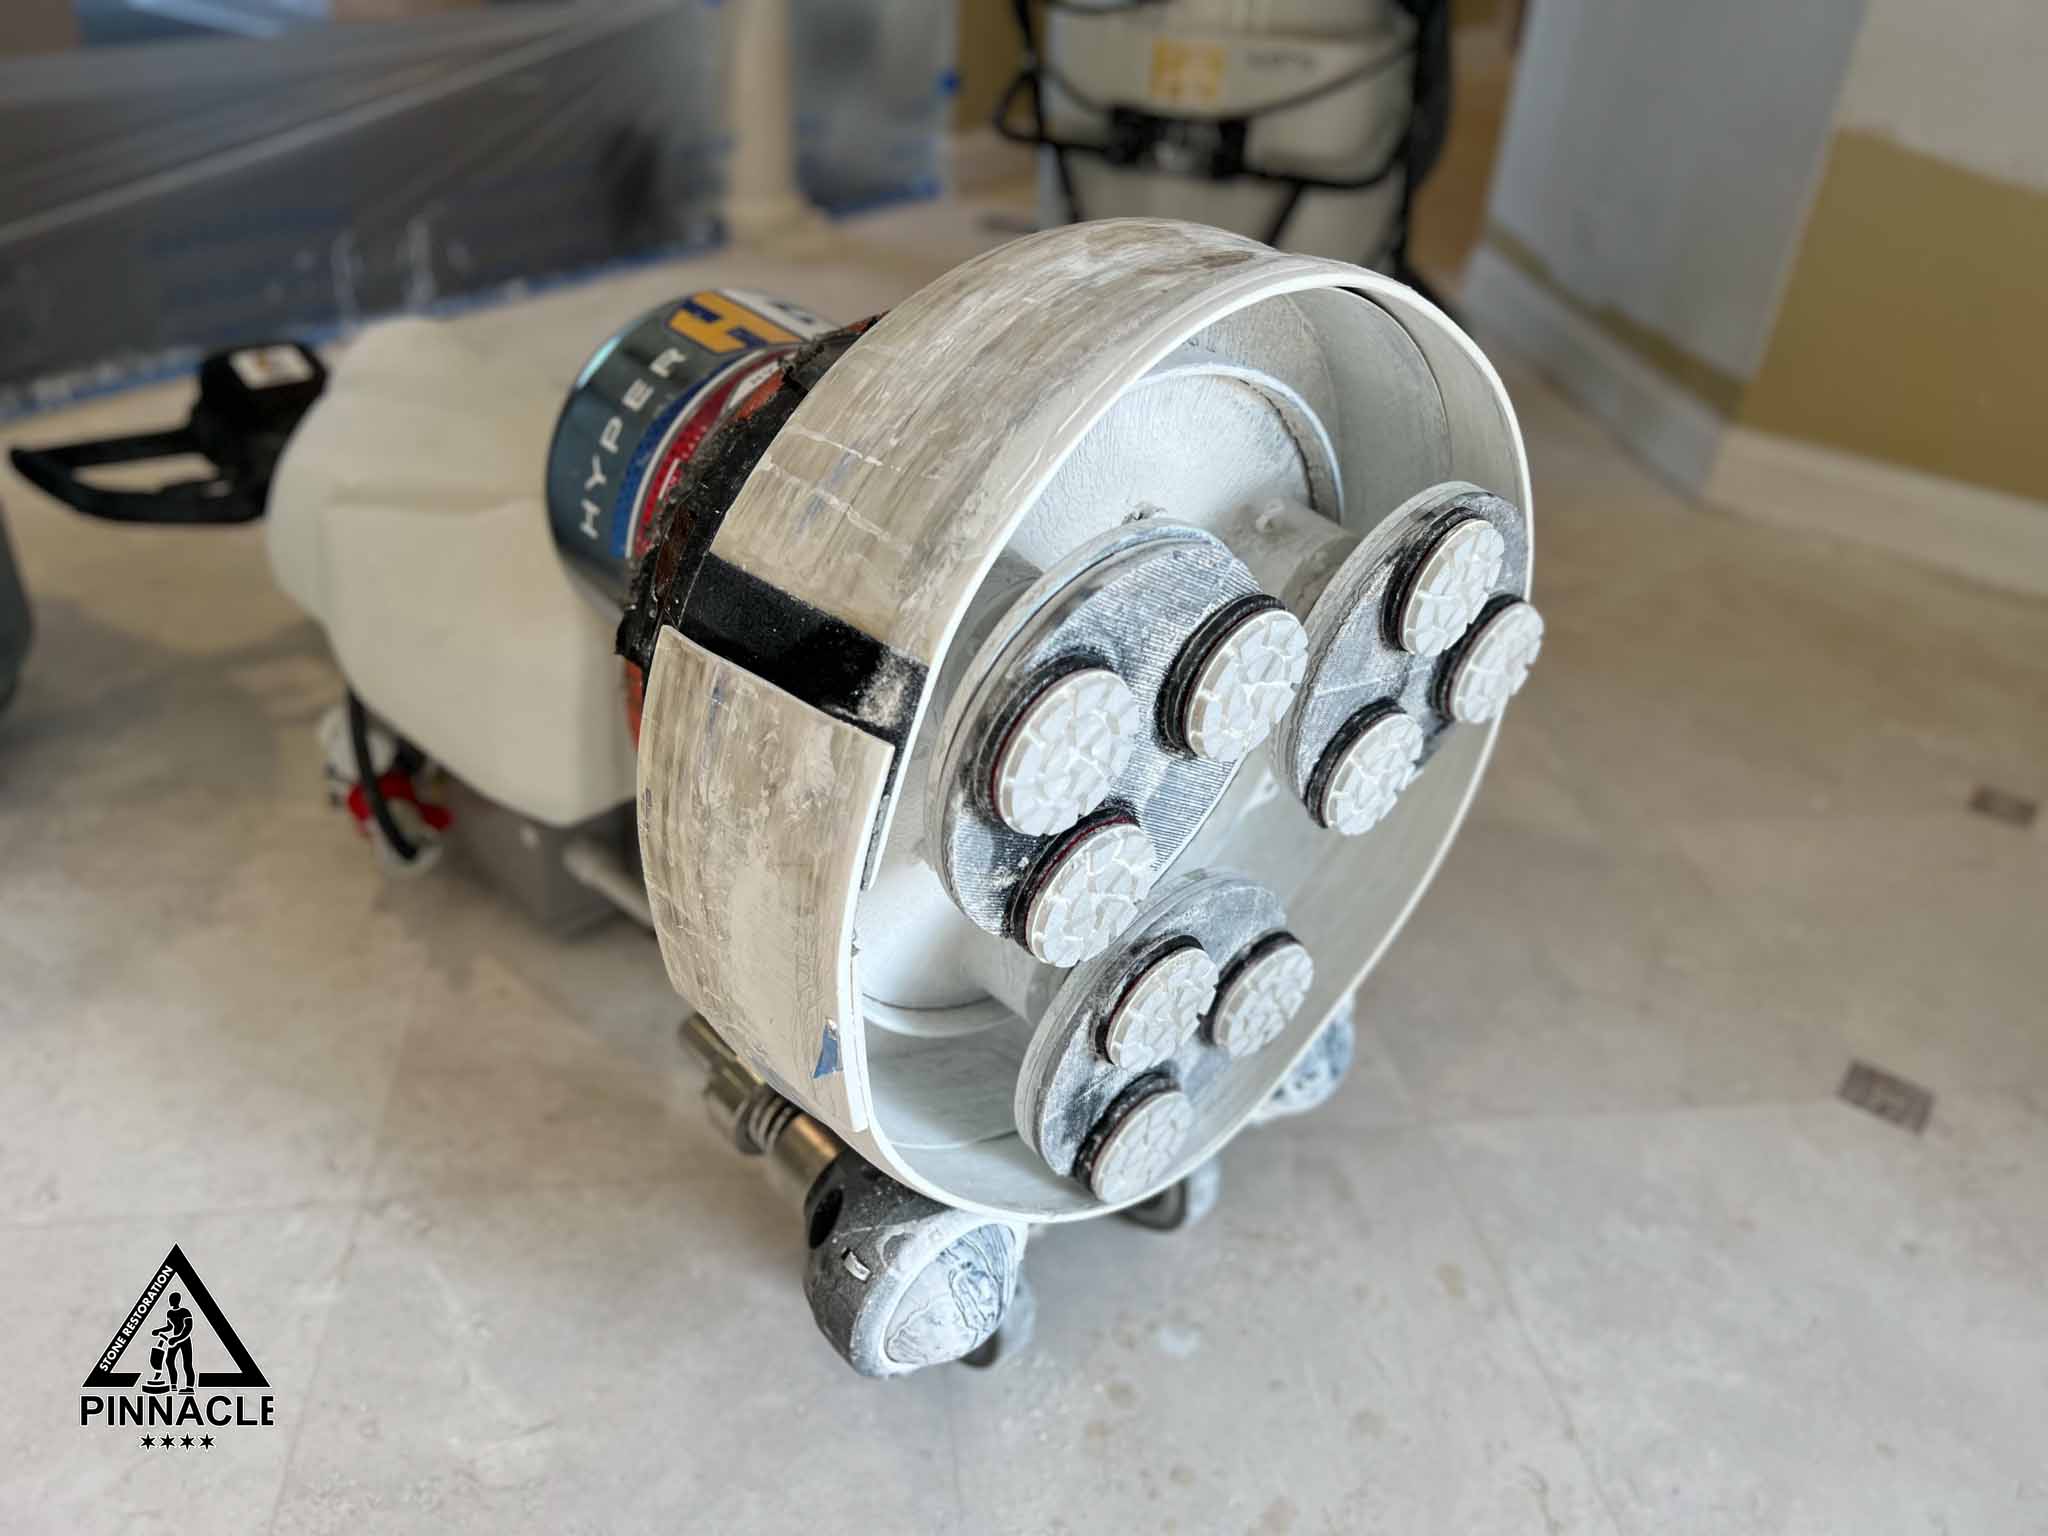
Honing. We continue honing travertine with the higher grits of diamond resin pads. This step ensures that we remove all the scratches from heavy grinding stage. The floor should be smooth and ready for polishing step.

Cracks repair and fixes. At this stage we fix all the cracks and fill any other holes that might have occurred in epoxy during heavy grinding.
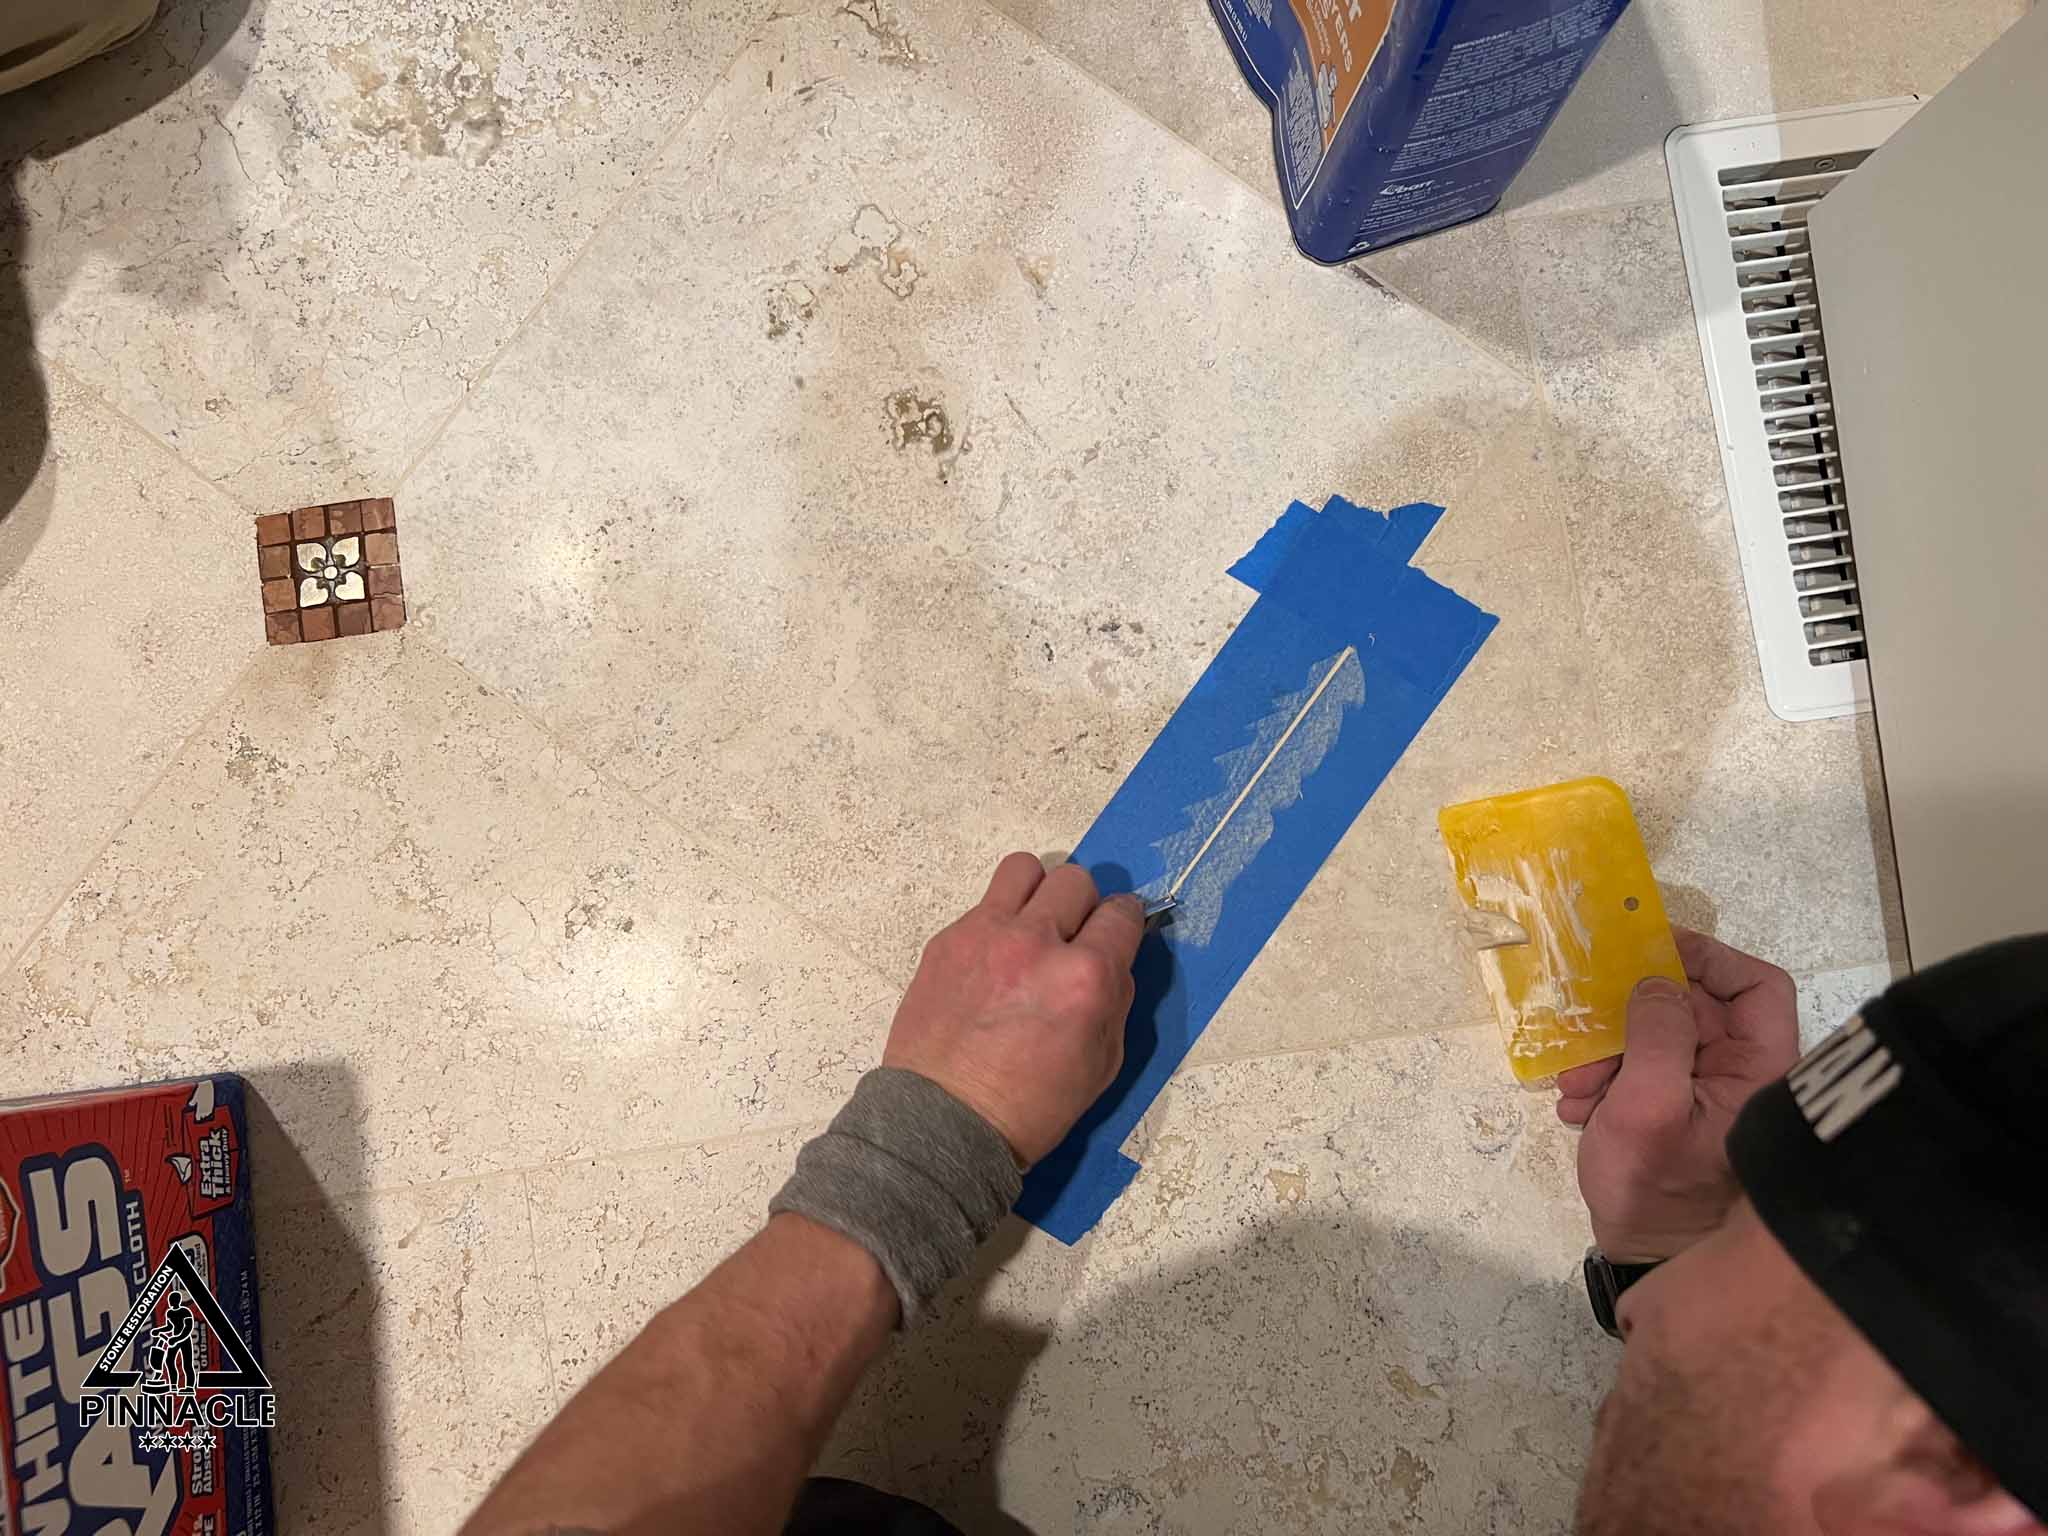
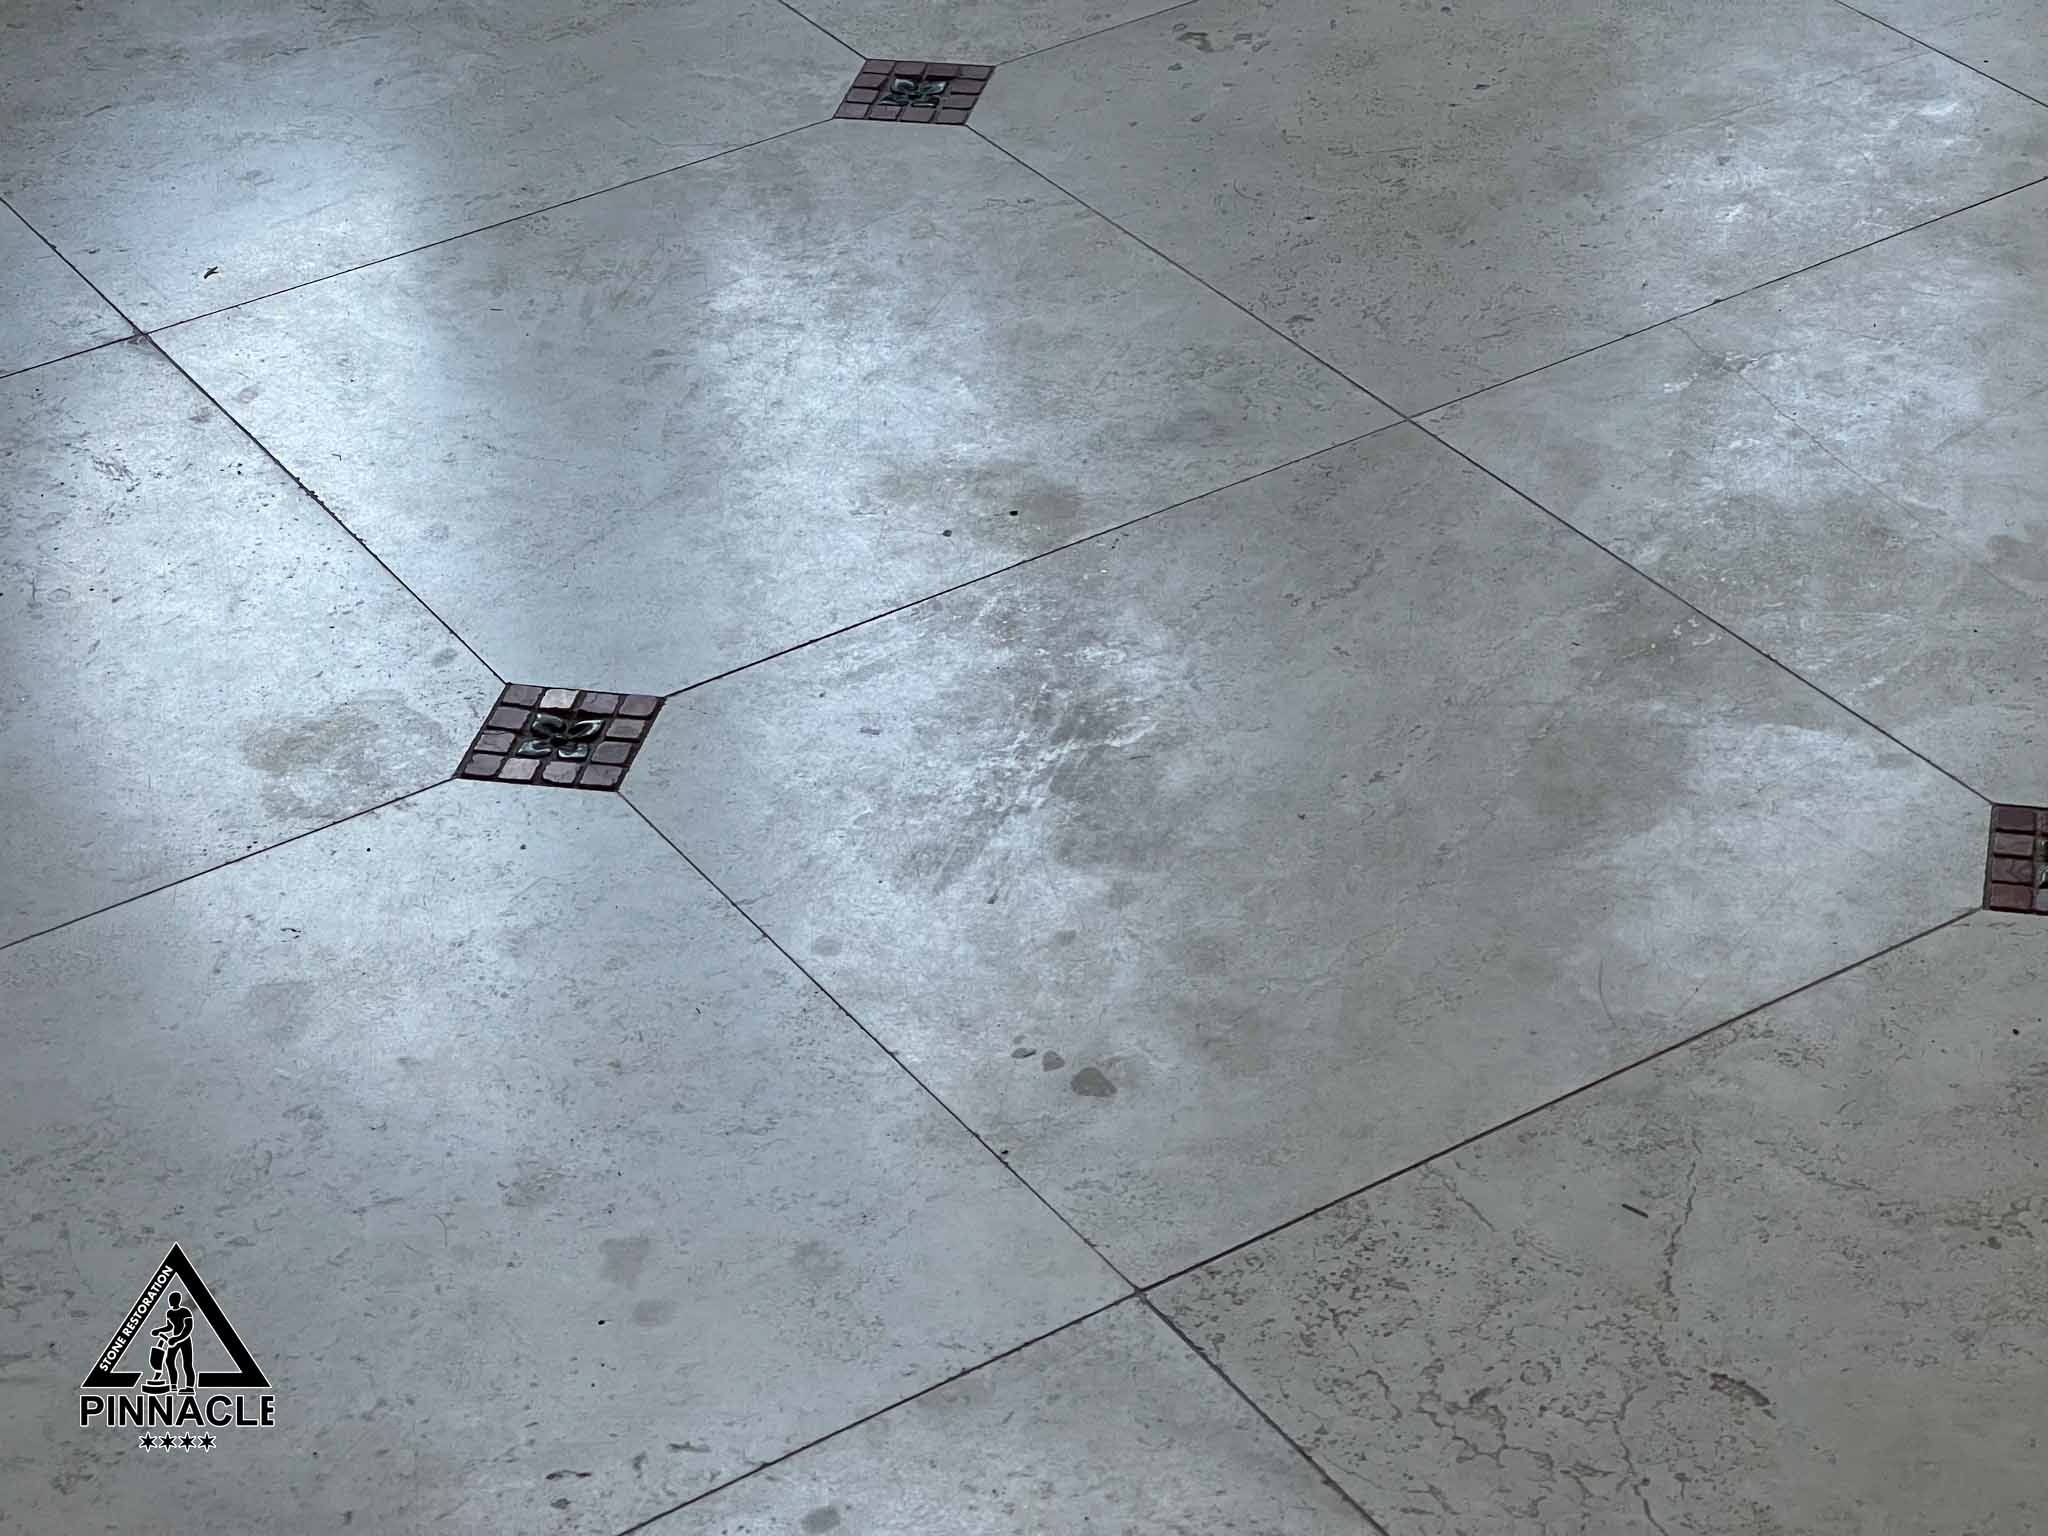
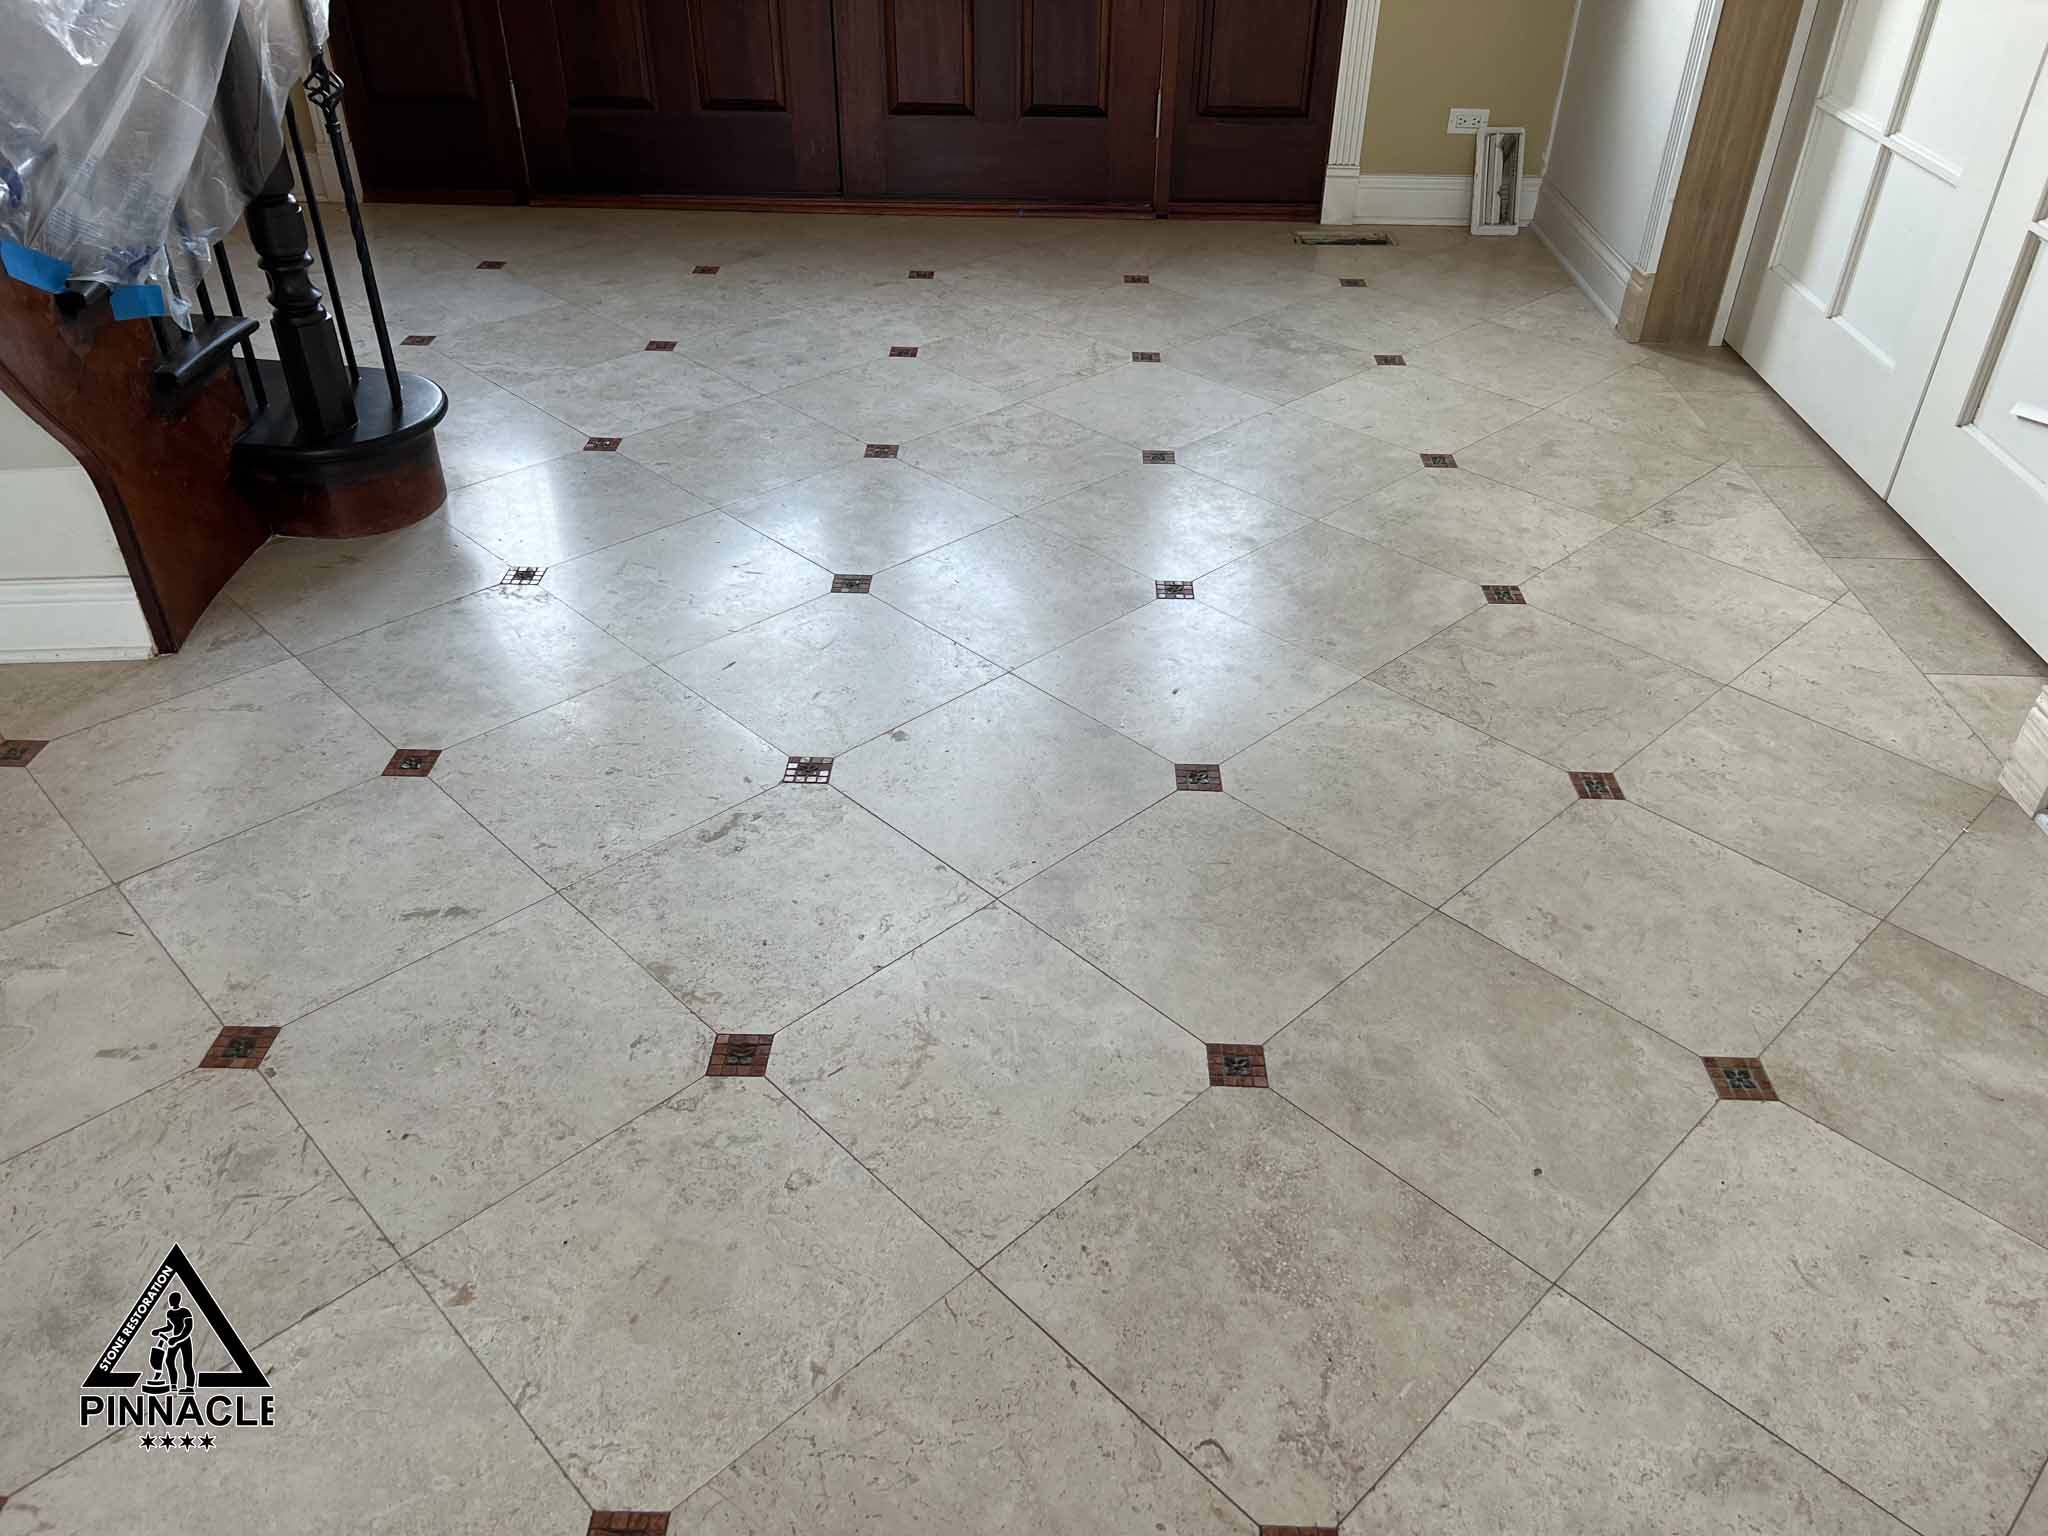
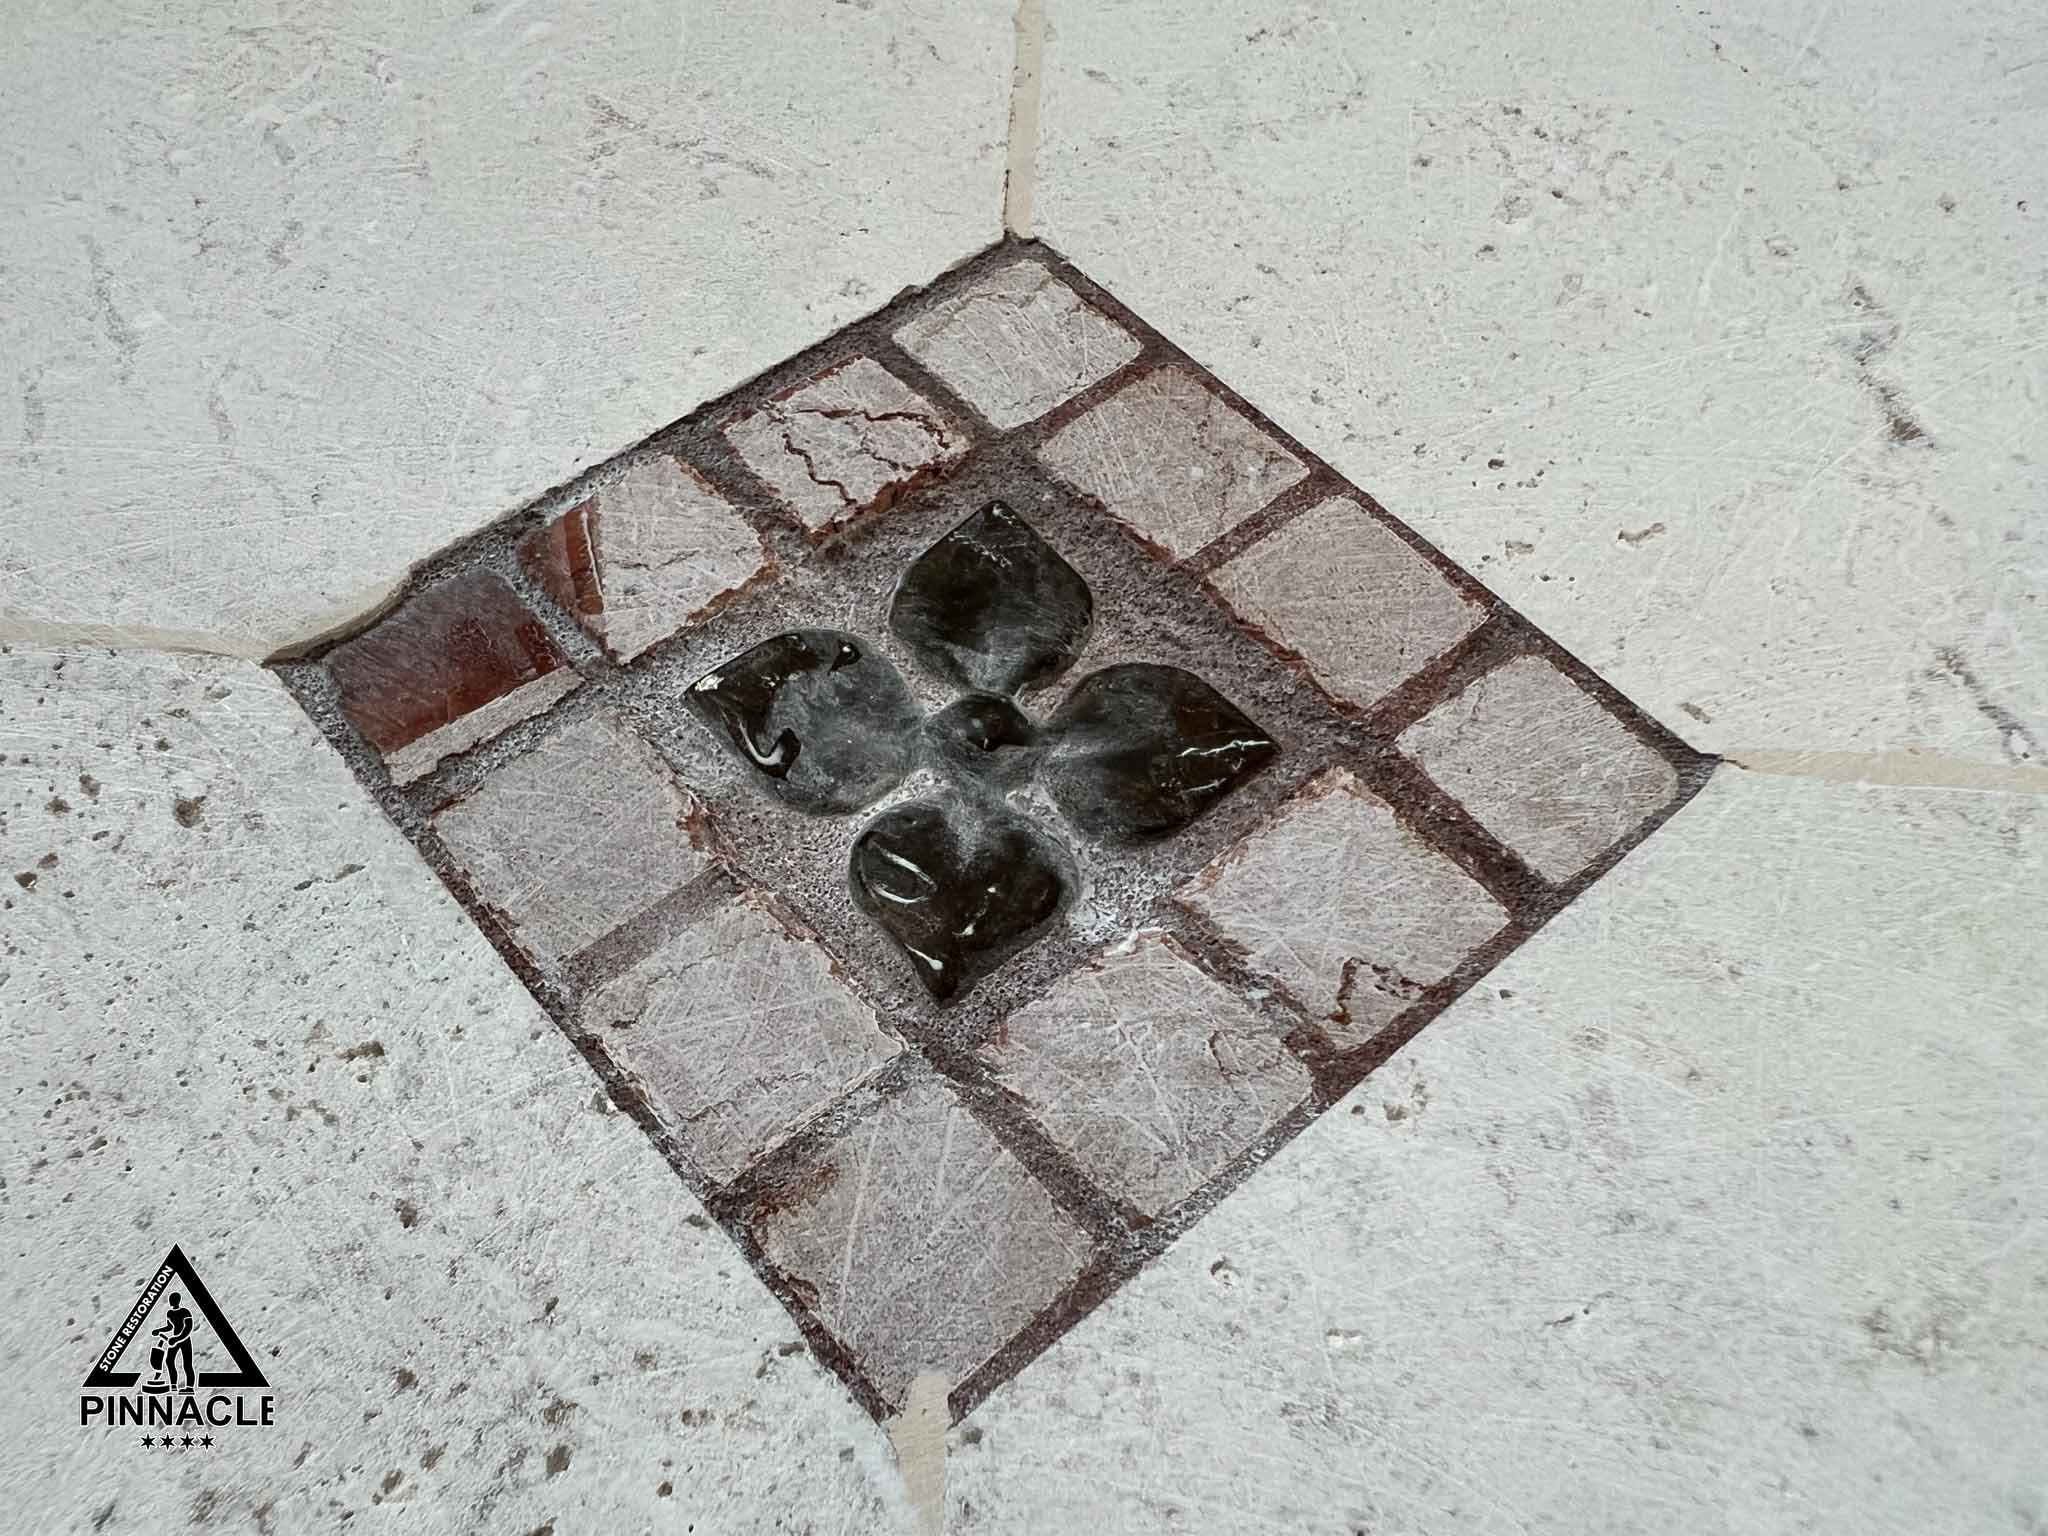
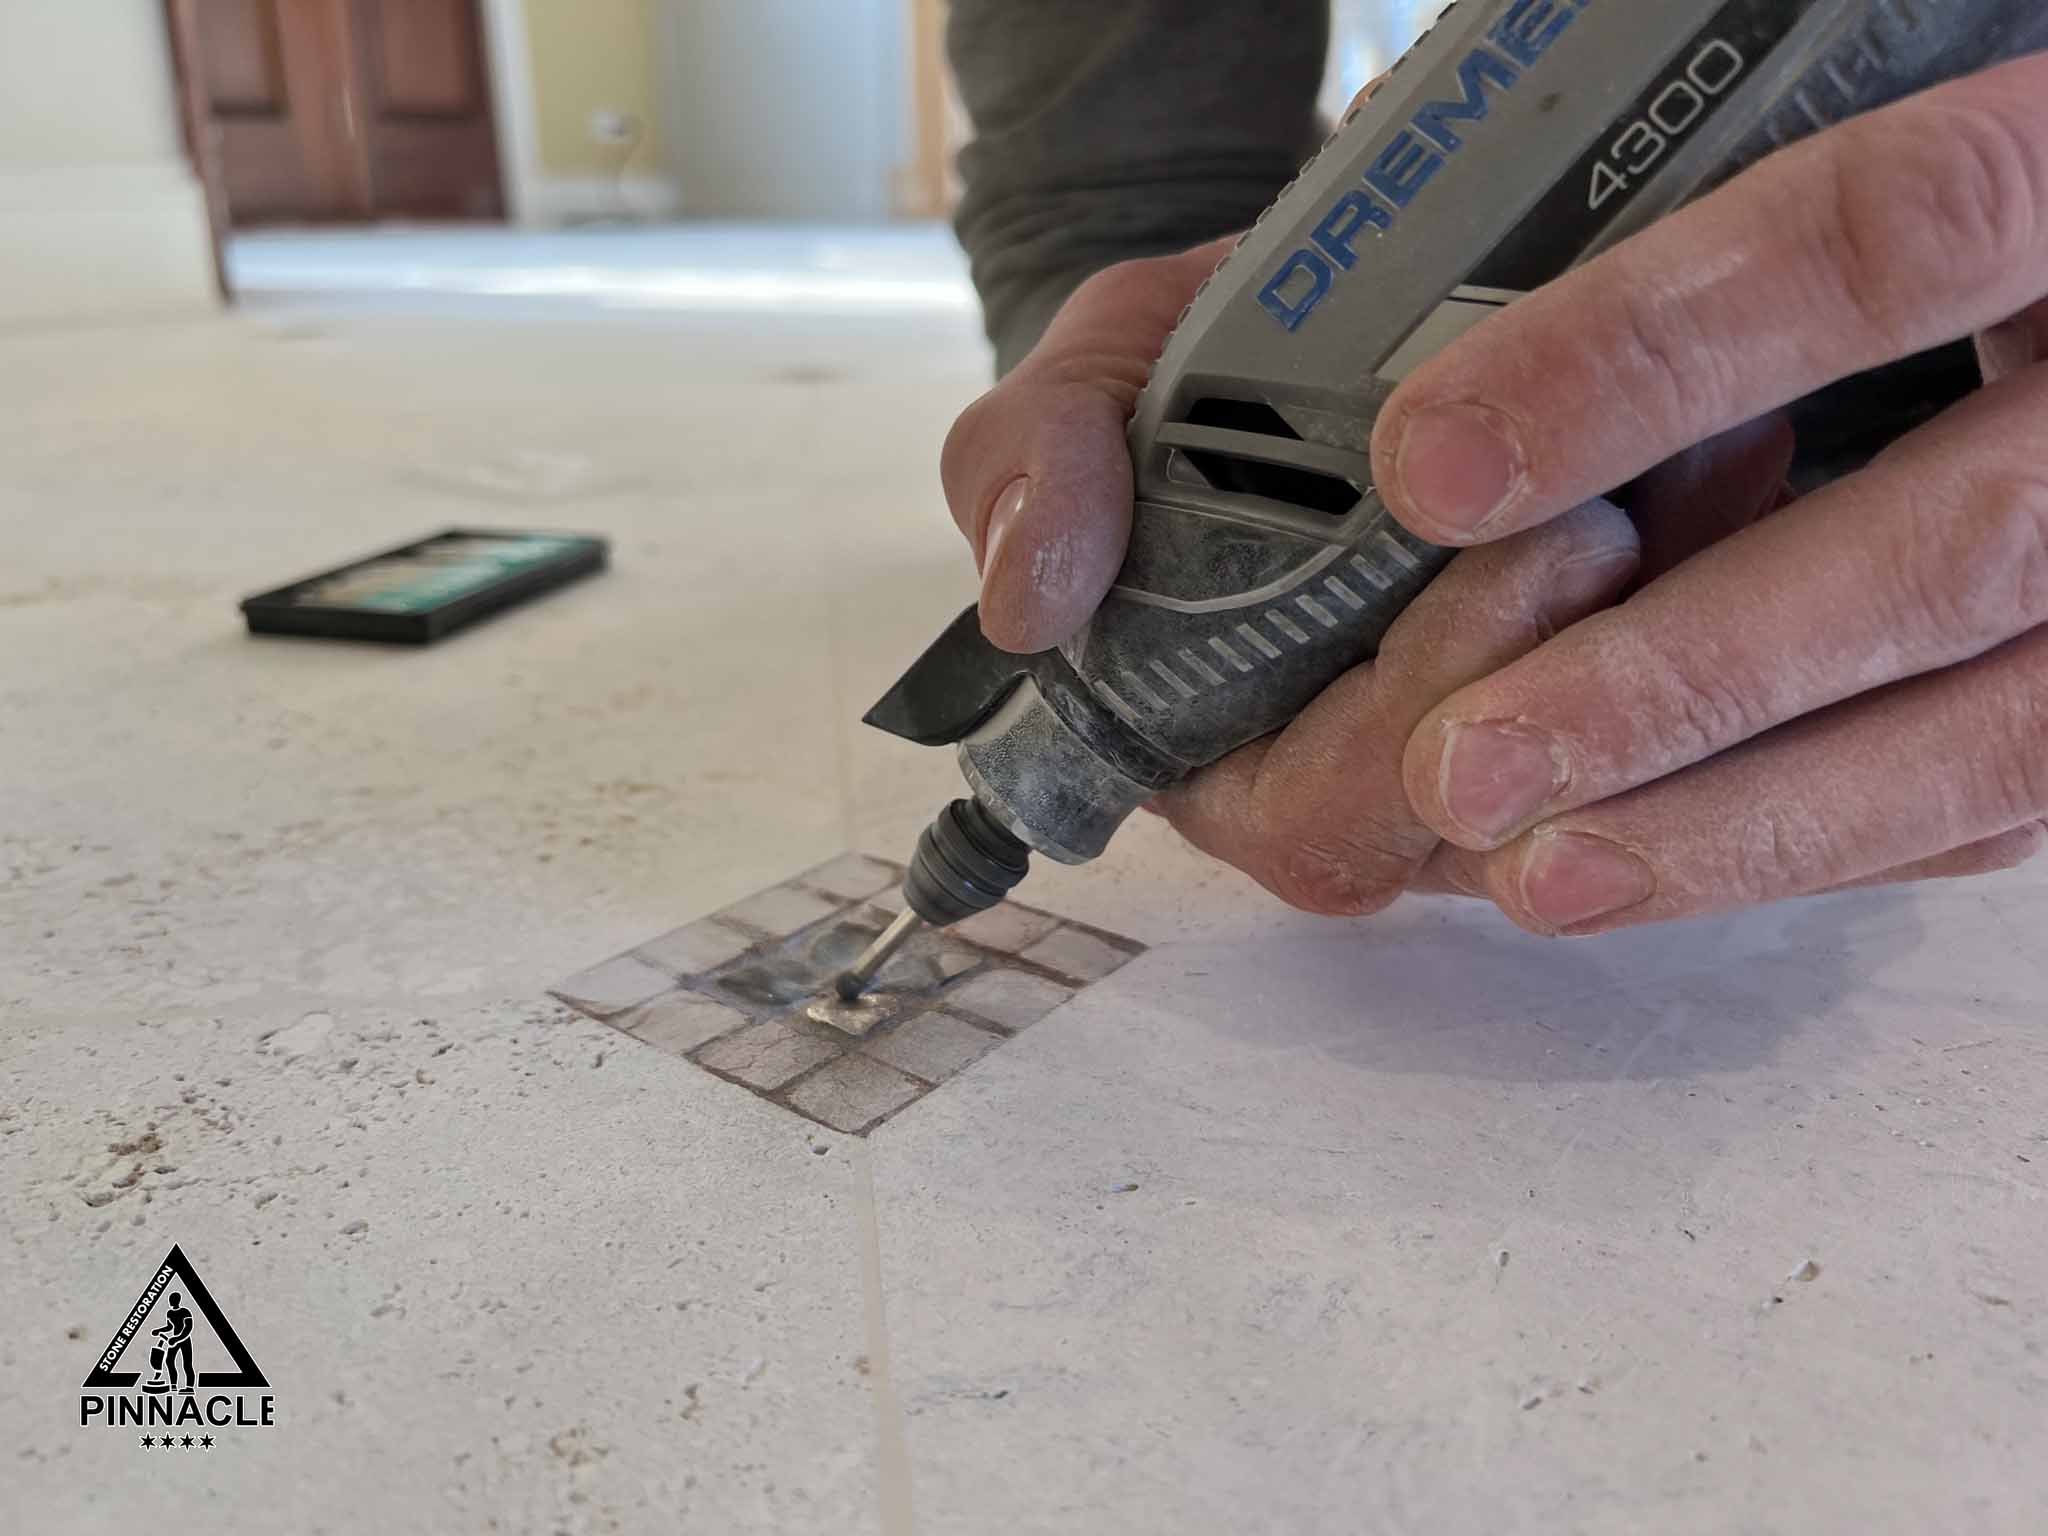
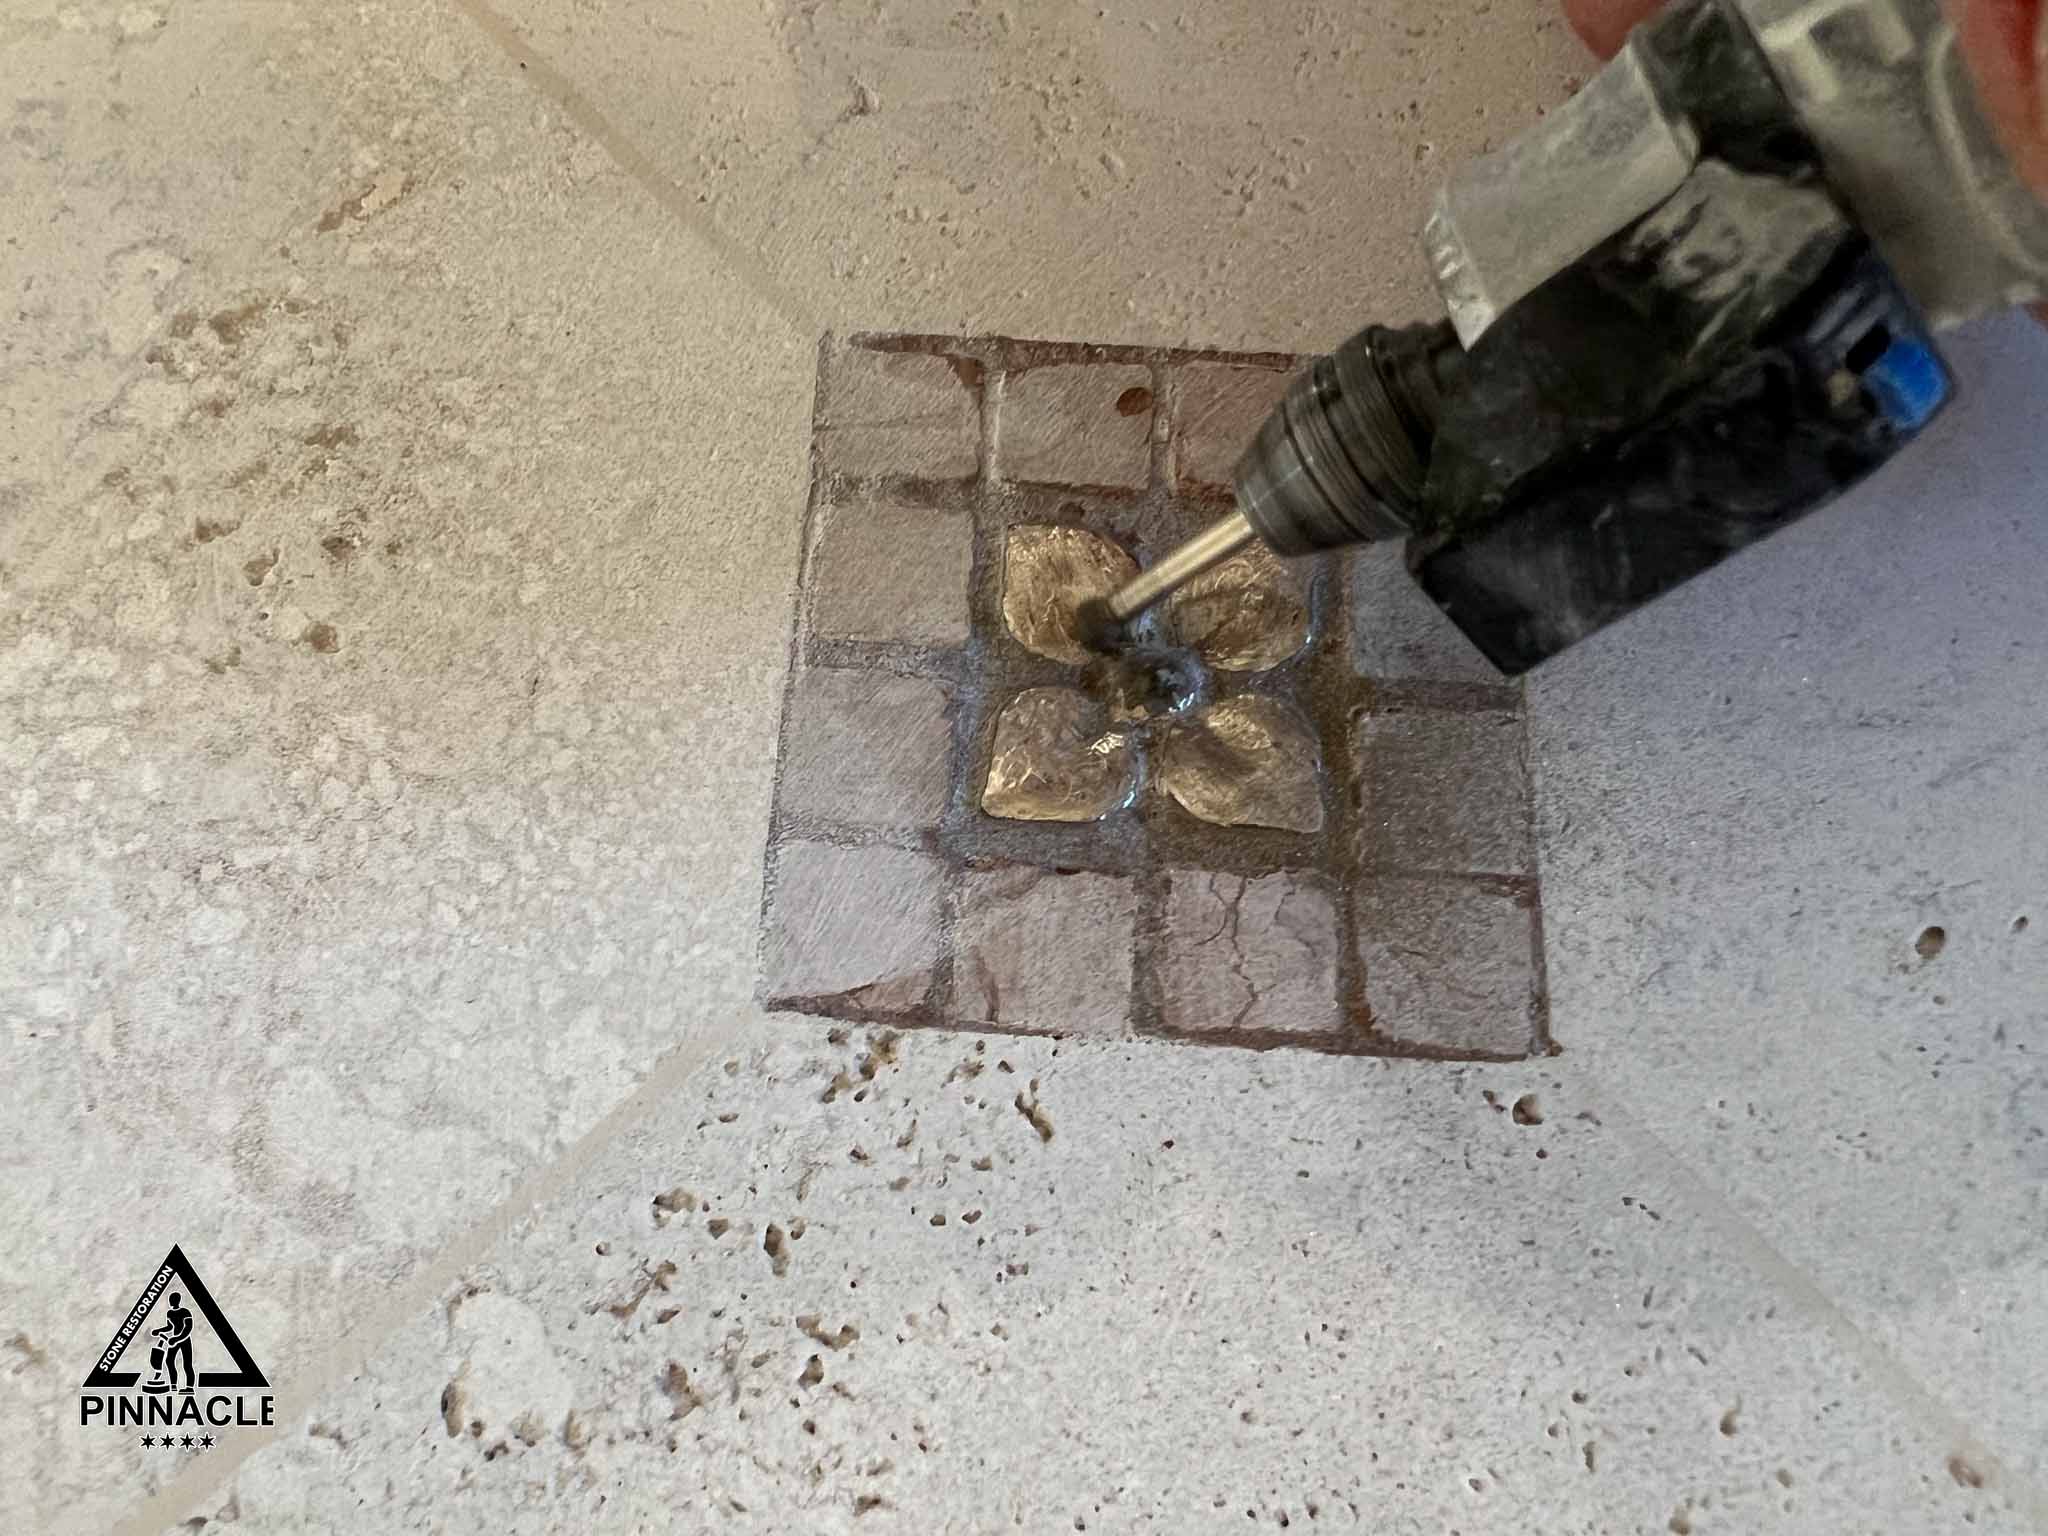
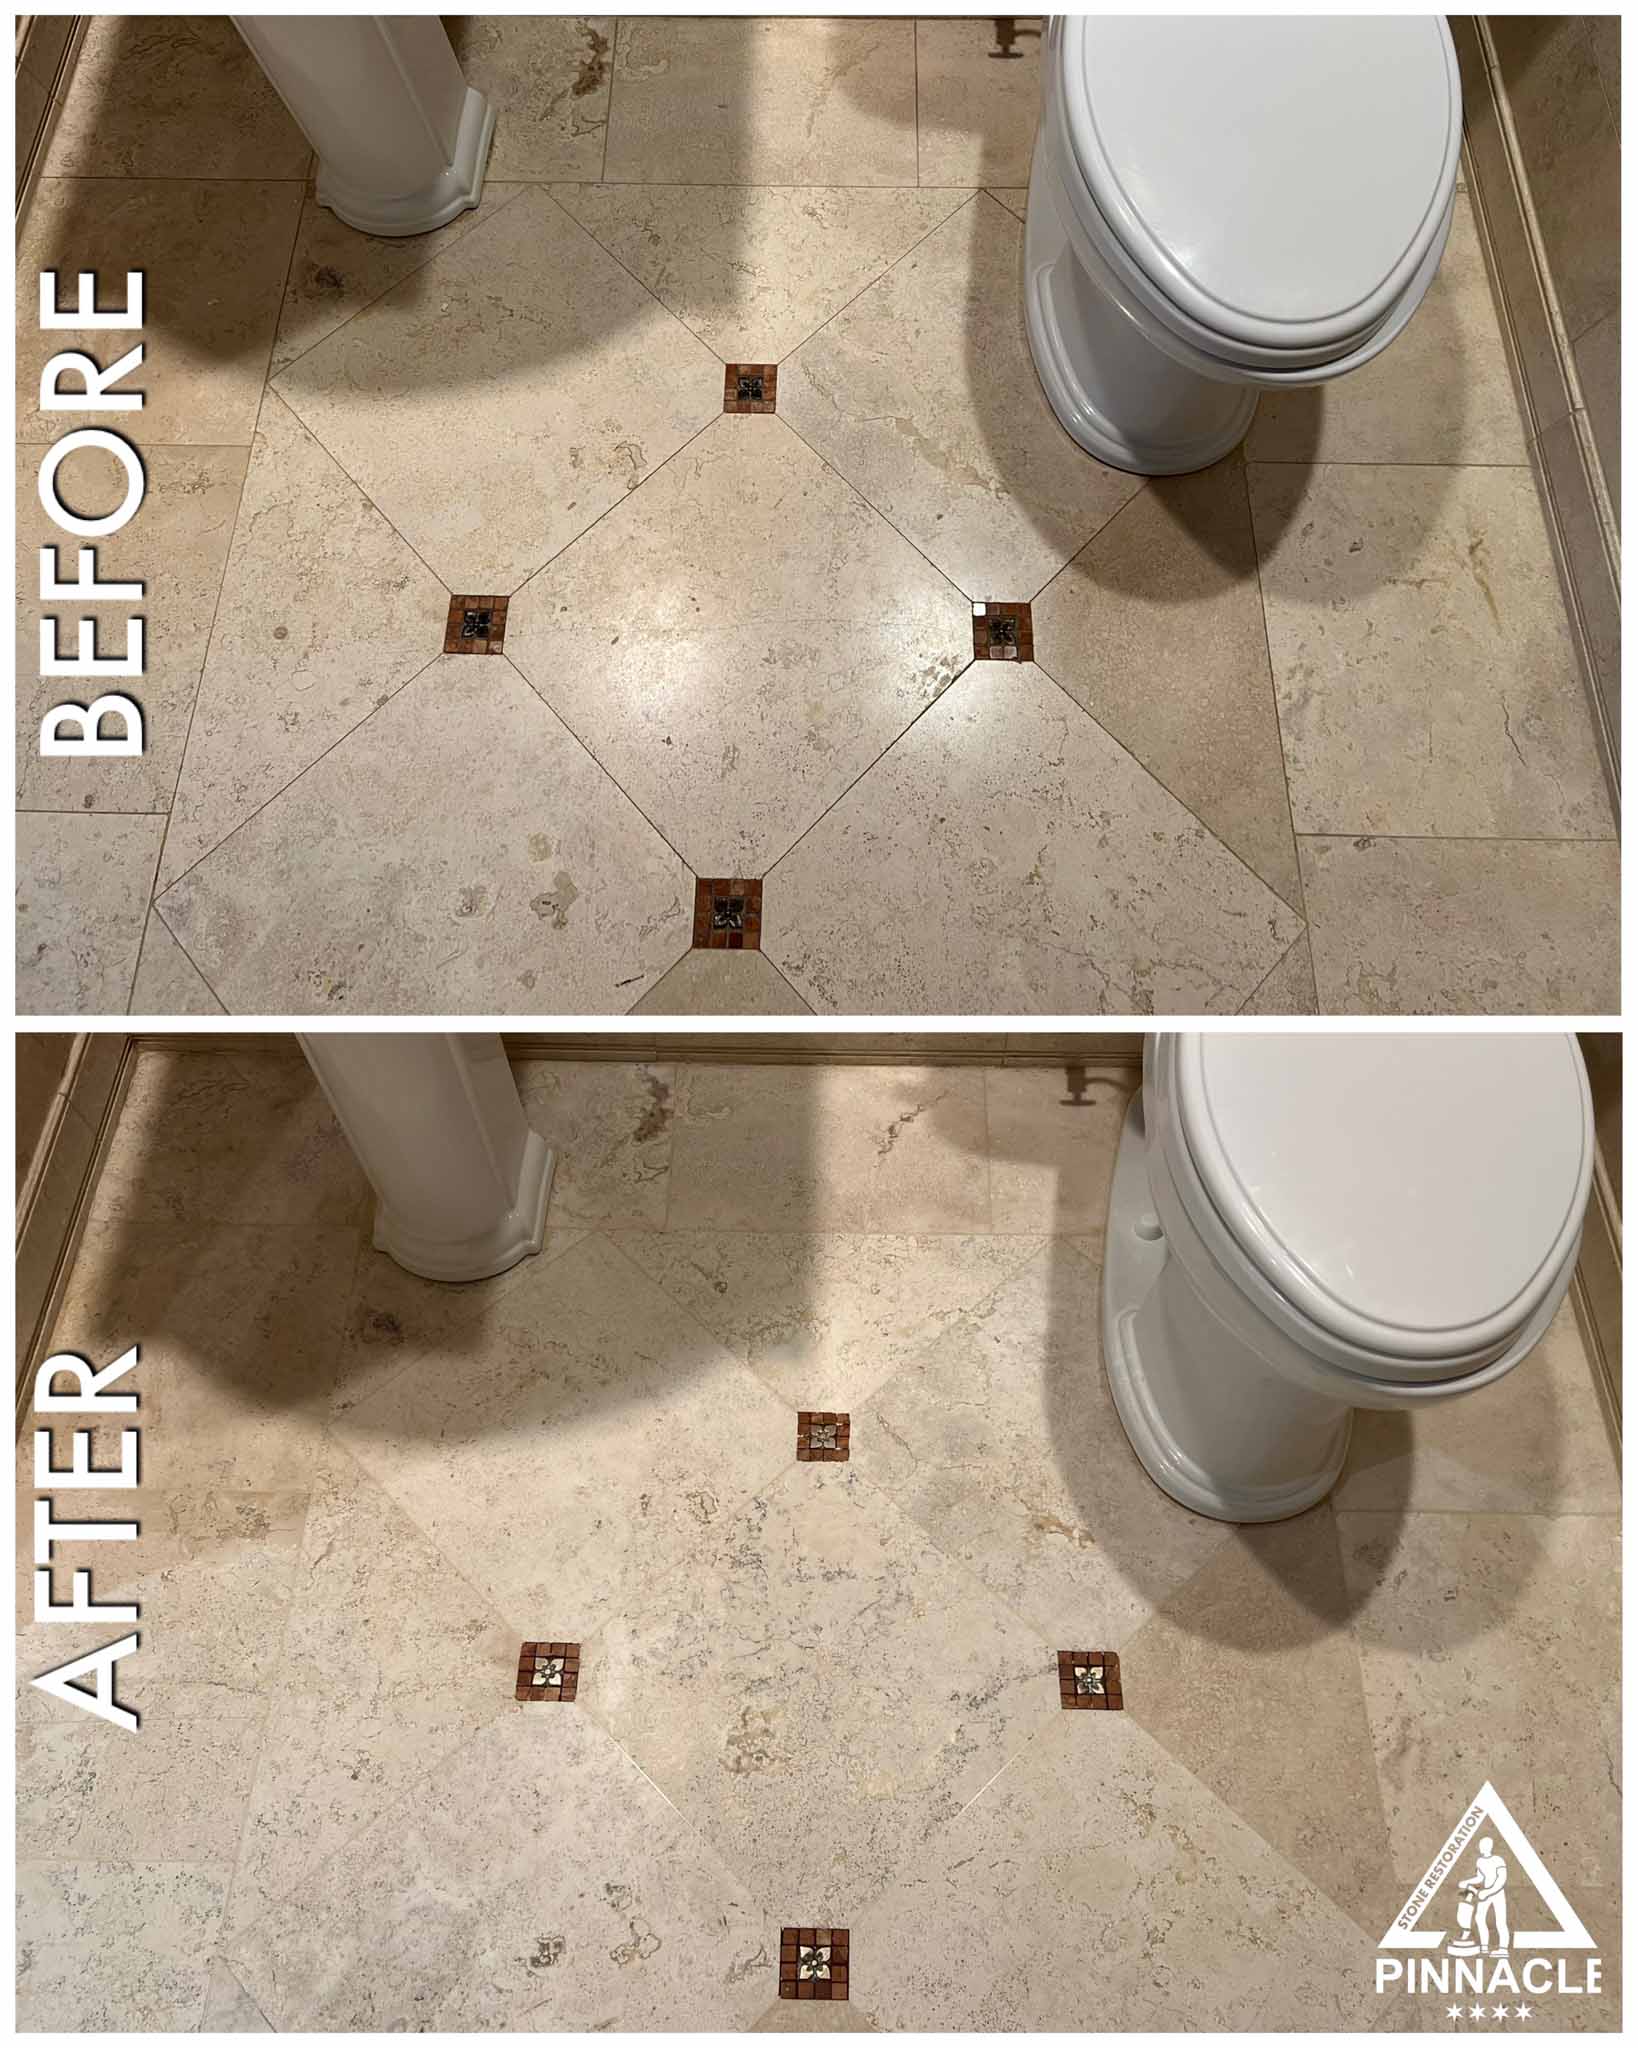
Working on inserts. This was an extra interesting step during this project. We faced a choice of leaving the inserts alone and work around them, or we would work on the m with floor machine and then restore each metal insert individually with a hand tool. We chose the latter and the customer was thrilled with the results.
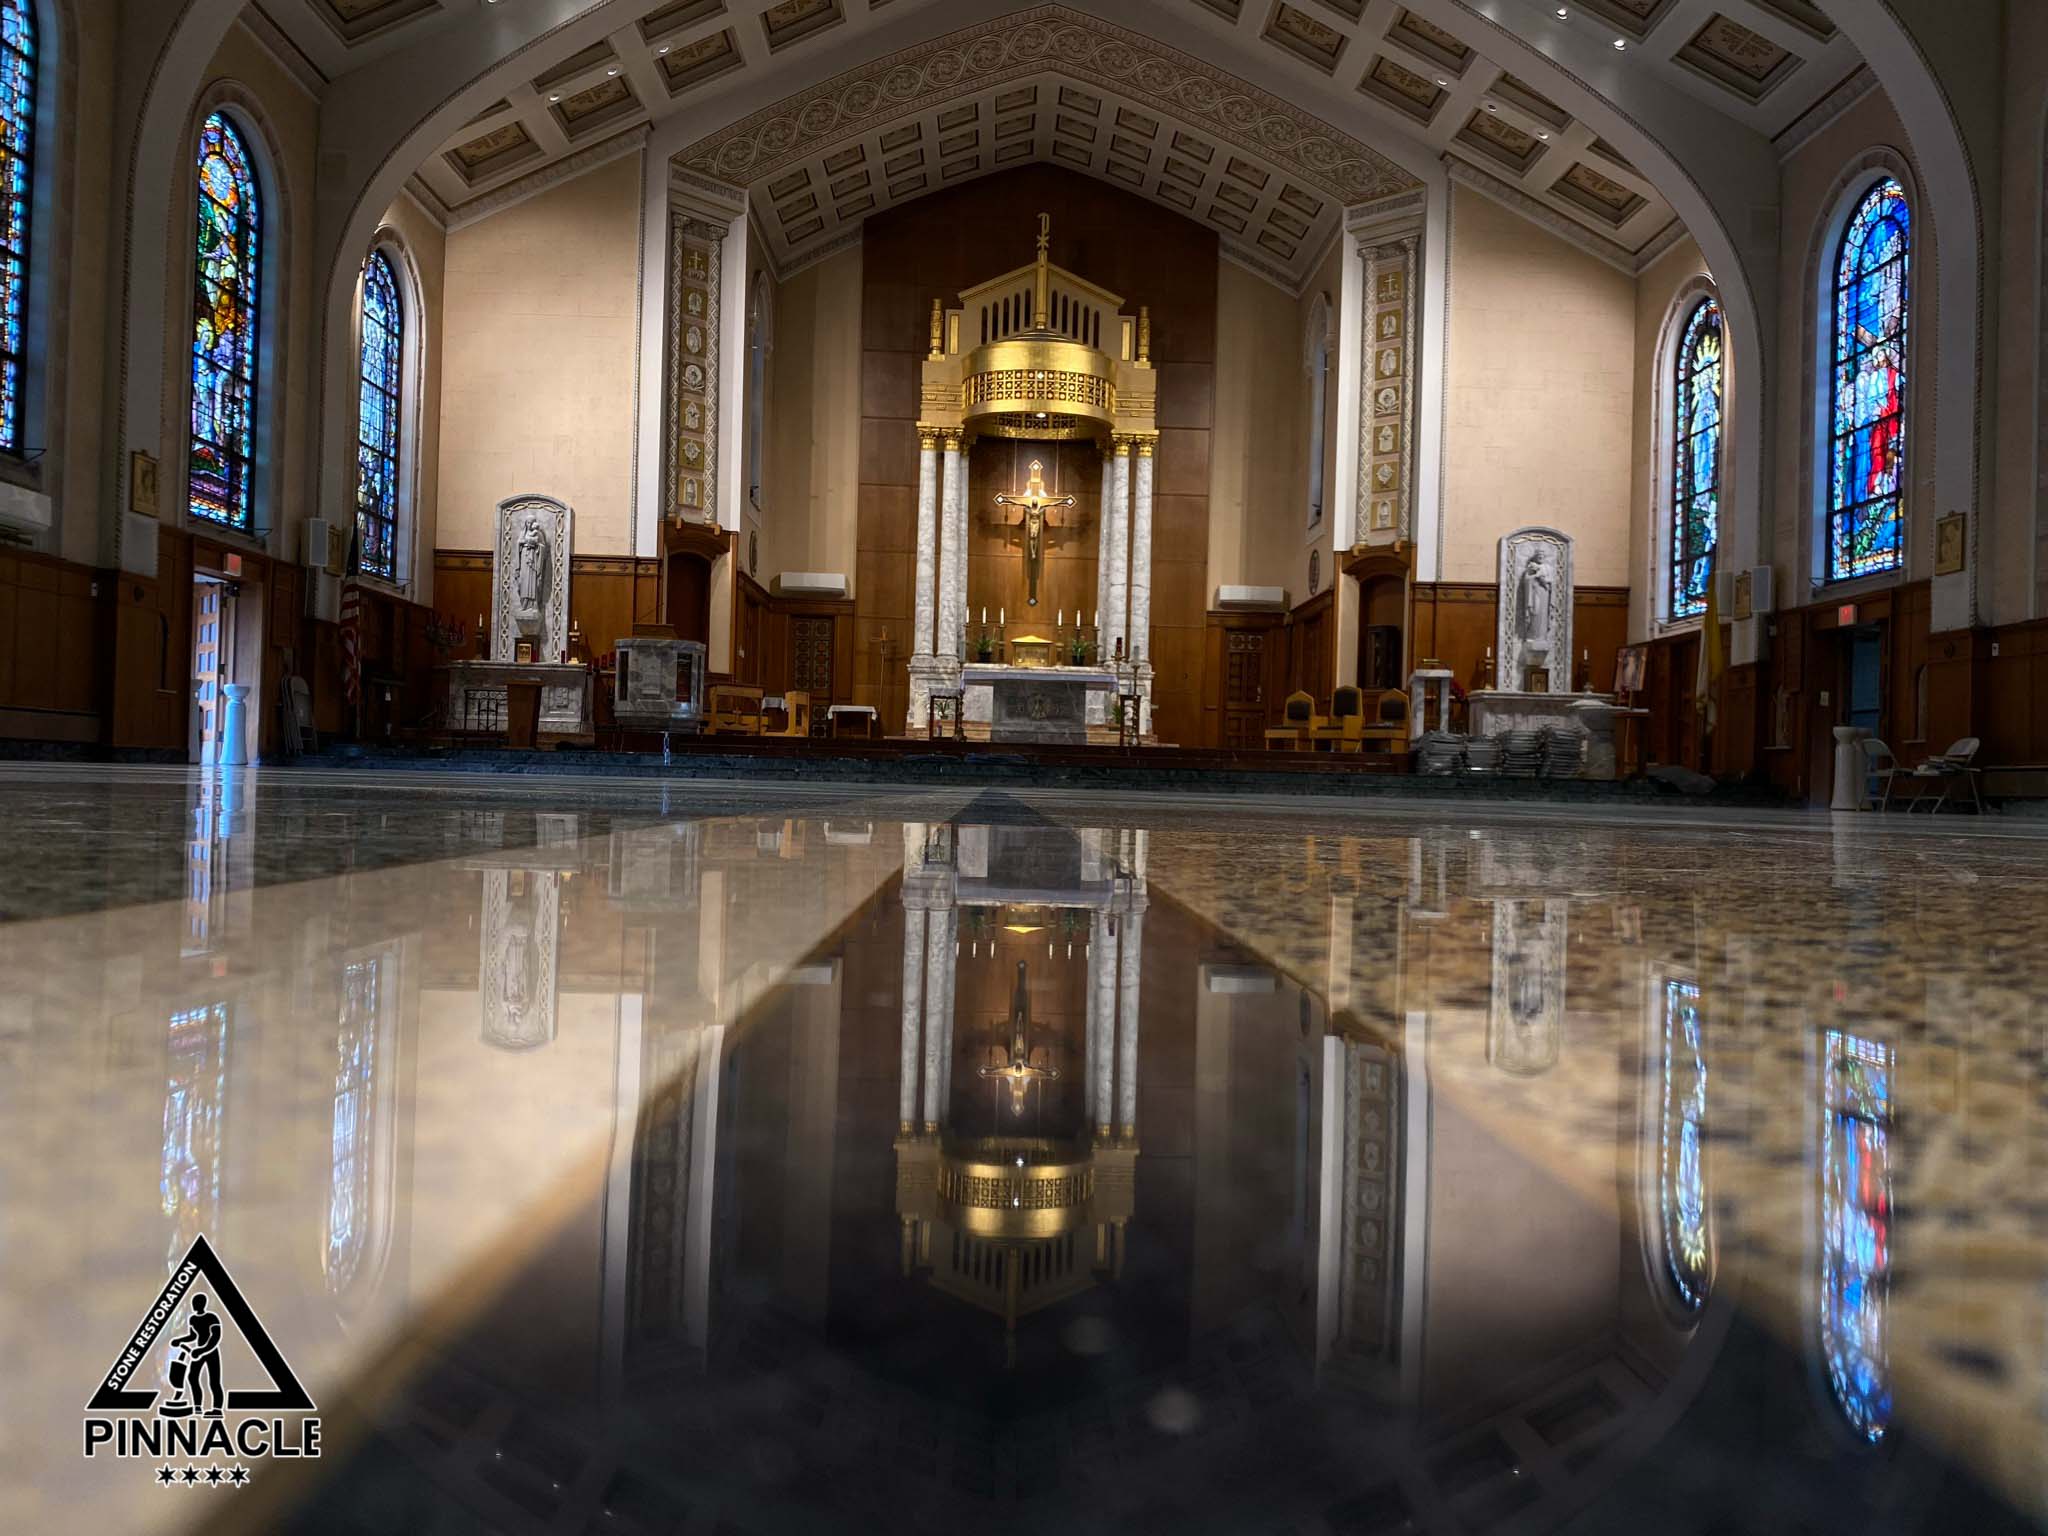
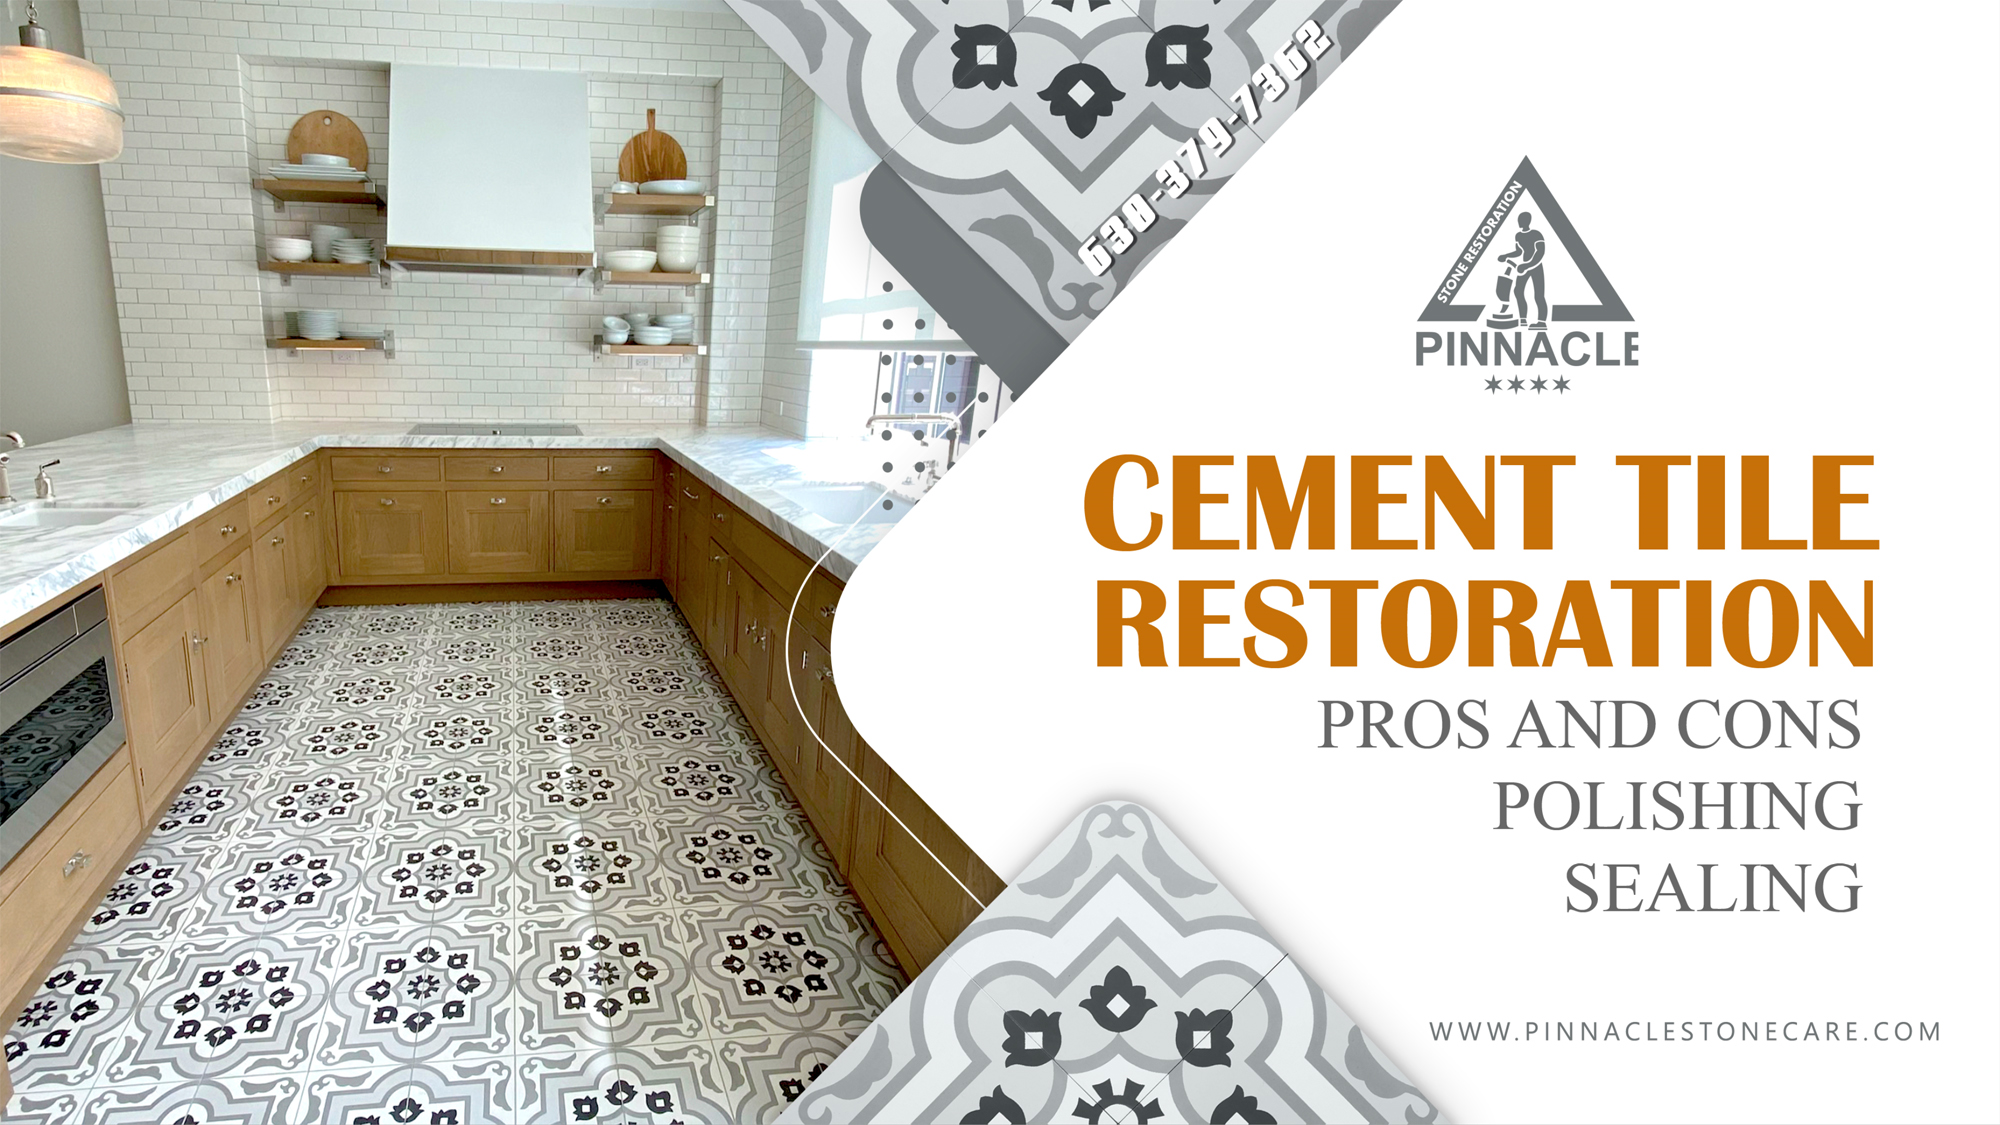
Polishing. 3-steps D.I.P. (diamond impregnated pads) system is the best way for us to reach an amazing sheen of natural stone.
Sealing. A must-do final step for any natural stone. We seal travertine and ensure to give our customer suggestions of how to maintain the healthy beautiful looking floors and what cleaning solutions are the safest to use.

Here you can watch our project videos to understand the process of our 8+ step refinishing system. If any questions or concerns might arise, please feel free to contact us or ask for a free estimate.