8+ Refinishing System of Travertine Tile Floor (honed finish) from Series “Seamless Floors”
We deliver fantastic results and complete makeover of your travertine or marble tile floors with our 8+ Refinishing System aka Seamless Floors. In this blog we will describe and showcase the process step-by-step.
Usually there are few more than 8 steps. In the showcased project we have less since we didn’t need to get the polished finish because customer desired a honed look of the stone.
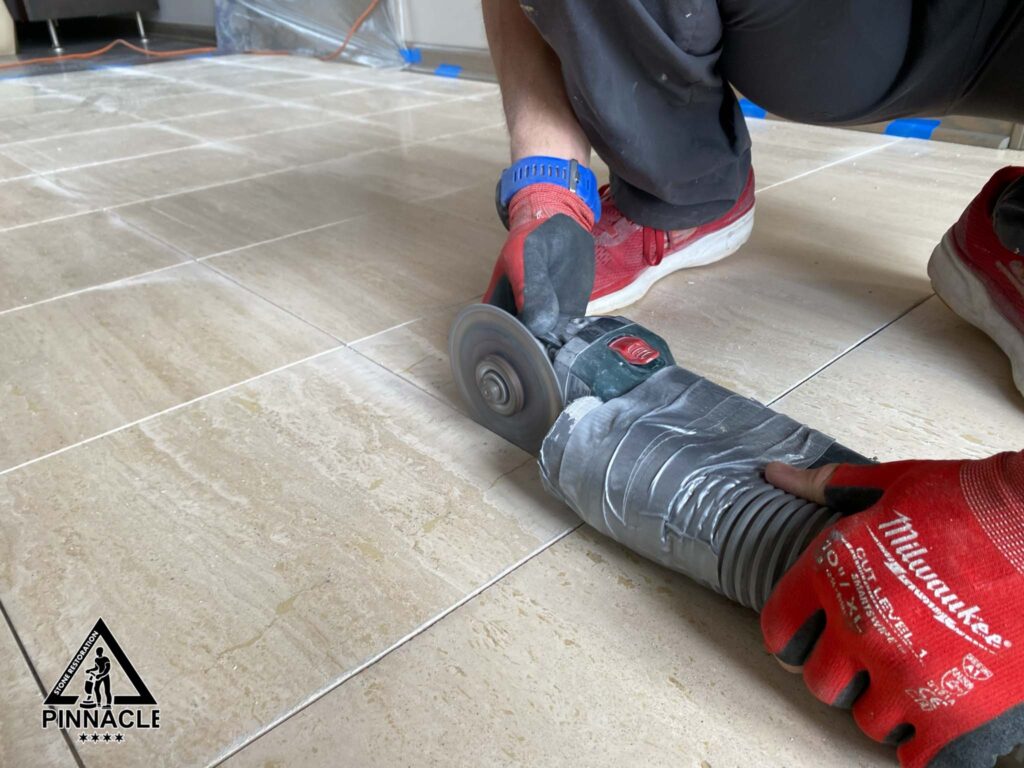
1. GROUT REMOVAL
2. EPOXY FILLING
3. EXCESS EPOXY REMOVAL
4. GRINDING/LIPPAGE REMOVAL
5. FILLING HOLES WITH GROUT
6. HONING
7. D.I.P. SYSTEM
8. SEALING
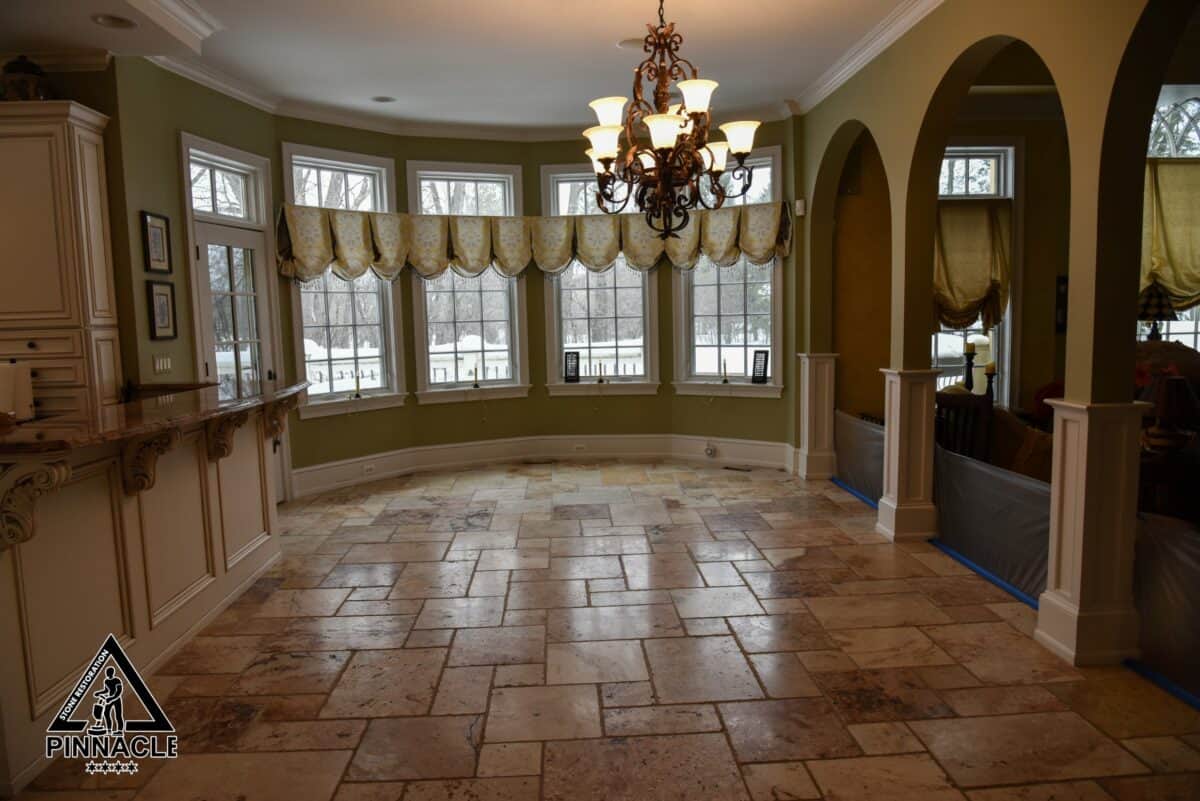
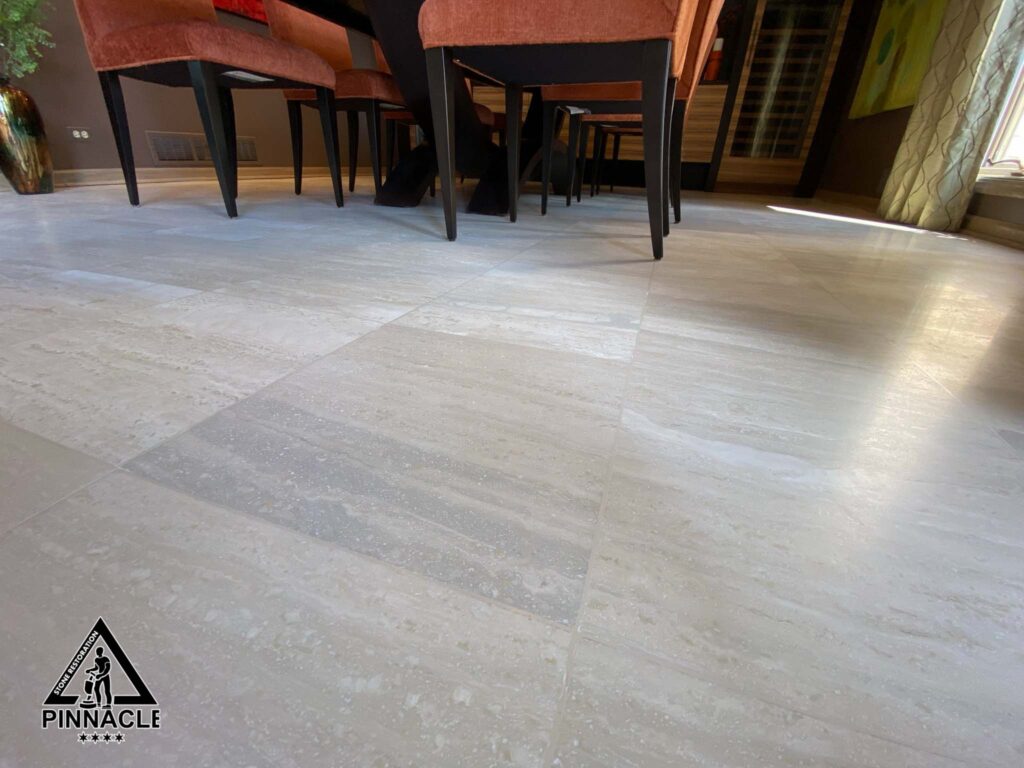
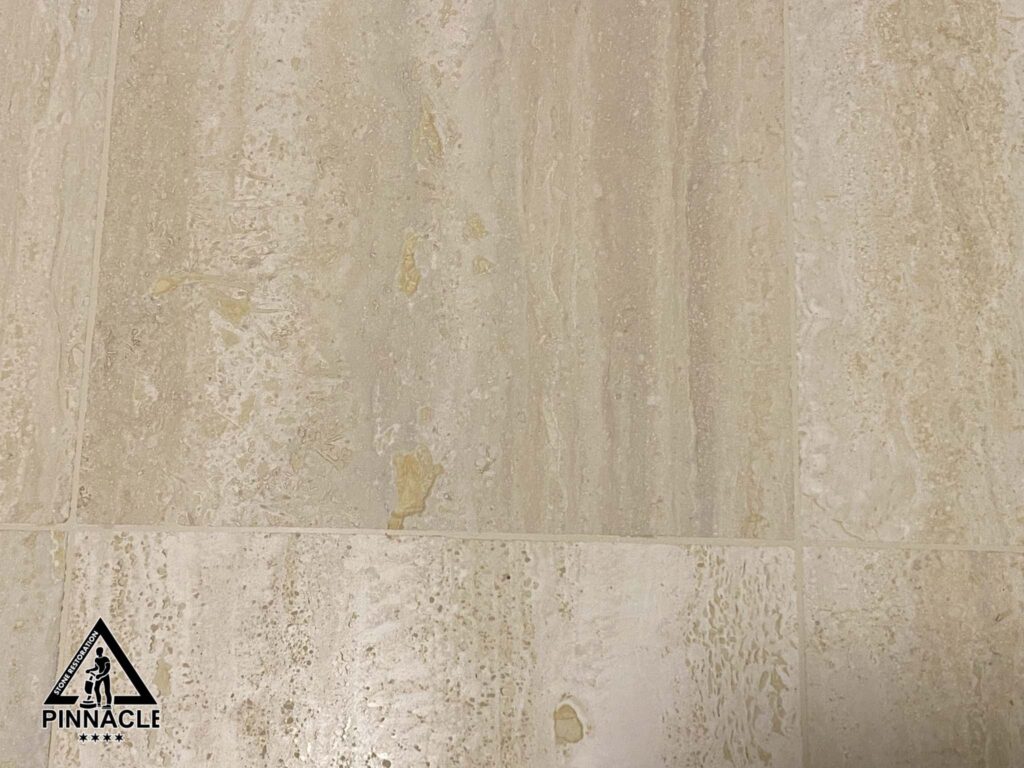
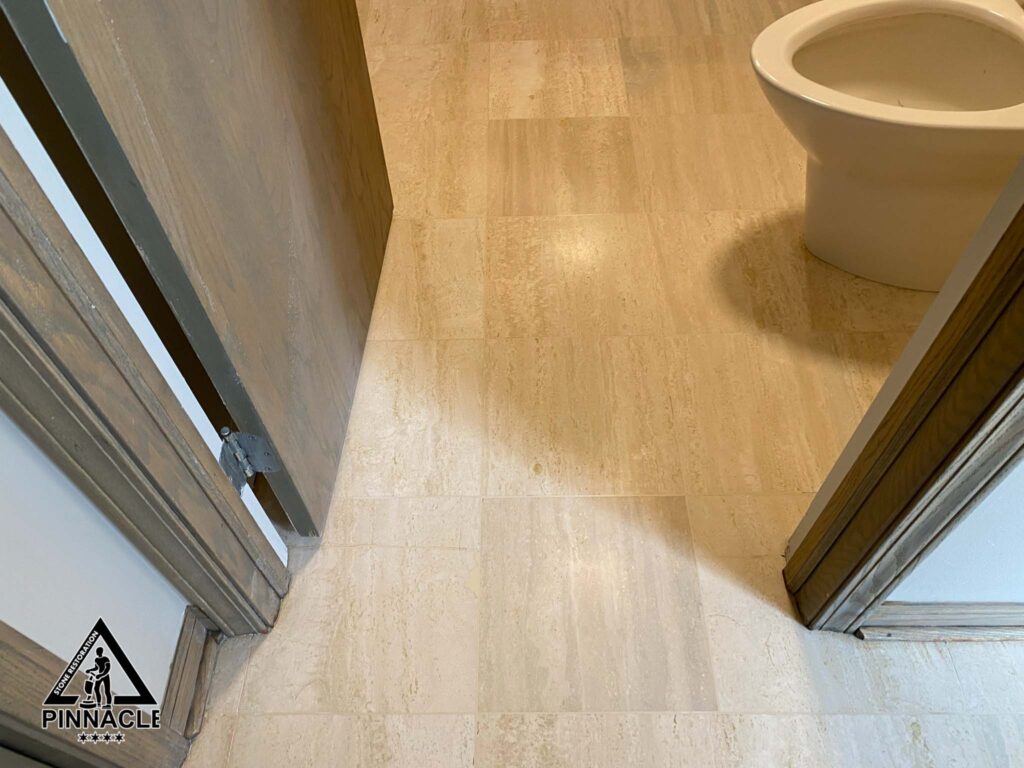
This customer desired a seamless floor look with honed finish of travertine floor. The floor had numerous issues that we list below:
ISSUES:
• OLD BROKEN GROUT
• MISSING GROUT
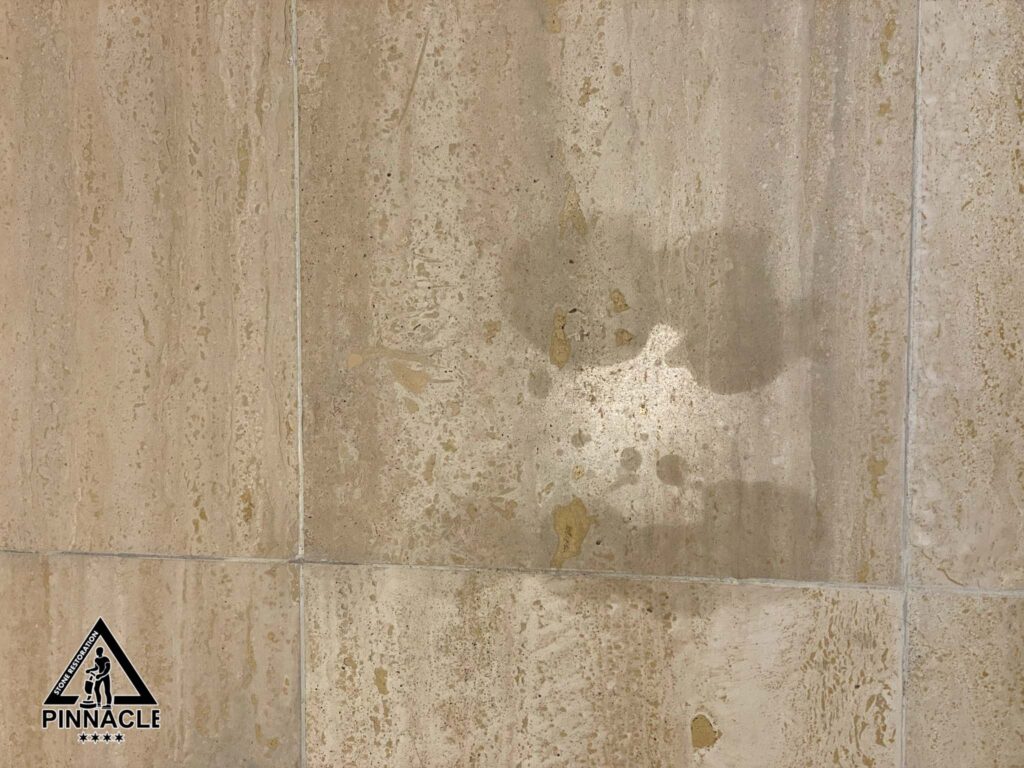
• WEAR AND TEAR
• ETCH MARKS
• SCRATCHES
• LIPPAGE
• CRACKS
• STAINS
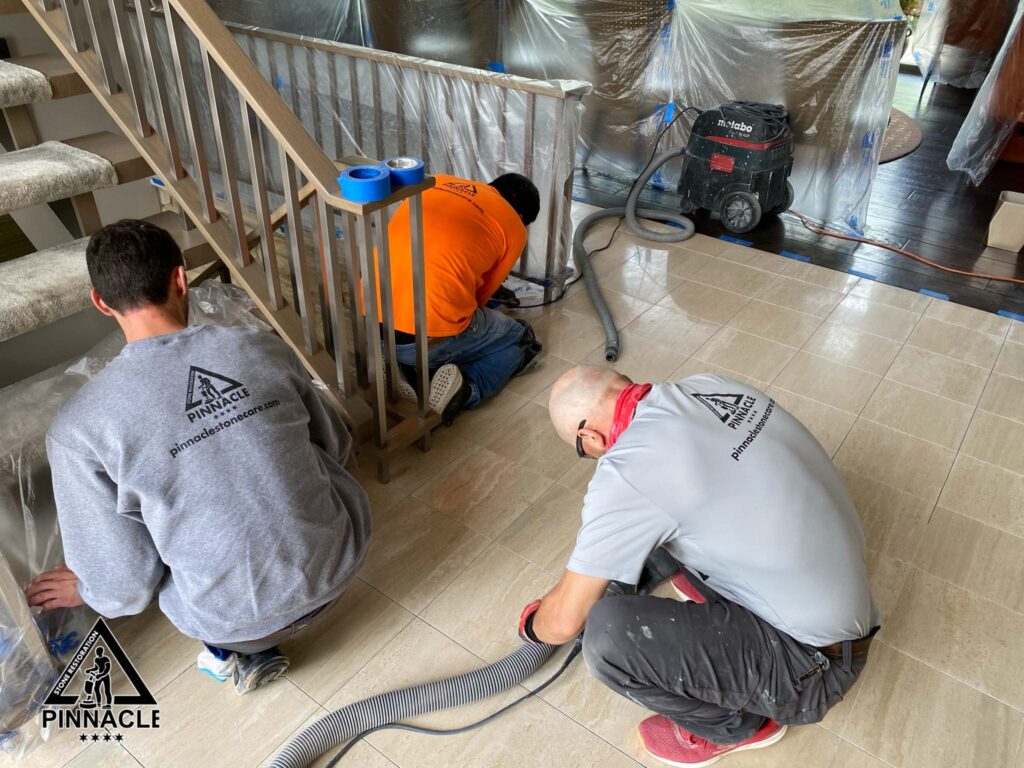
1.GROUT REMOVAL
We protect the surrounding areas first. We use proper grout removal and dust collecting tools to make this step as dustless process as possible.
2. EPOXY FILLING
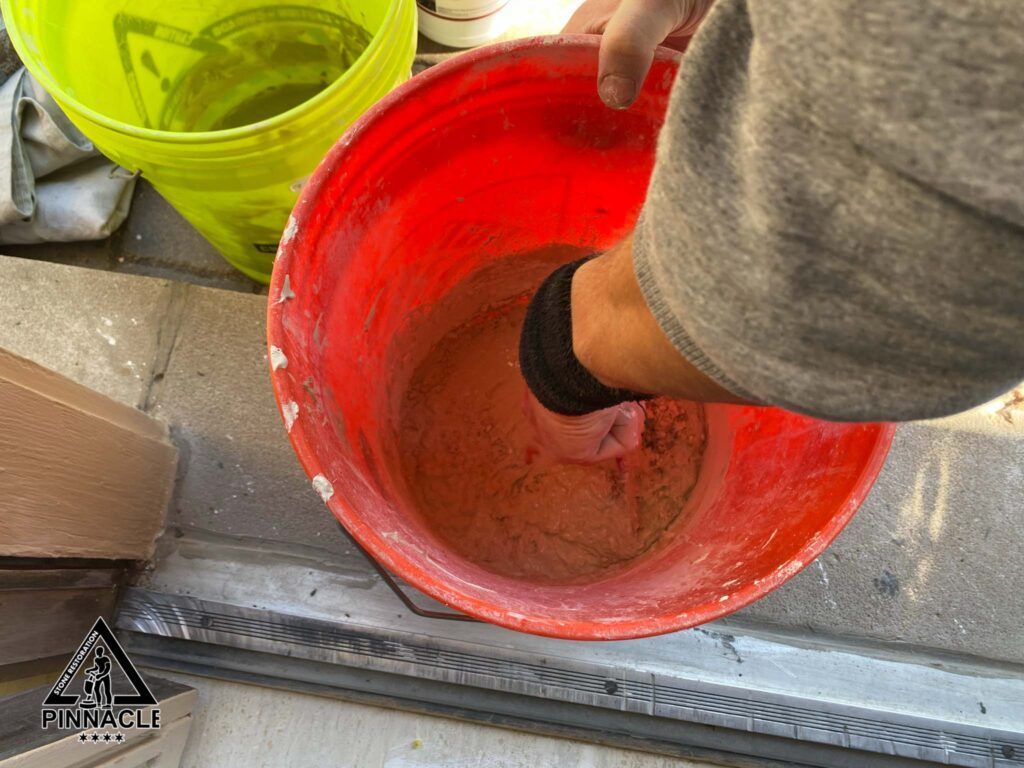
We color match and prepare the epoxy filler. We install it into tile joints and let it cure.

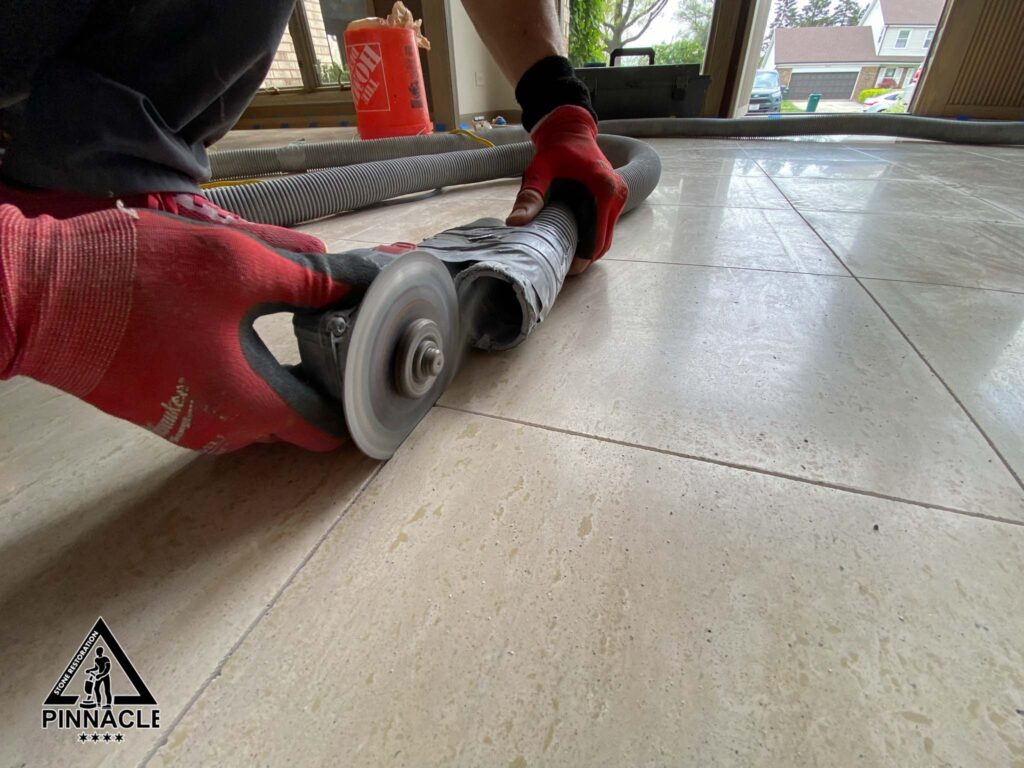
3. EXCESS EPOXY REMOVAL
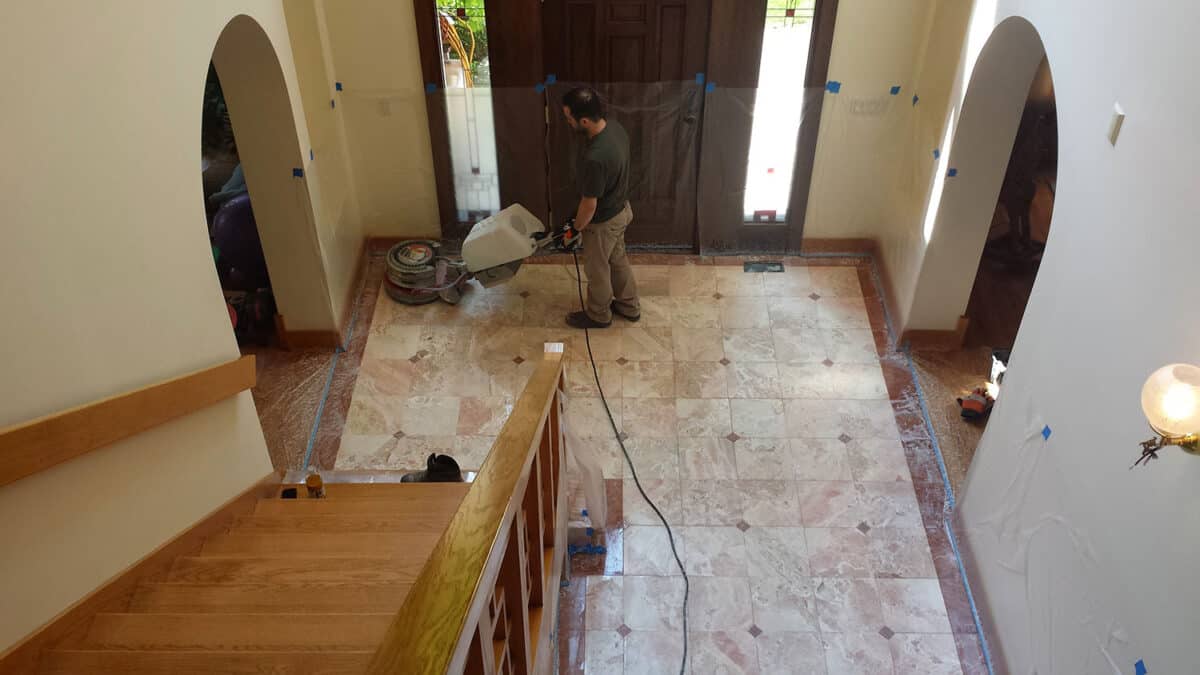
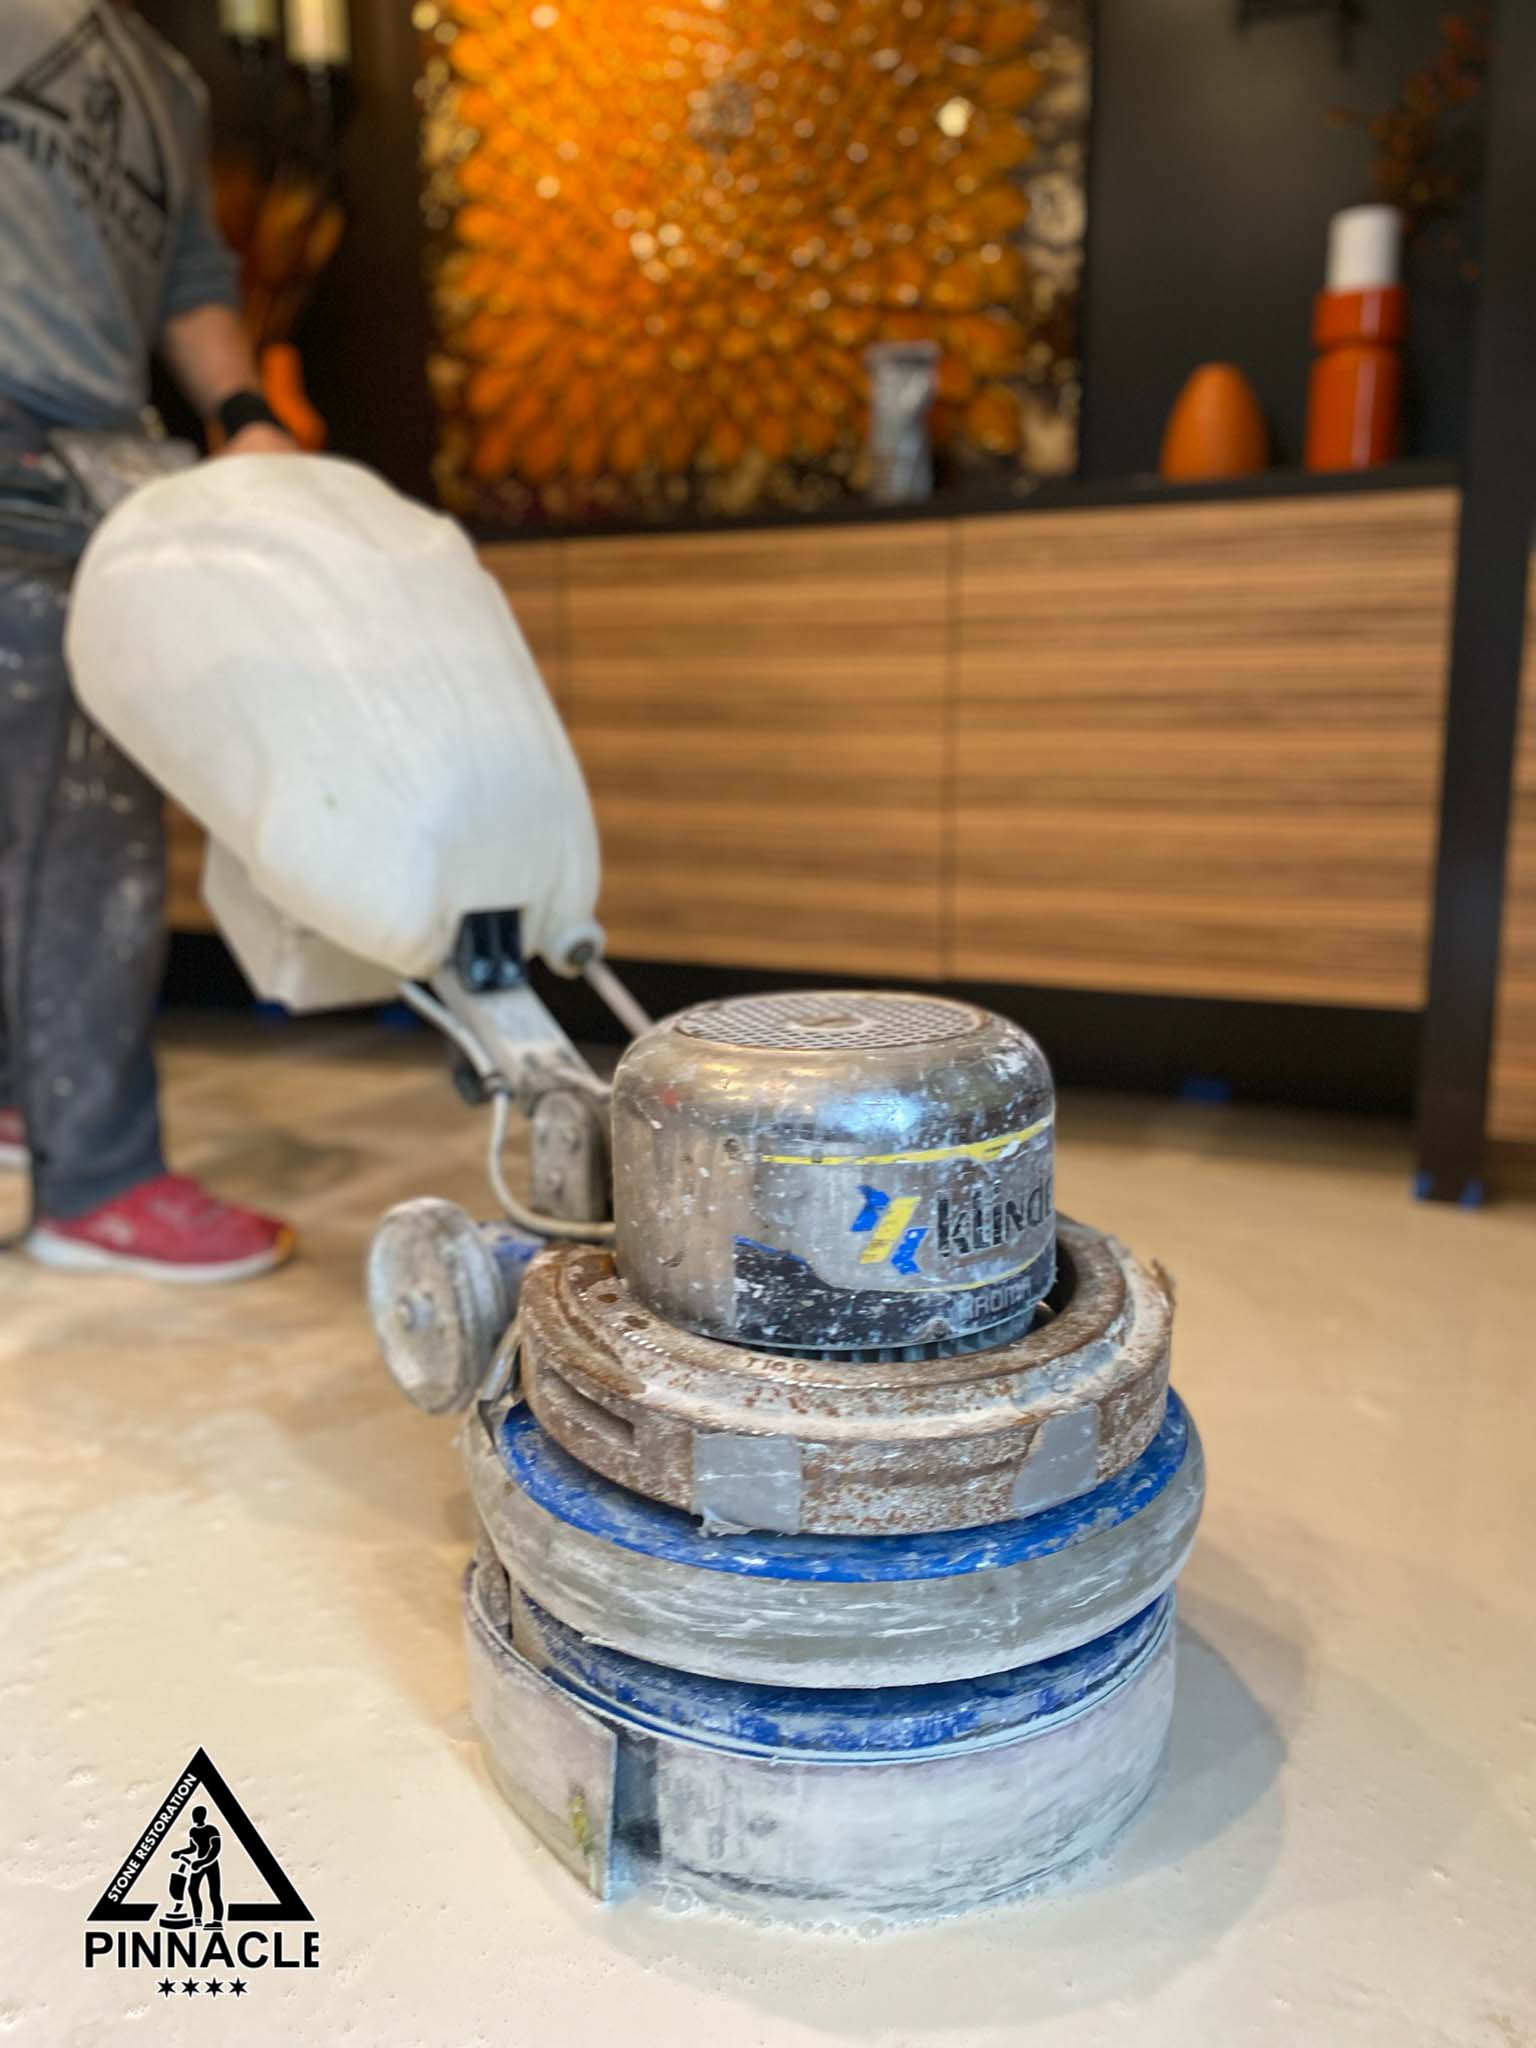
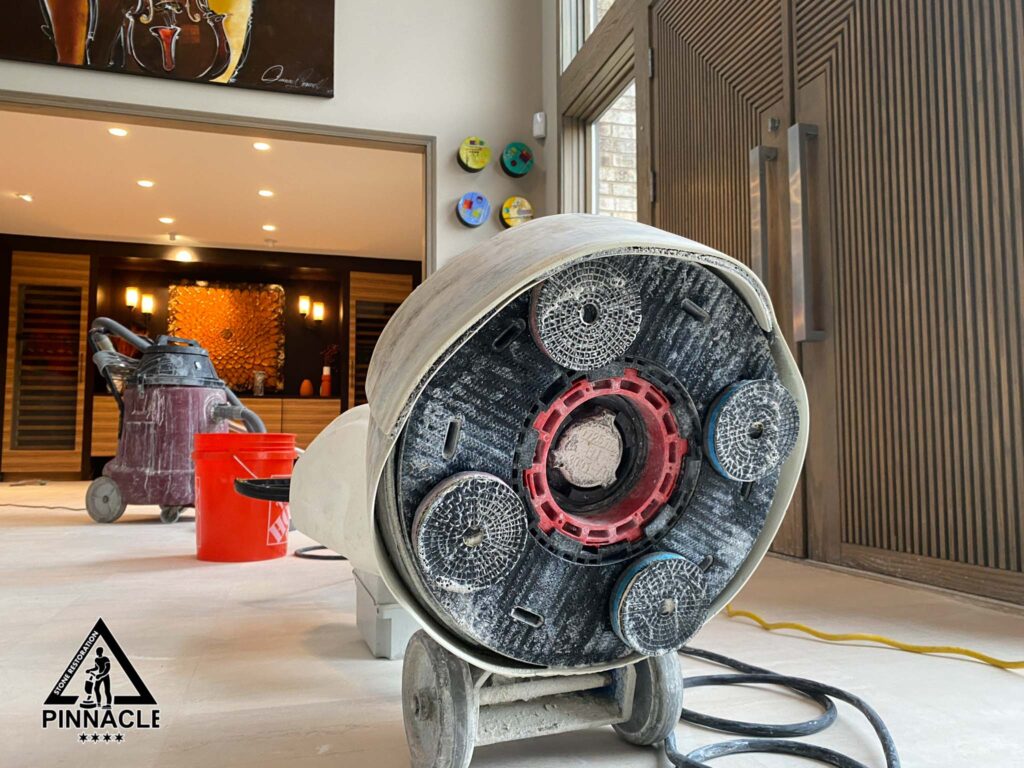
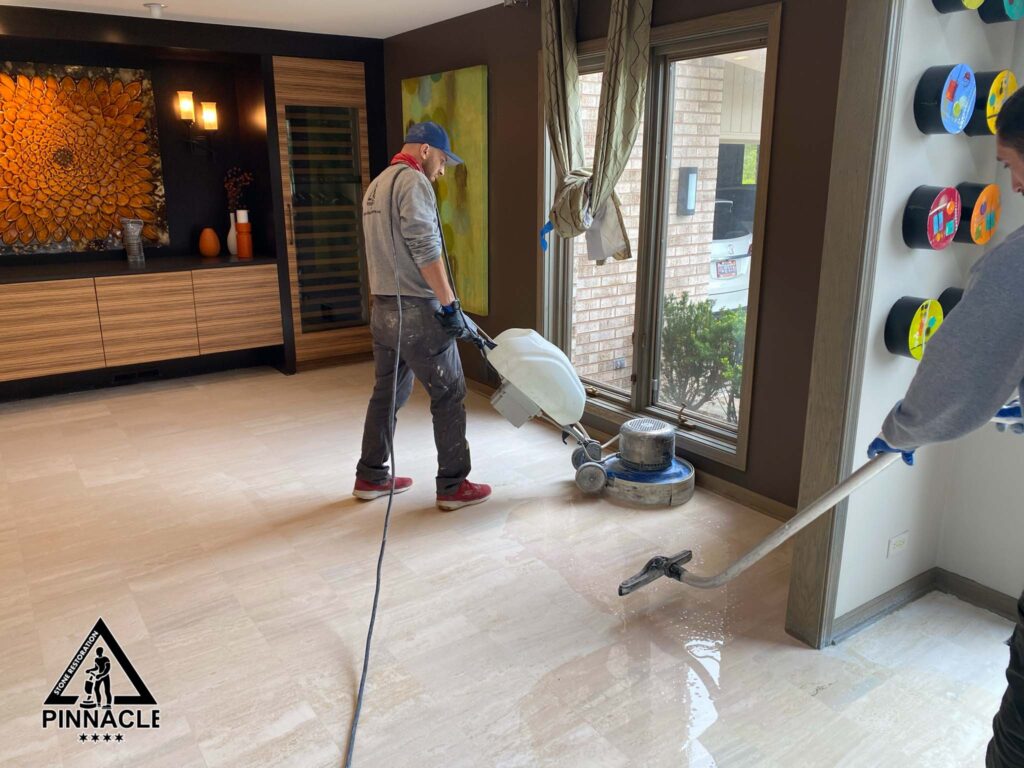
After epoxy has cured, we remove the excess by grinding with floor machine and metal pads
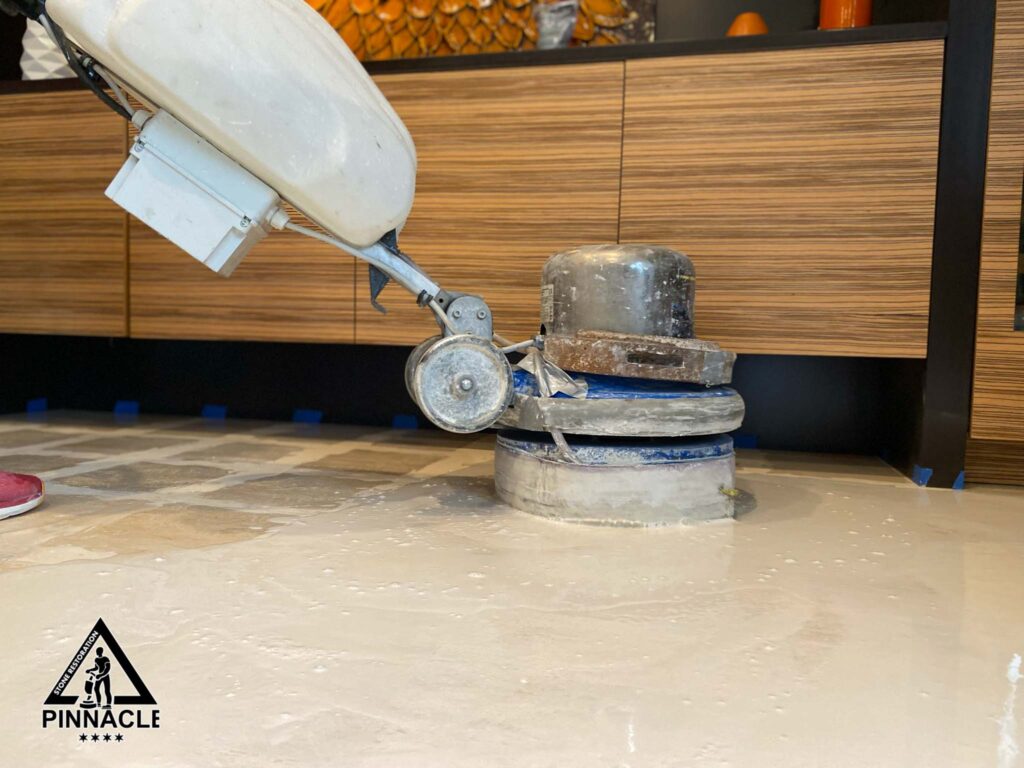
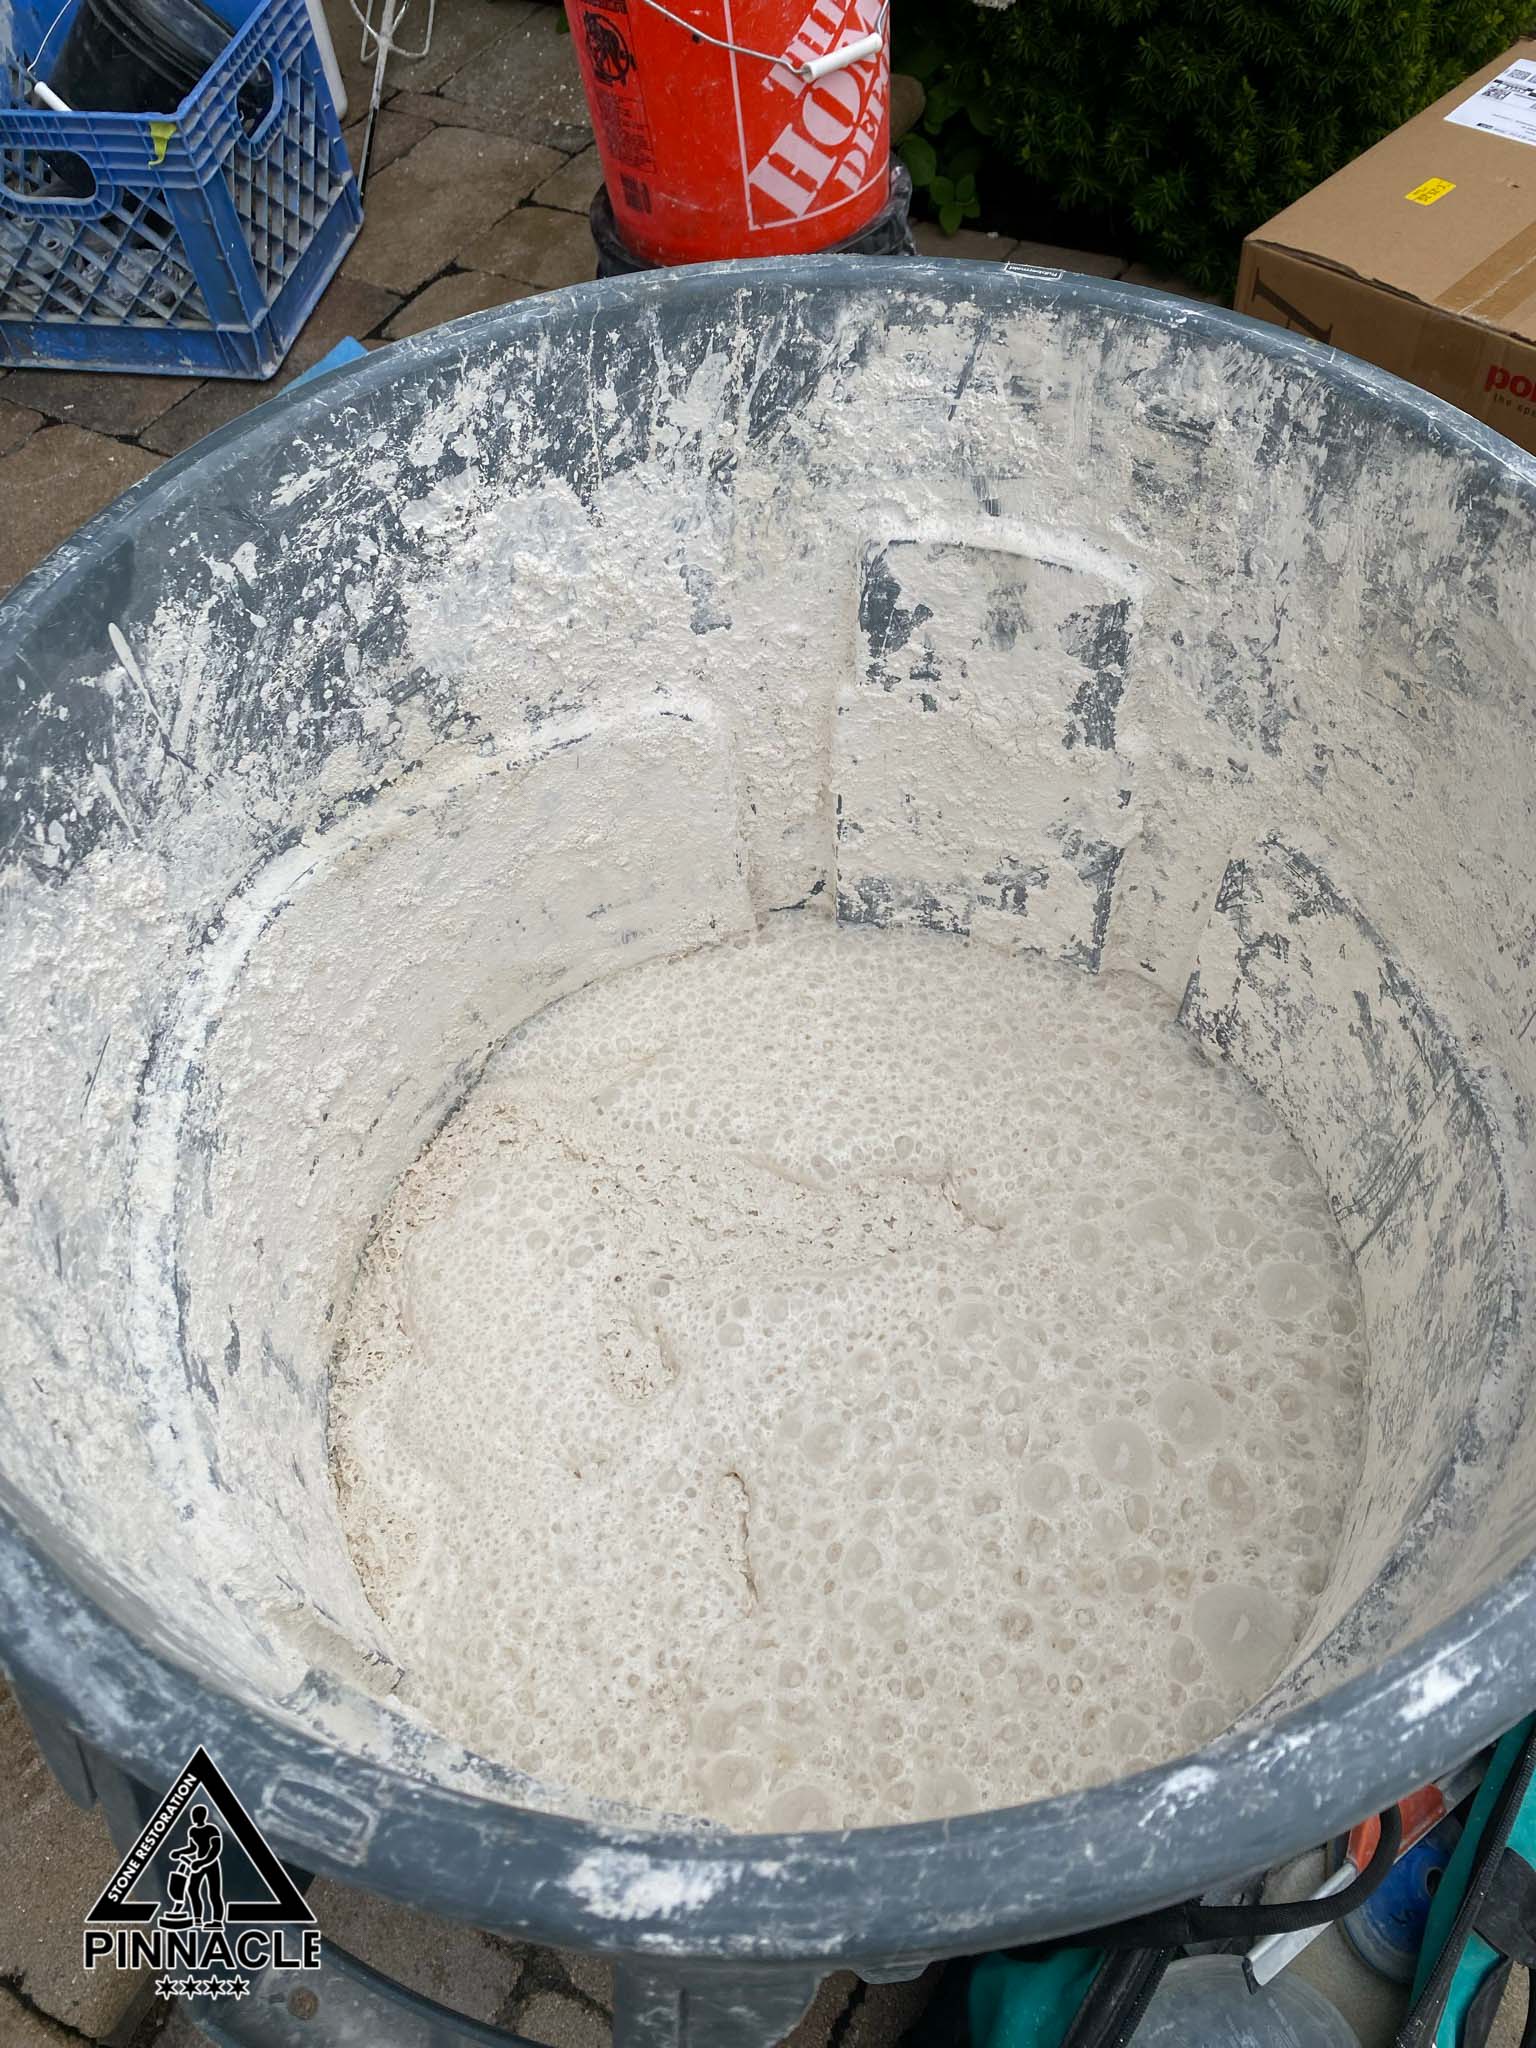
During grinding process, a large amount of slurry is formed which we pick up with wet vacuum systems. Then we mix stone slurry with quick gel to ensure proper environmentally friendly waste system.
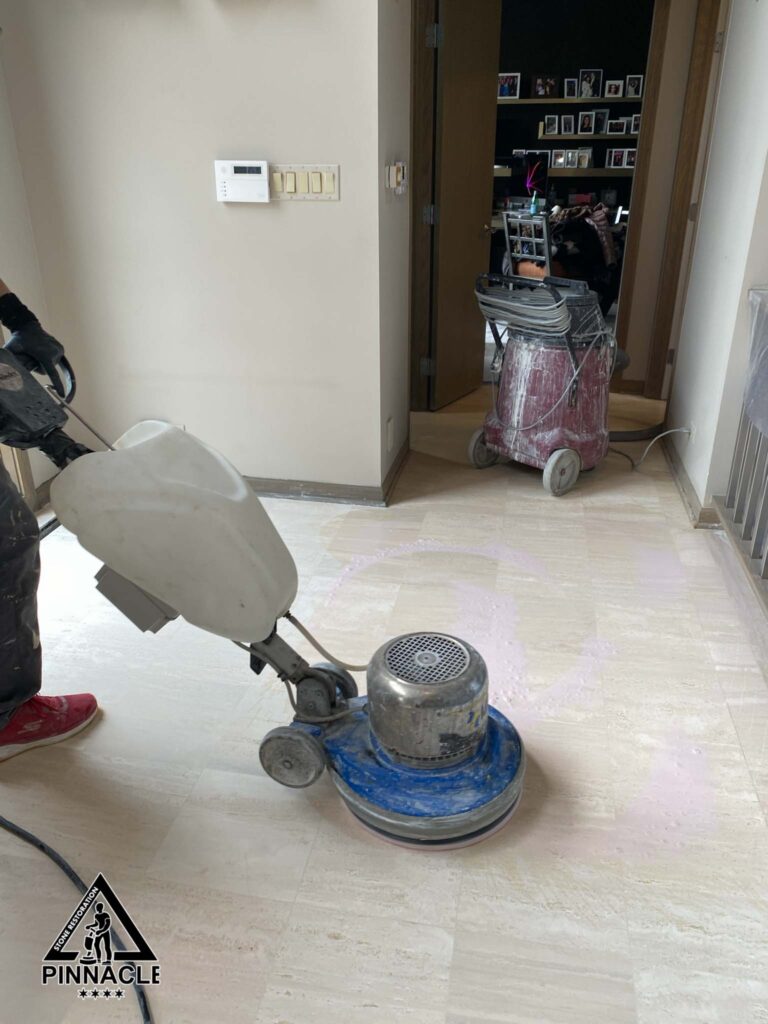
4. GRINDING/LIPPAGE REMOVAL
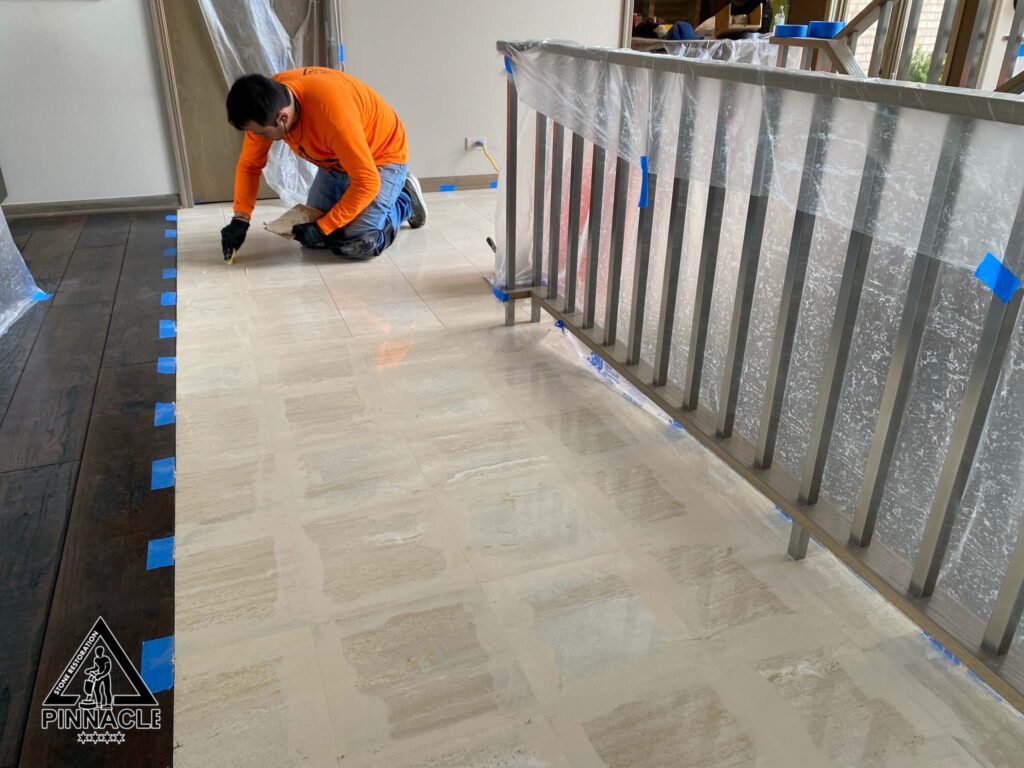
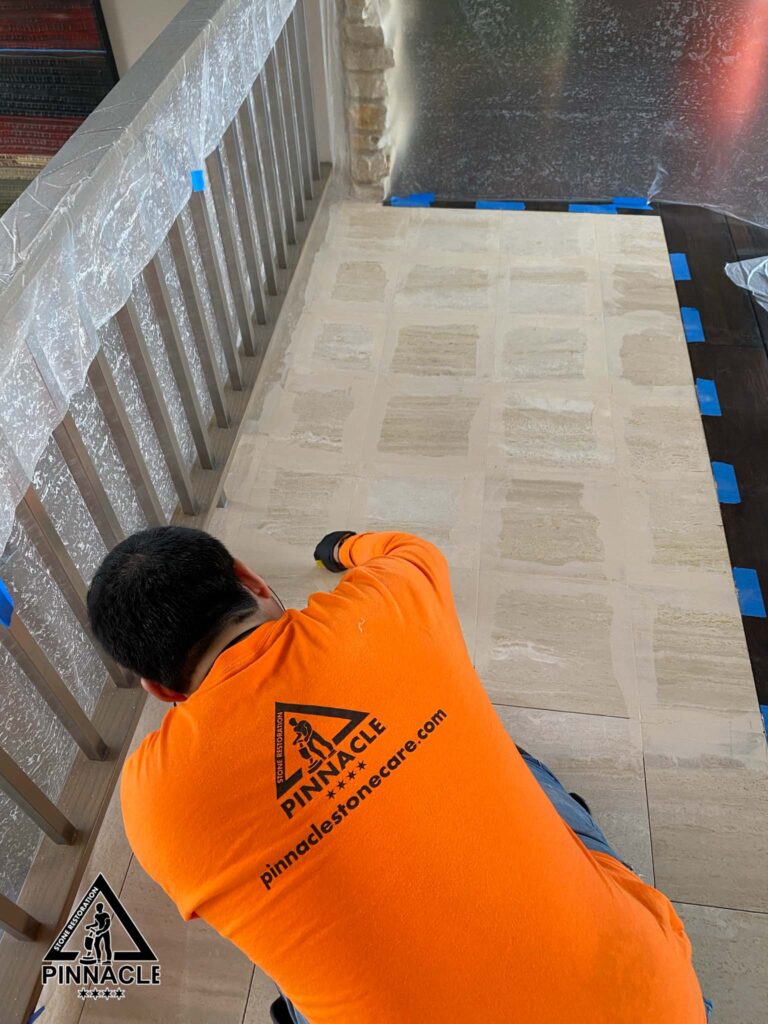
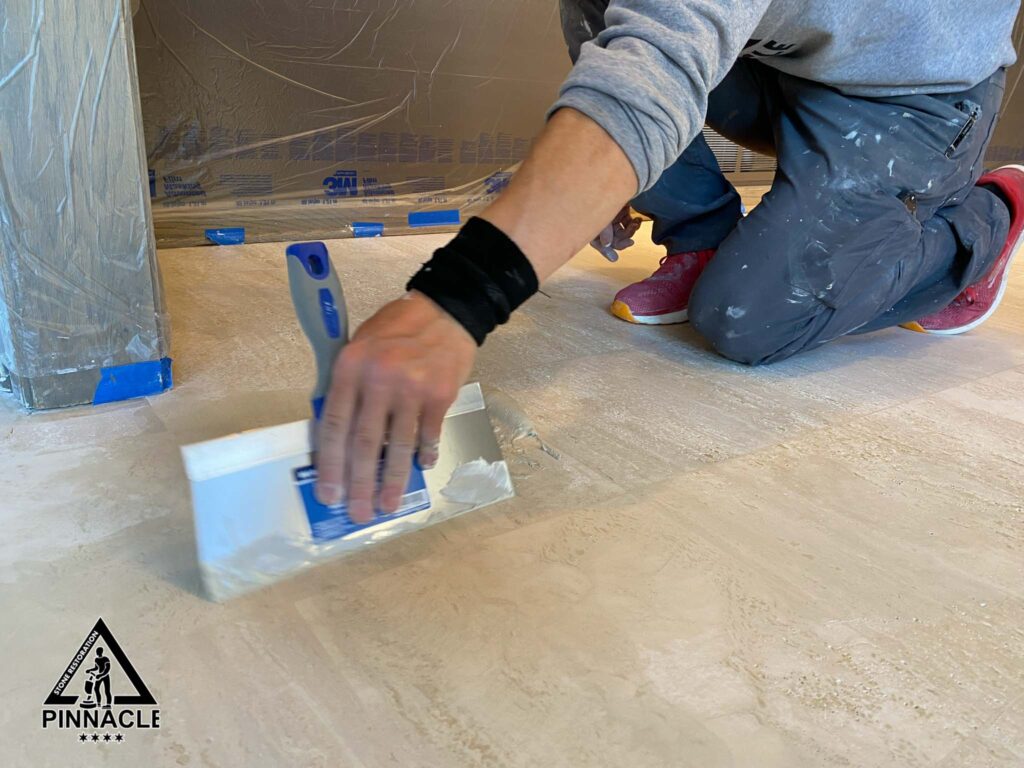
5. FILLING HOLES WITH GROUT
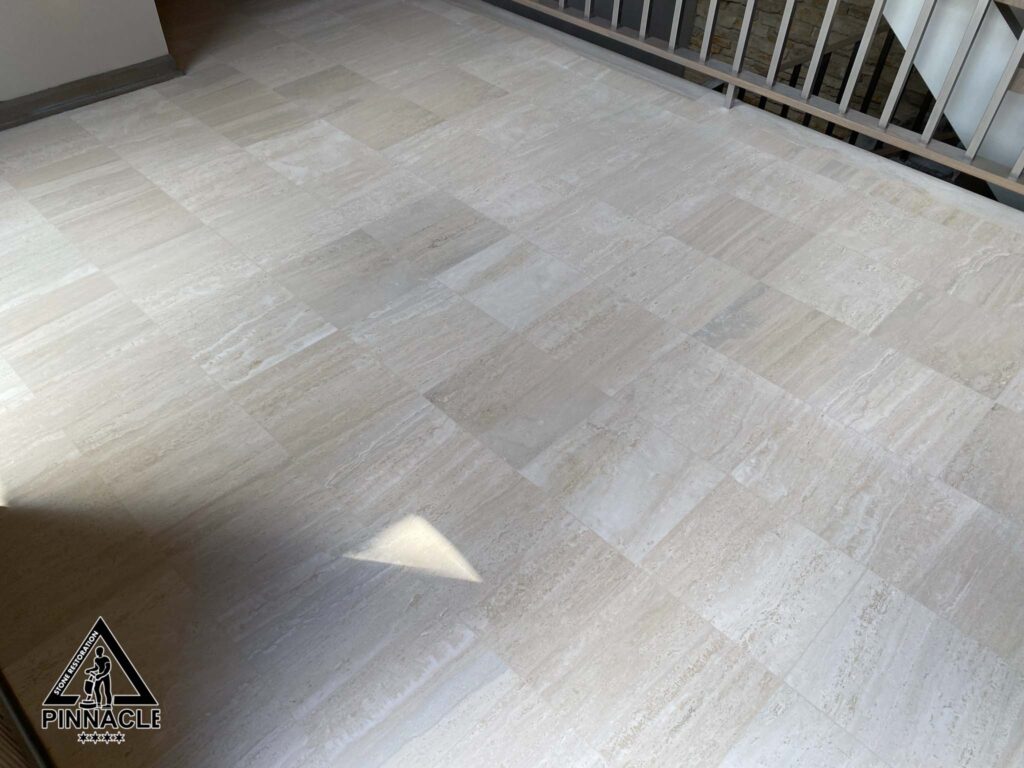
It is quite common for travertine to have its naturally occurring holes to become exposed after grinding process. Our goal is to maximally fill the exposed holes with grout.
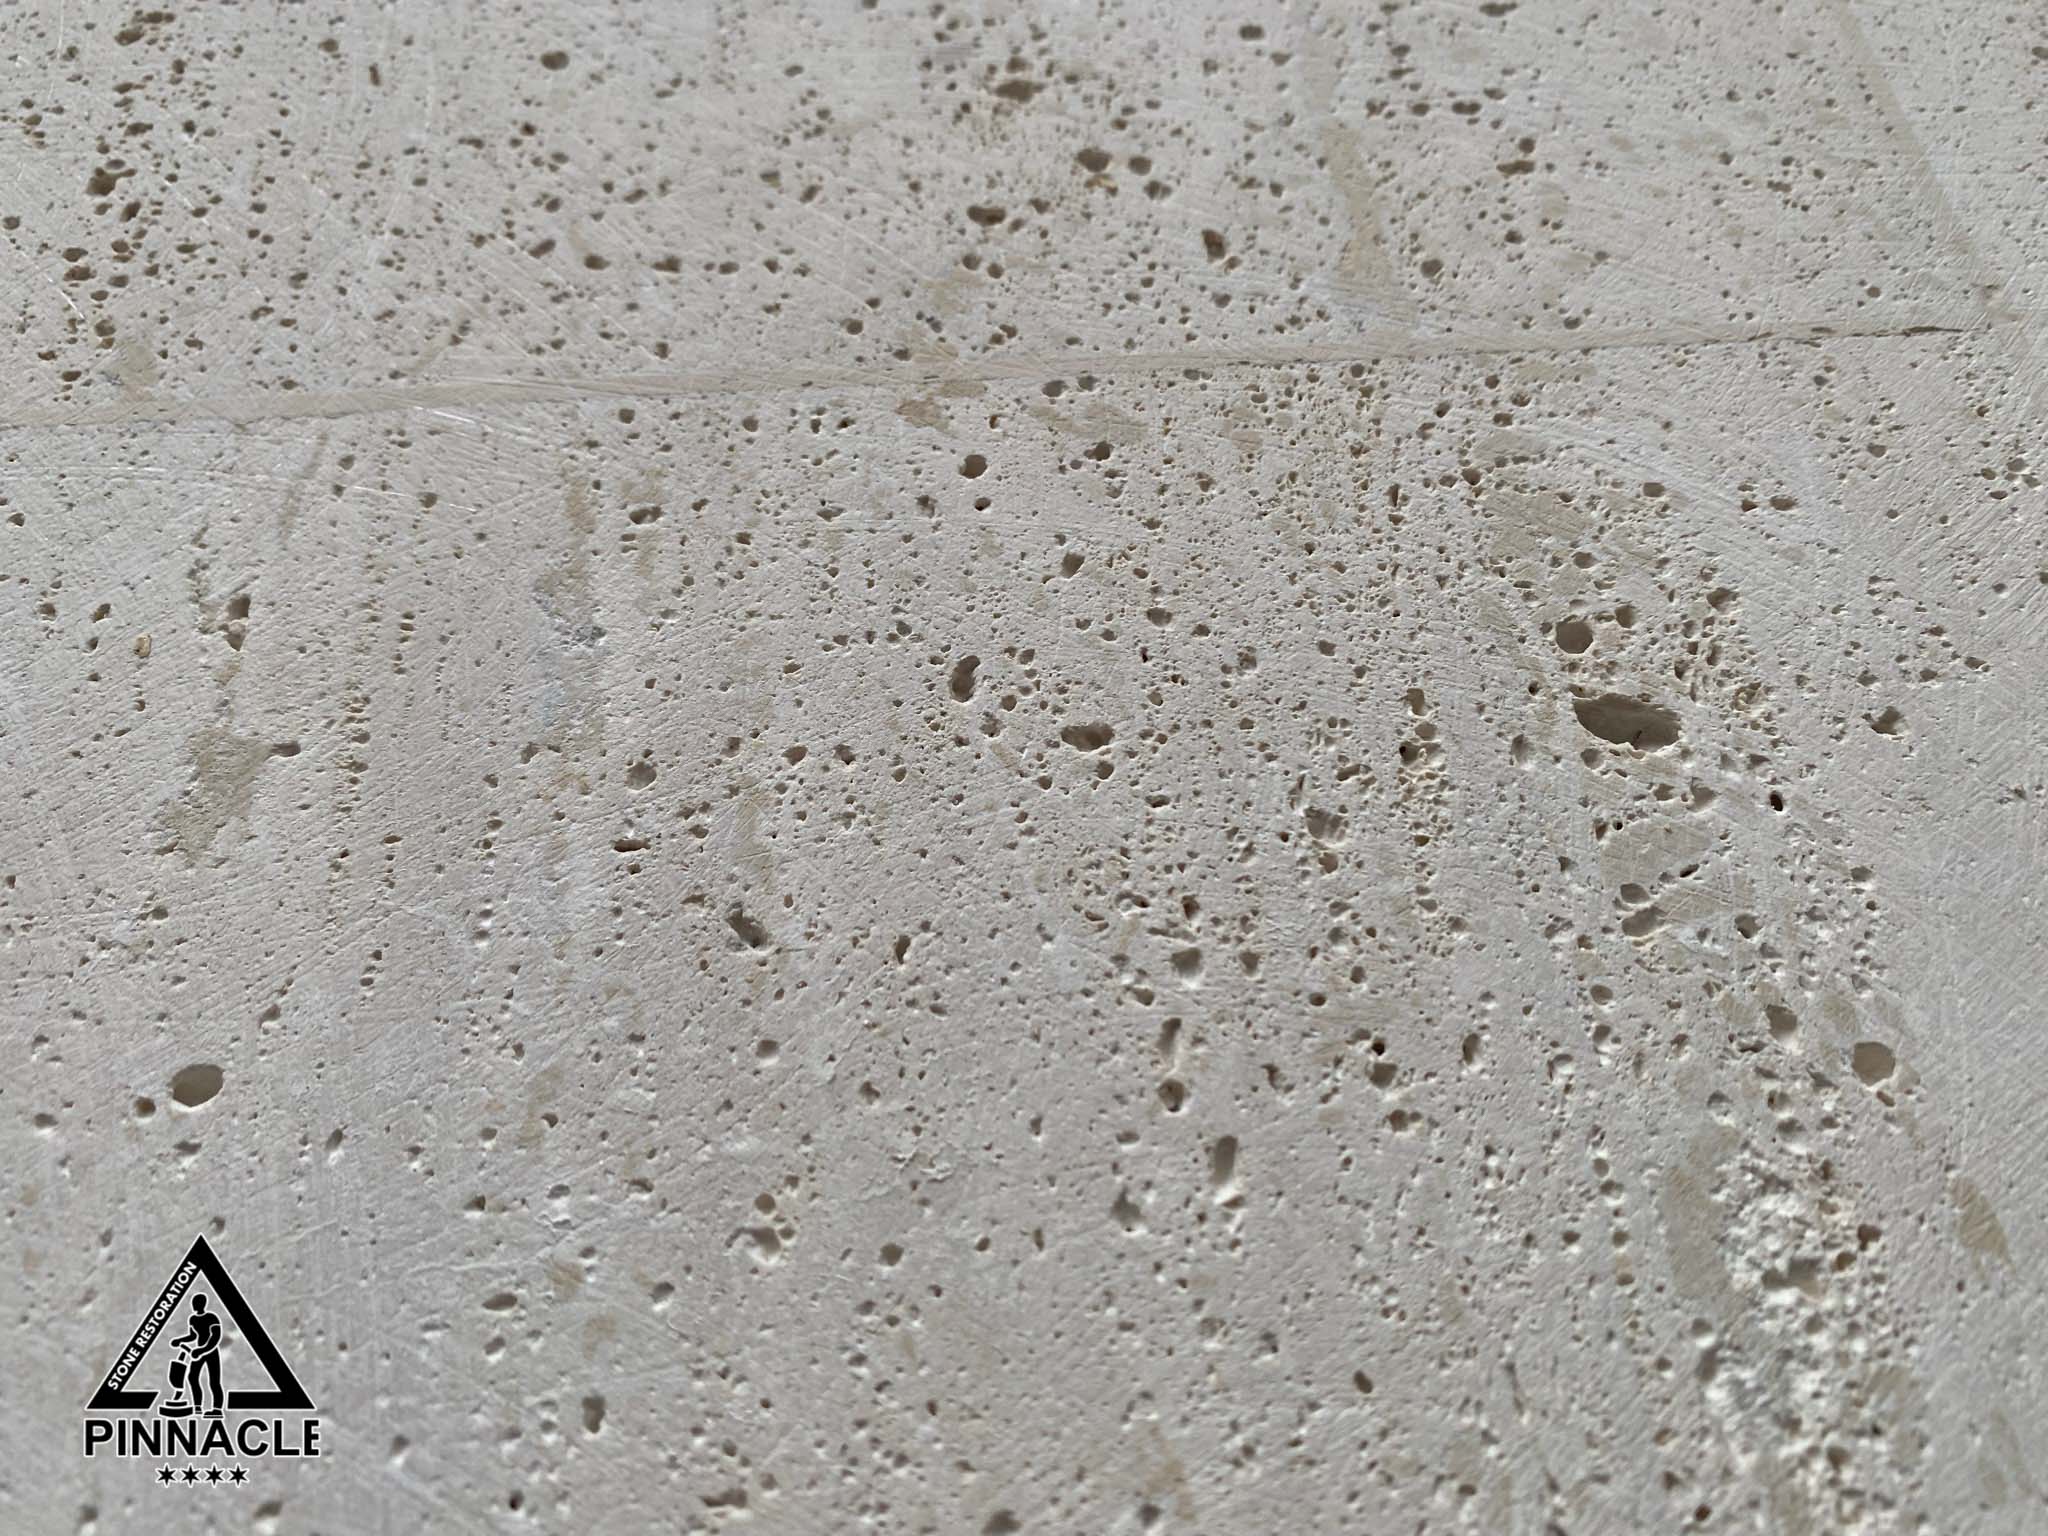
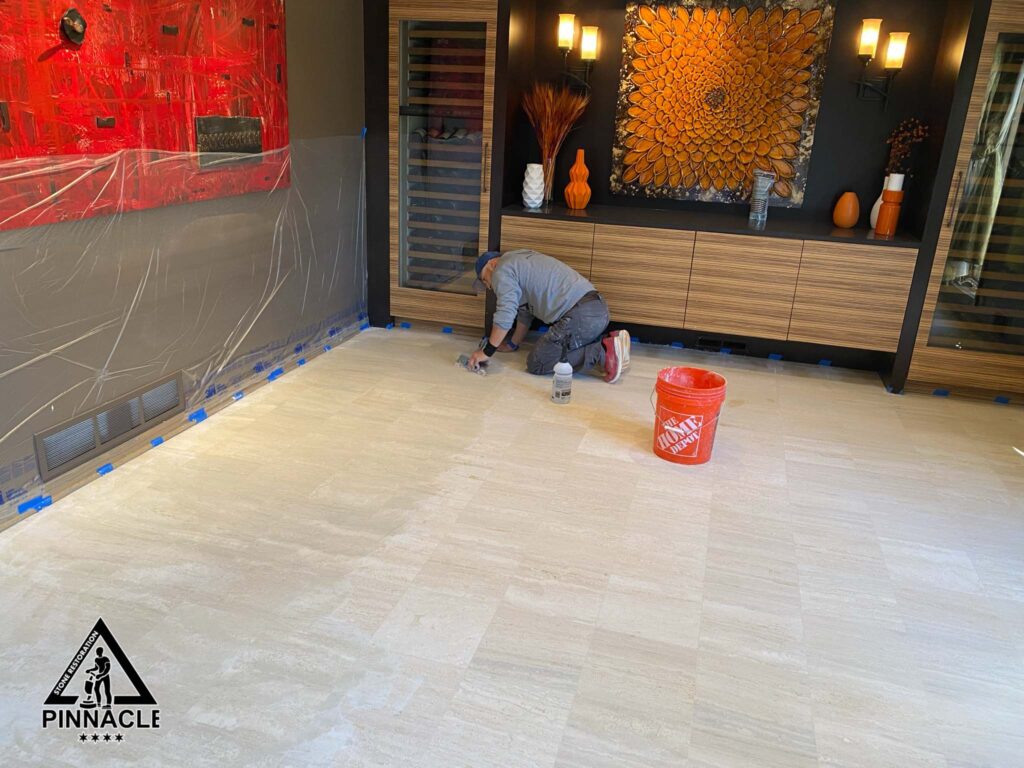
We prepare grout, which we color match with travertine, and mix it in batches so it stays fresh and easy to install. We tightly and thoroughly apply grout with travel across entire travertine floors.
After it dries for a bit, we cover the most walked through areas with drop cloths to provide comfort for our customer till the next day. We let grout cure overnight. The following day we come to grind the floor after the grout is completely cured.
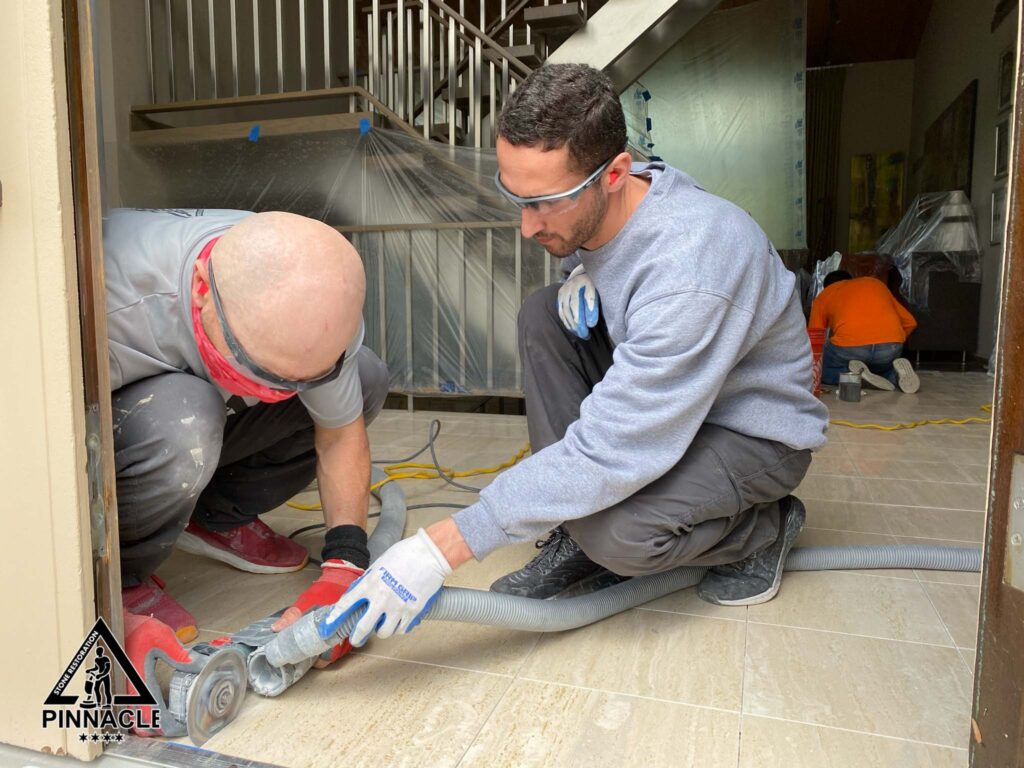
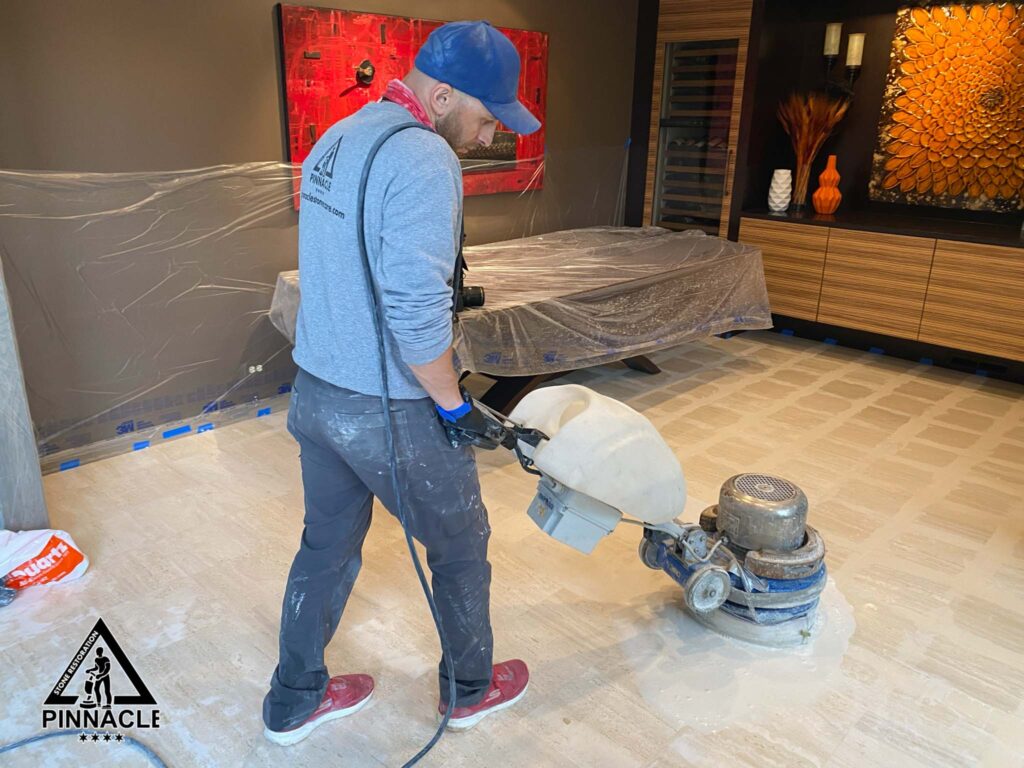
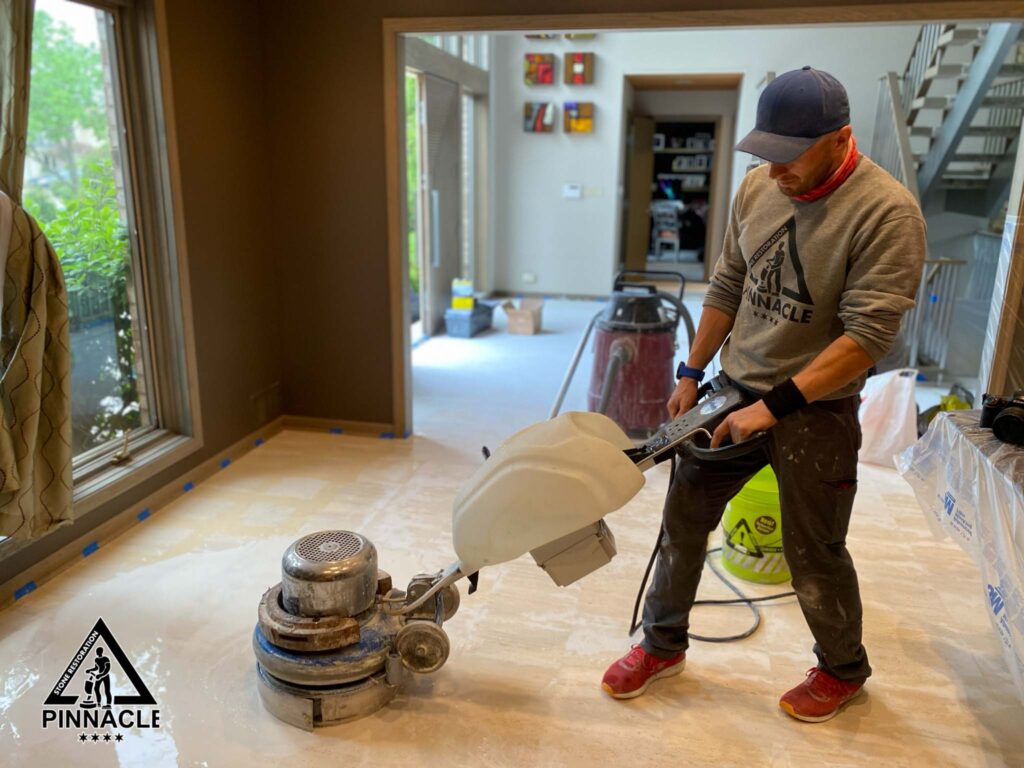
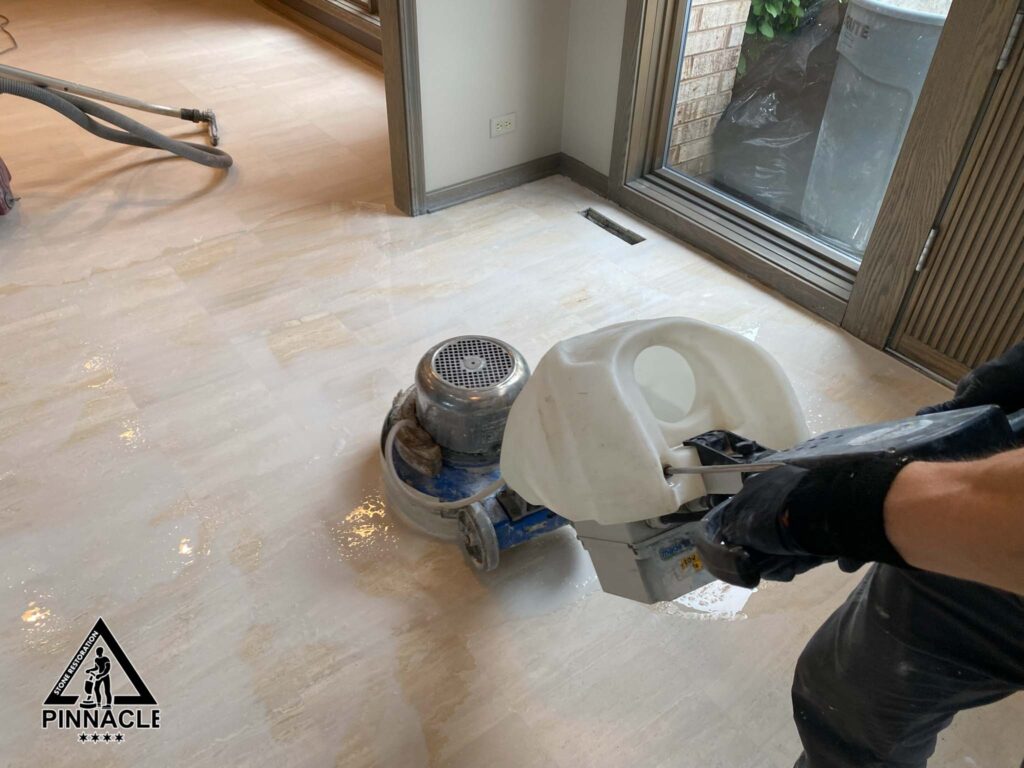
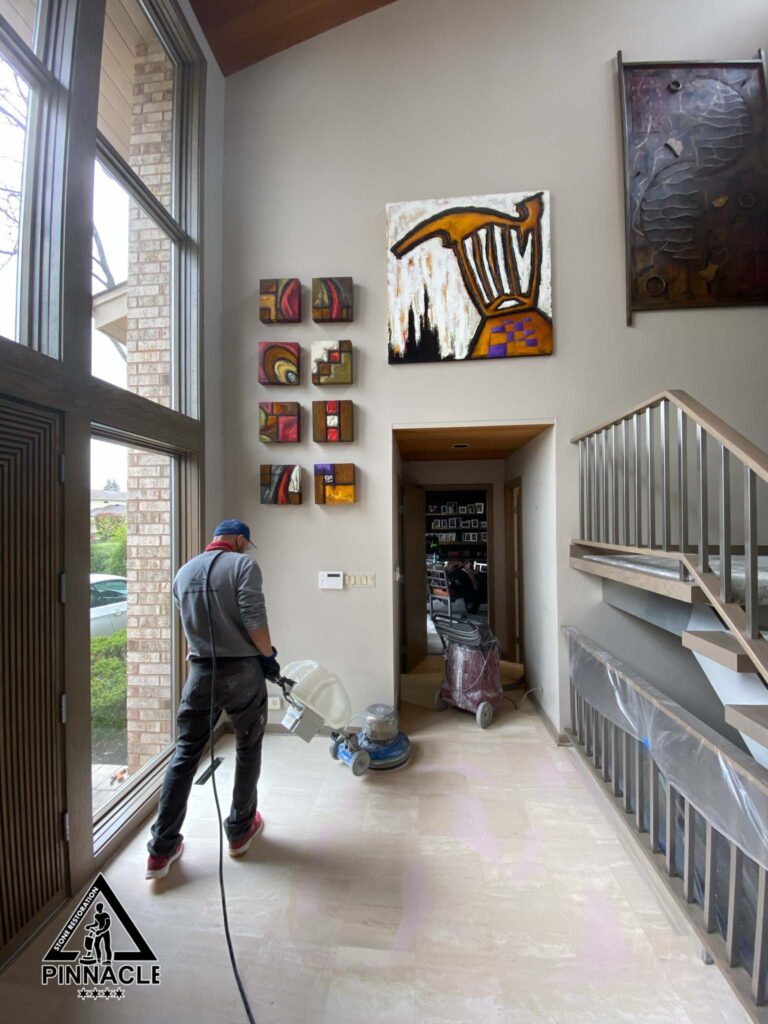
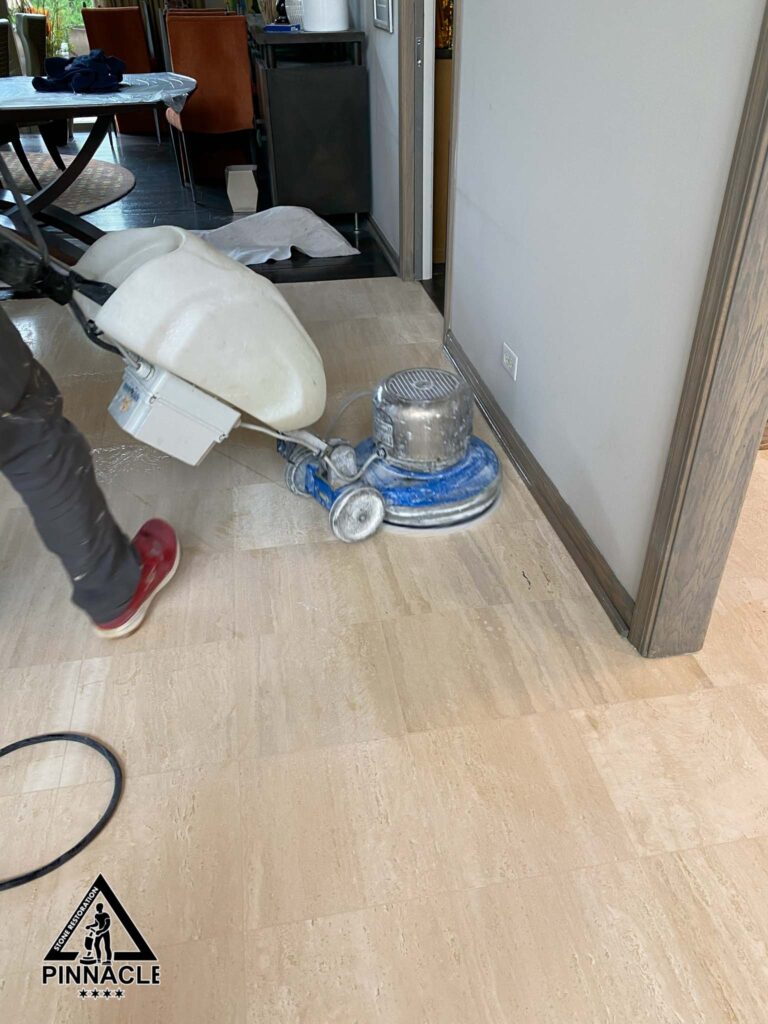
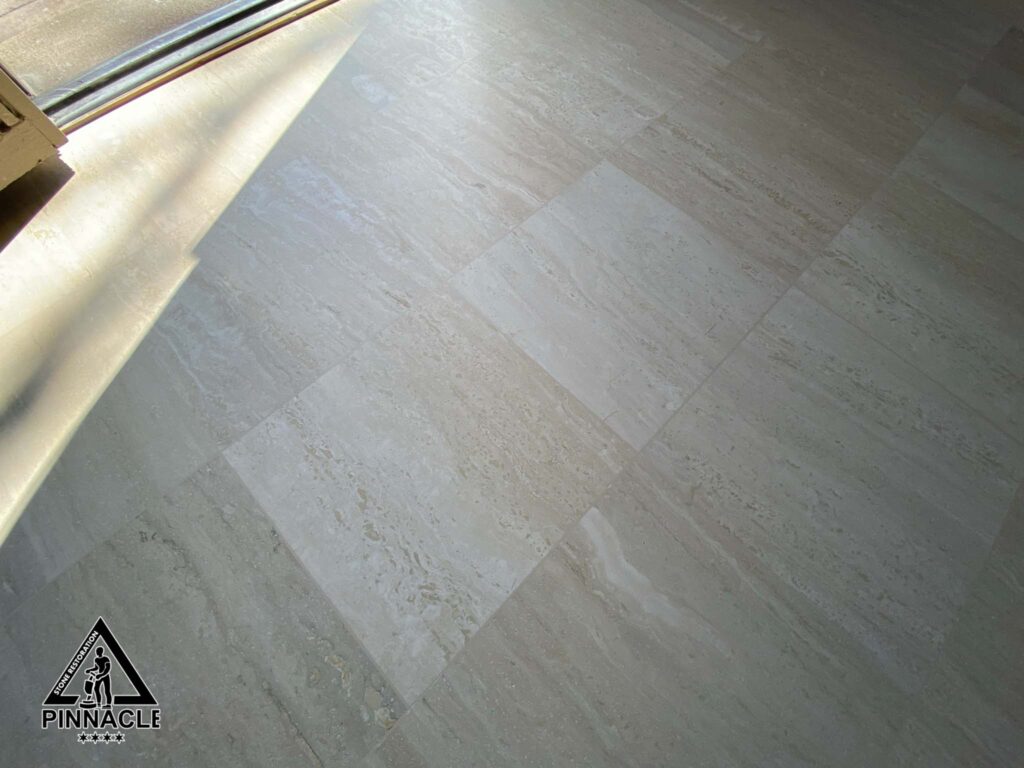
6. HONING
The next day after grout is completely cured, we continue restoration process with honing step. Since the customer desires a honed final look, we do not use our finest polishing diamond pads at the end.
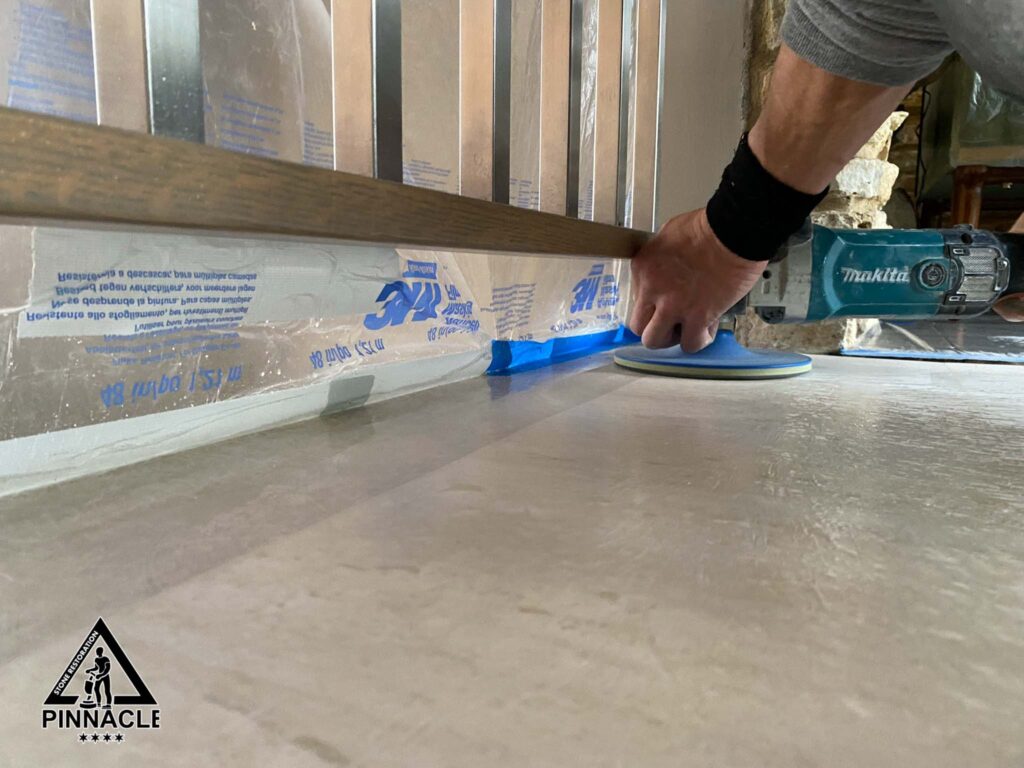
We work on all floor edges by using a handheld machine to ensure an even coverage of this travertine floor and reach where floor machine couldn’t
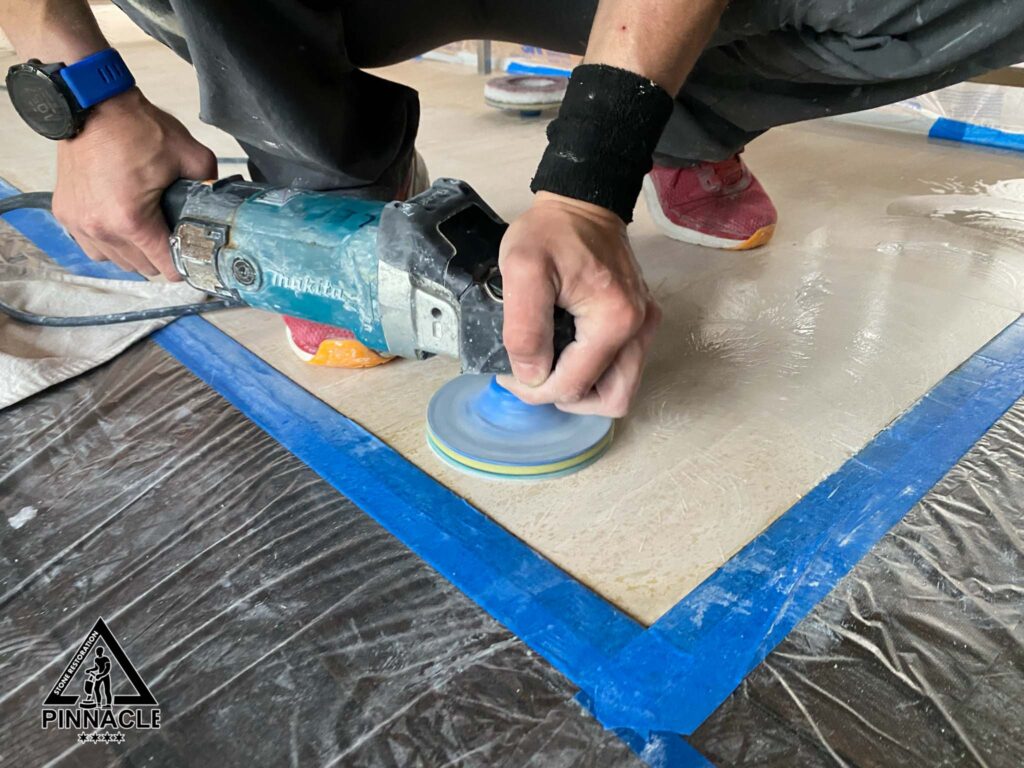
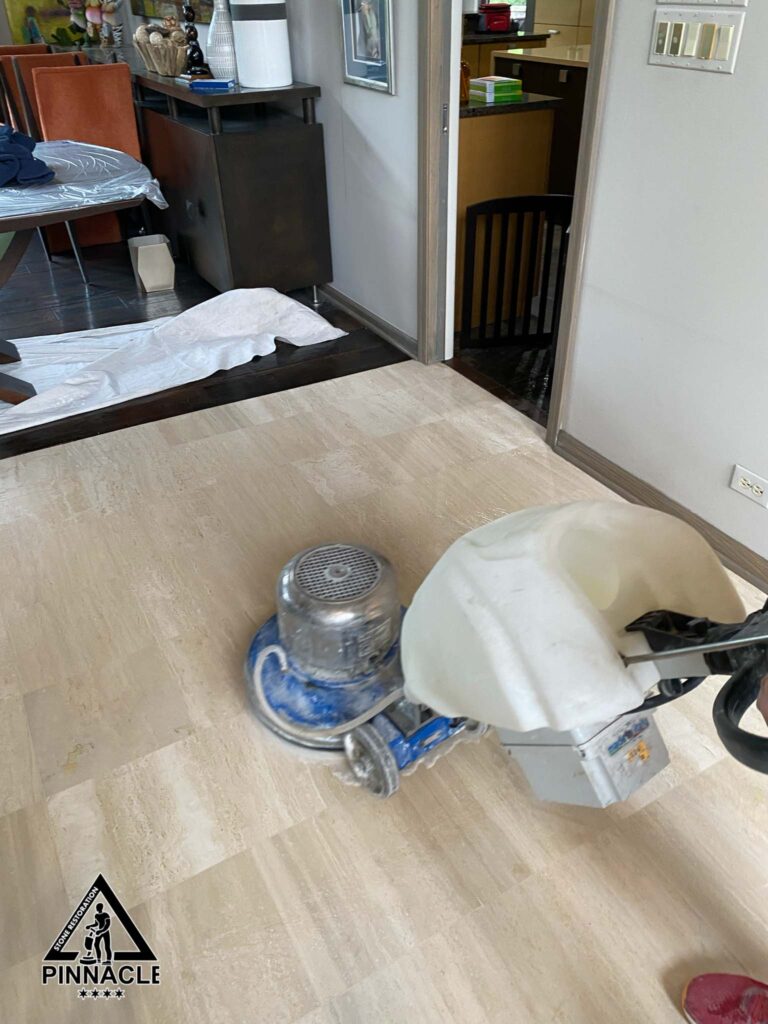
7. D.I.P. SYSTEM
We use the D.I.P. system (diamond impregnated pads system) for fine honing to achieve the desired smoothness of the travertine
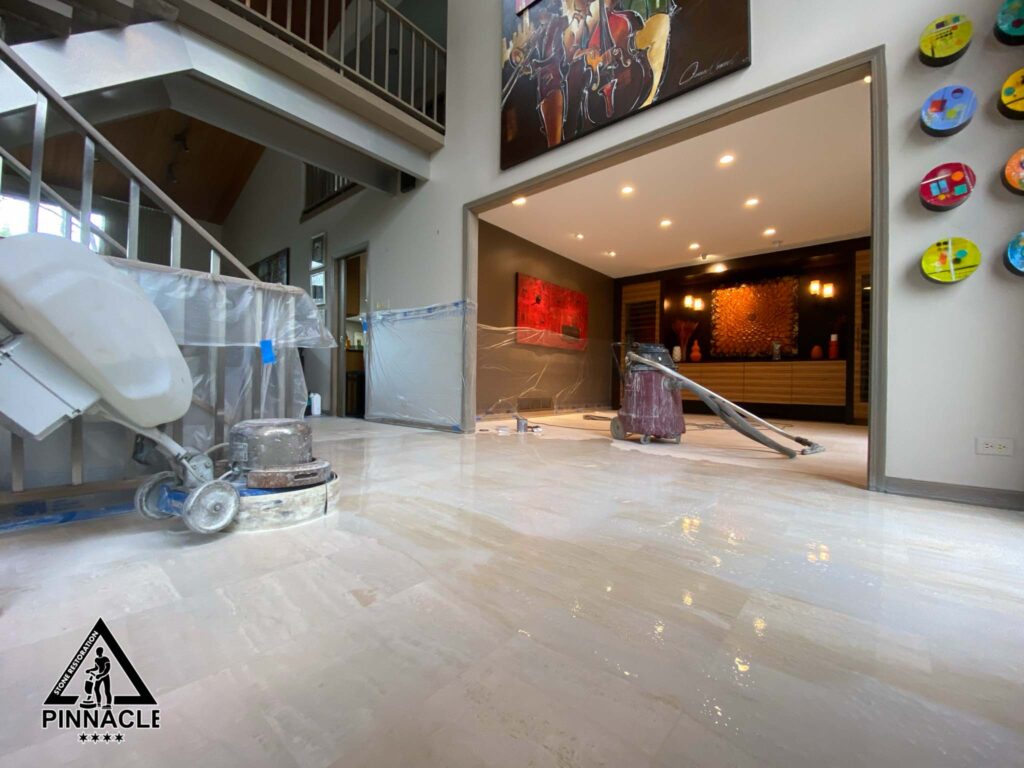
8. SEALING
8+ refinishing systems is complete with the last step of sealer application. We apply sealer to travertine floors using floor machine. It is a much more effective technique compared to regular usage of microfiber pads only.
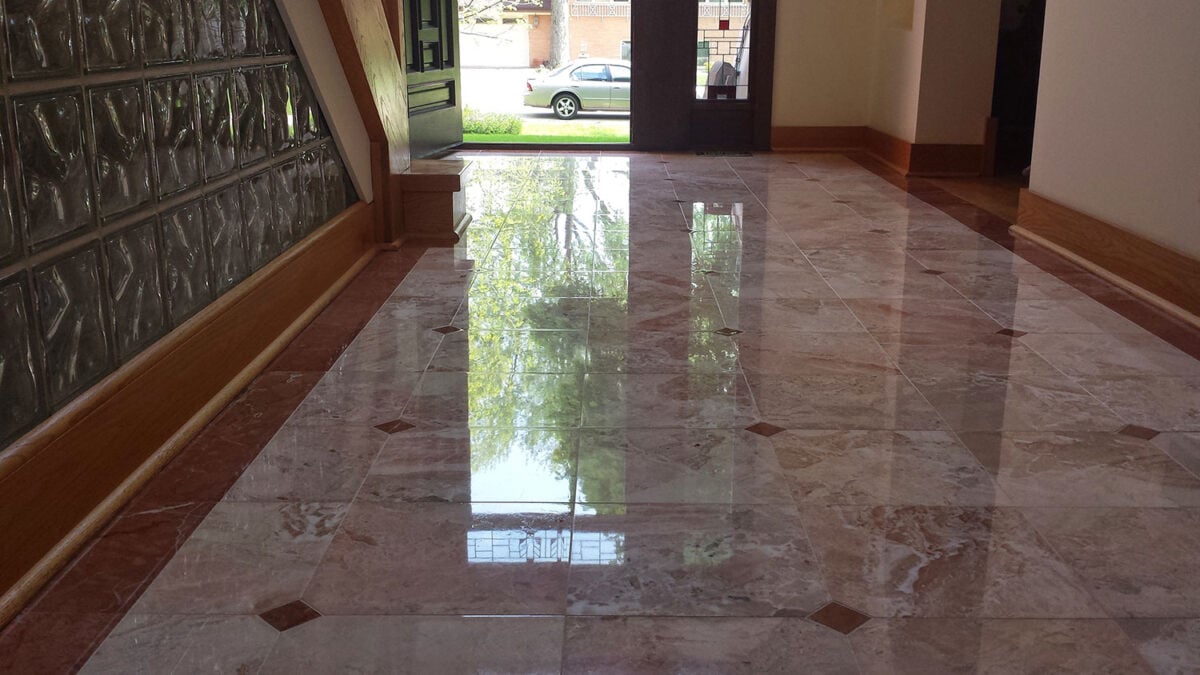
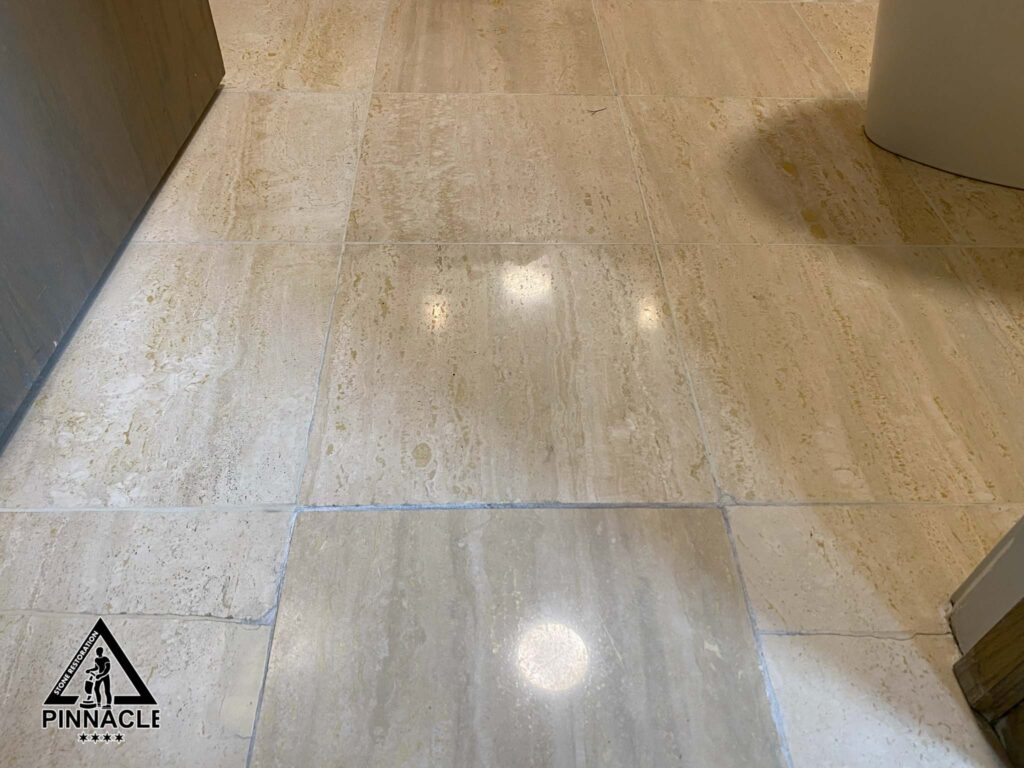
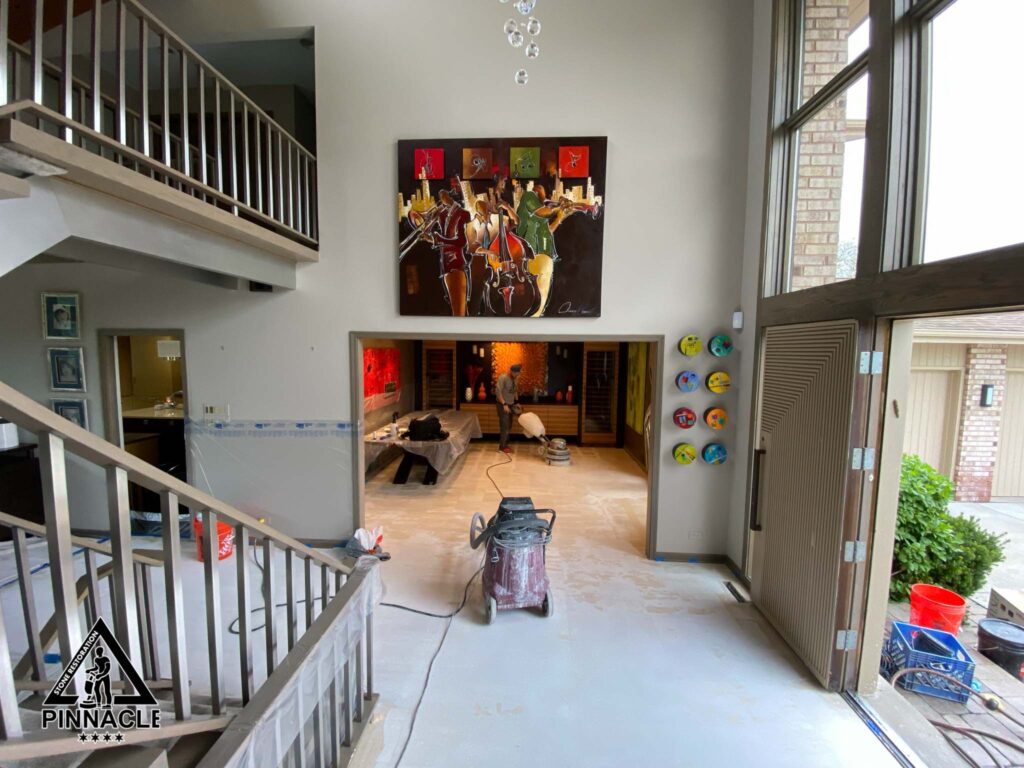
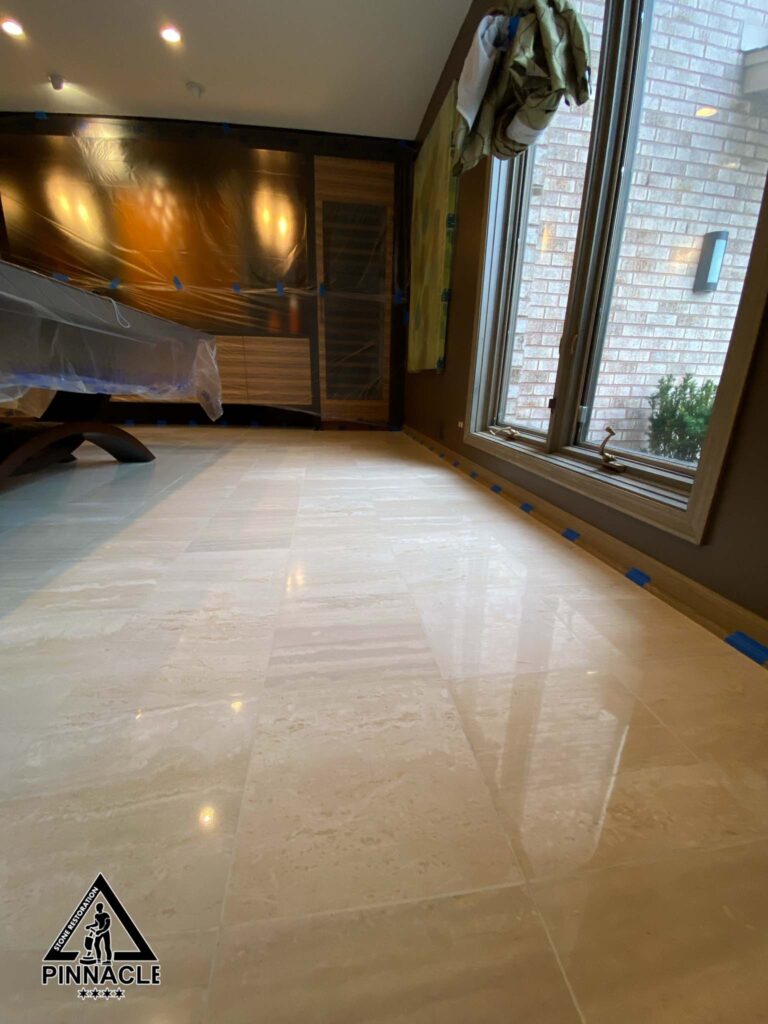
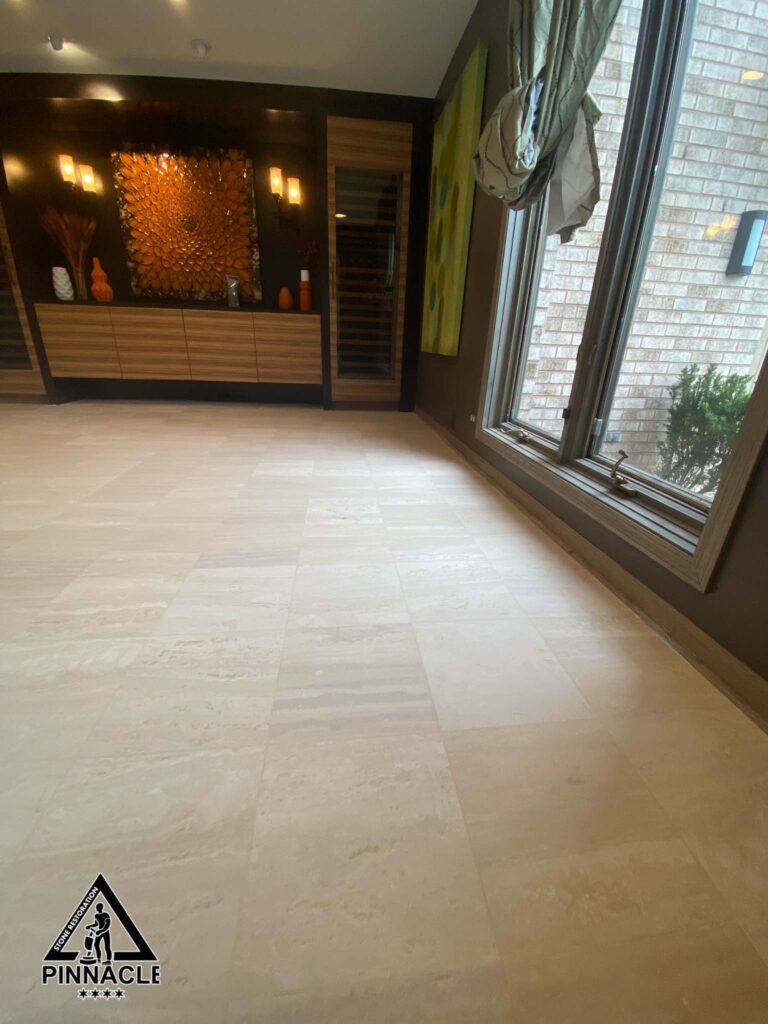
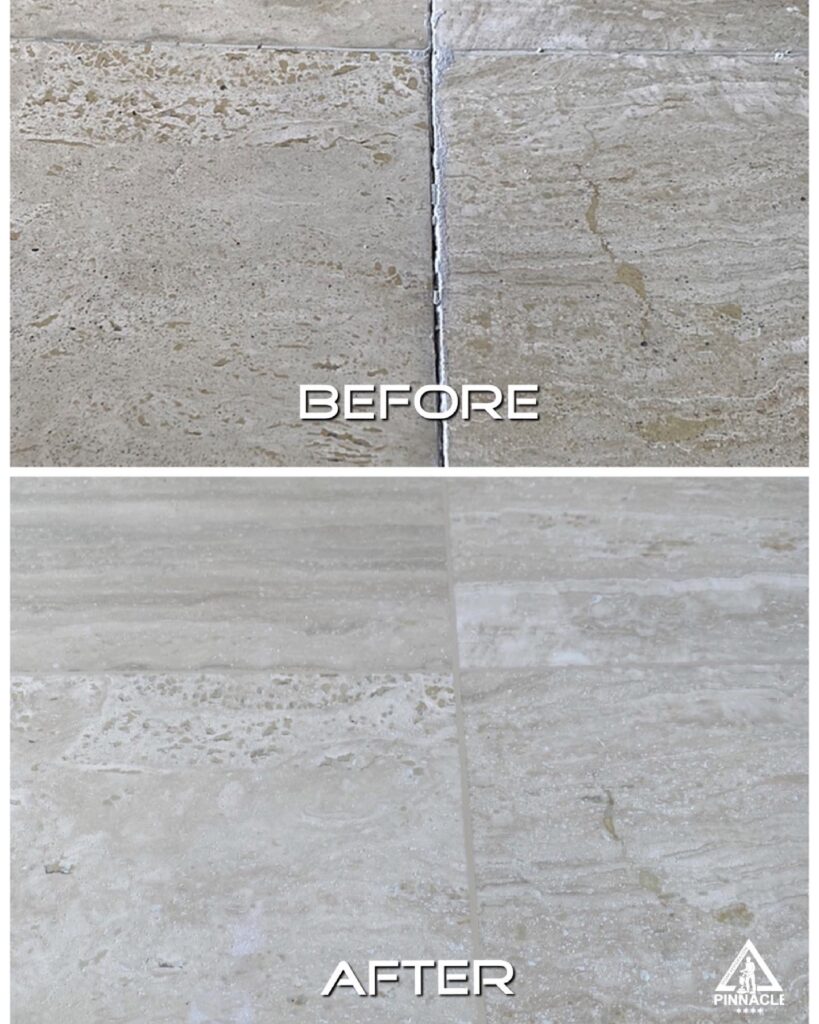
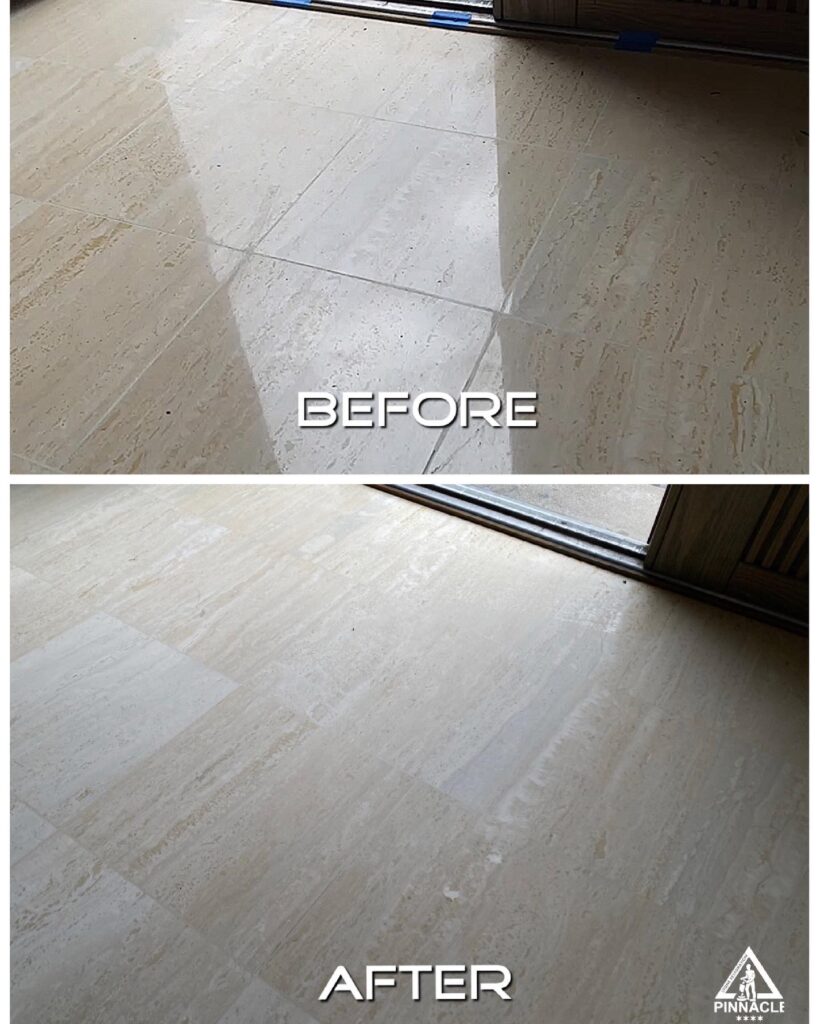
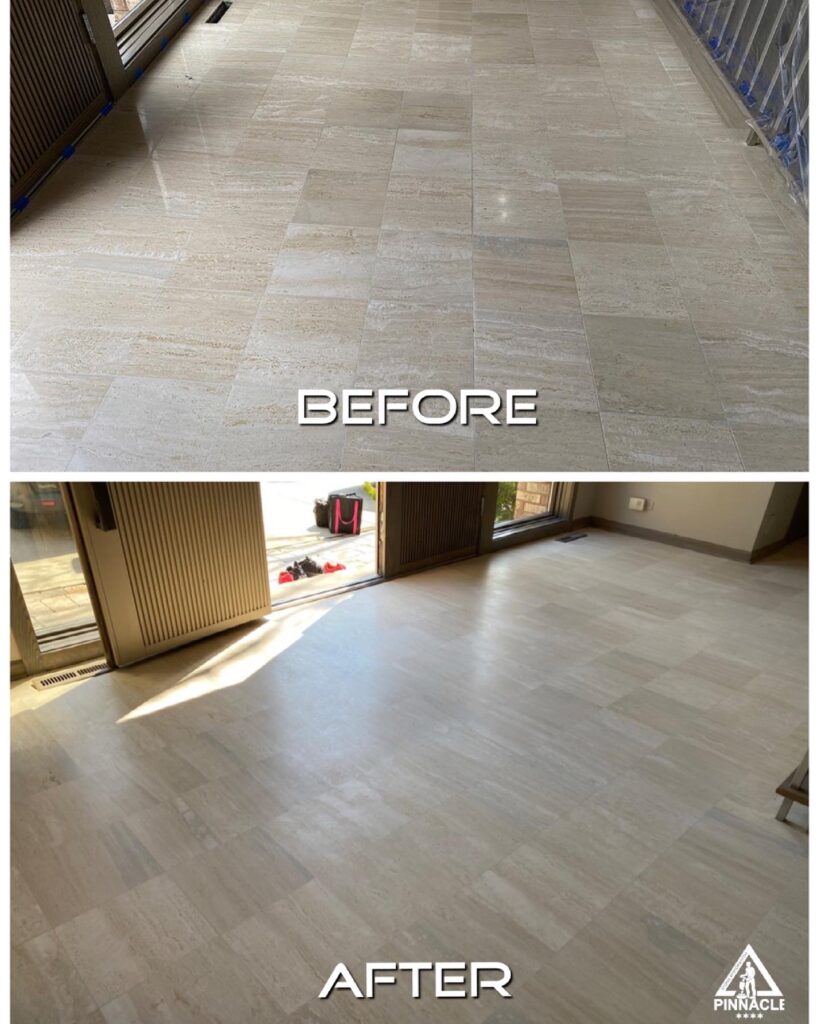
Results
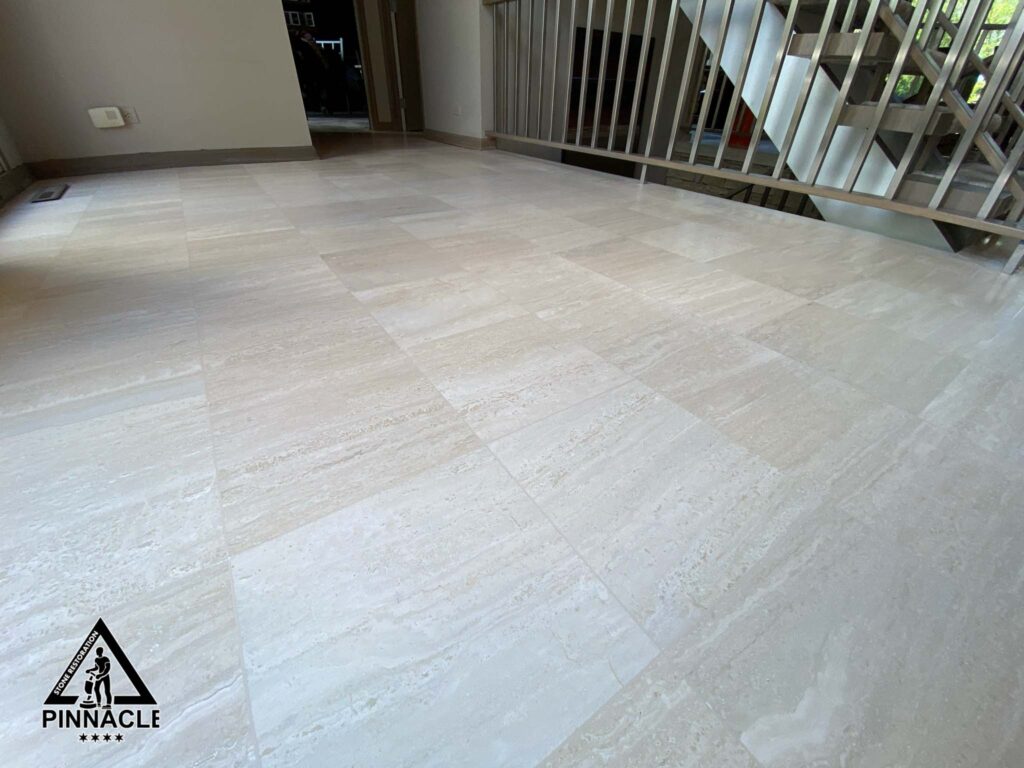
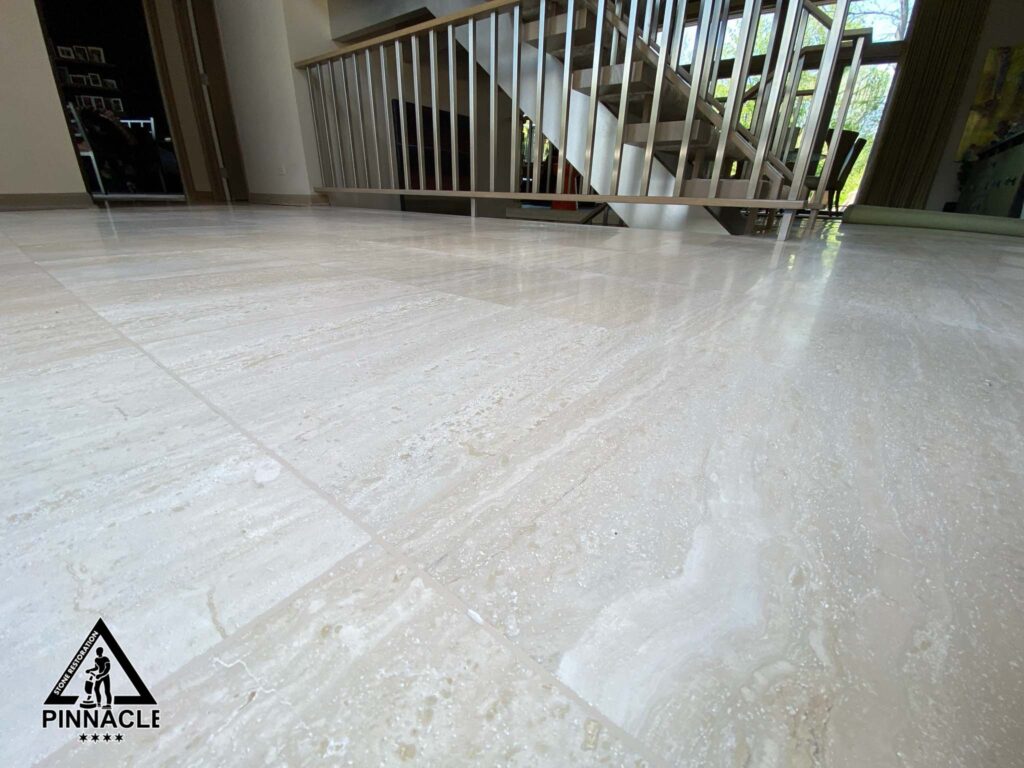
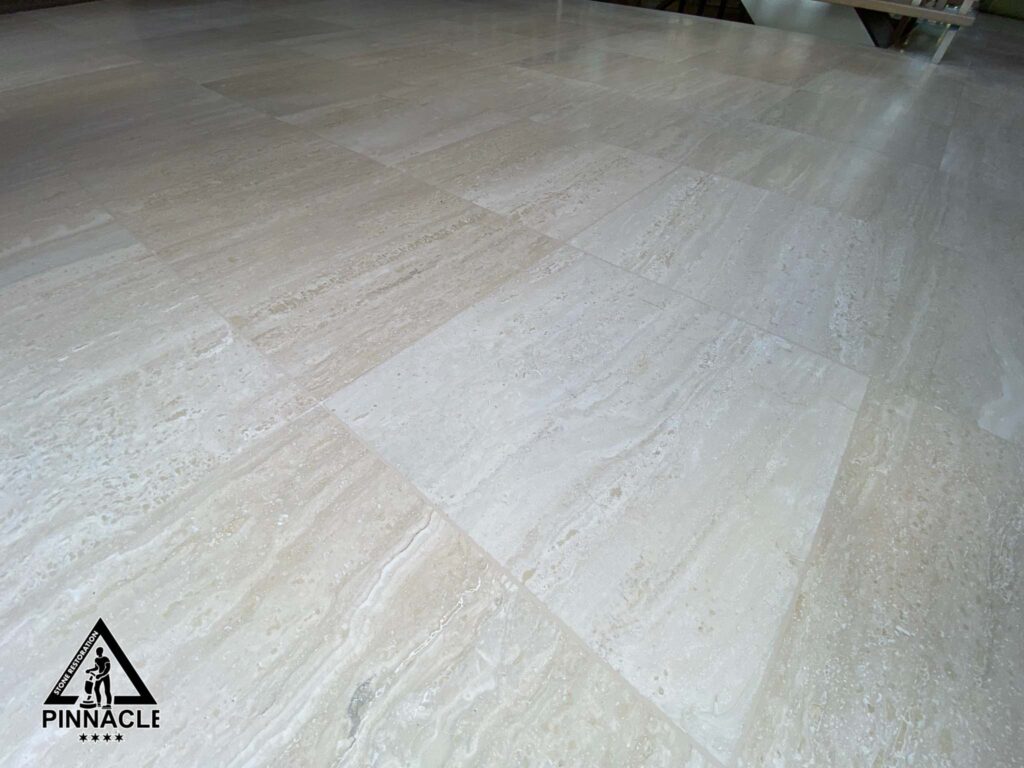
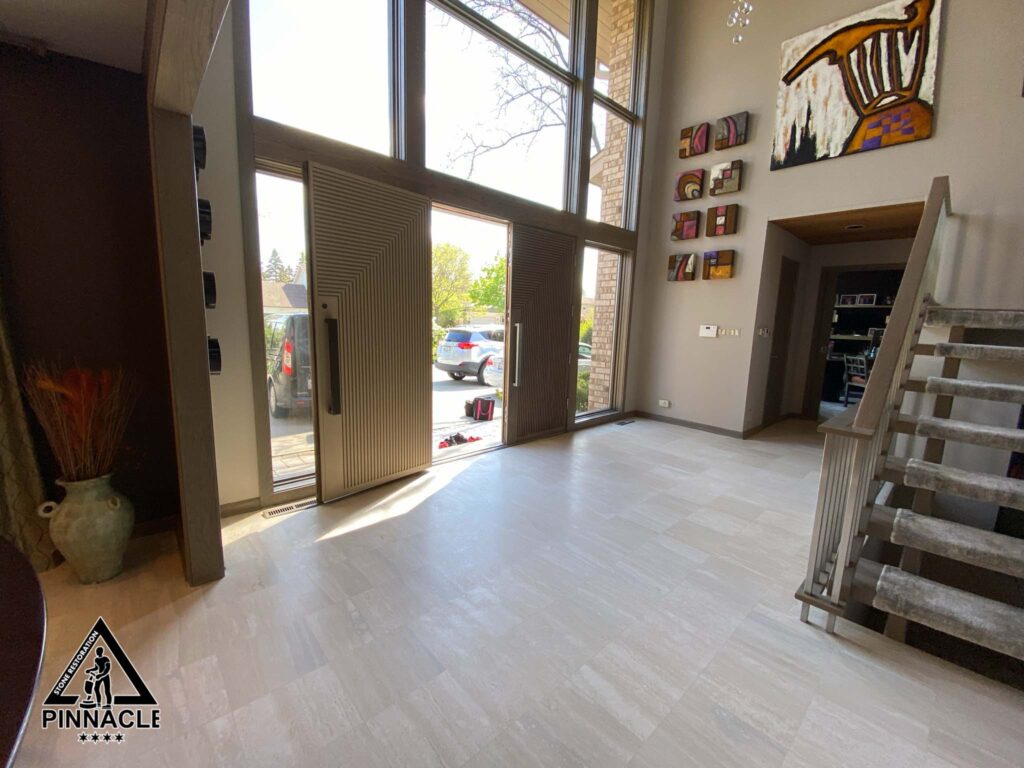
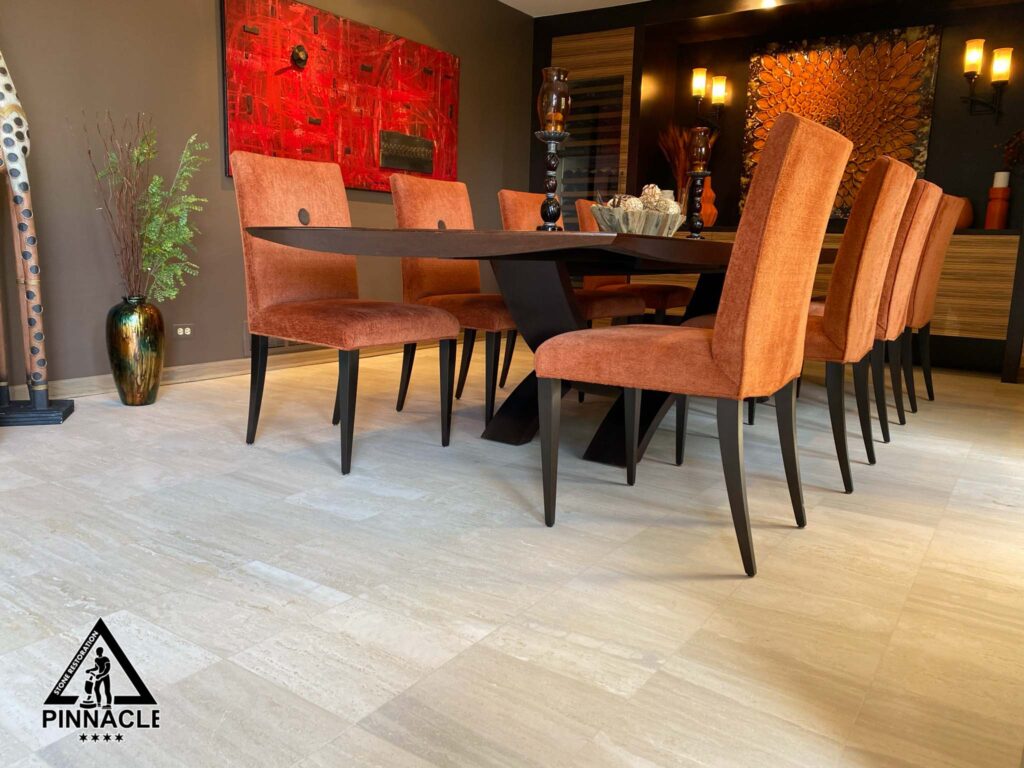
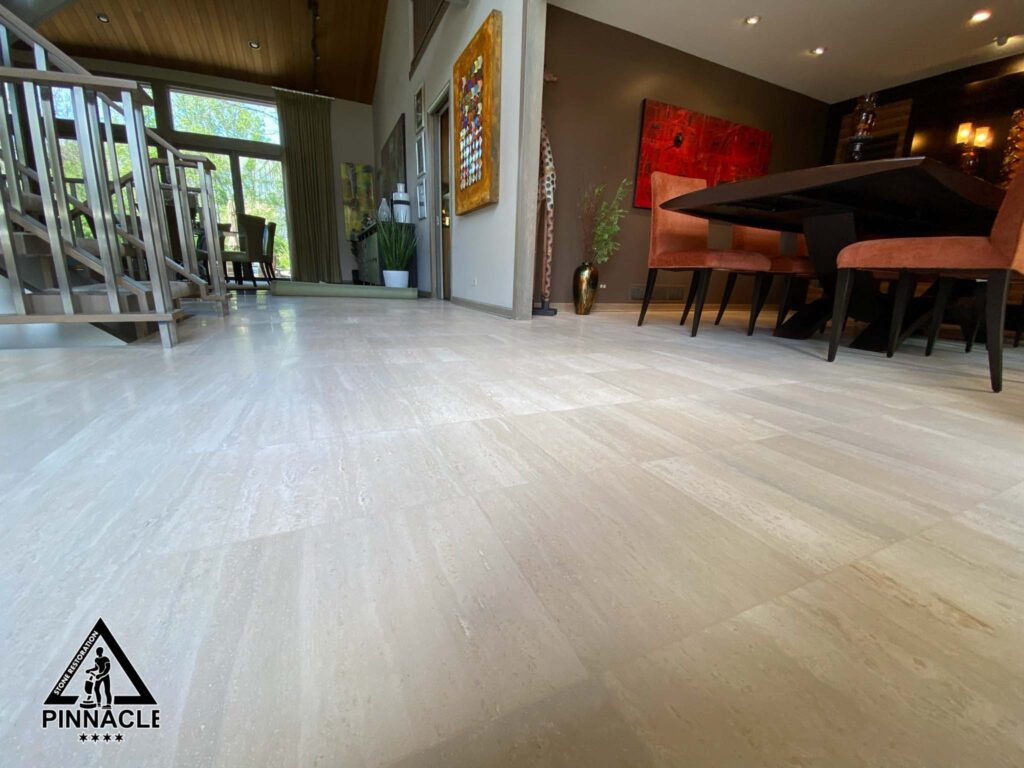
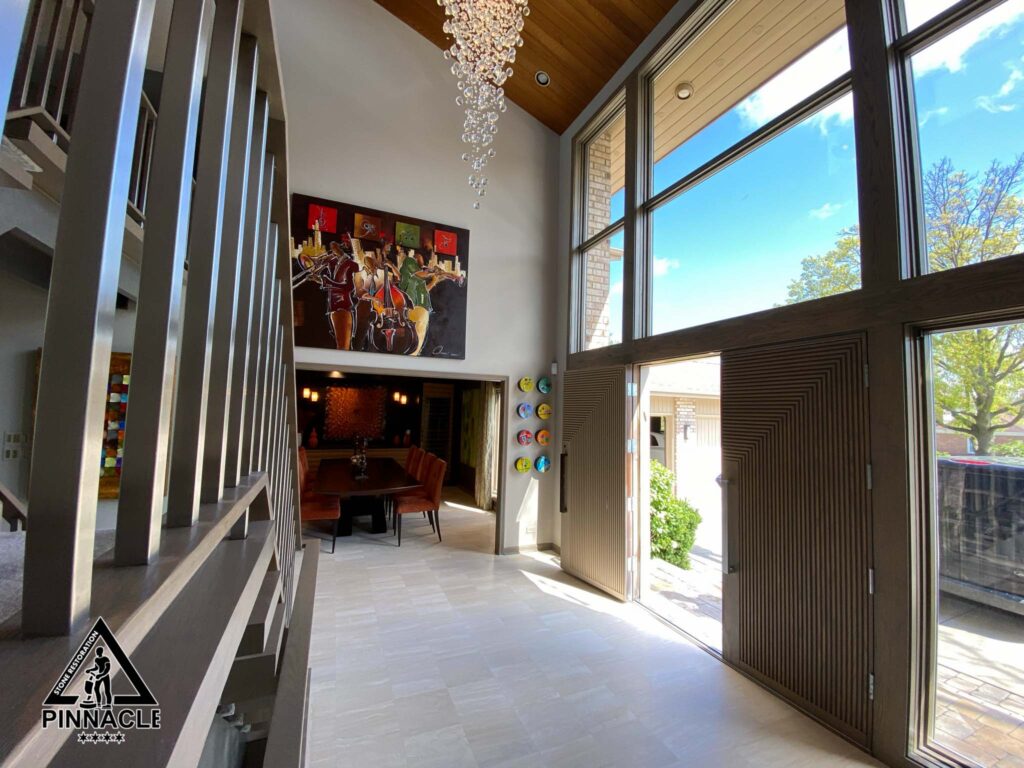
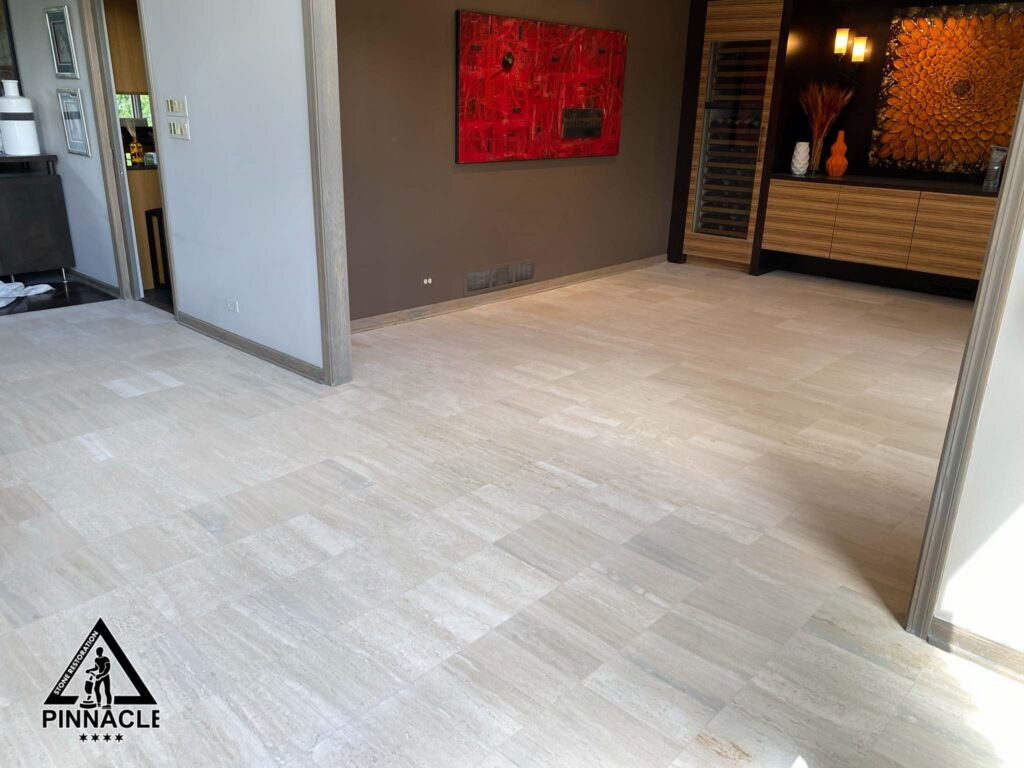
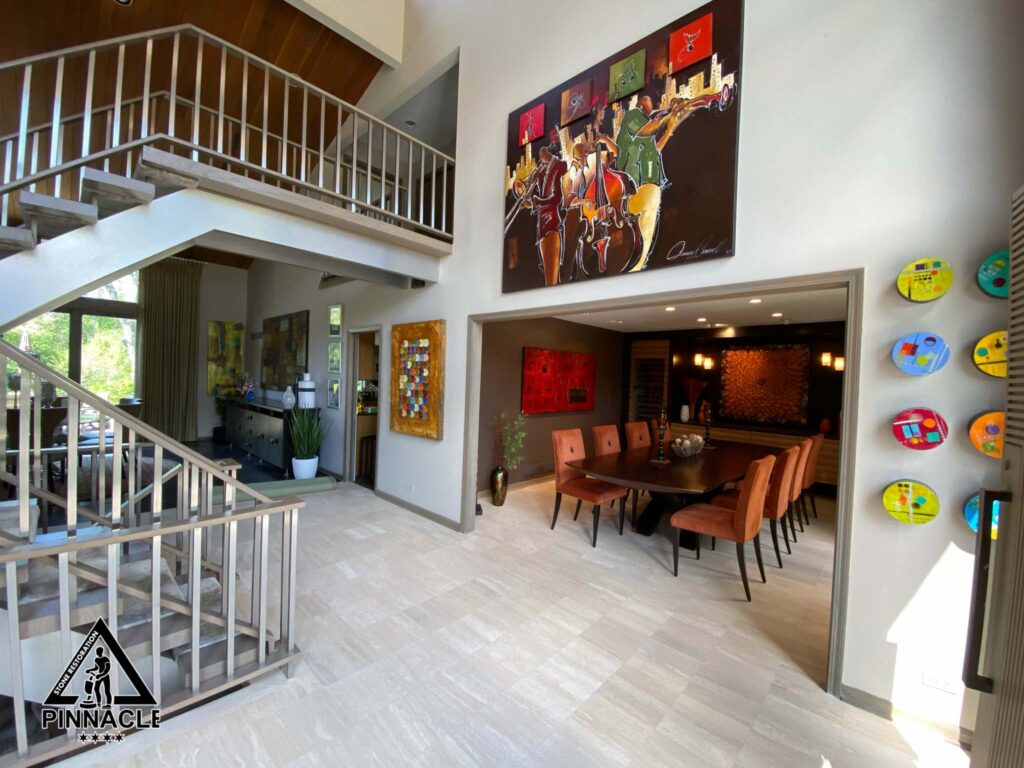
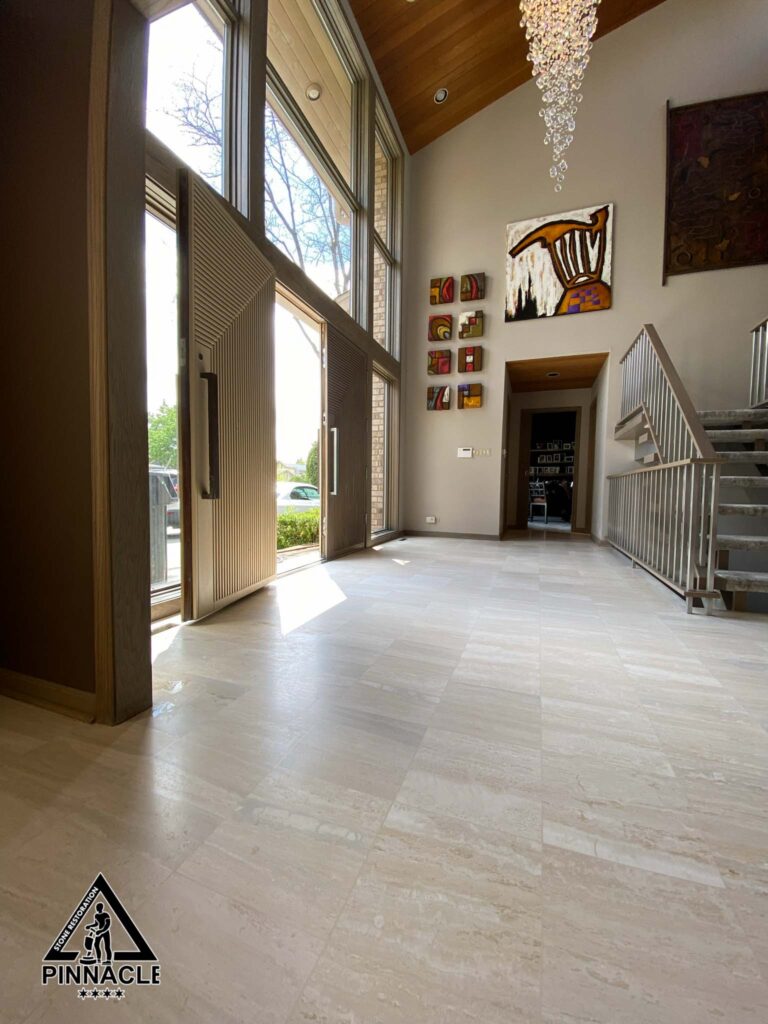
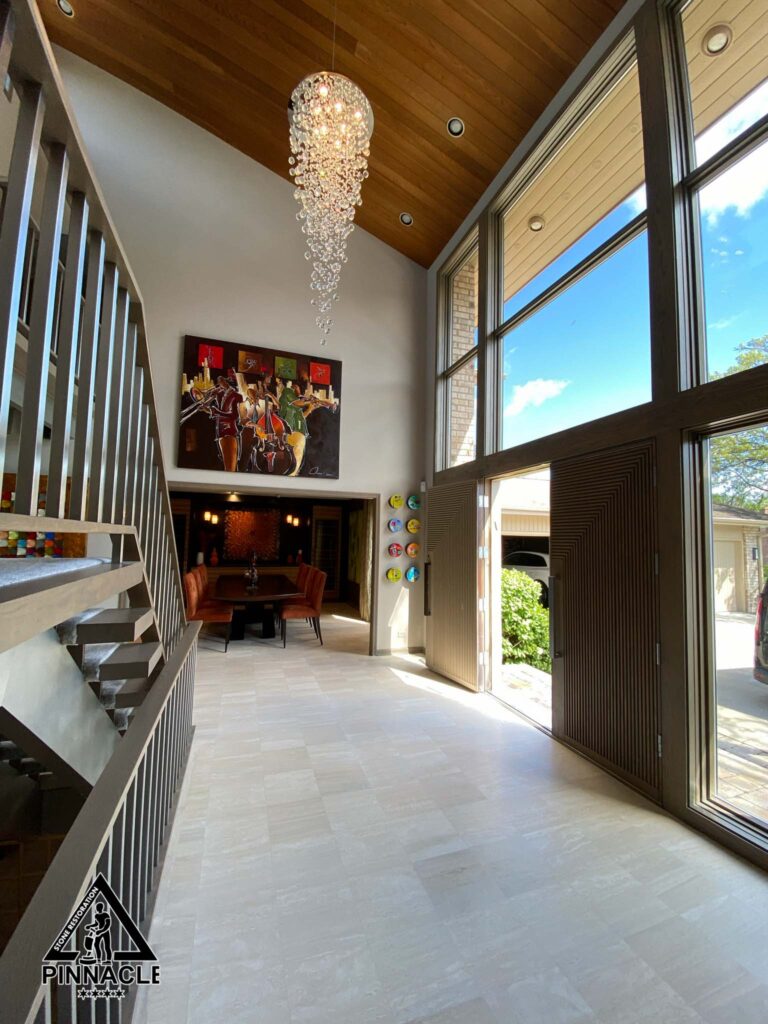
Our 8+refinishing system was the right fit for this project and results delivered exceeded customer’s expectations.
BEFORE AND AFTER
If you have questions or if you are interested in 8+refinishing system call or text (630) 379-7362 to schedule a FREE estimate today.

Kosta Ebanoidze
Kosta Ebanoidze is a stone and terrazzo restoration expert specializing in professional stone restoration, terrazzo repair, and surface preservation. With a background in fine arts and professional athletics, he brings precision, discipline, and craftsmanship to every restoration project, ensuring high-quality results and long-lasting surface durability.