Restoring a Structurally Challenged Marble Floor: A Case Study
Introduction
Marble floors, renowned for their timeless elegance and durability, can sometimes exhibit structural challenges, especially in older installations. Recently, we encountered a marble floor, specifically a Crema Marfil marble, with significant settling cracks and loose grout, indicating a weakened substructure.
This blog details the methodology we used to restore the floor and achieve a visually appealing and structurally sound result.
Assessing the Problem
Upon initial inspection, it was evident that the floor had extensive settling cracks and loose grout throughout.
These issues were clear indicators of an underlying weakness in the floor’s foundation. Addressing these problems required a comprehensive and meticulous approach to ensure both the floor’s durability and aesthetic appeal.
Methodology
Step 1: Removing the Existing Grout
The first step in our restoration process was to remove the existing grout.
Loose grout not only detracts from the floor’s appearance but also compromises its integrity.
Using specialized tools, we carefully extracted the old grout to prepare the joints for a more durable filling material.
Step 2: Applying Epoxy Resin
To replace the removed grout, we chose an epoxy resin that closely matched the background color of the Crema Marfil marble. Epoxy resin was selected for its superior bonding properties and durability, ensuring a longer-lasting solution compared to traditional grout.
This step involved precise application to seamlessly integrate the resin with the surrounding stone.
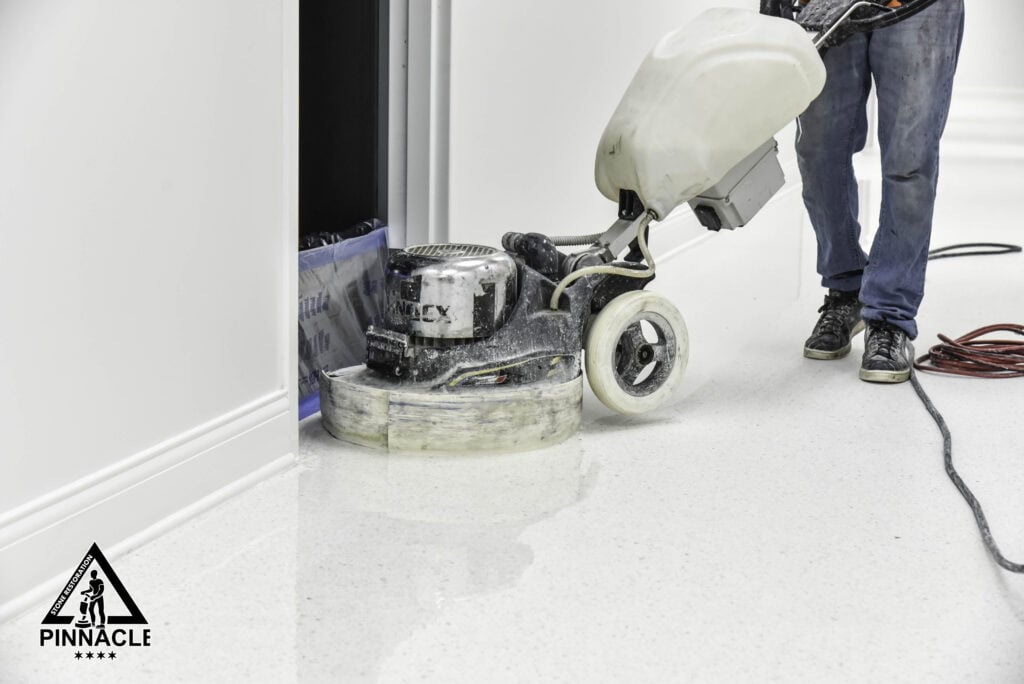
Step 3: Grinding Down the Floor
Next, we addressed the unevenness of the floor by grinding it down to a flat surface.
This process not only smoothed out any lippage (height differences between tiles) but also removed any surface imperfections, preparing the floor for crack repair and finishing.
Step 4: Reinforcing Cracks with Resin
Each crack in the marble was then filled with resin to reinforce the structure.
This step was crucial for preventing further cracking and ensuring the stability of the floor. By carefully injecting the resin into the cracks, we restored the floor’s integrity and prevented future issues.
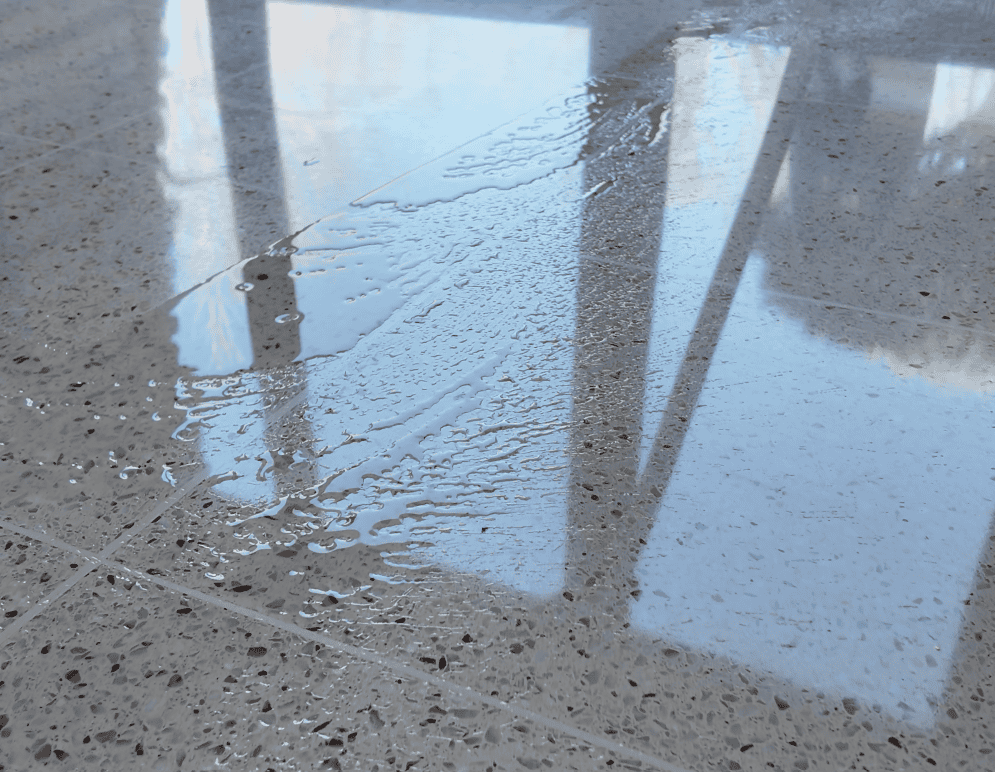
Step 5: Creating a Leather or Antique Finish
Instead of opting for the traditional honing and polishing, we chose to texture finish the floor. We created a leather or antique finish, which not only added a unique aesthetic but also helped to hide the settlement cracks.
This finish mimicked the natural appearance of aged marble, enhancing the overall look while providing a practical solution to the visible cracks.
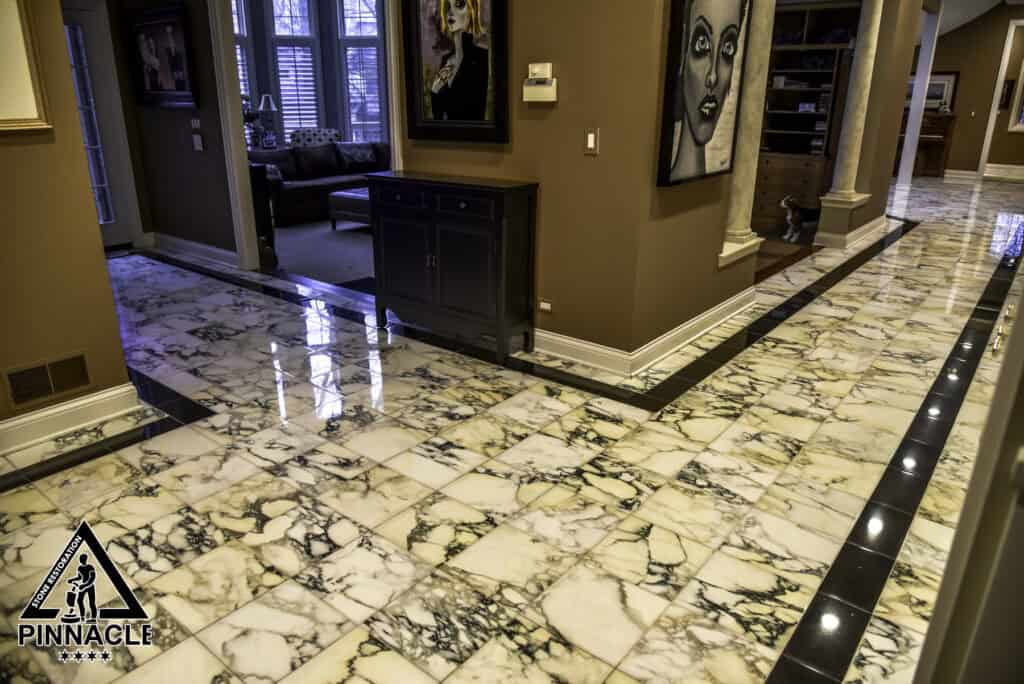
Results
The outcome of the project was exceptional. The floor not only looked stunning with its antique finish but also regained its structural integrity.
The combination of epoxy resin and textured finishing provided a durable and visually pleasing solution, meeting the client’s expectations and ensuring the longevity of the floor.
Conclusion
Restoring a structurally challenged marble floor requires a thorough and methodical approach.
By removing the old grout, applying epoxy resin, grinding the floor, reinforcing cracks, and creating a leather or antique finish, we achieved a result that was both beautiful and durable.
This project demonstrates the effectiveness of using modern restoration techniques to address common issues in natural stone floors, ensuring they remain a cherished feature in any space.
For more insights into our restoration projects, visit our YouTube channel, Pinnacle Stone Restoration, where we showcase our detailed processes and stunning transformations.