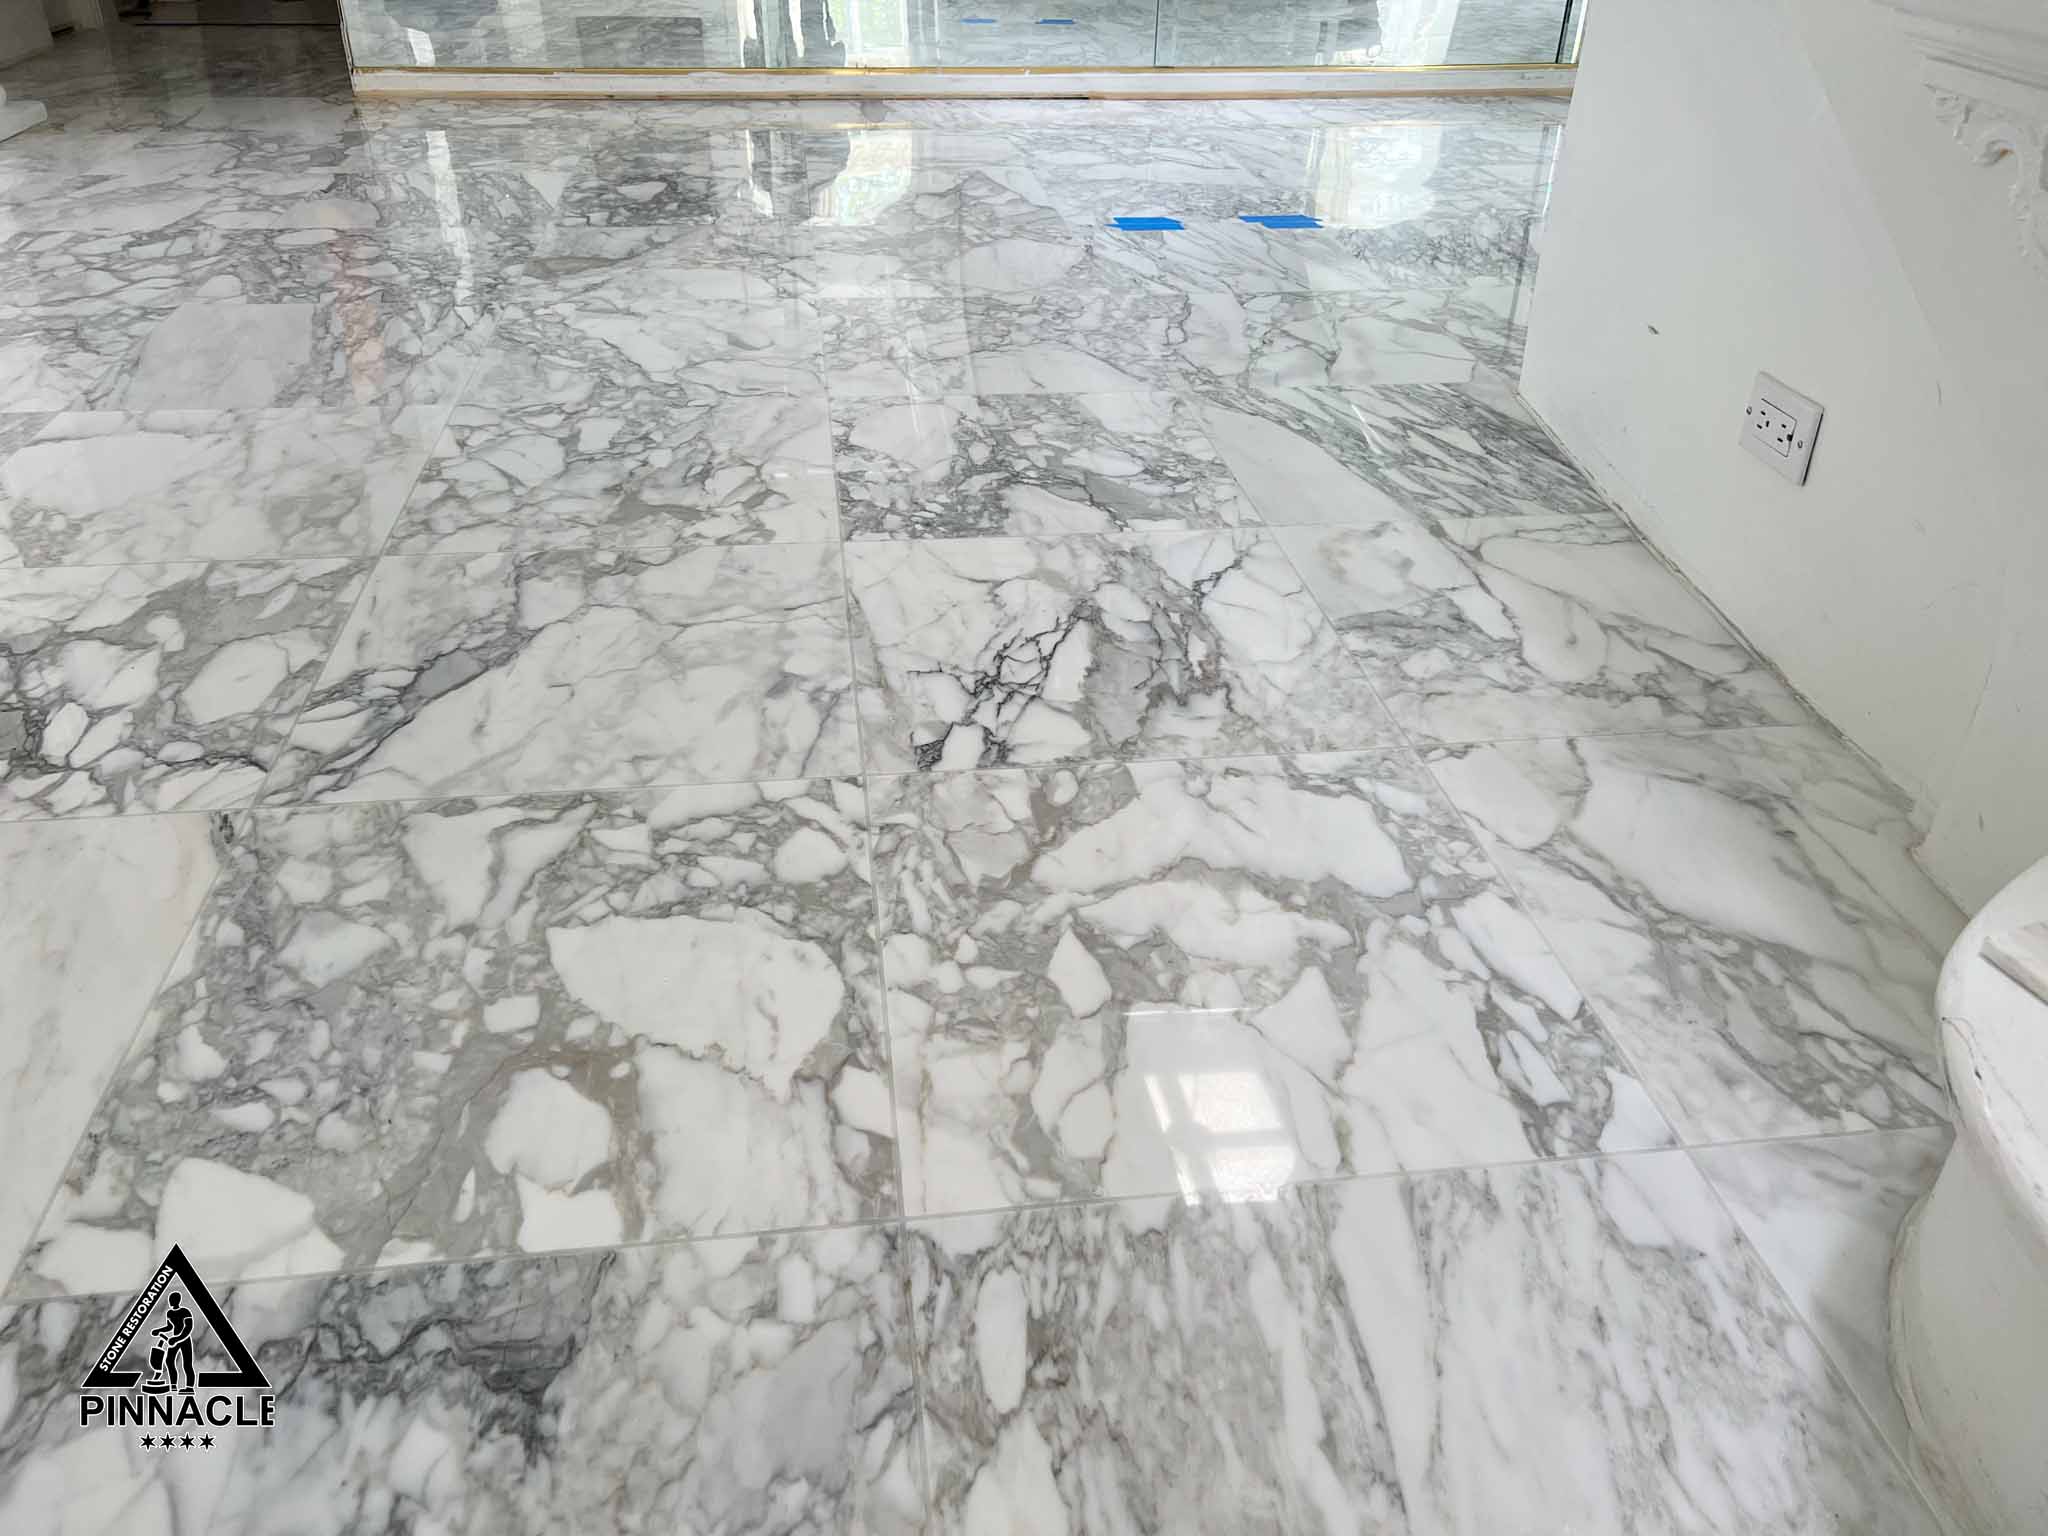
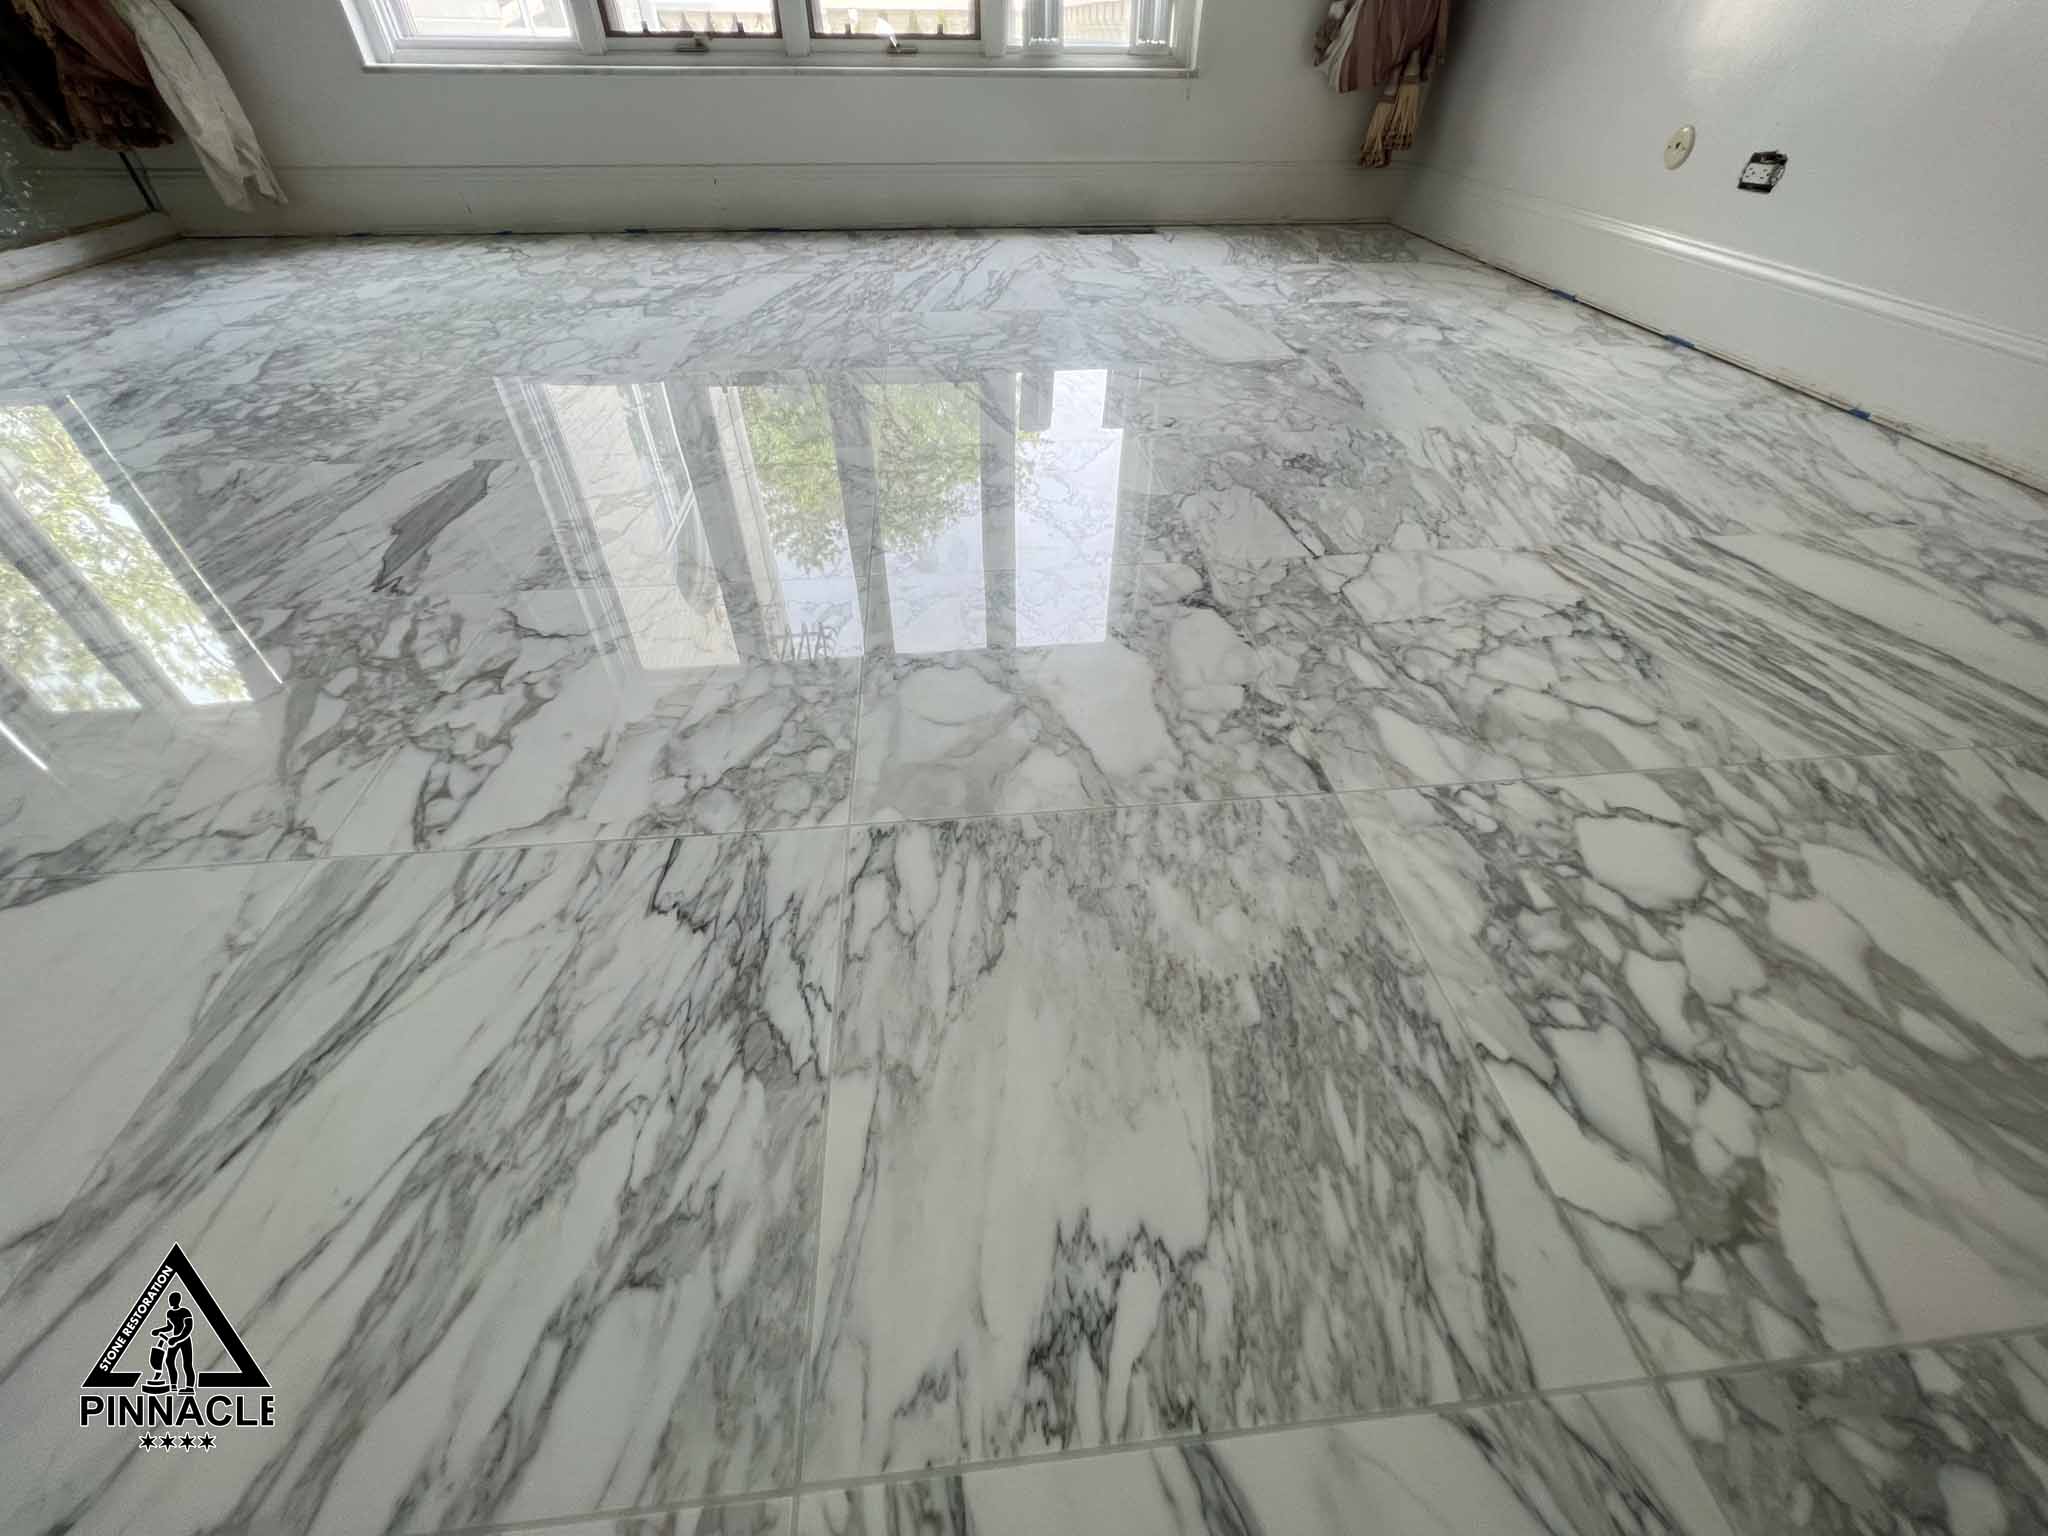
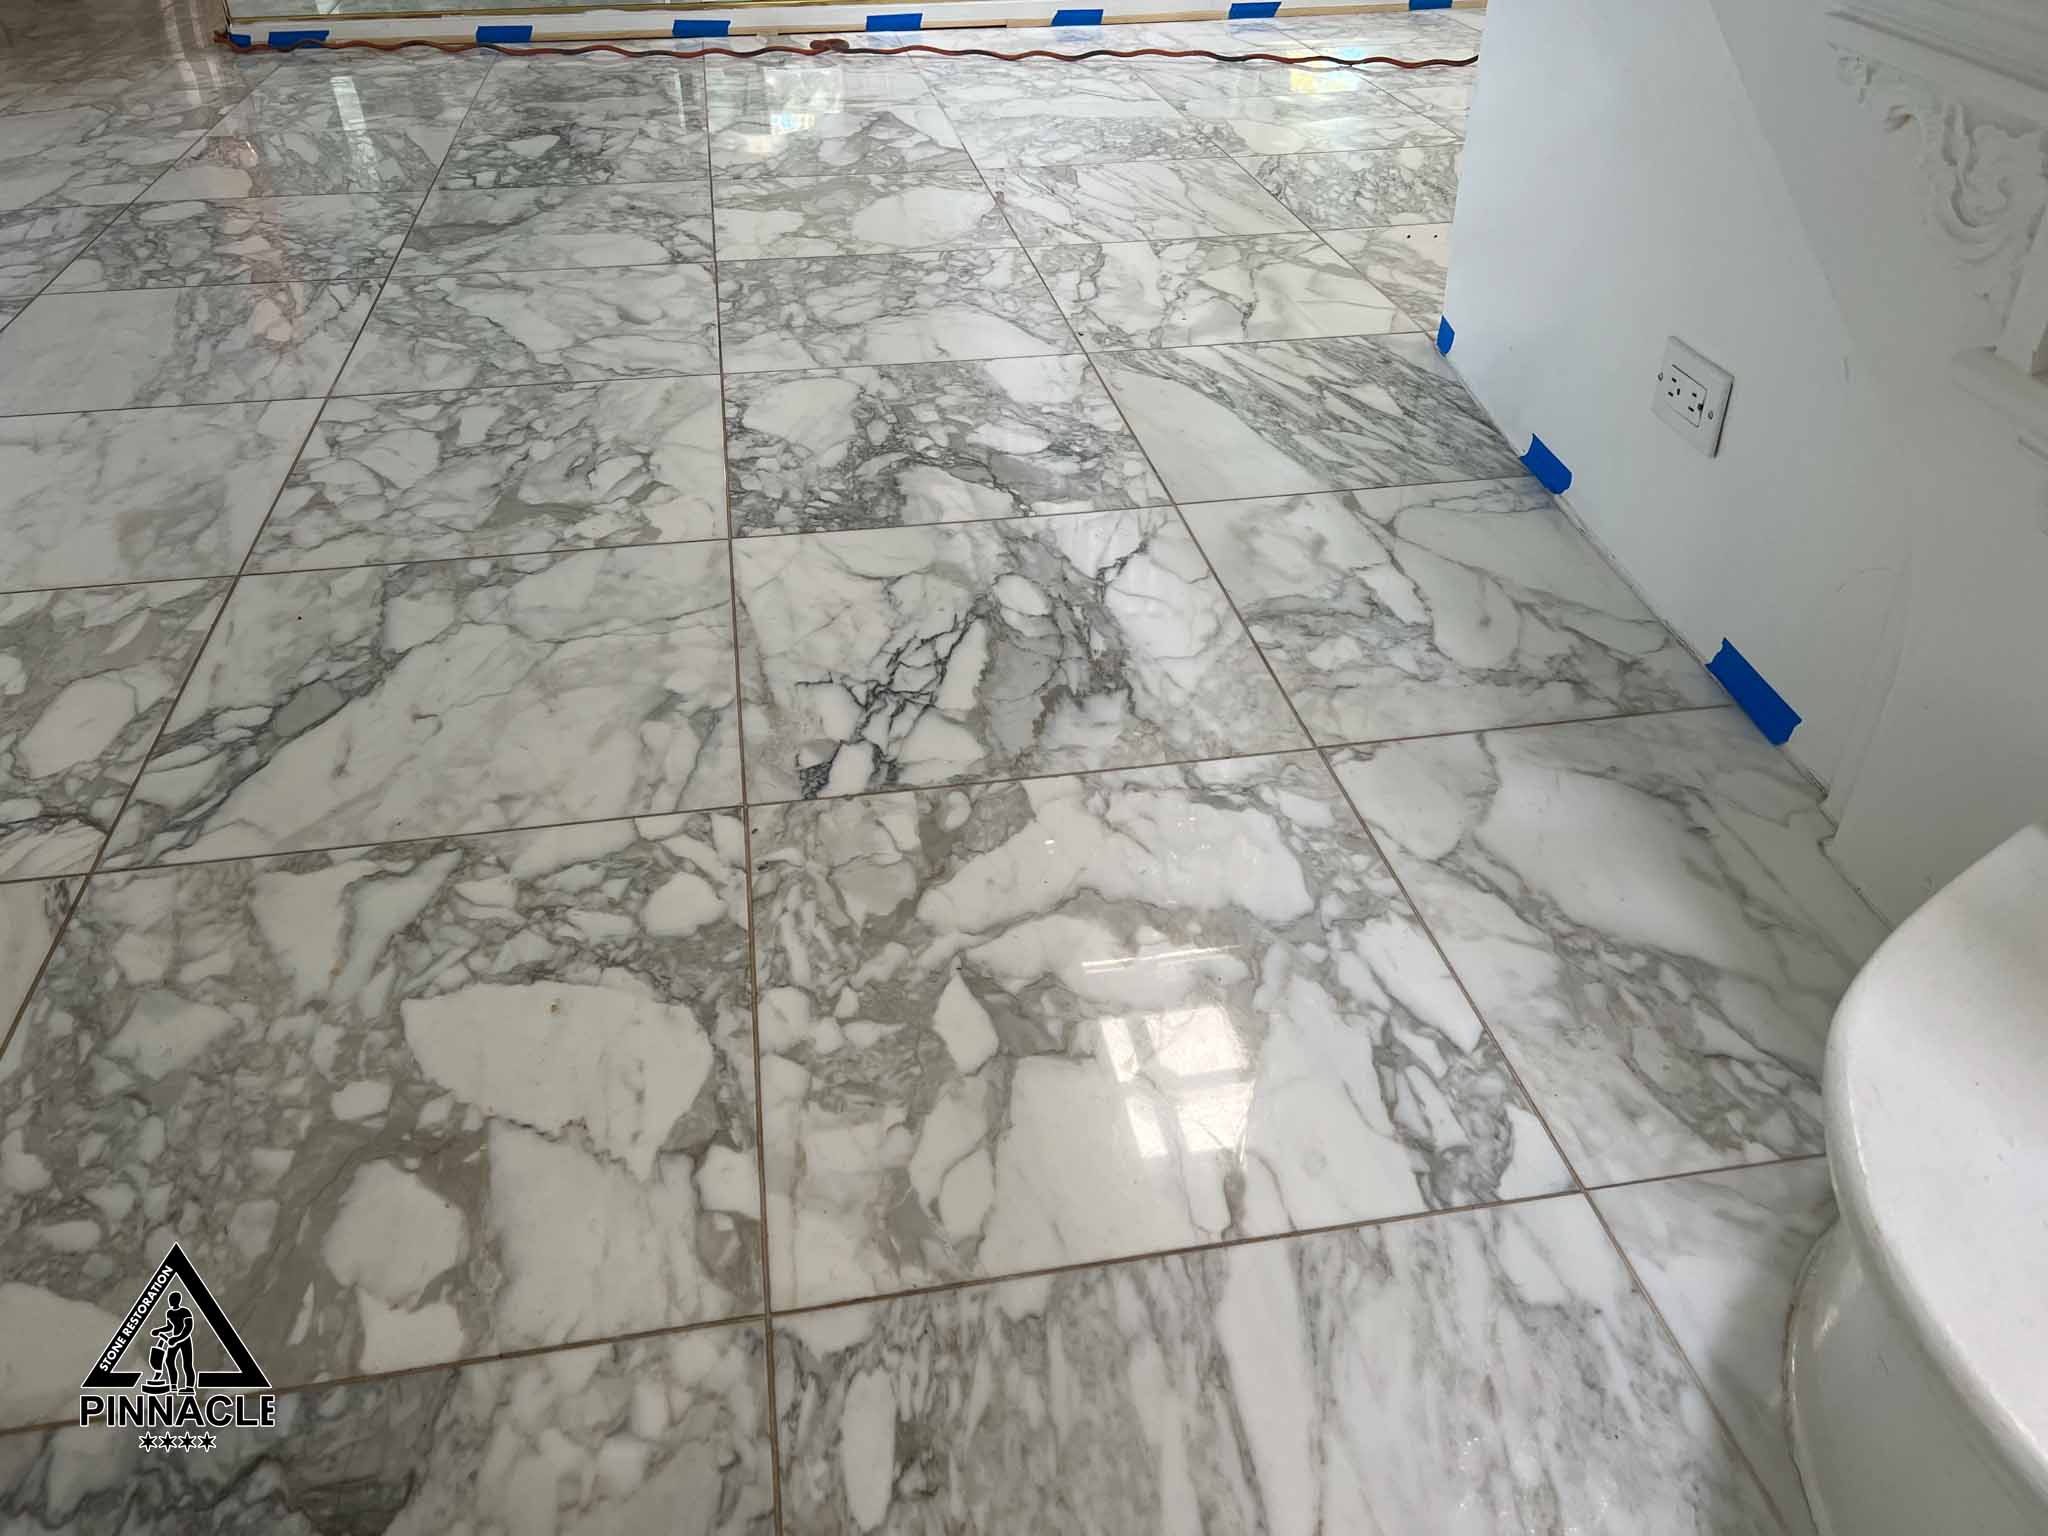
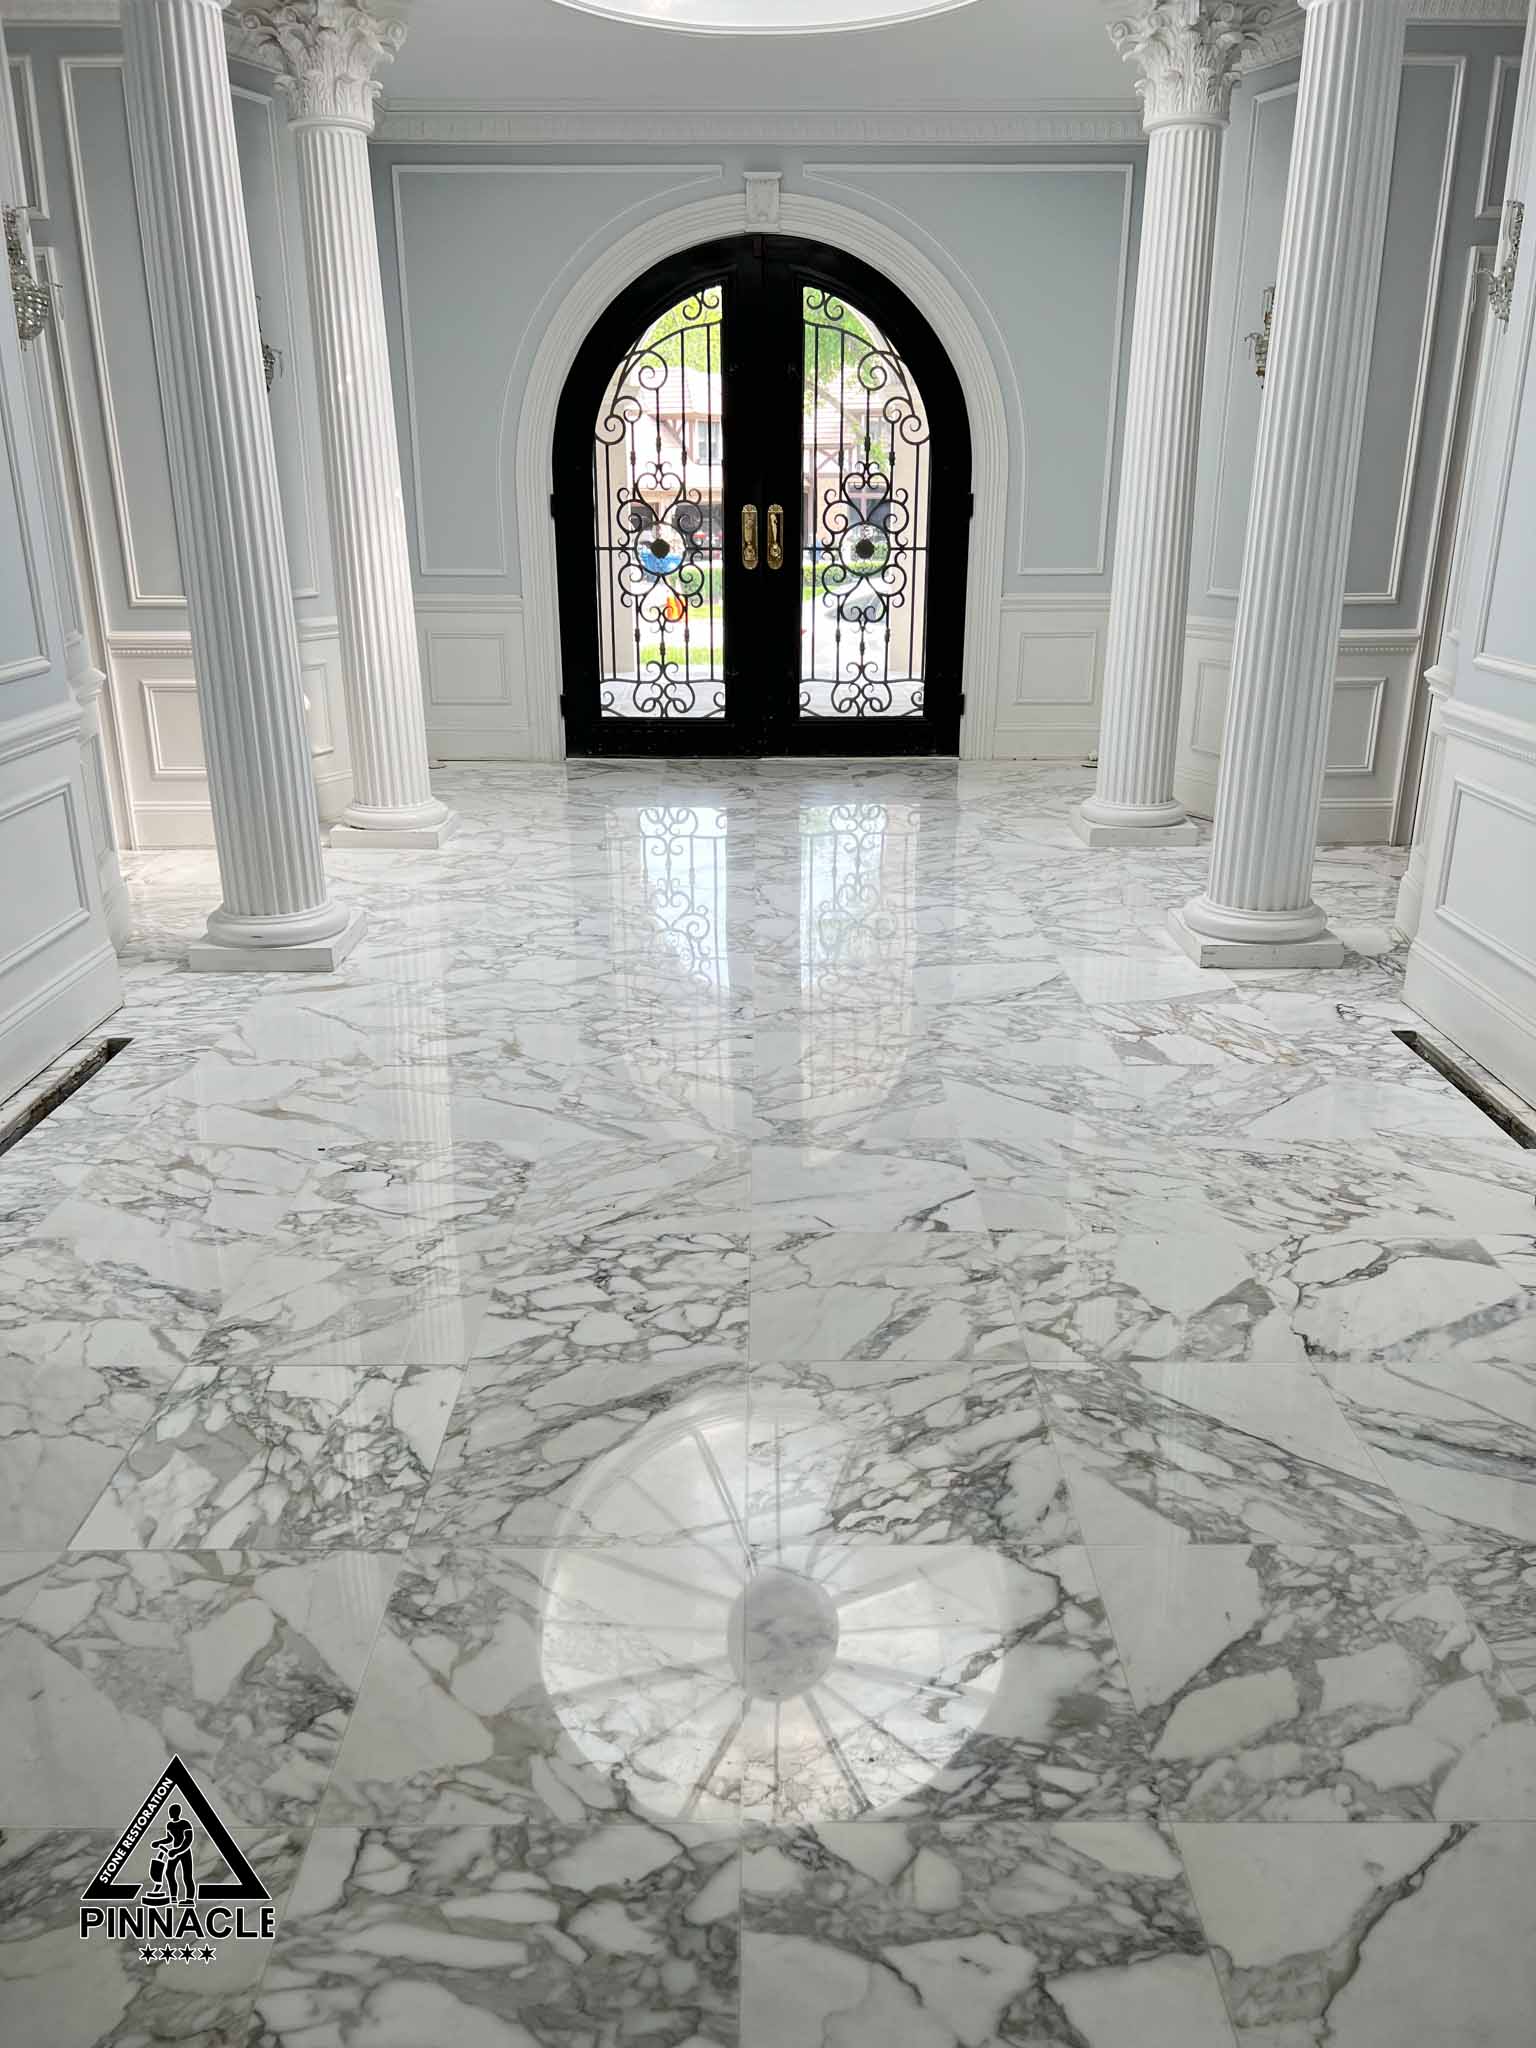
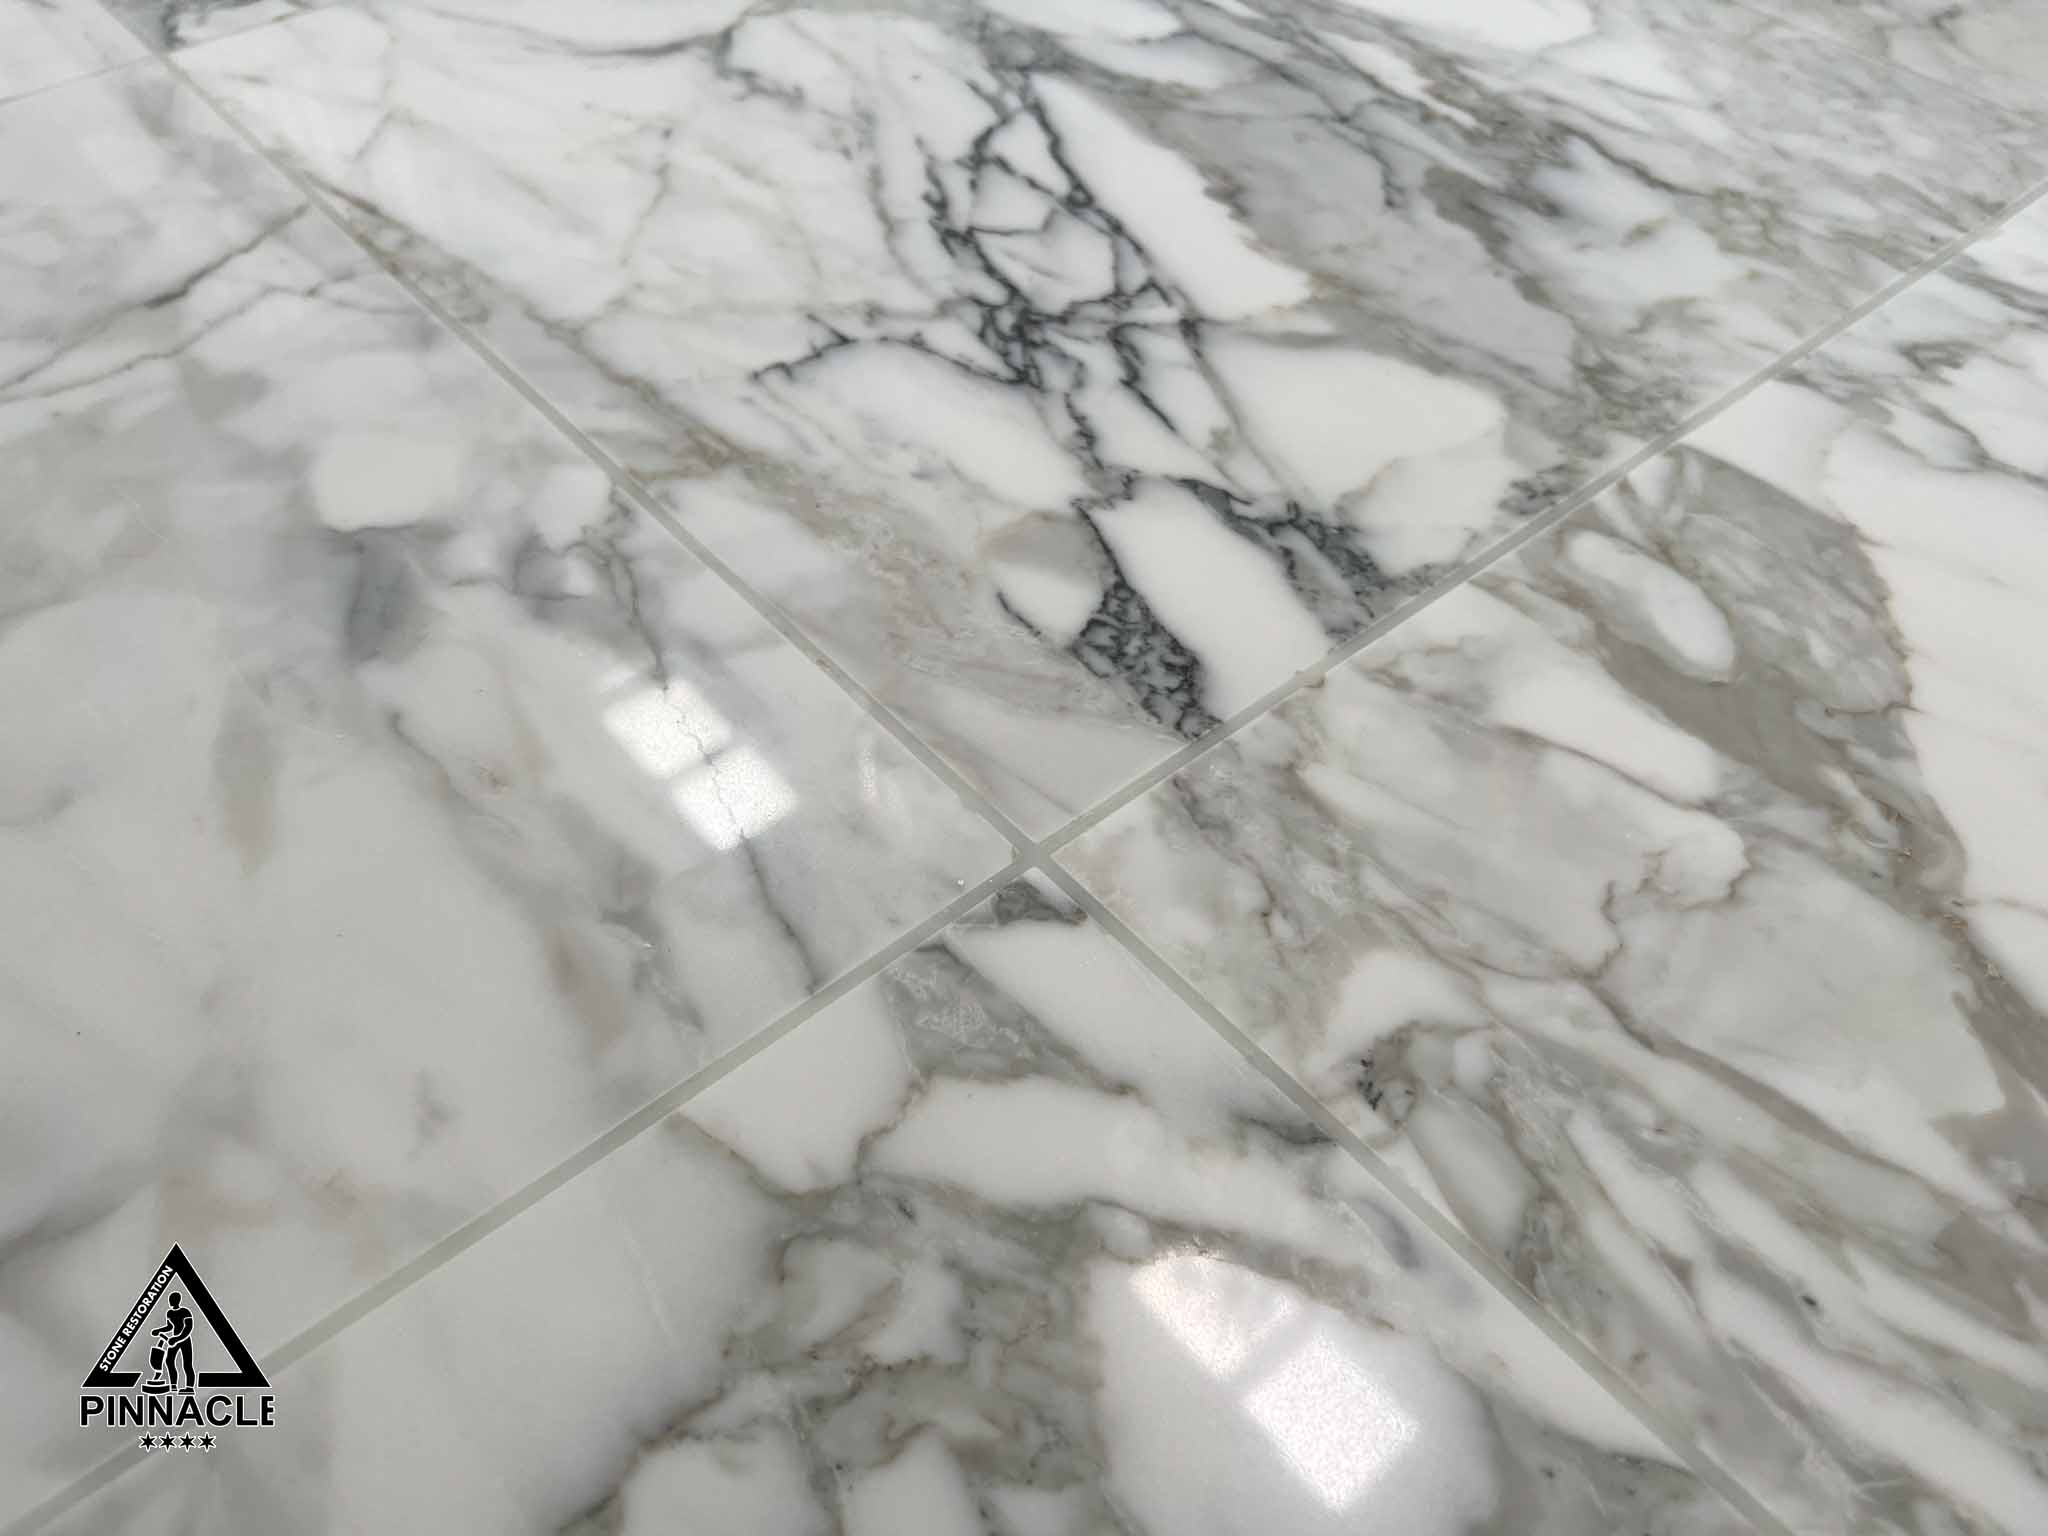
This 8+ steps refinishing system of marble tile have restored and brought a different brand-new look to a gorgeous calacatta gold marble floor. From now on this flooring has no more visible lines, no more tile lippage, no more dirty grout, no more scratches, no more cracks and dullness of the marble. We performed full restoration and repair, including multiple tile removal and installation per customer request. As you can see the results speak for themselves, it was a very detail oriented large project with the fantastic results and a very happy customer. Here are the 8+ steps of the restoration process:
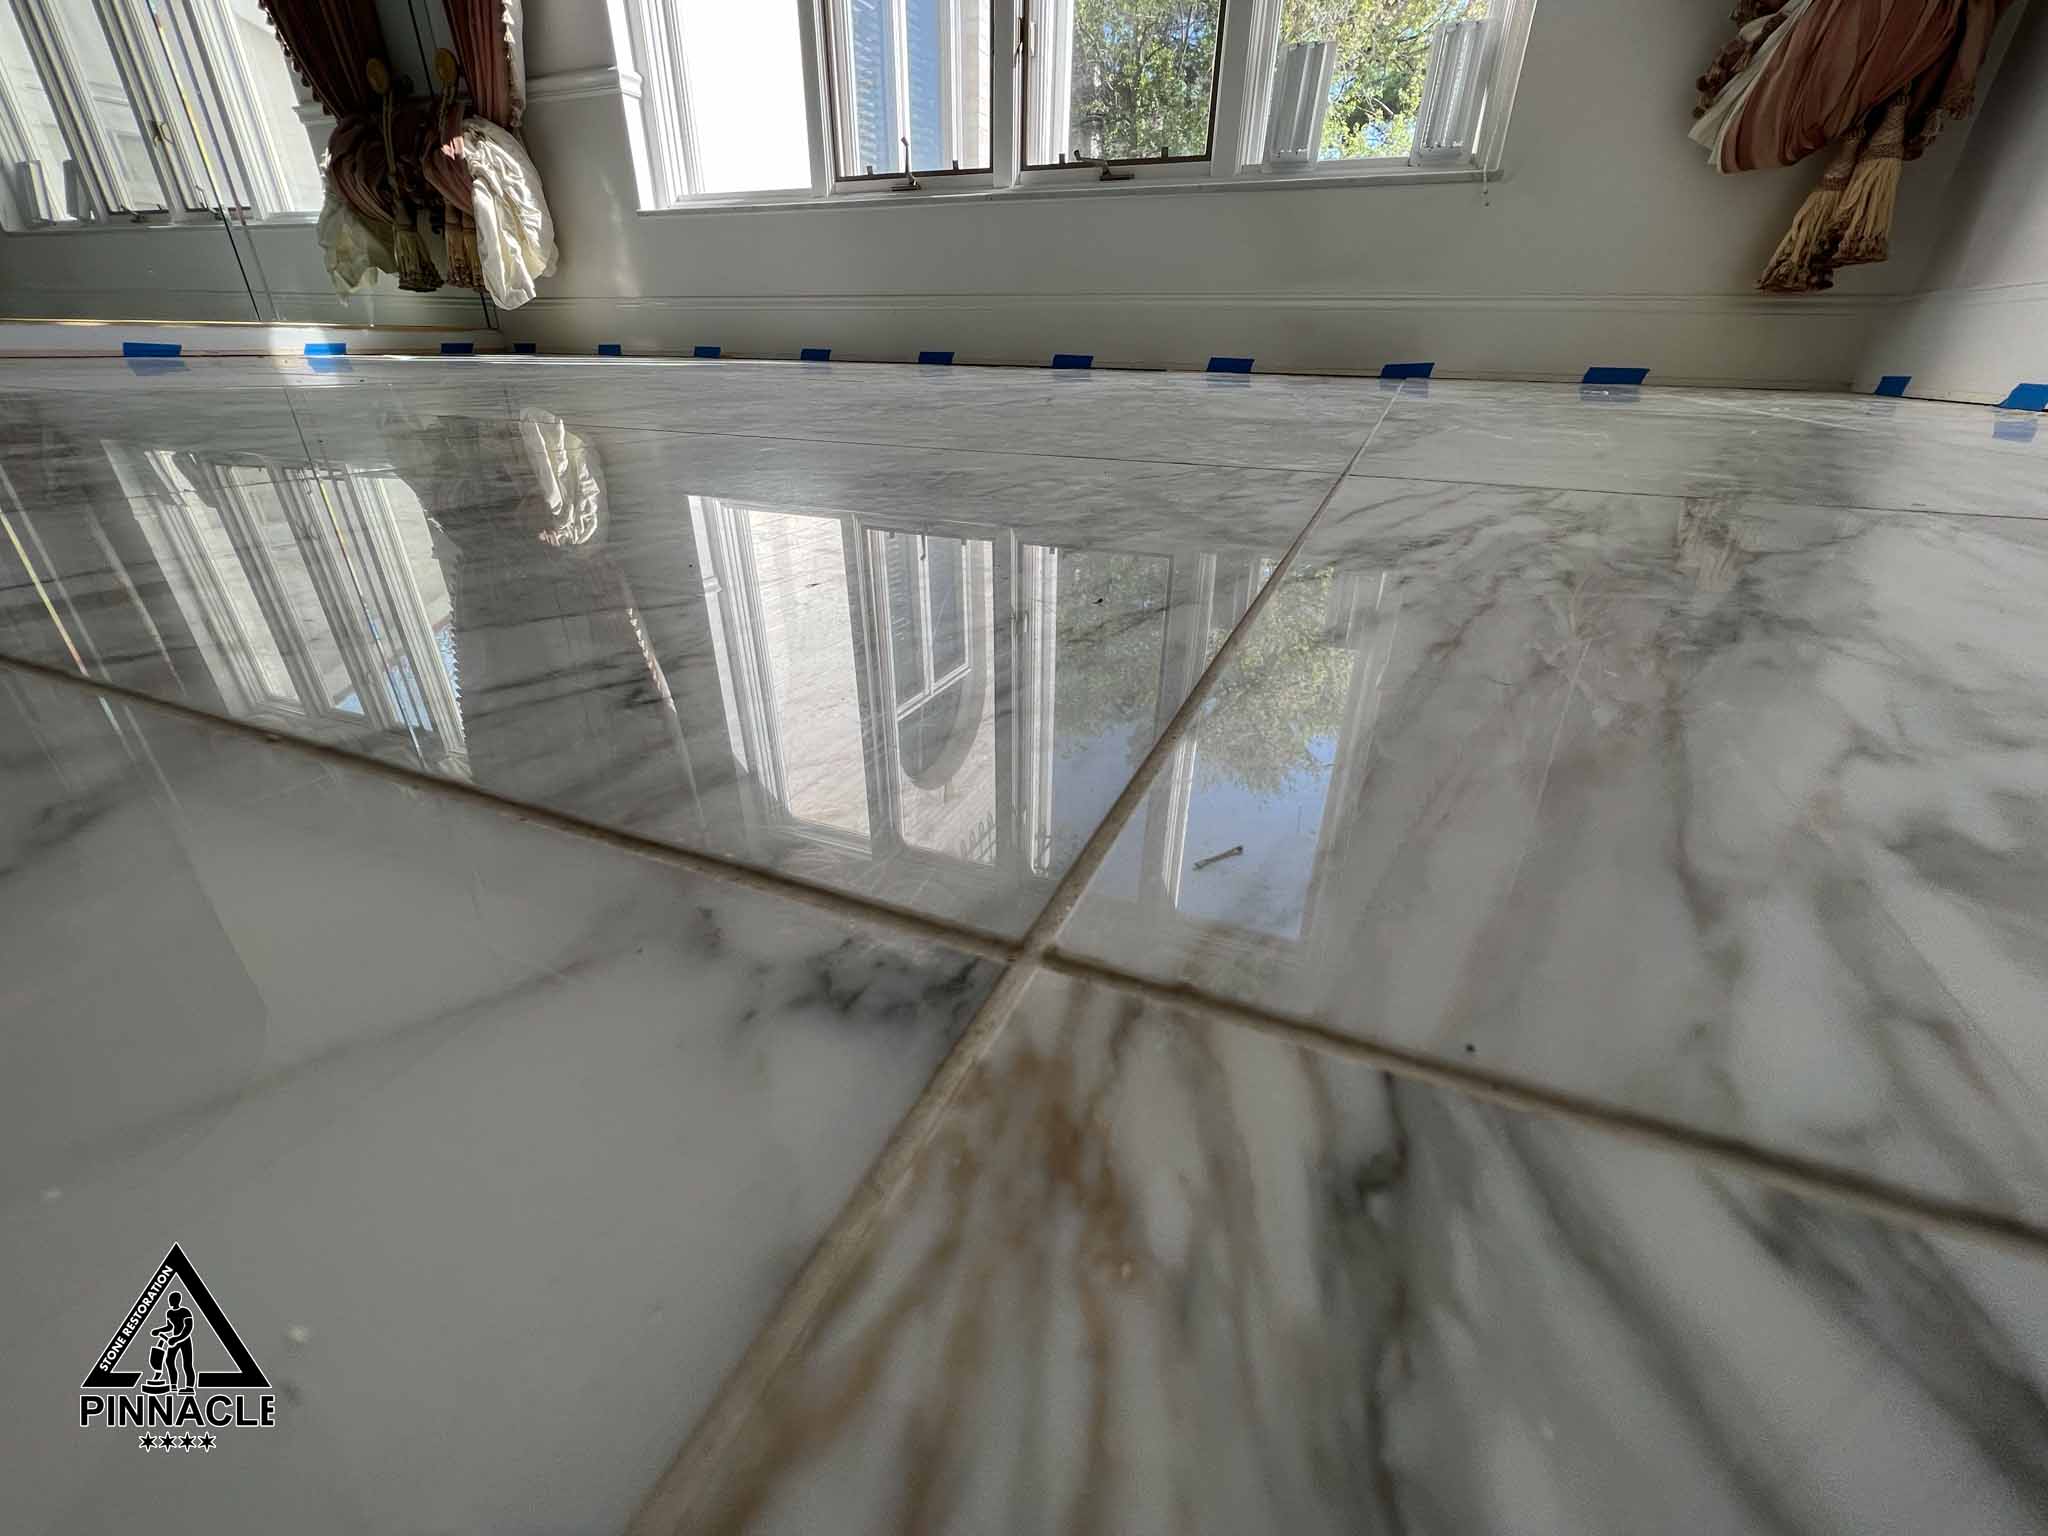
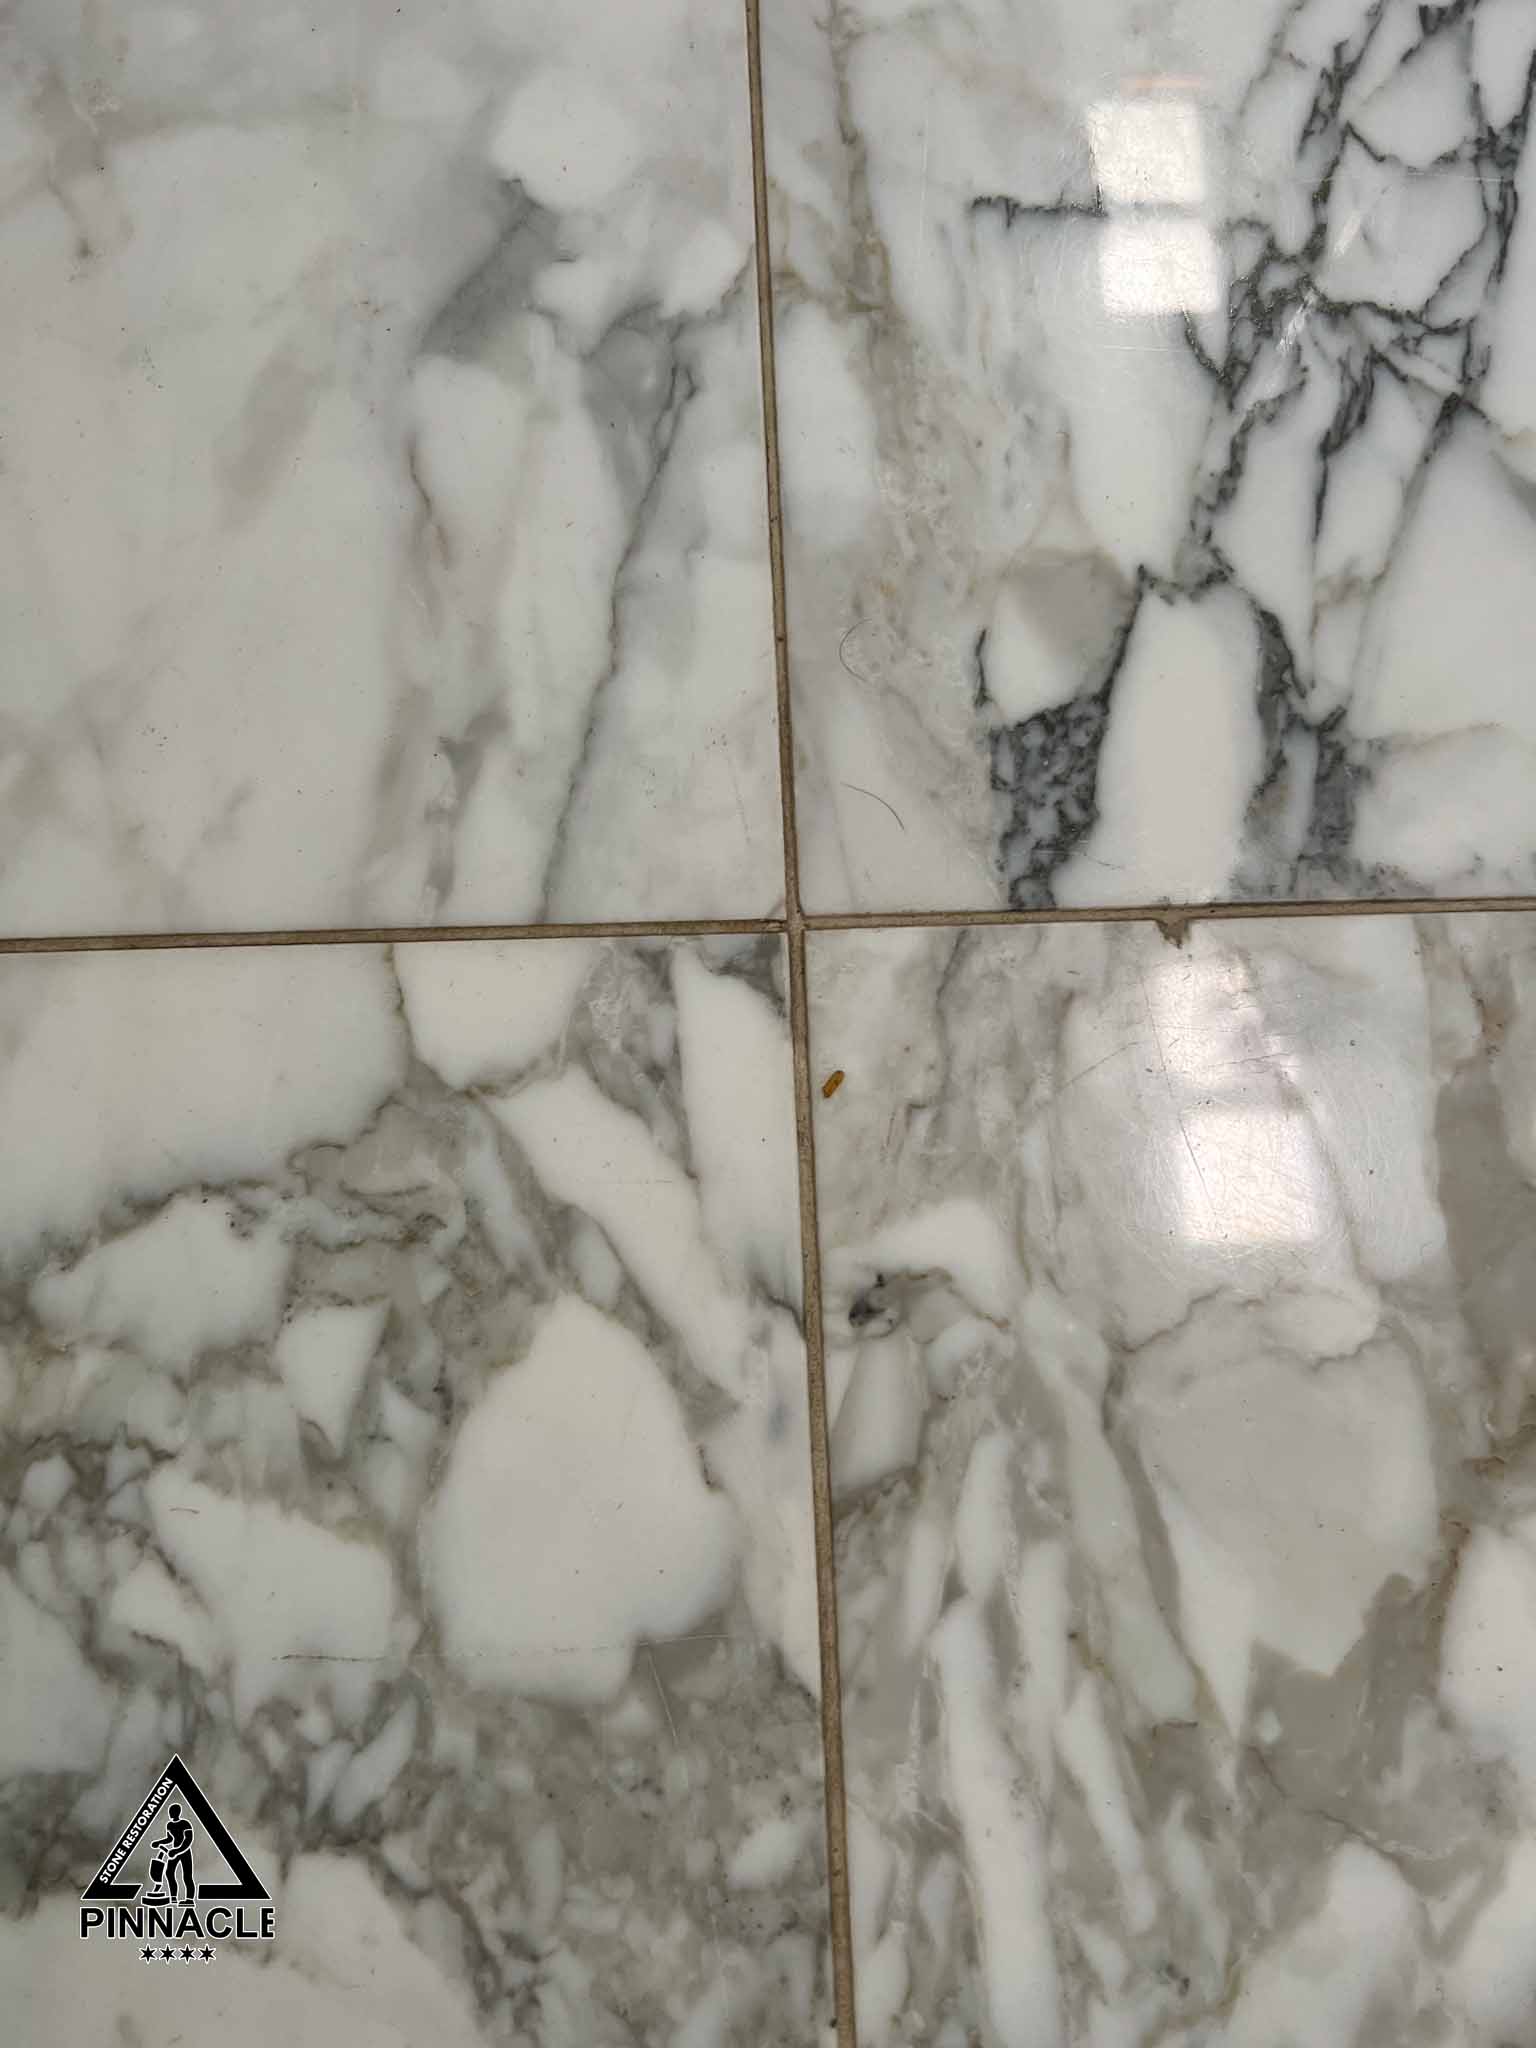
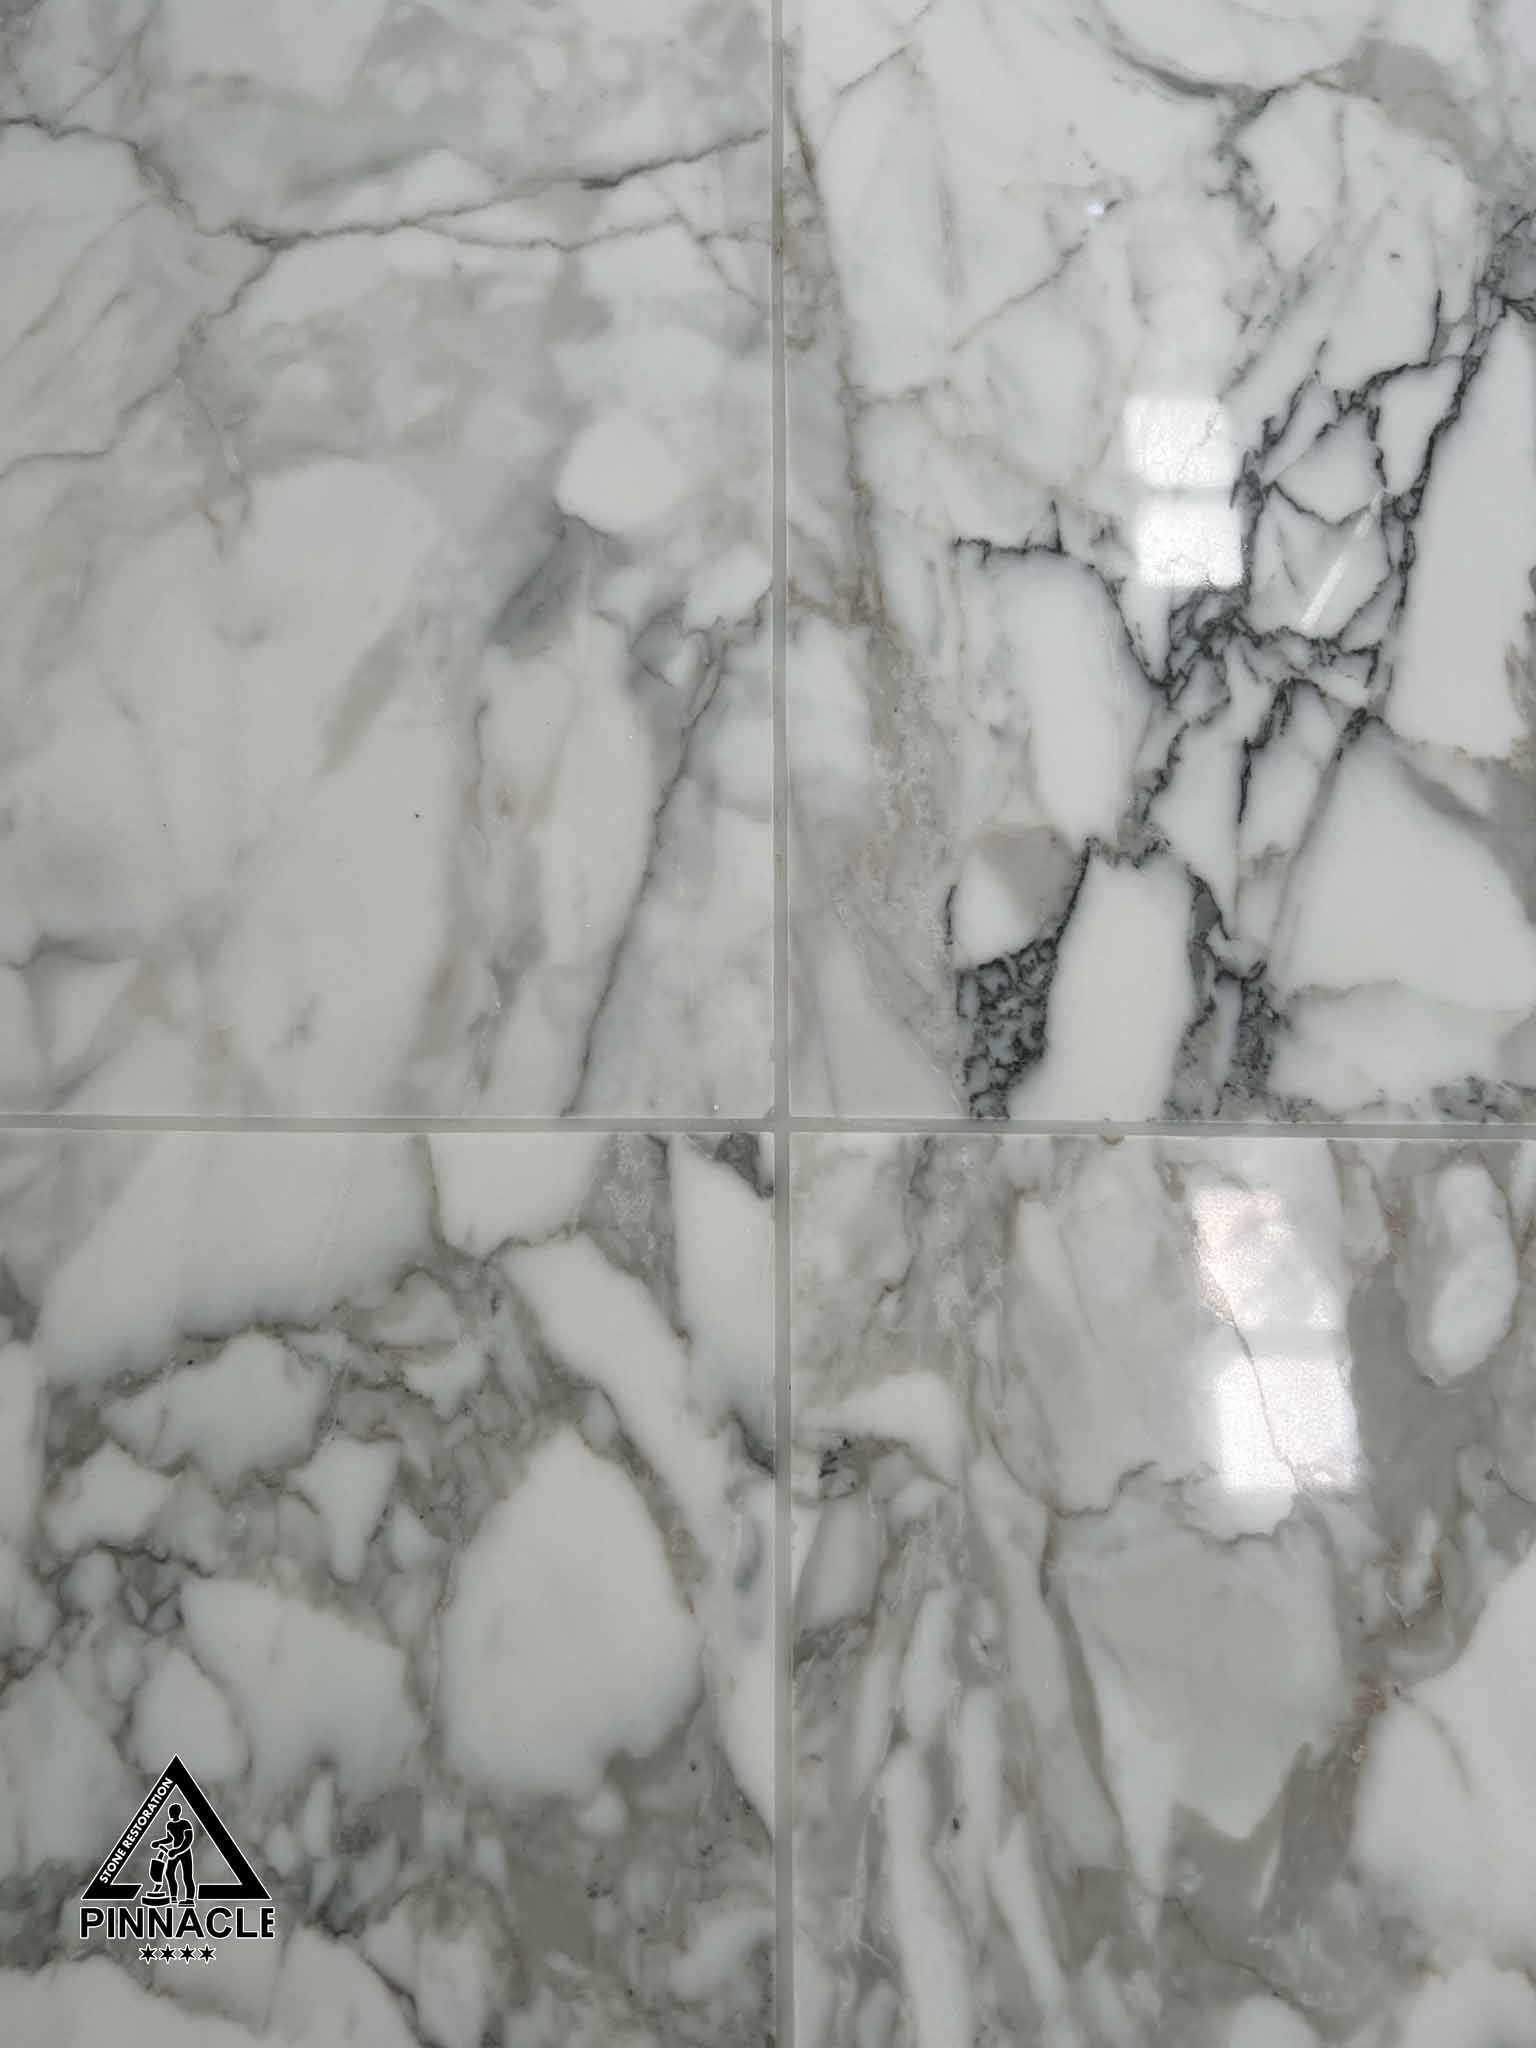
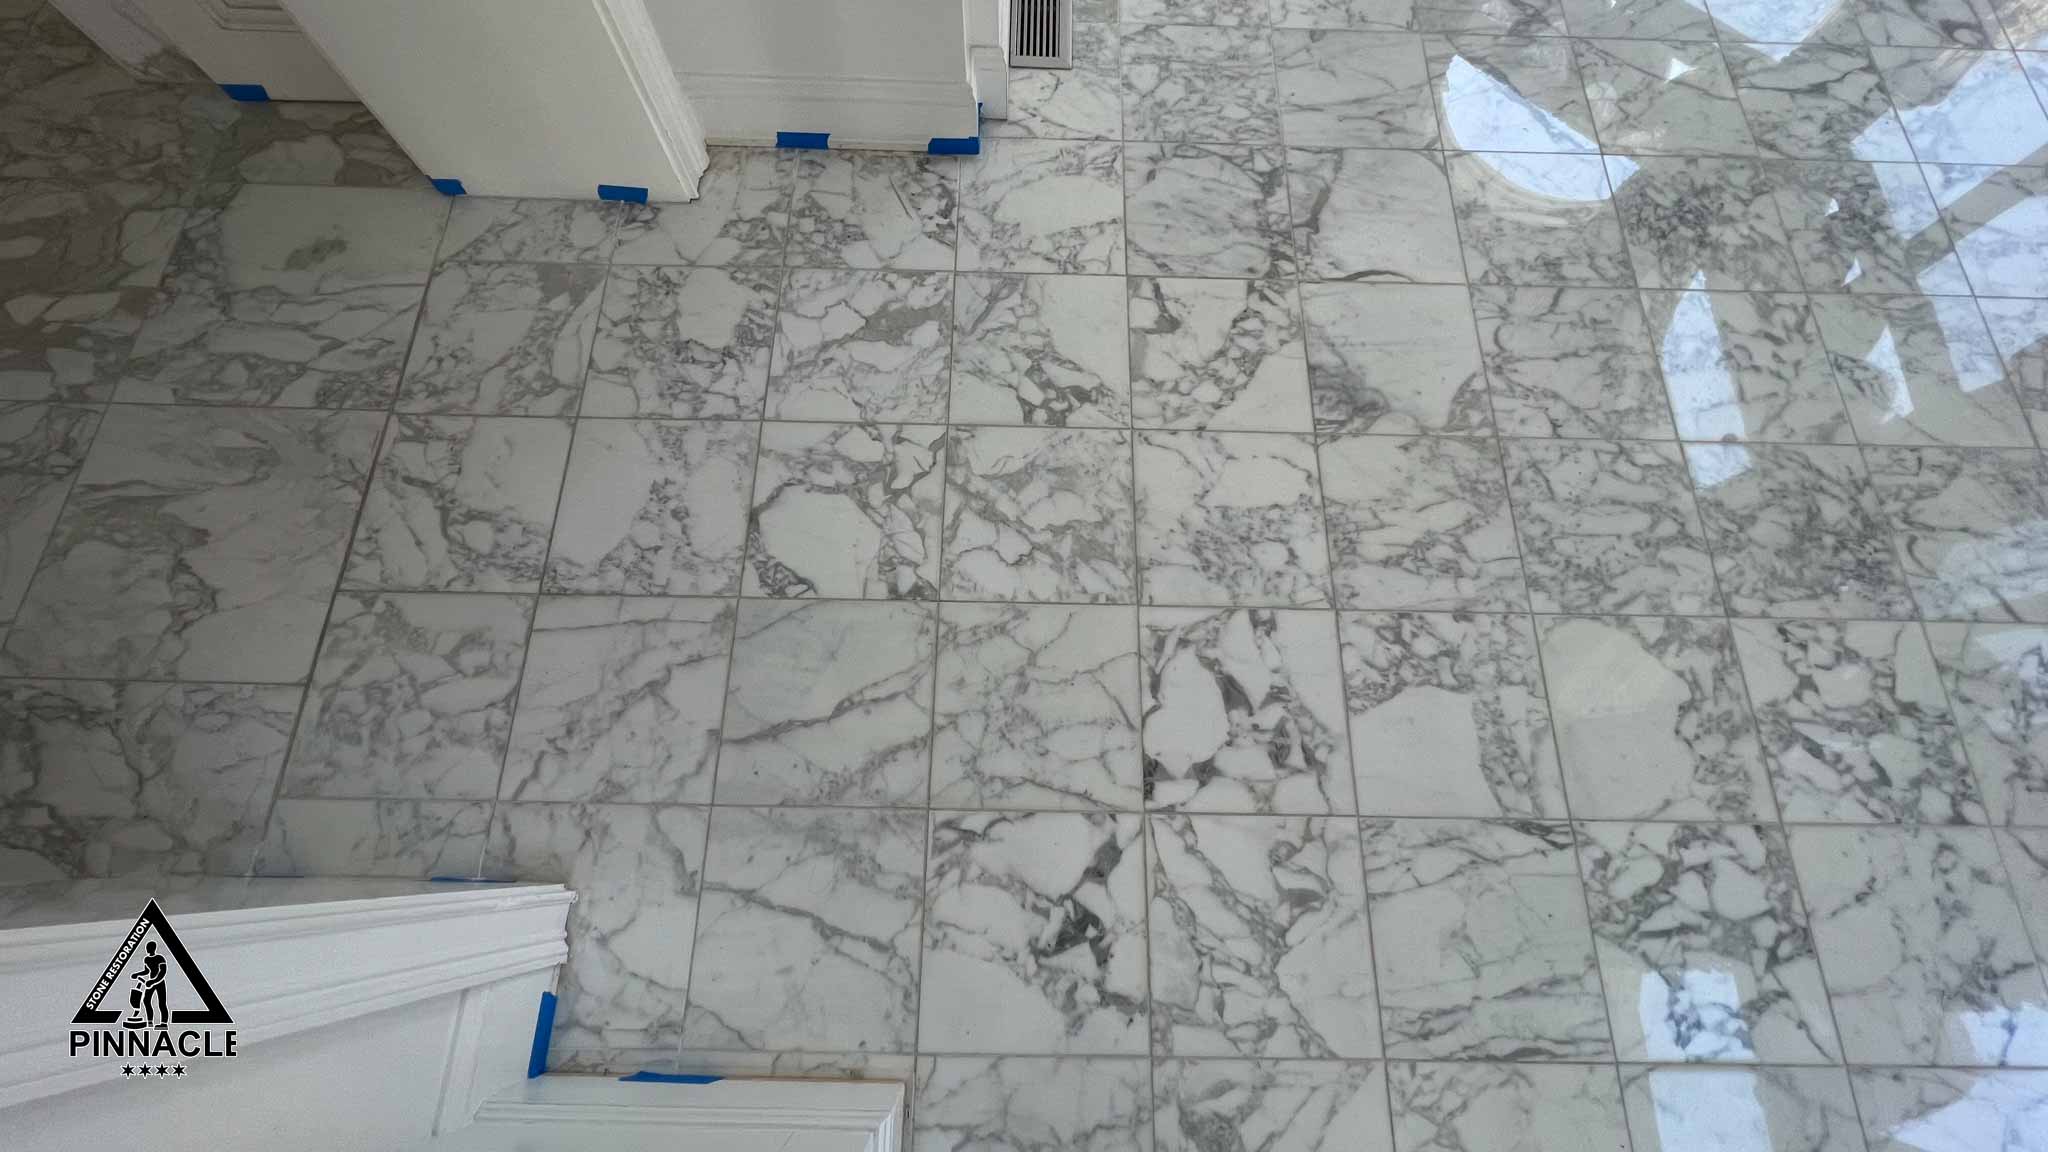
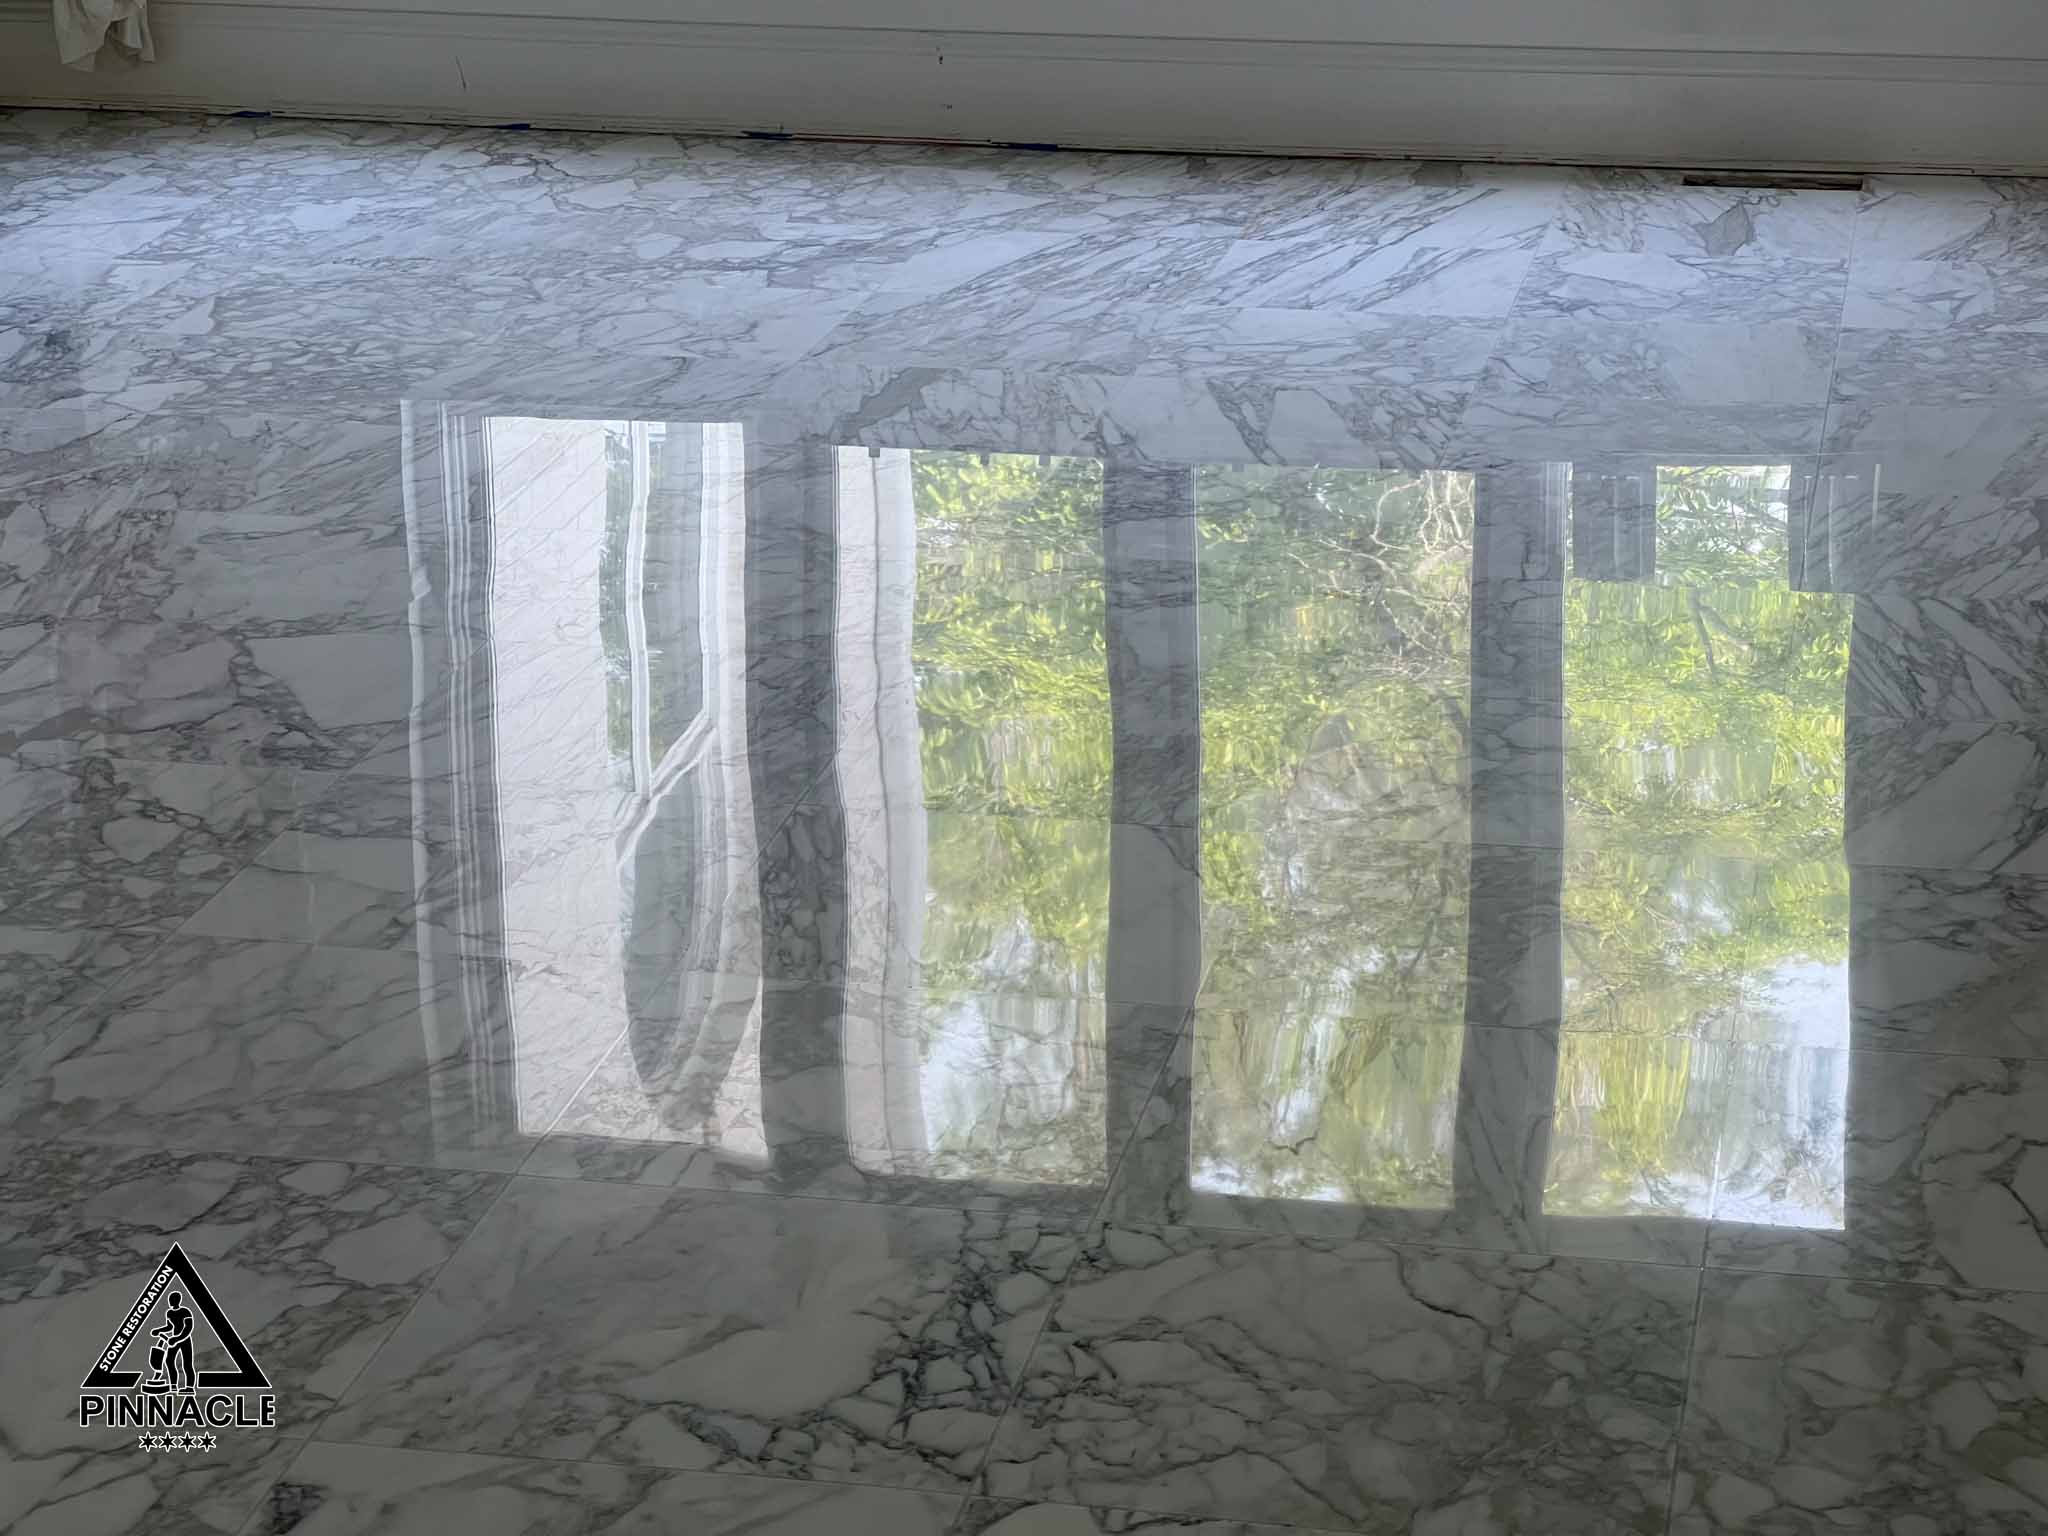
BEFORE
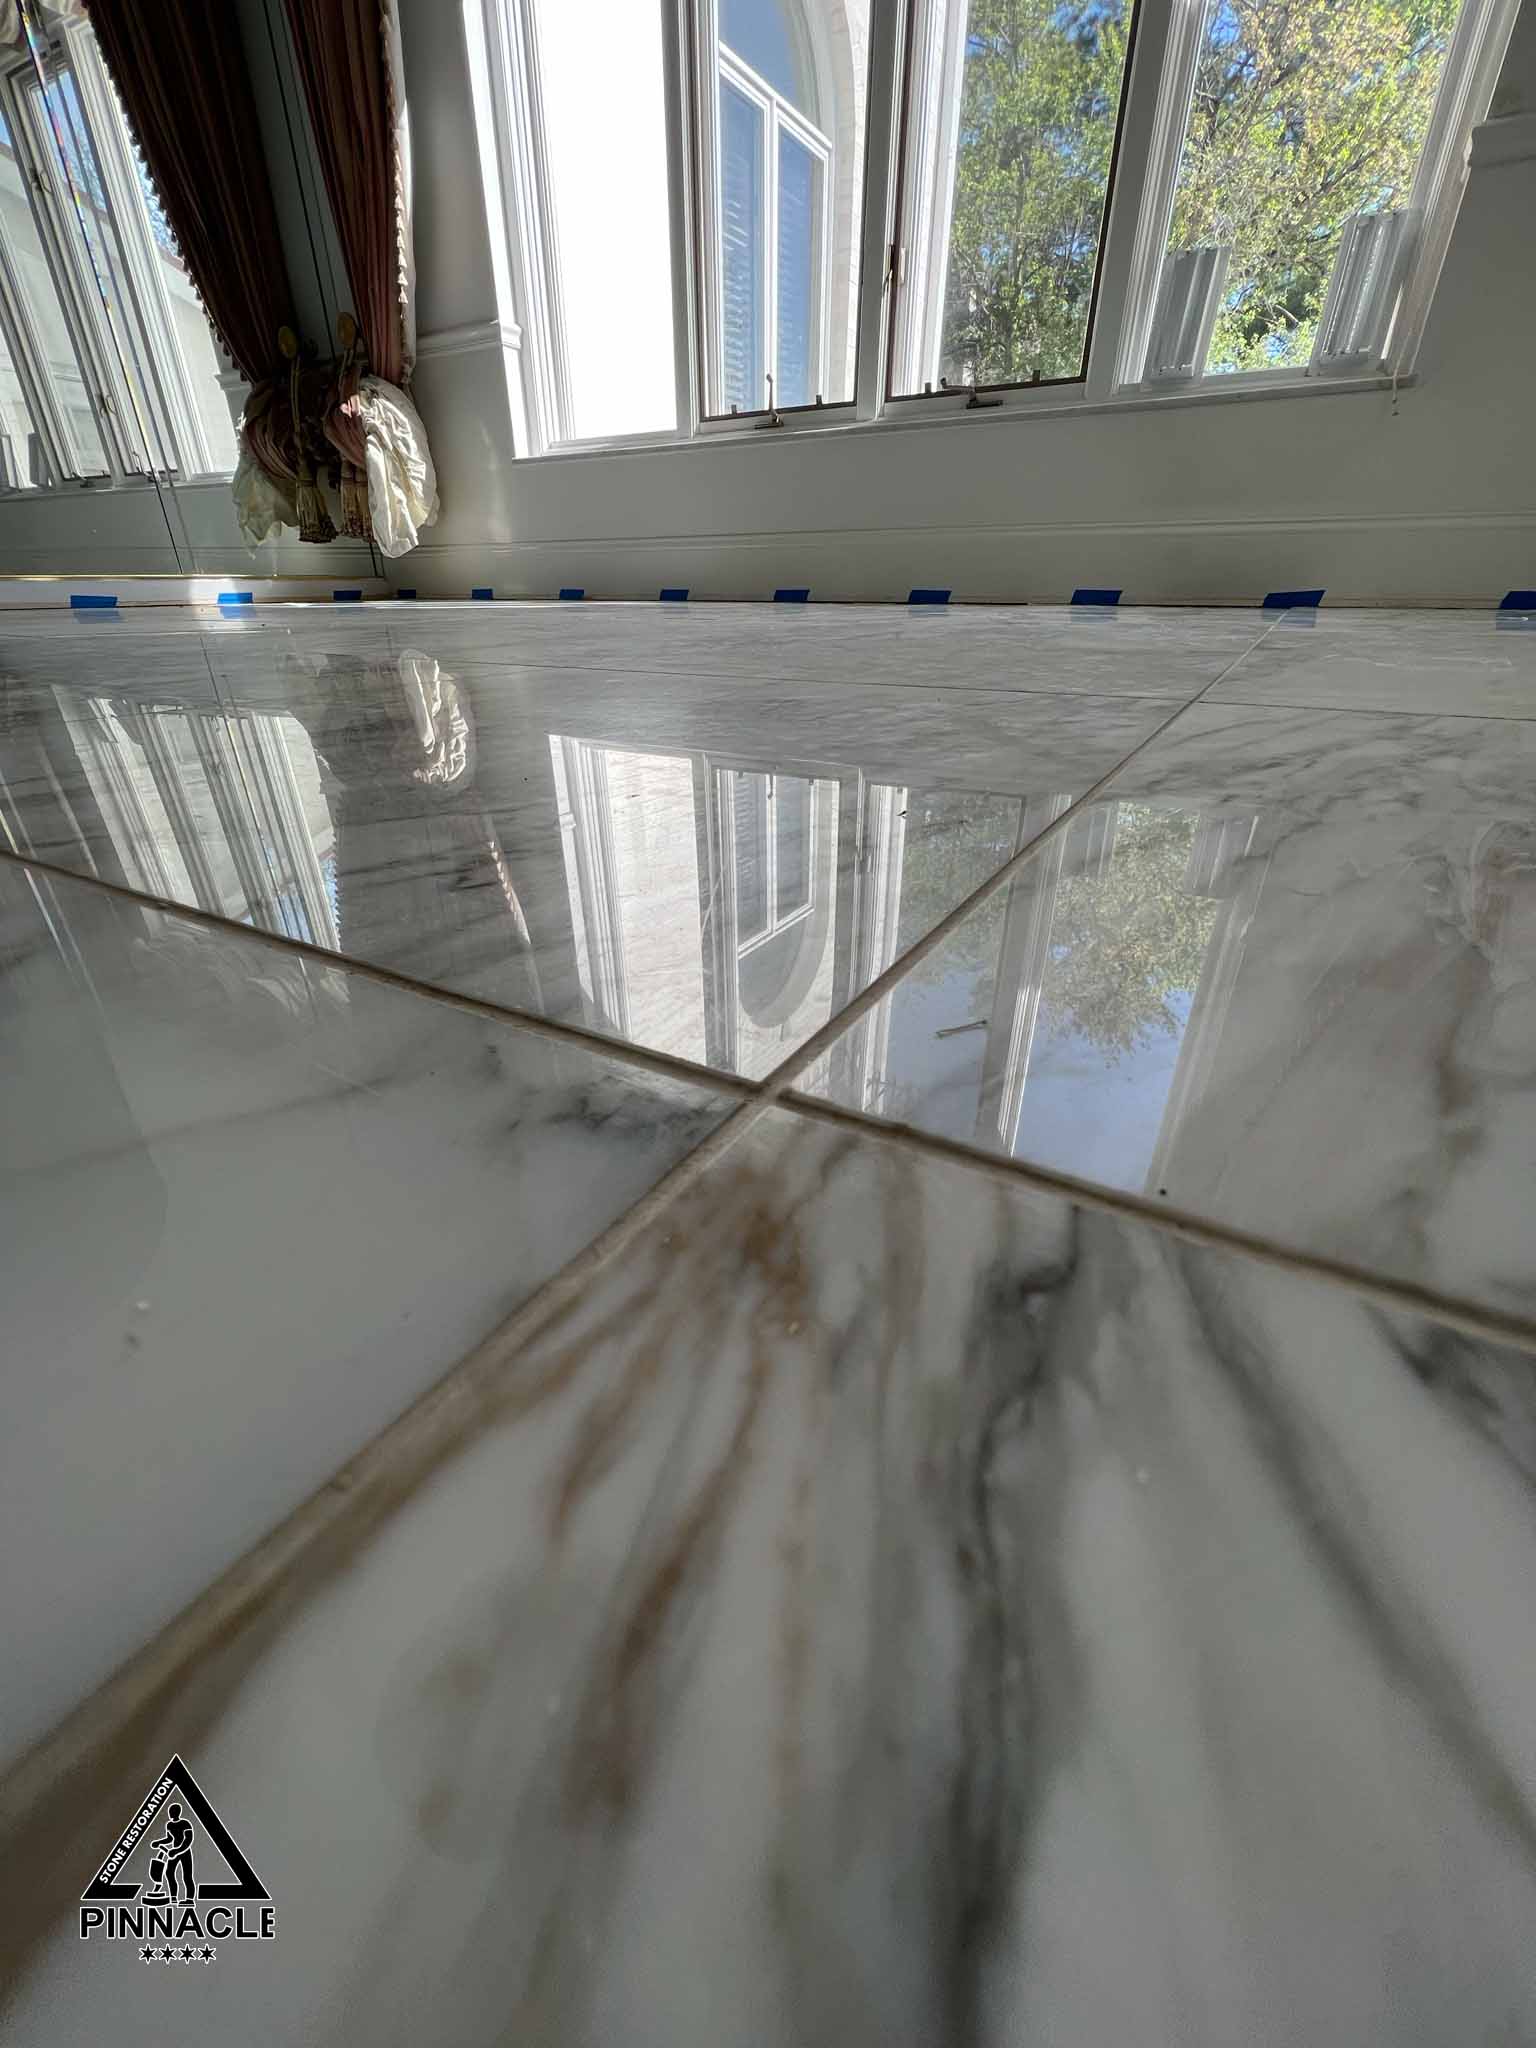
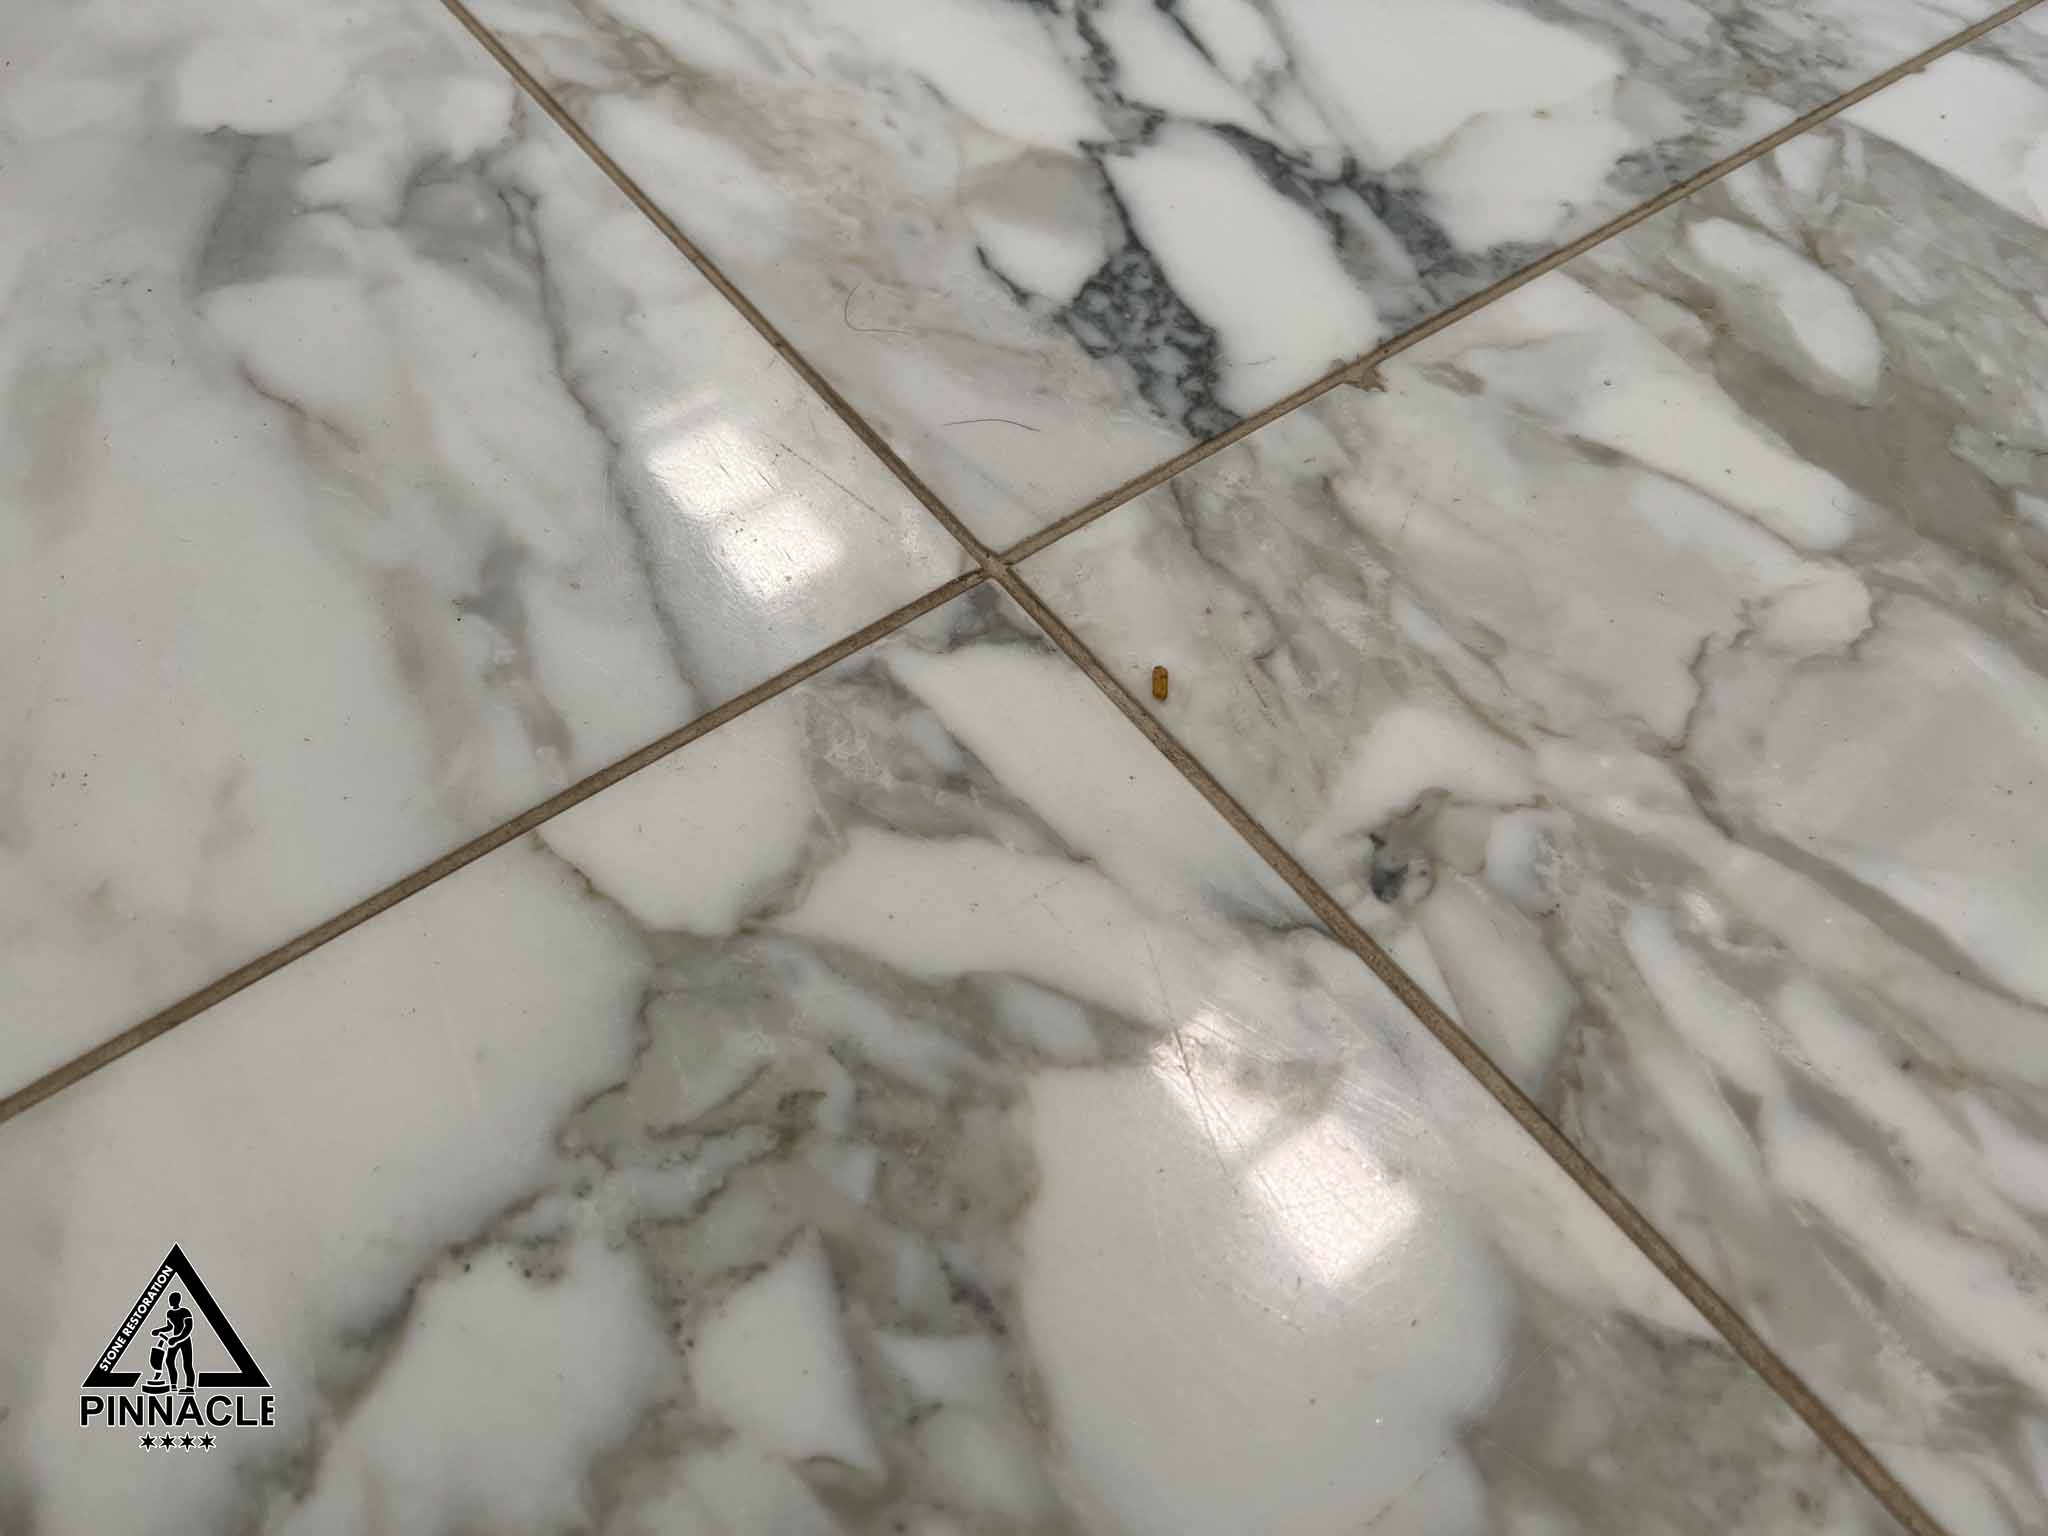
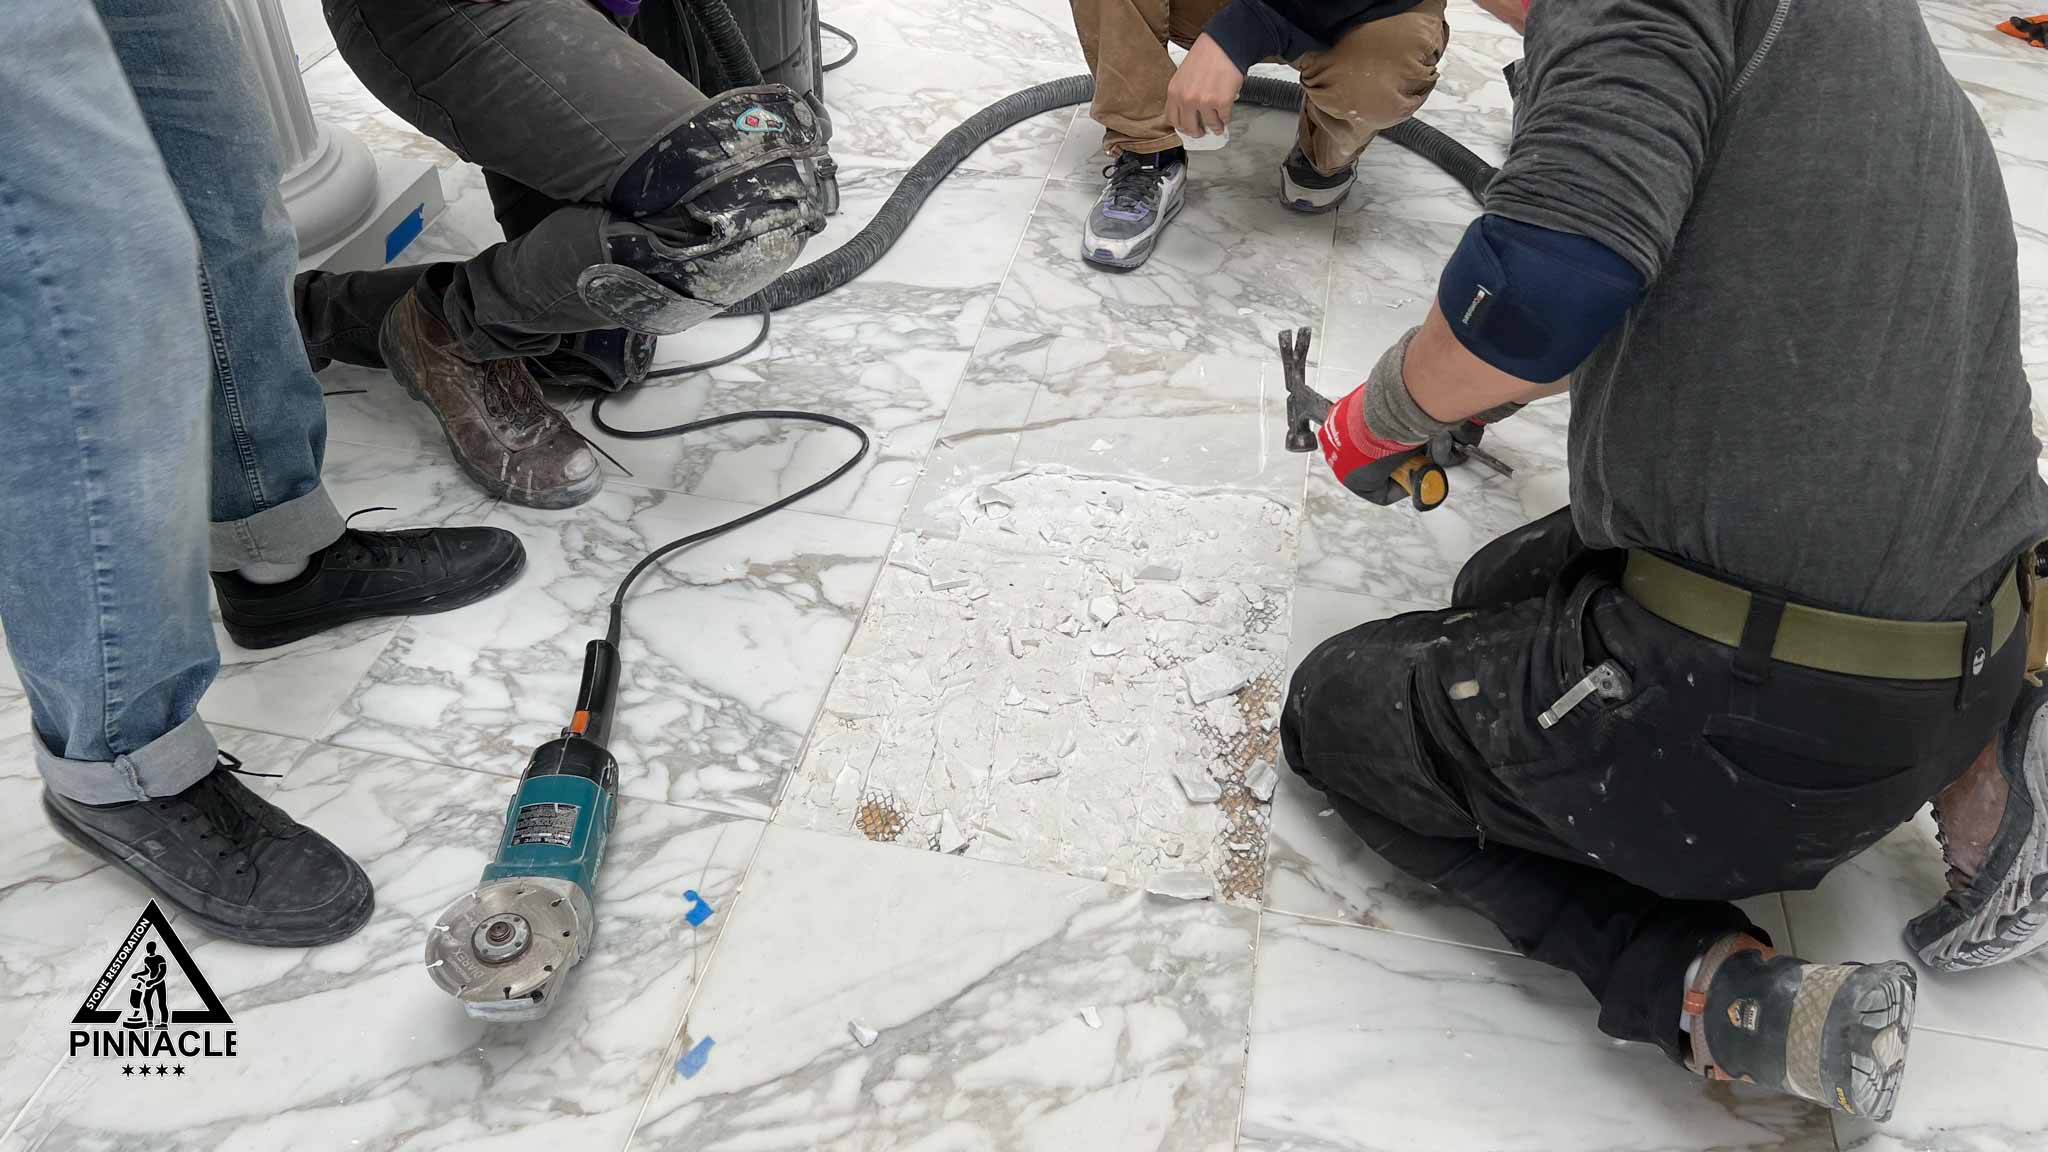
An extra step of this project is the removal and replacement of severely damaged calacatta marble tiles. Multiple tiles had what’s called internal cracks in them. As this type of marble has some level of transparency white color, you could see some pronounced internal cracks, which were brighter white vein looking cracks that could not be repaired from the outside. The solution our customer desired is a full replacement of those tiles with internal cracks as well as several tiles with some outside heavy cracks and lippage.
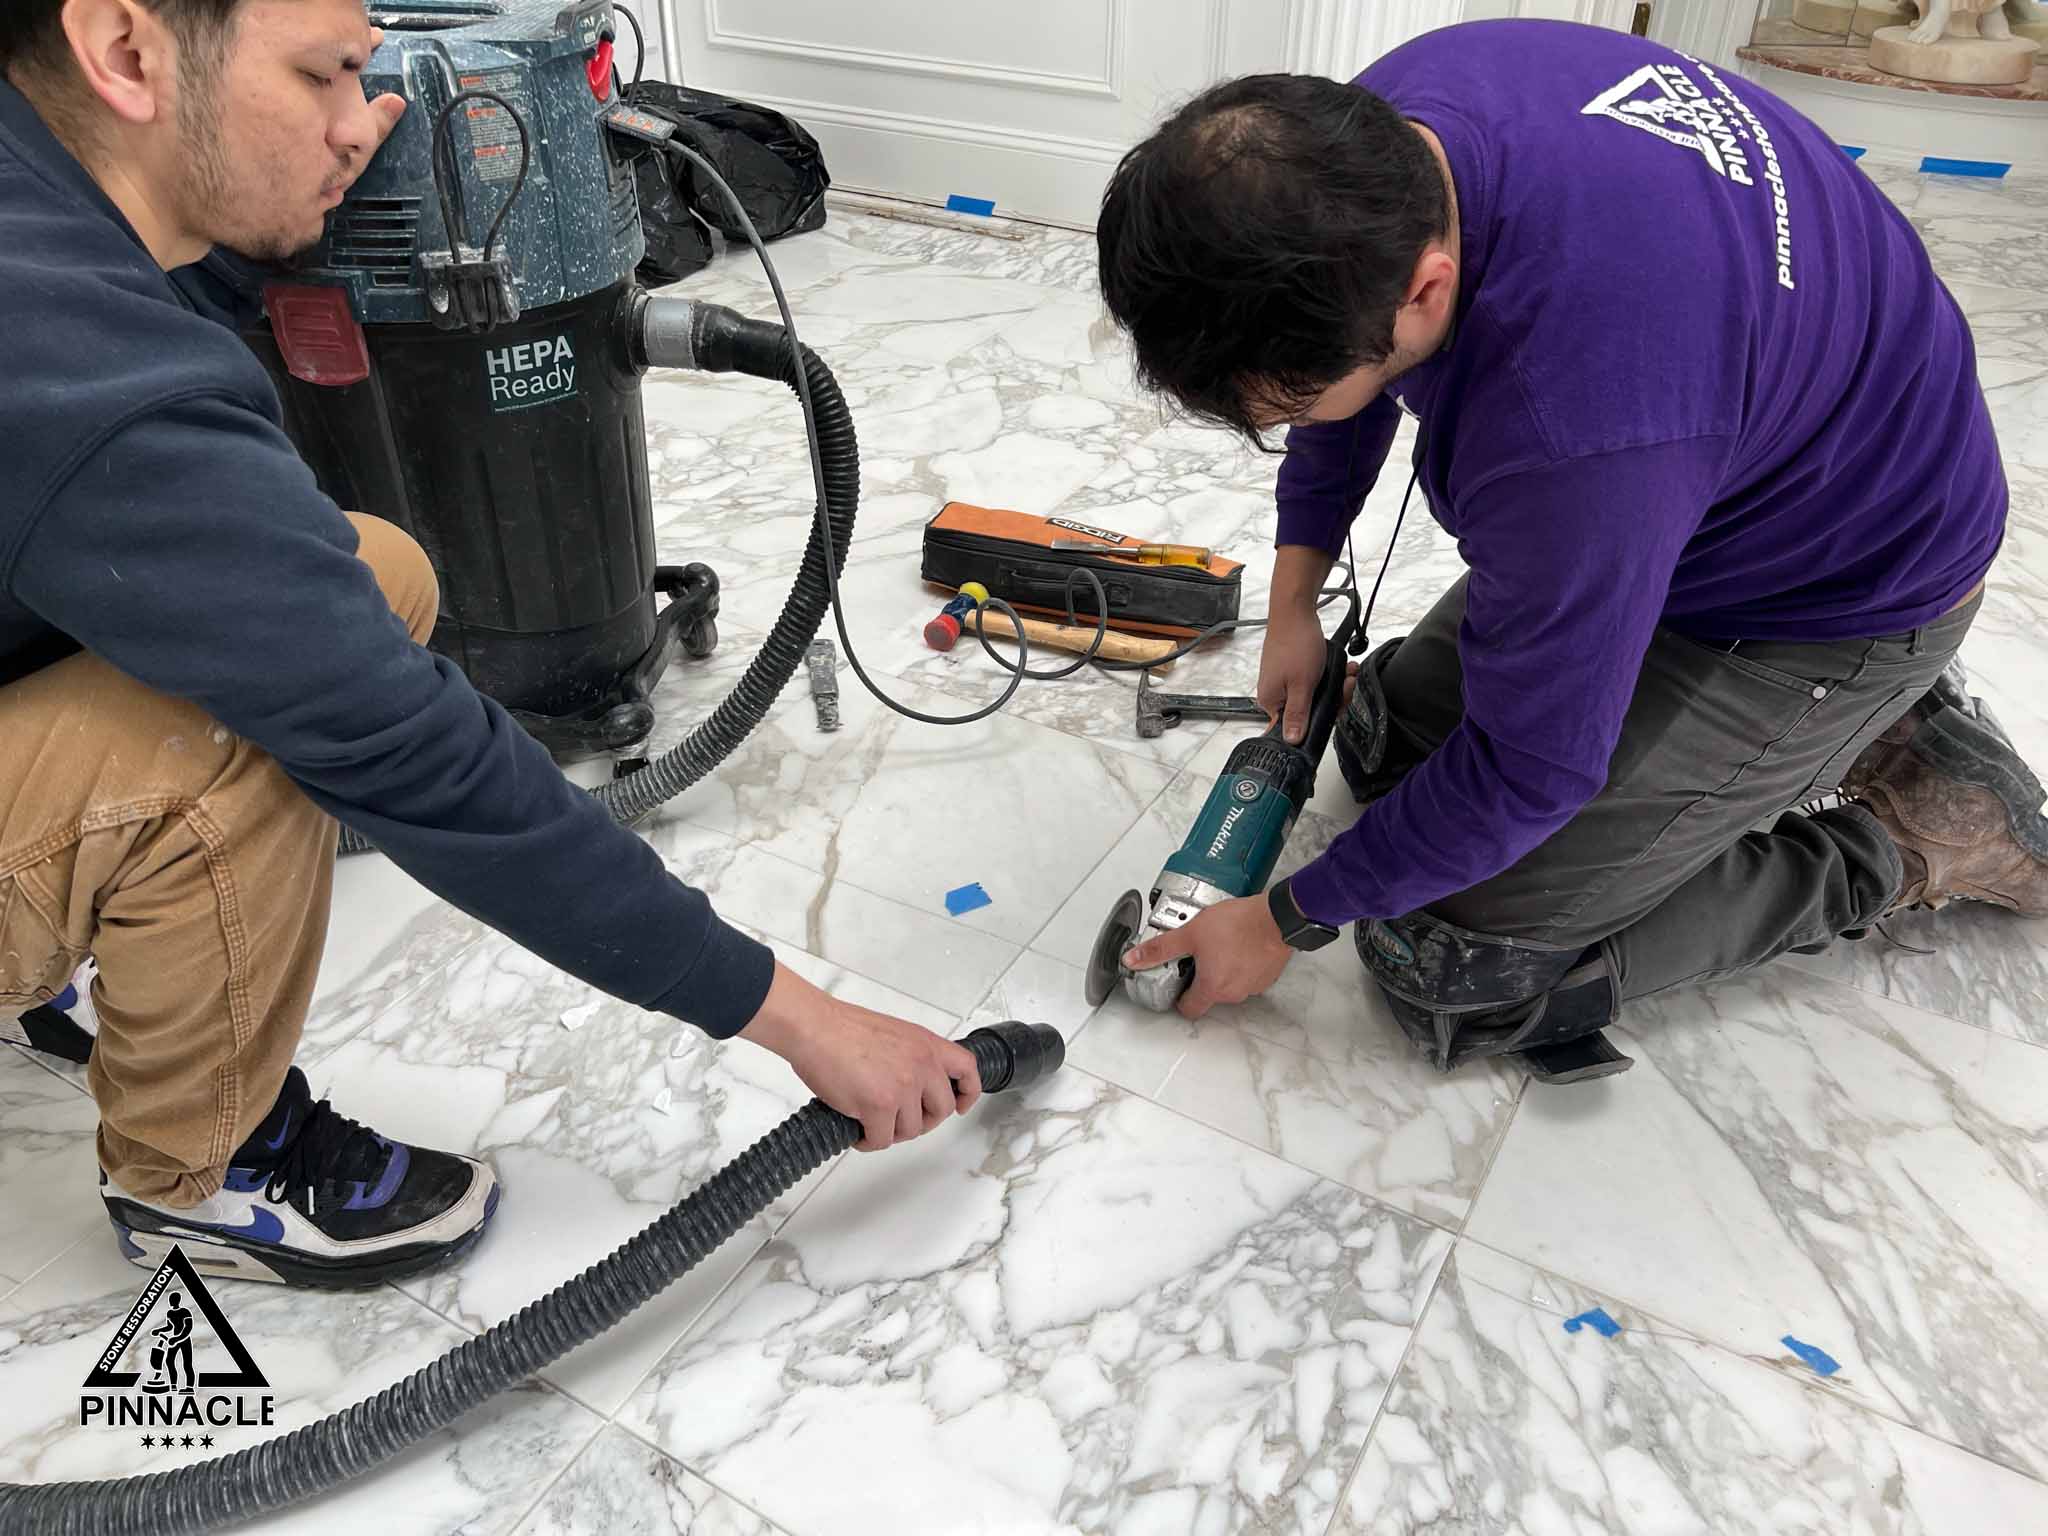
As per our usual first step of 8+ steps refinishing system we begin with grout removal from tile joints. We cut old grout while using a vacuum in order to achieve the most dustless method of grout removal possible.
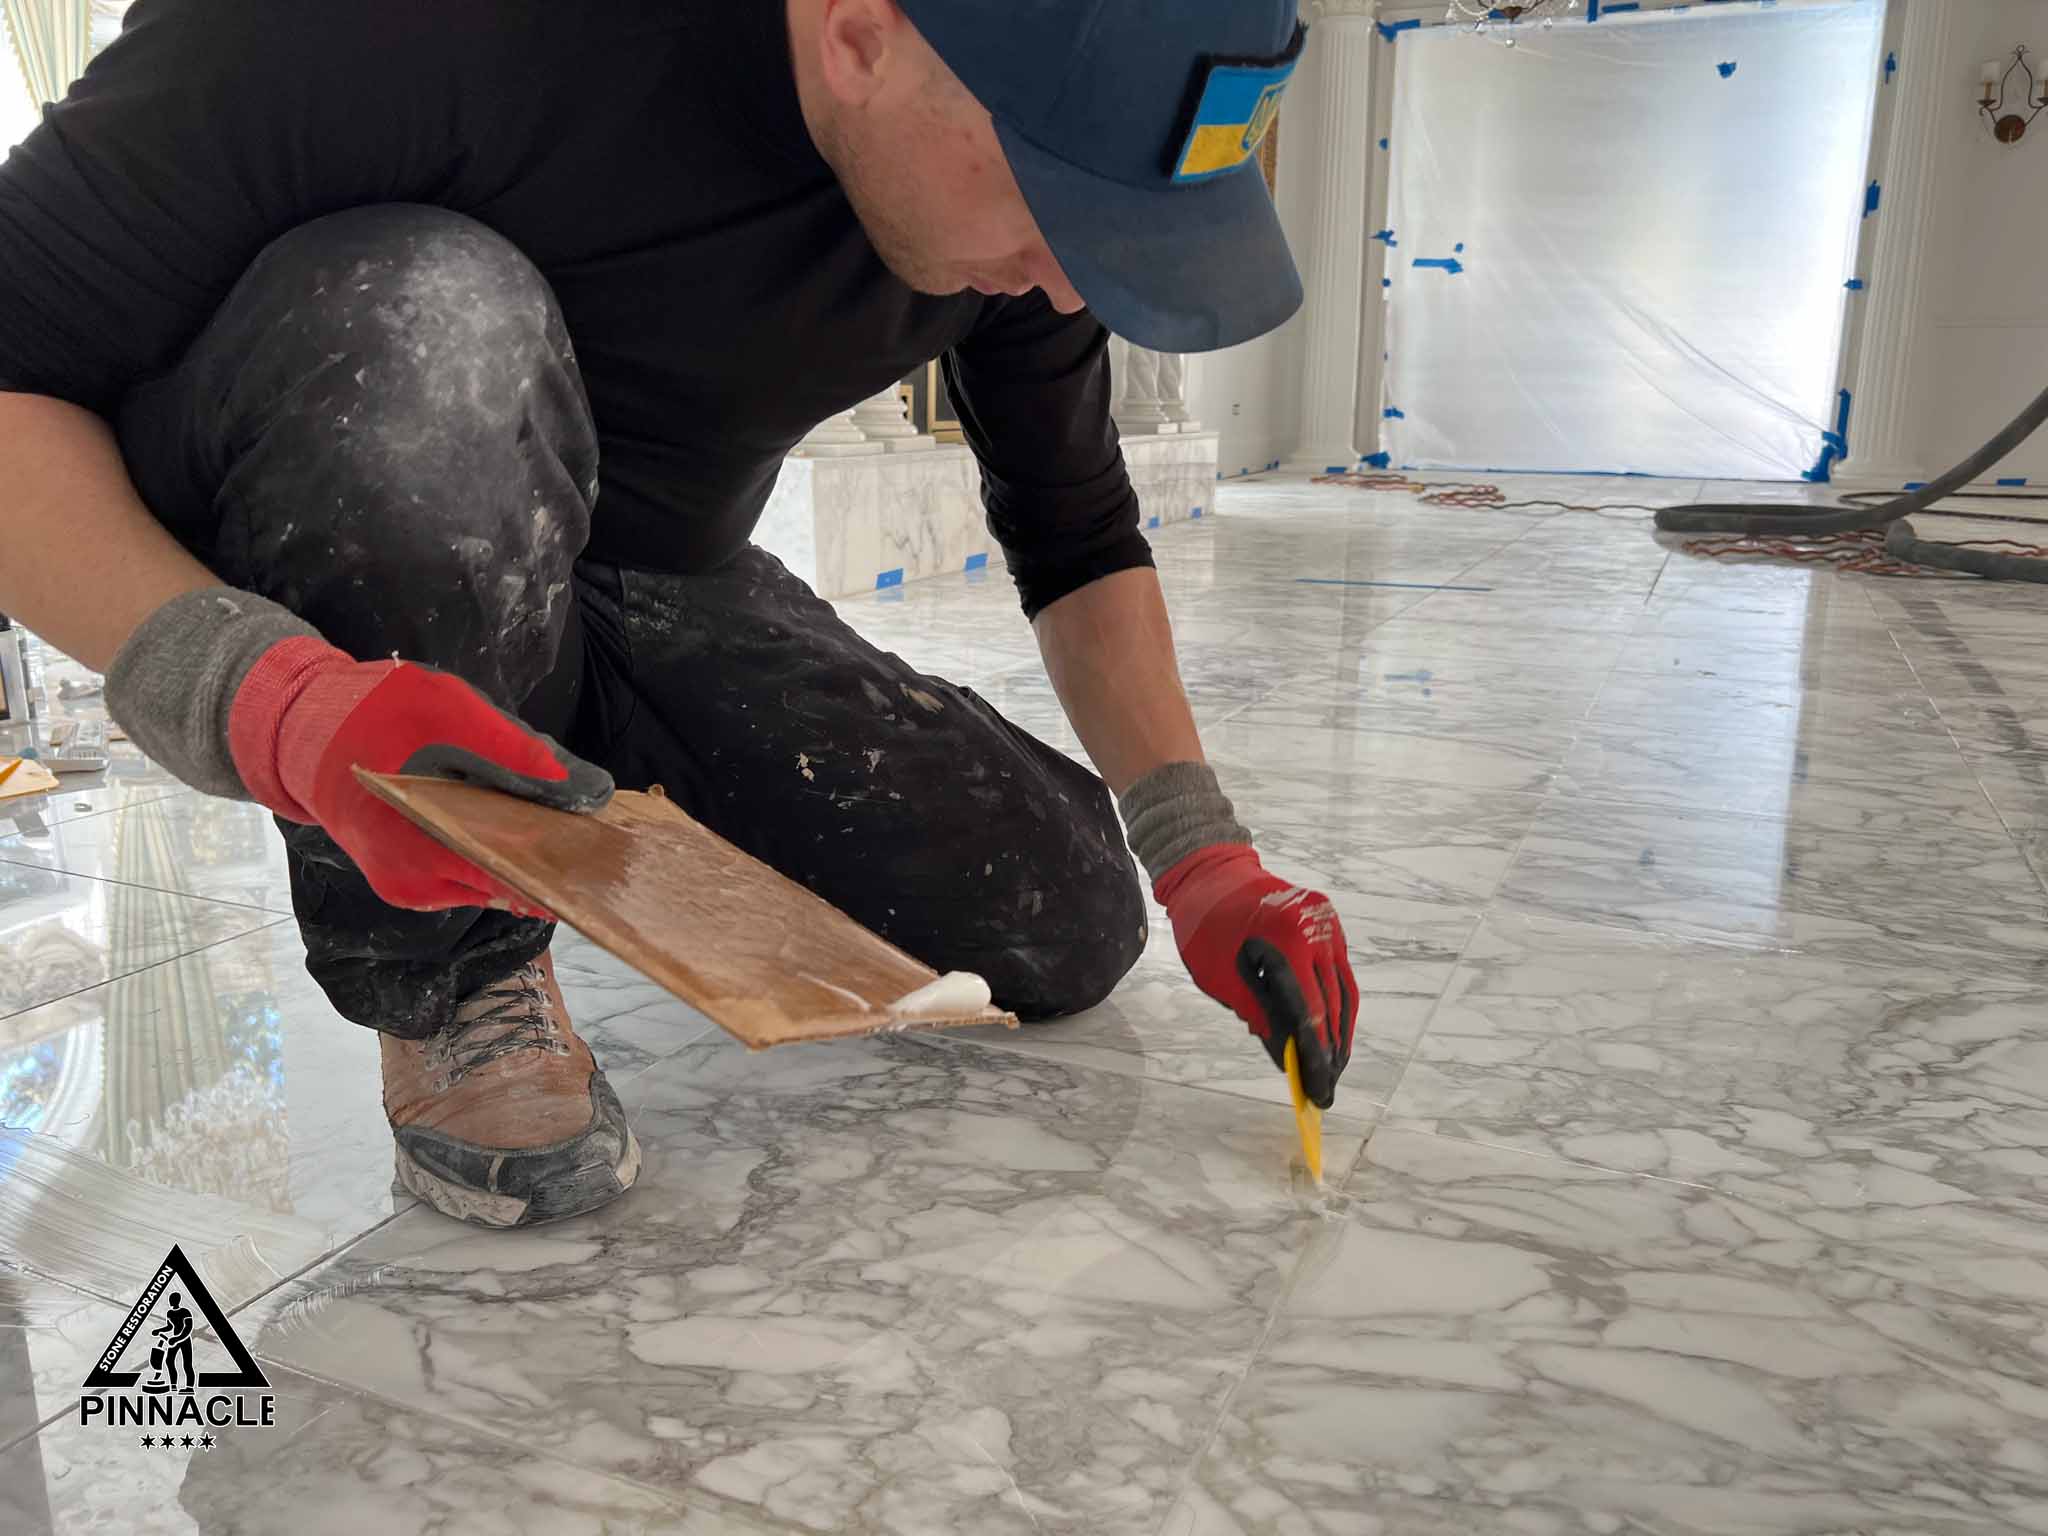
As soon as the grout removed we thoroughly clean any excess dust around joints and start the next step of filling those empty joints. We mix a special epoxy (glacier color) 1:1 with hardener specifically designed for it. We fill all empty tile joints and let it cure for some time.
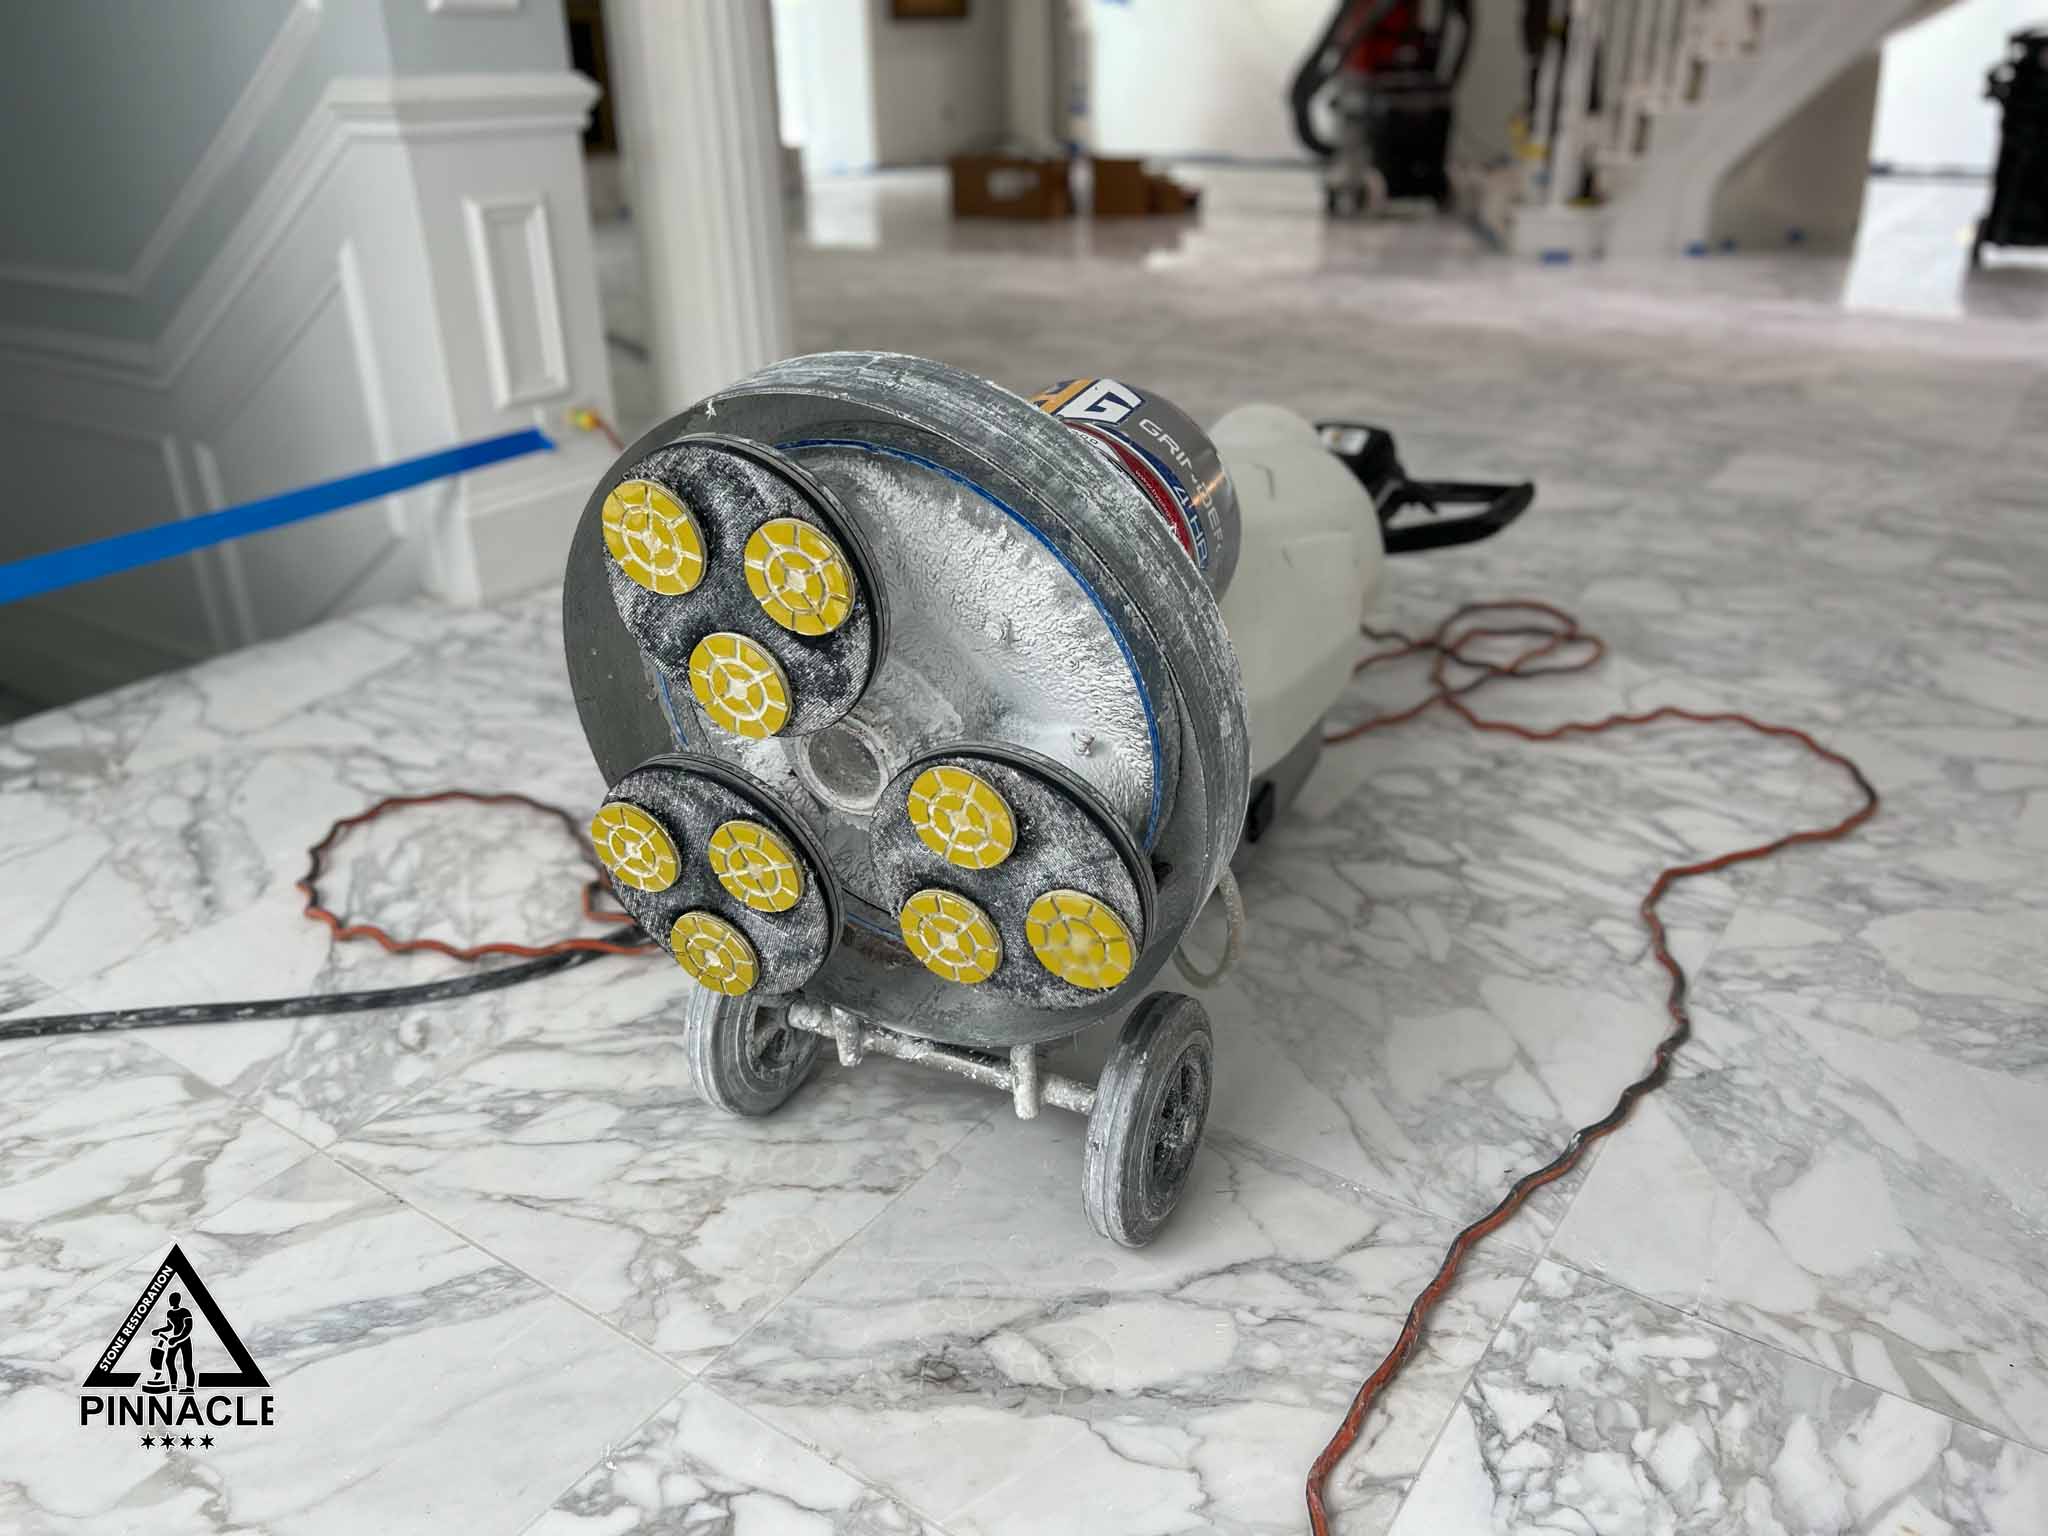
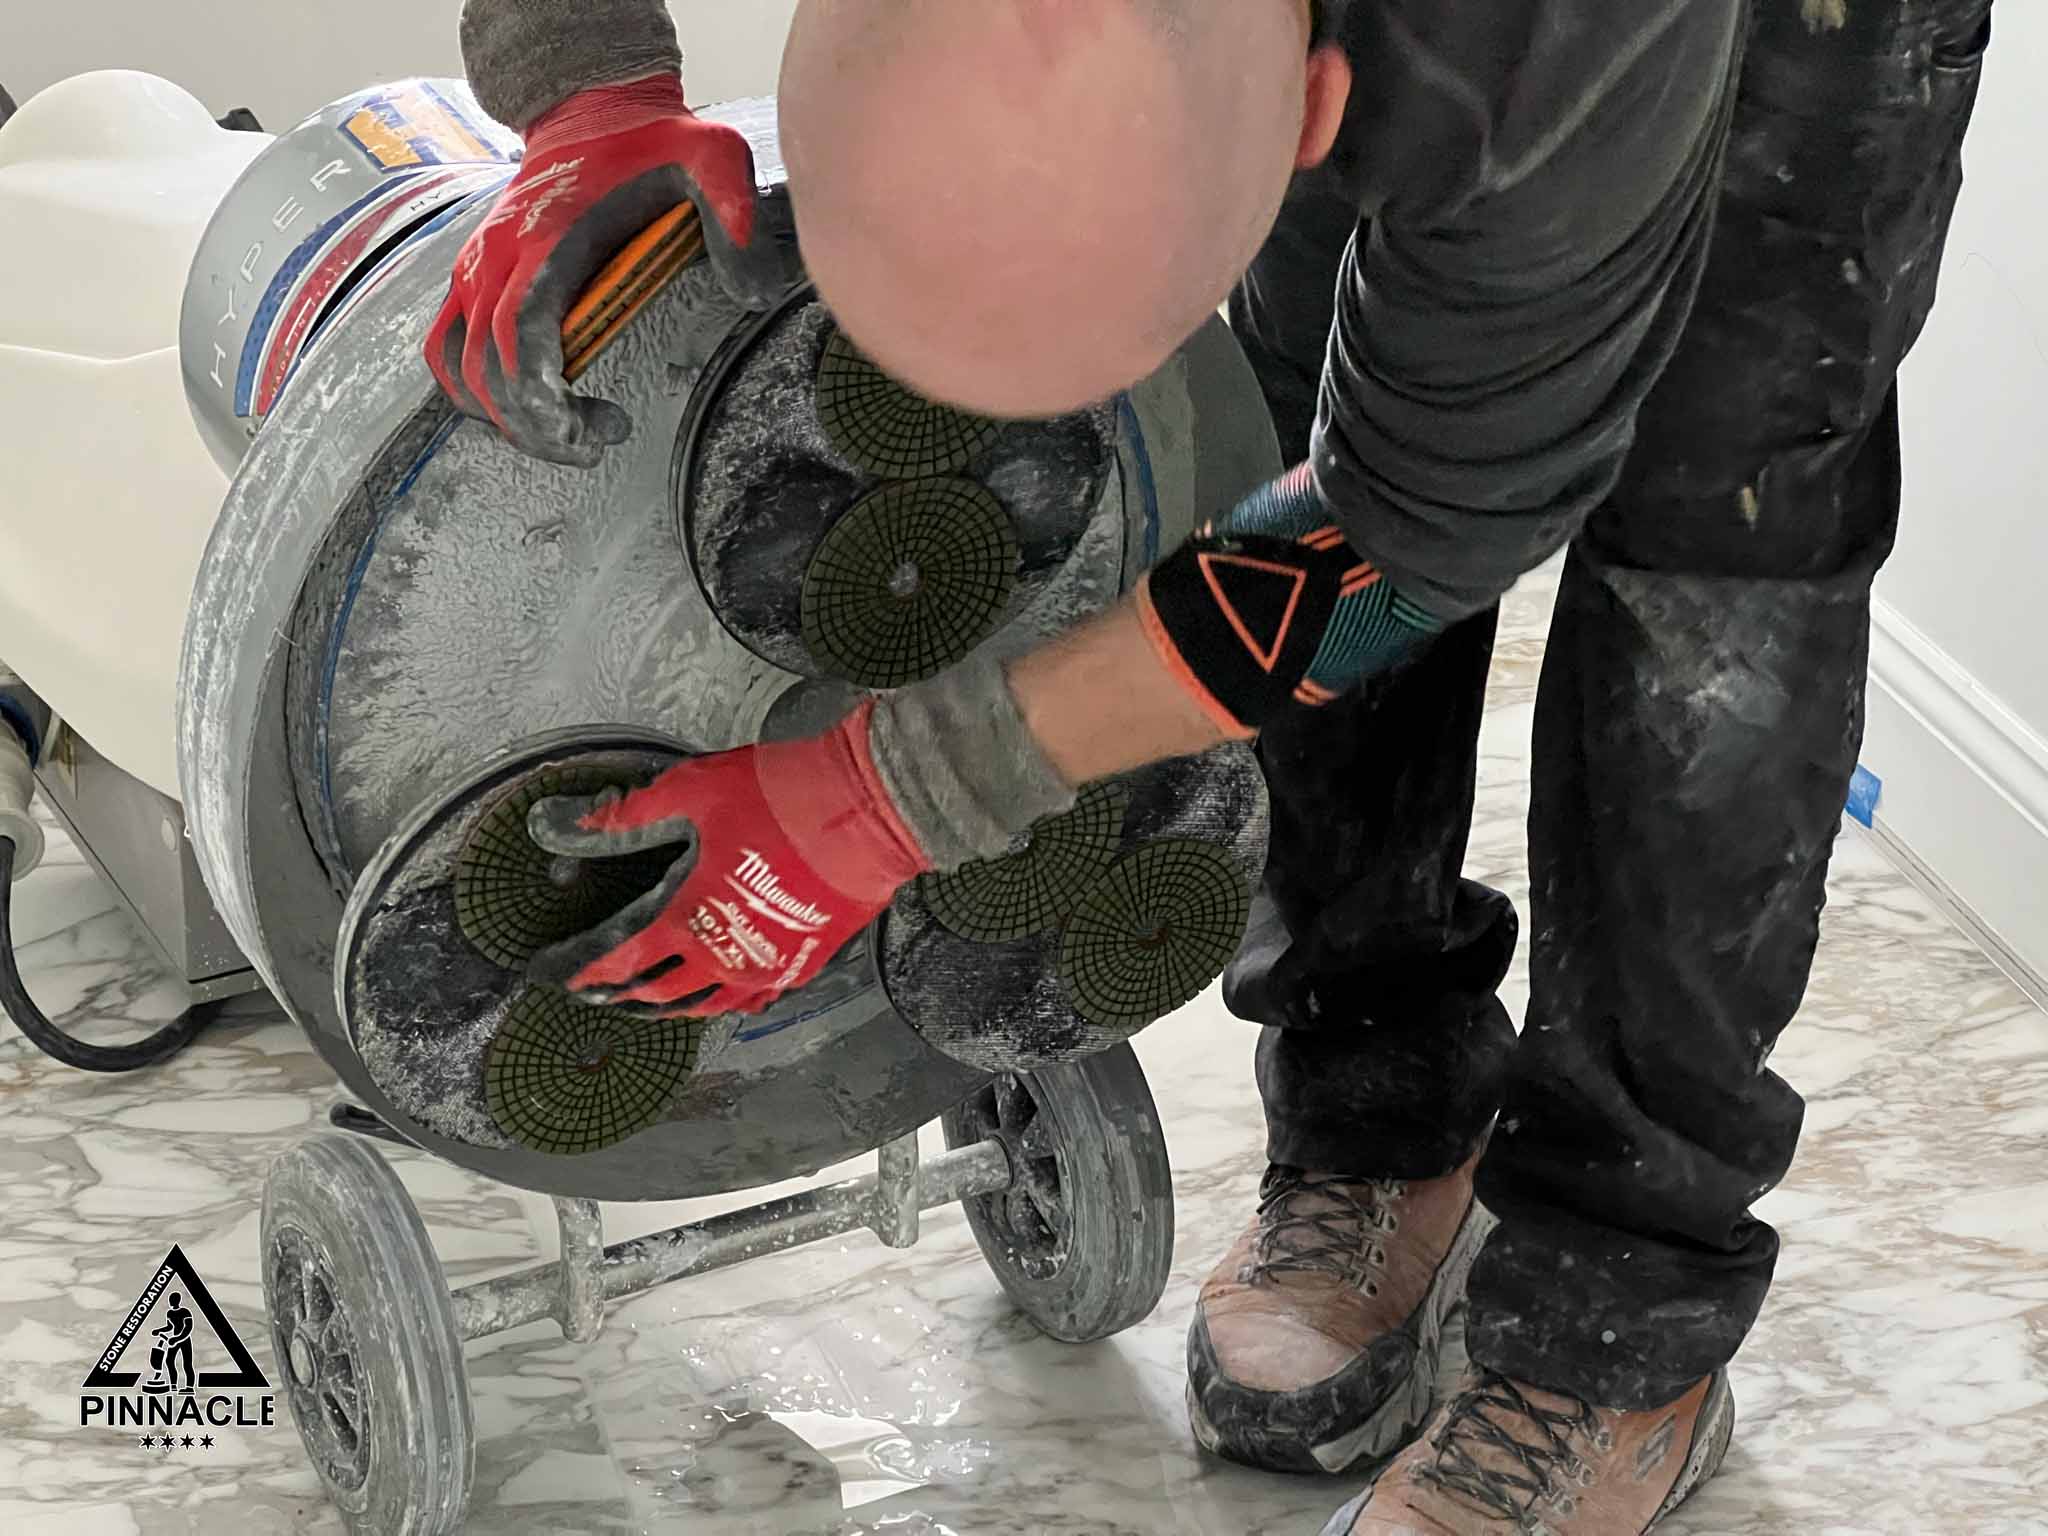
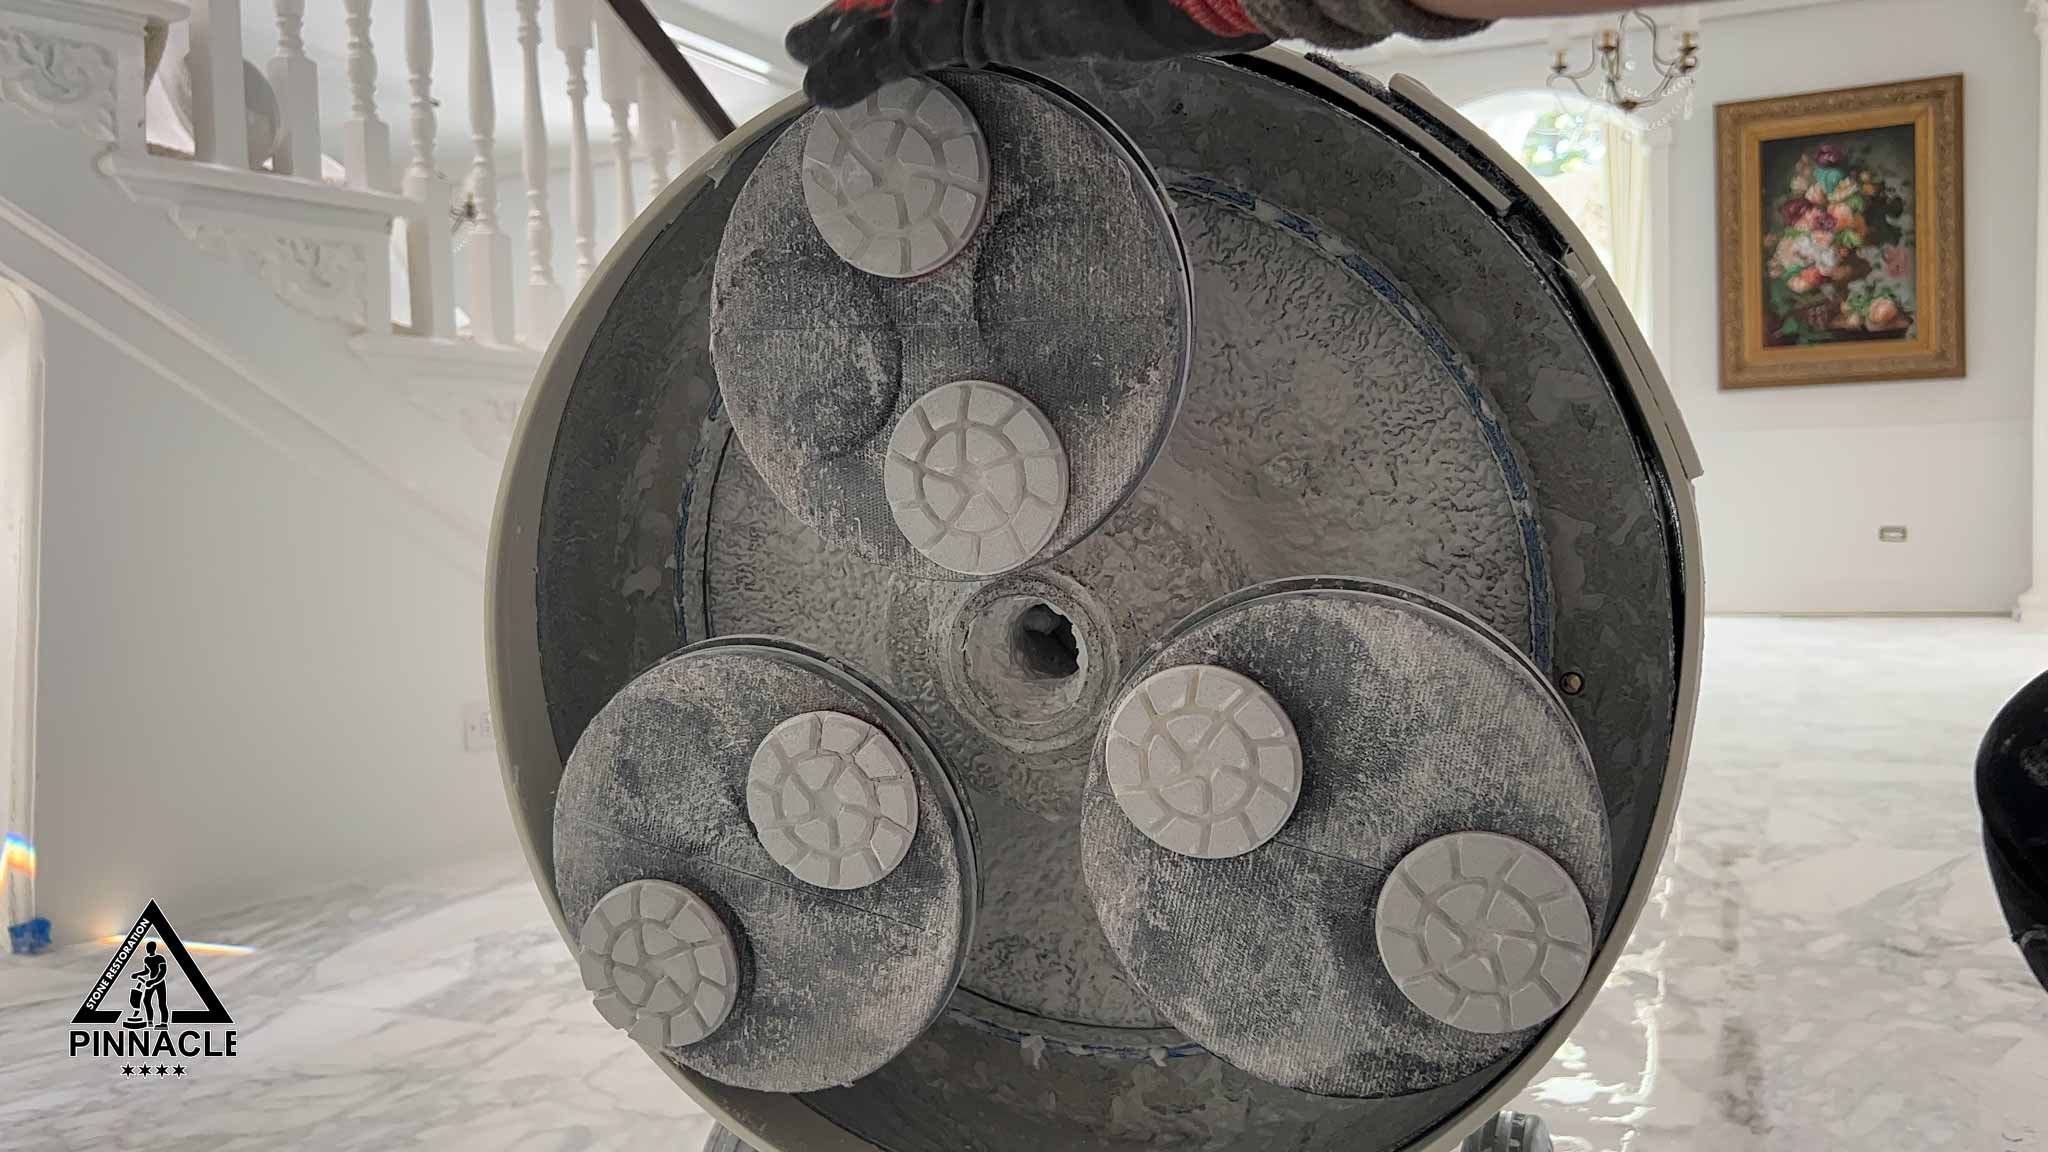
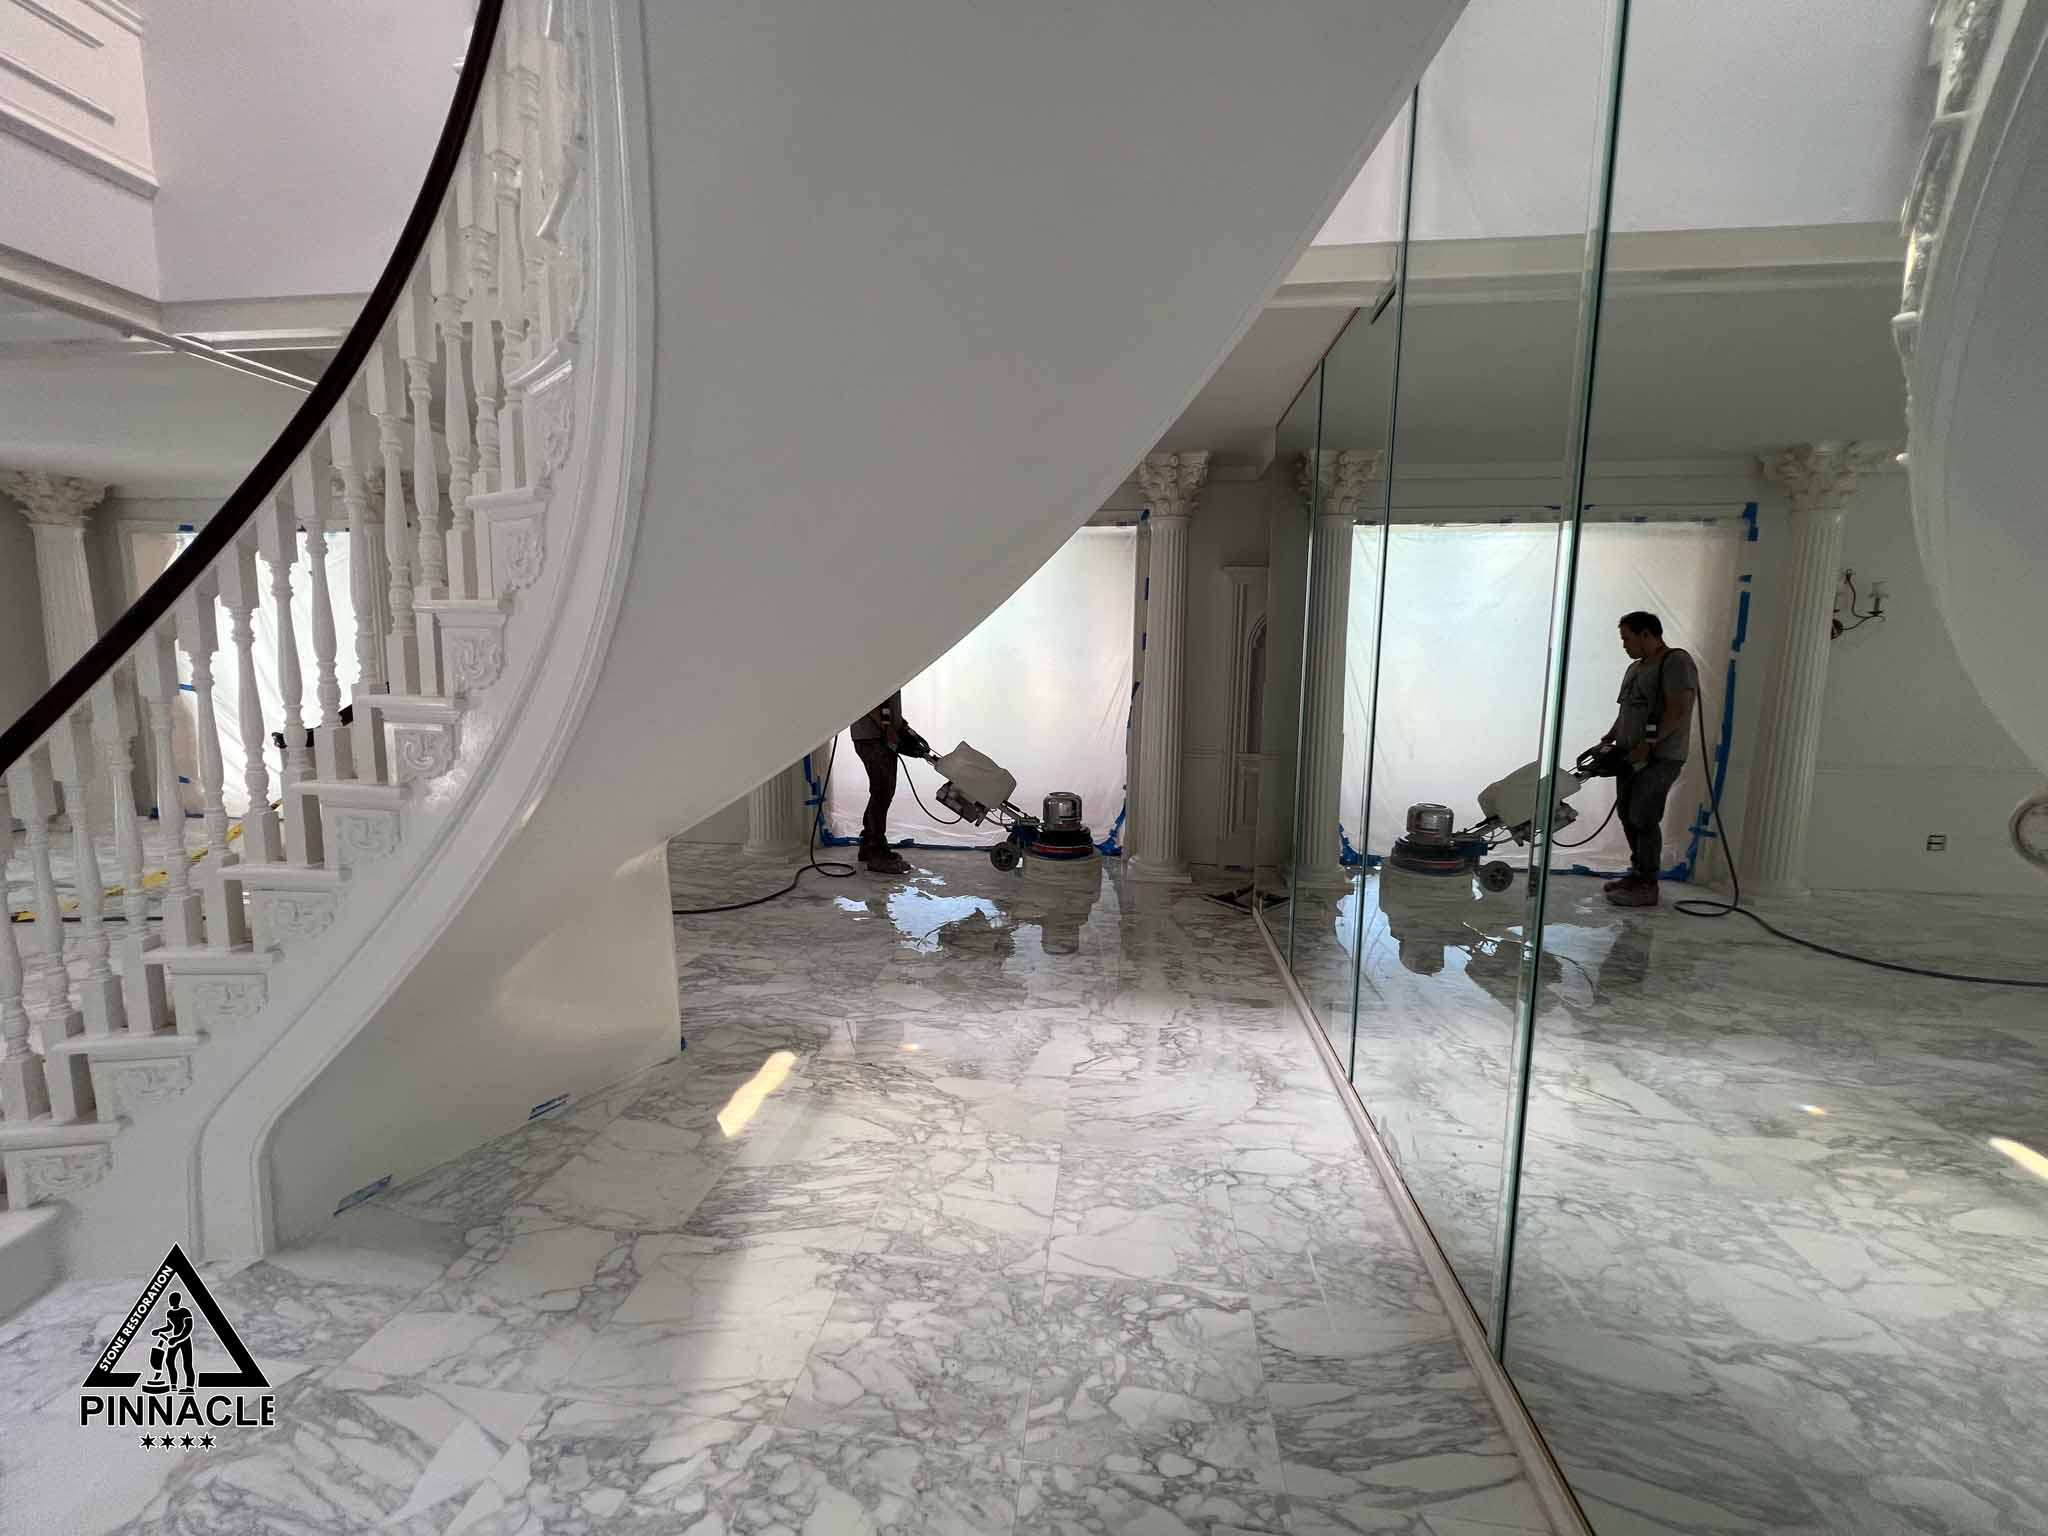
In this next step we remove tile lippage (uneven tile) by grinding with the metal bond diamond pads on our floor grinding machine. This takes several stages.
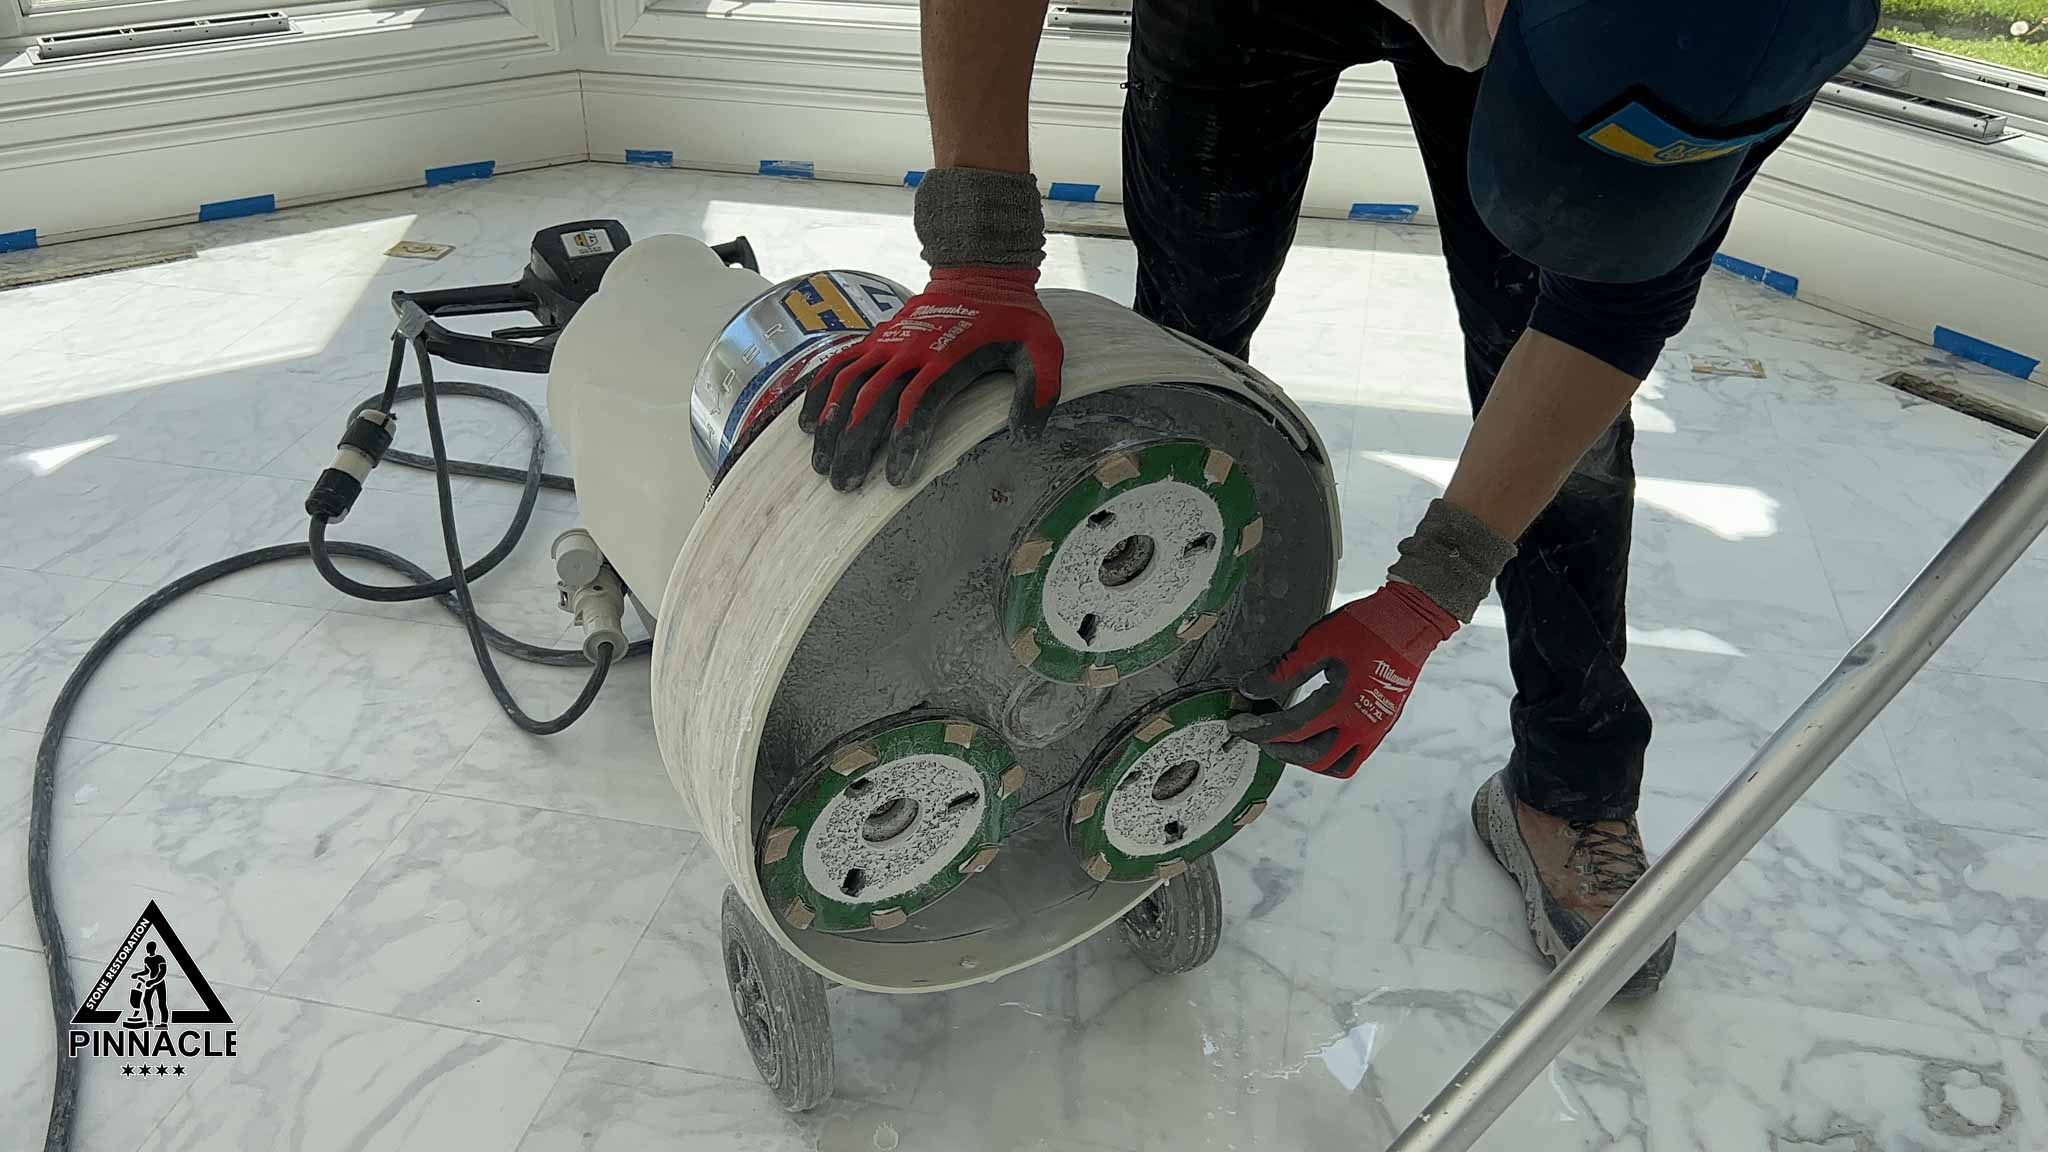
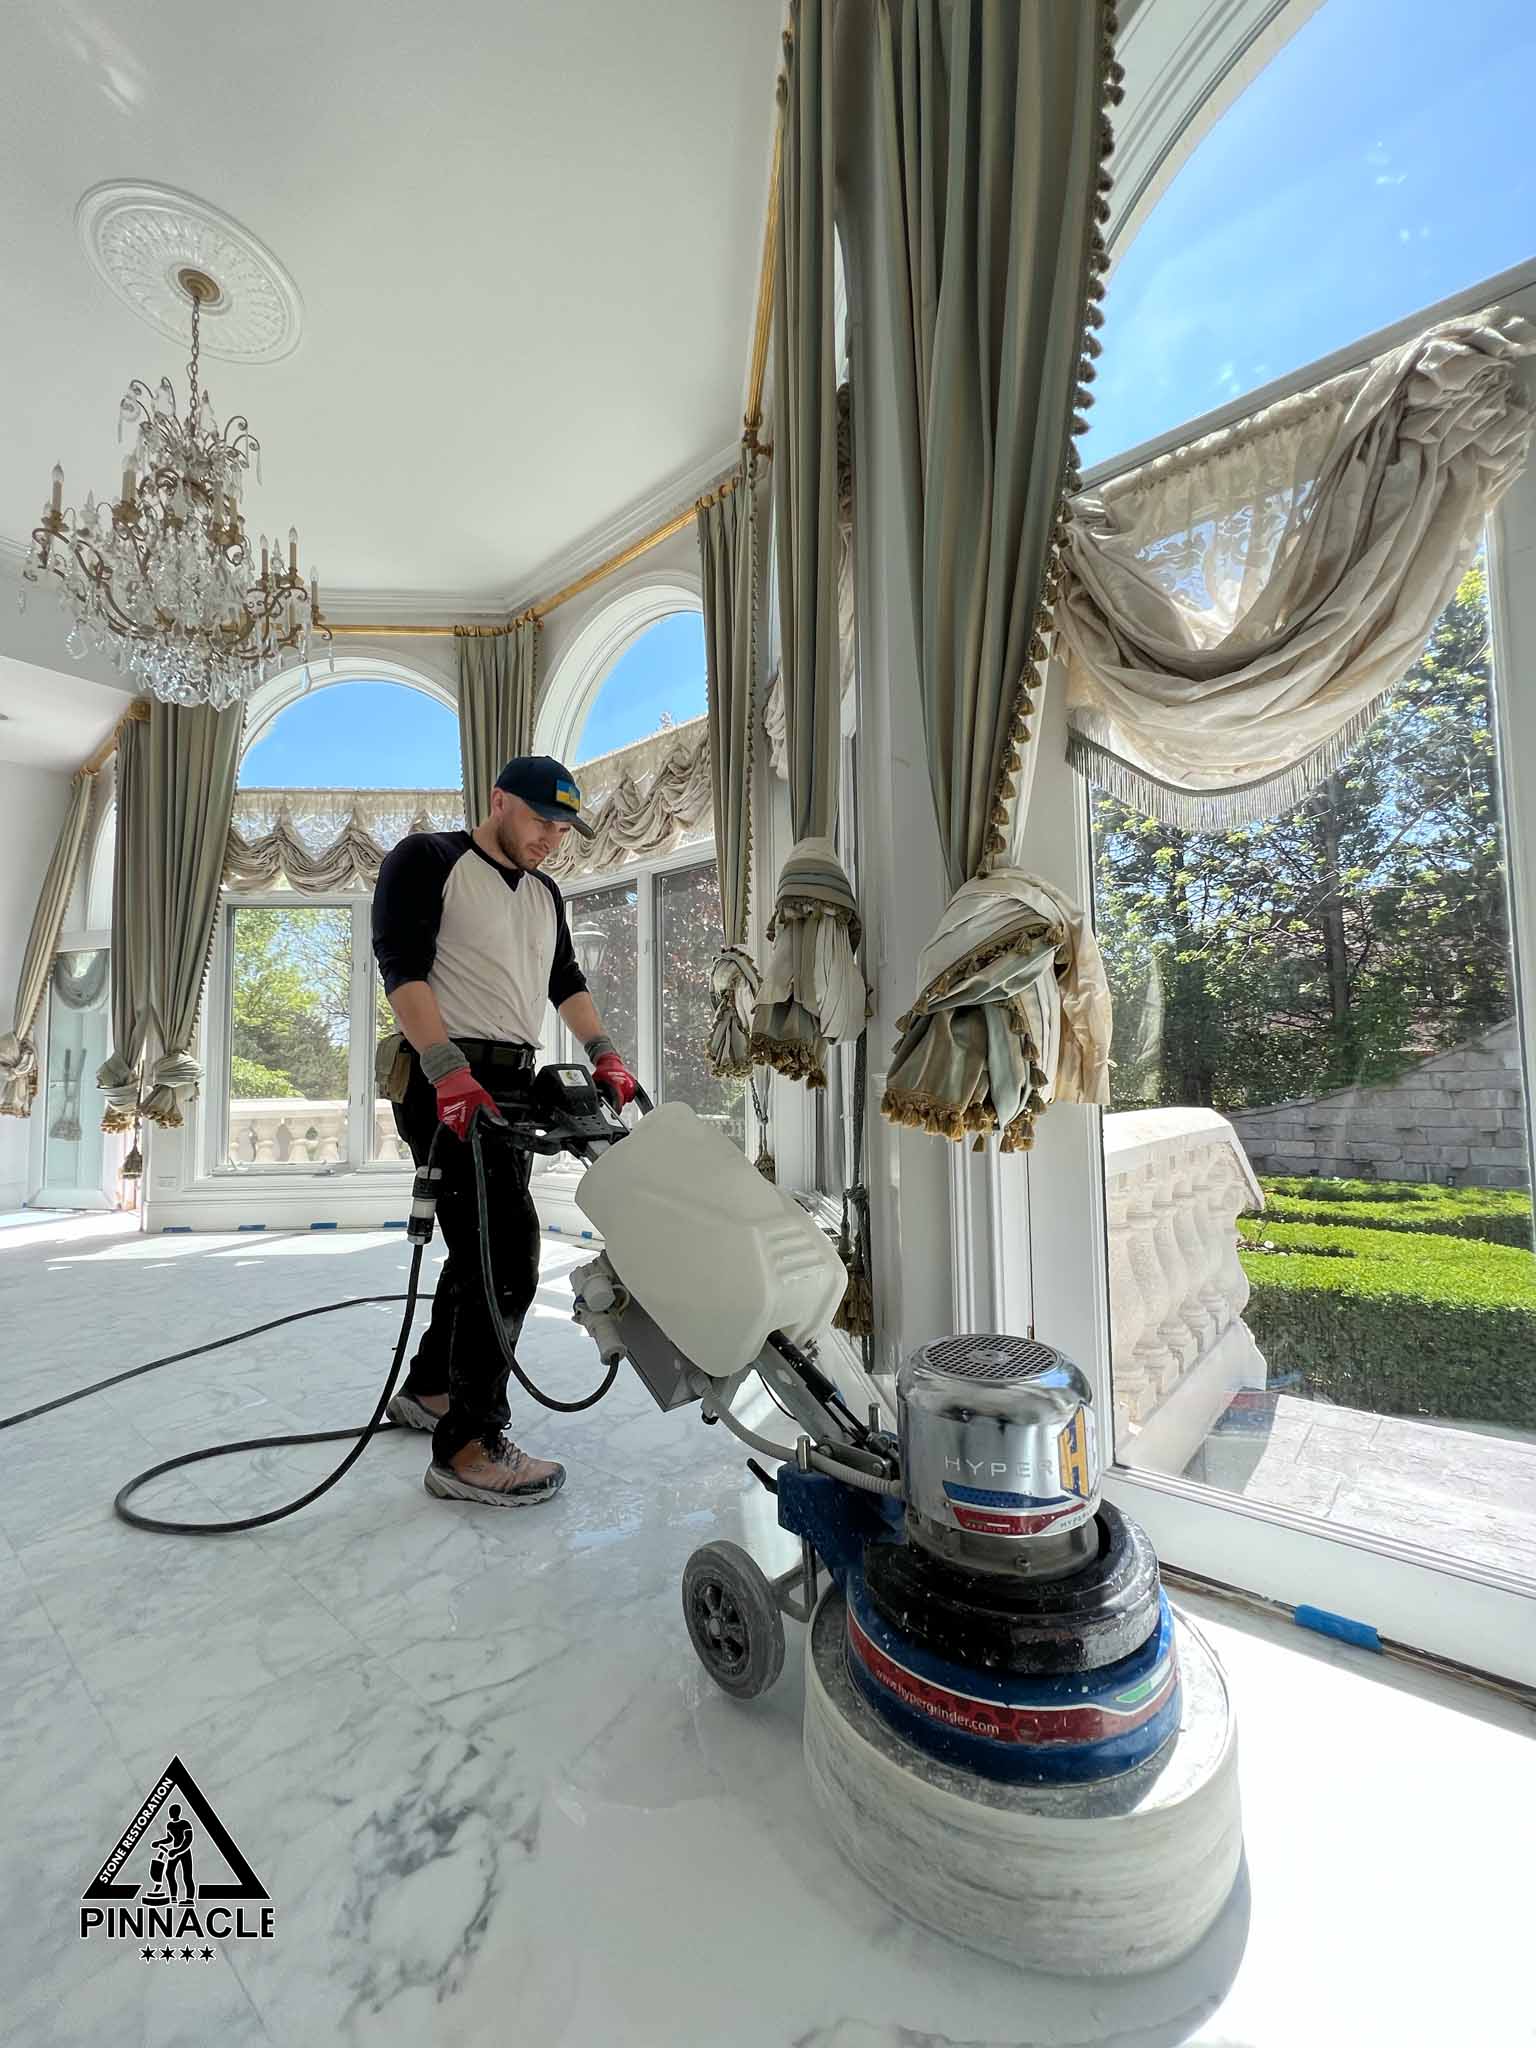
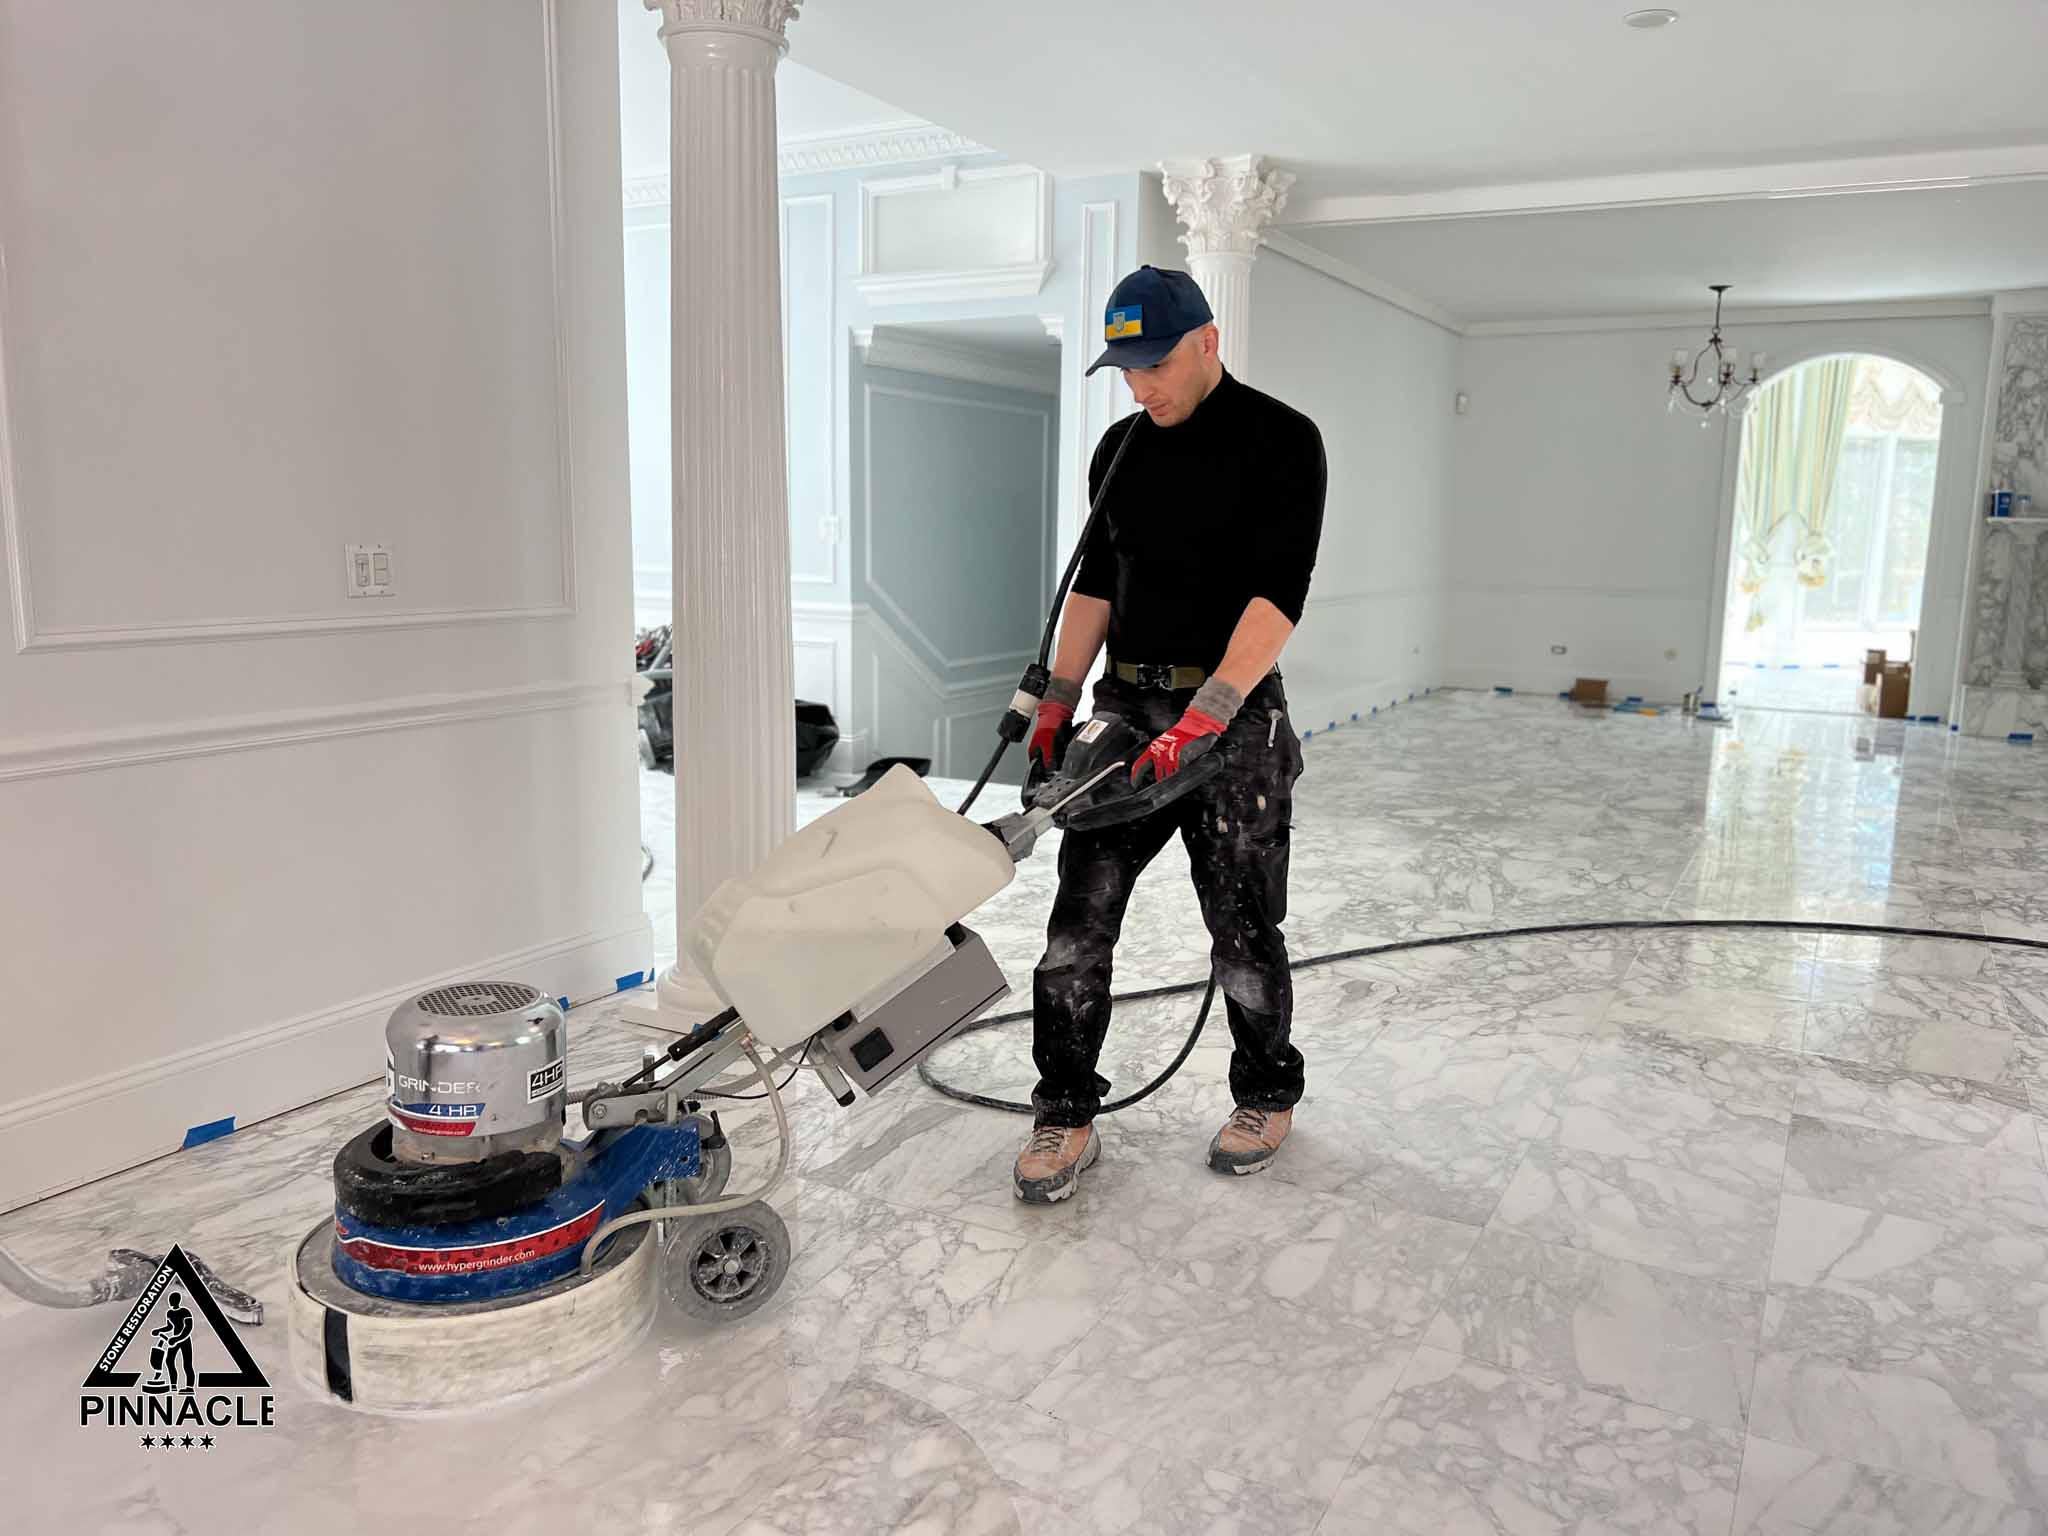
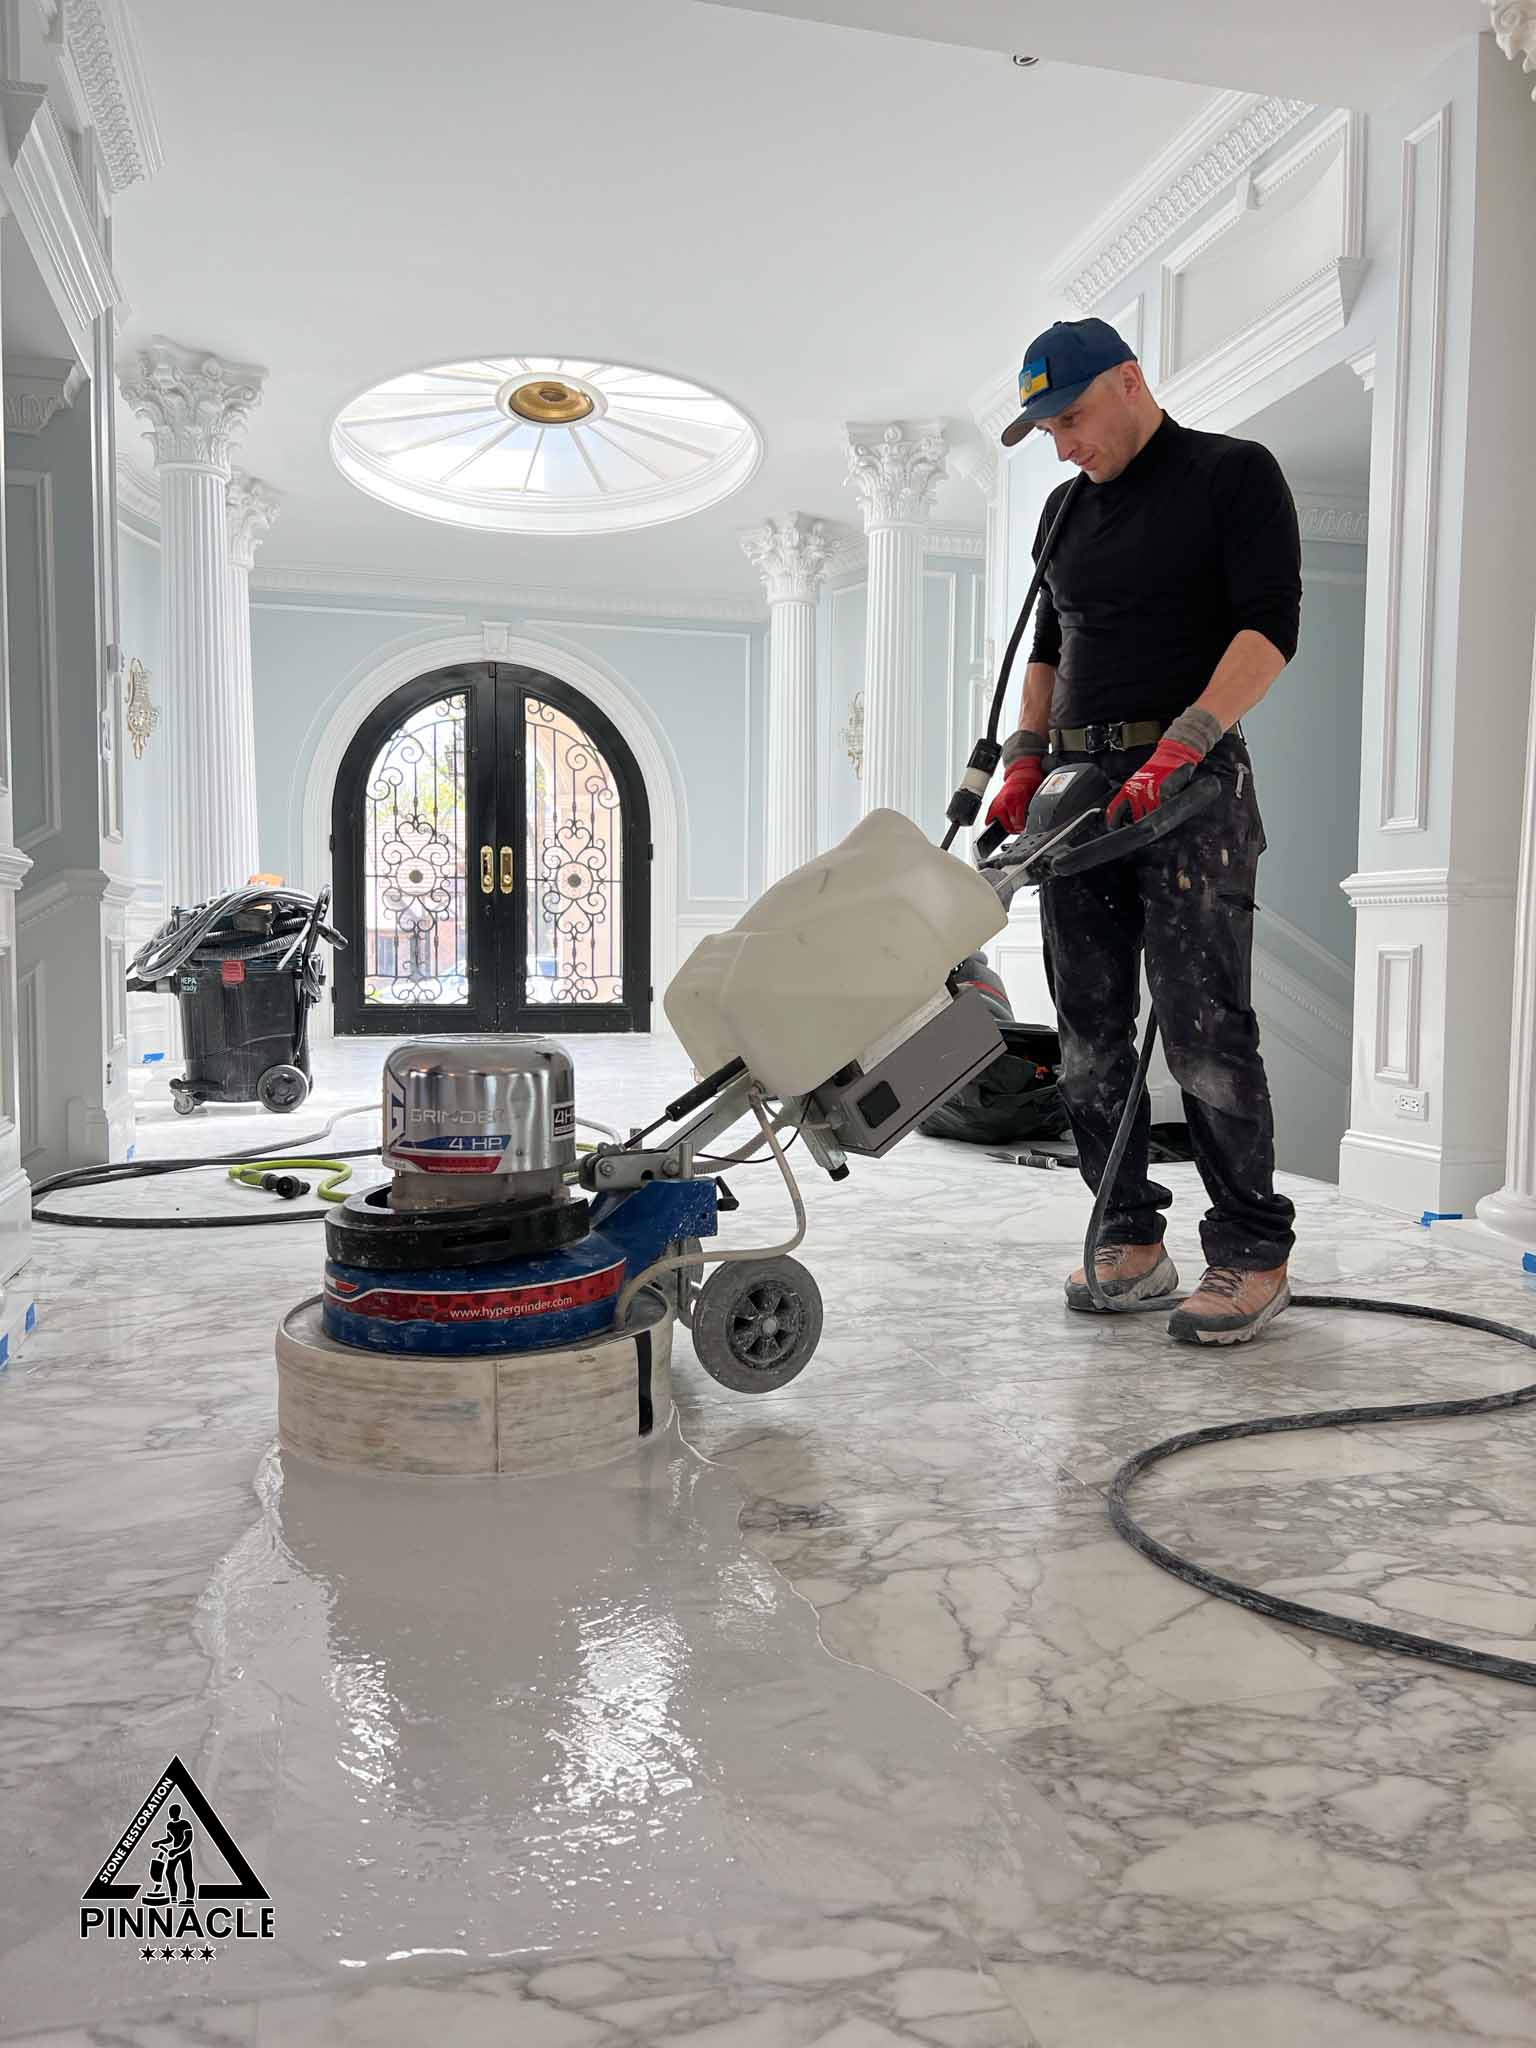
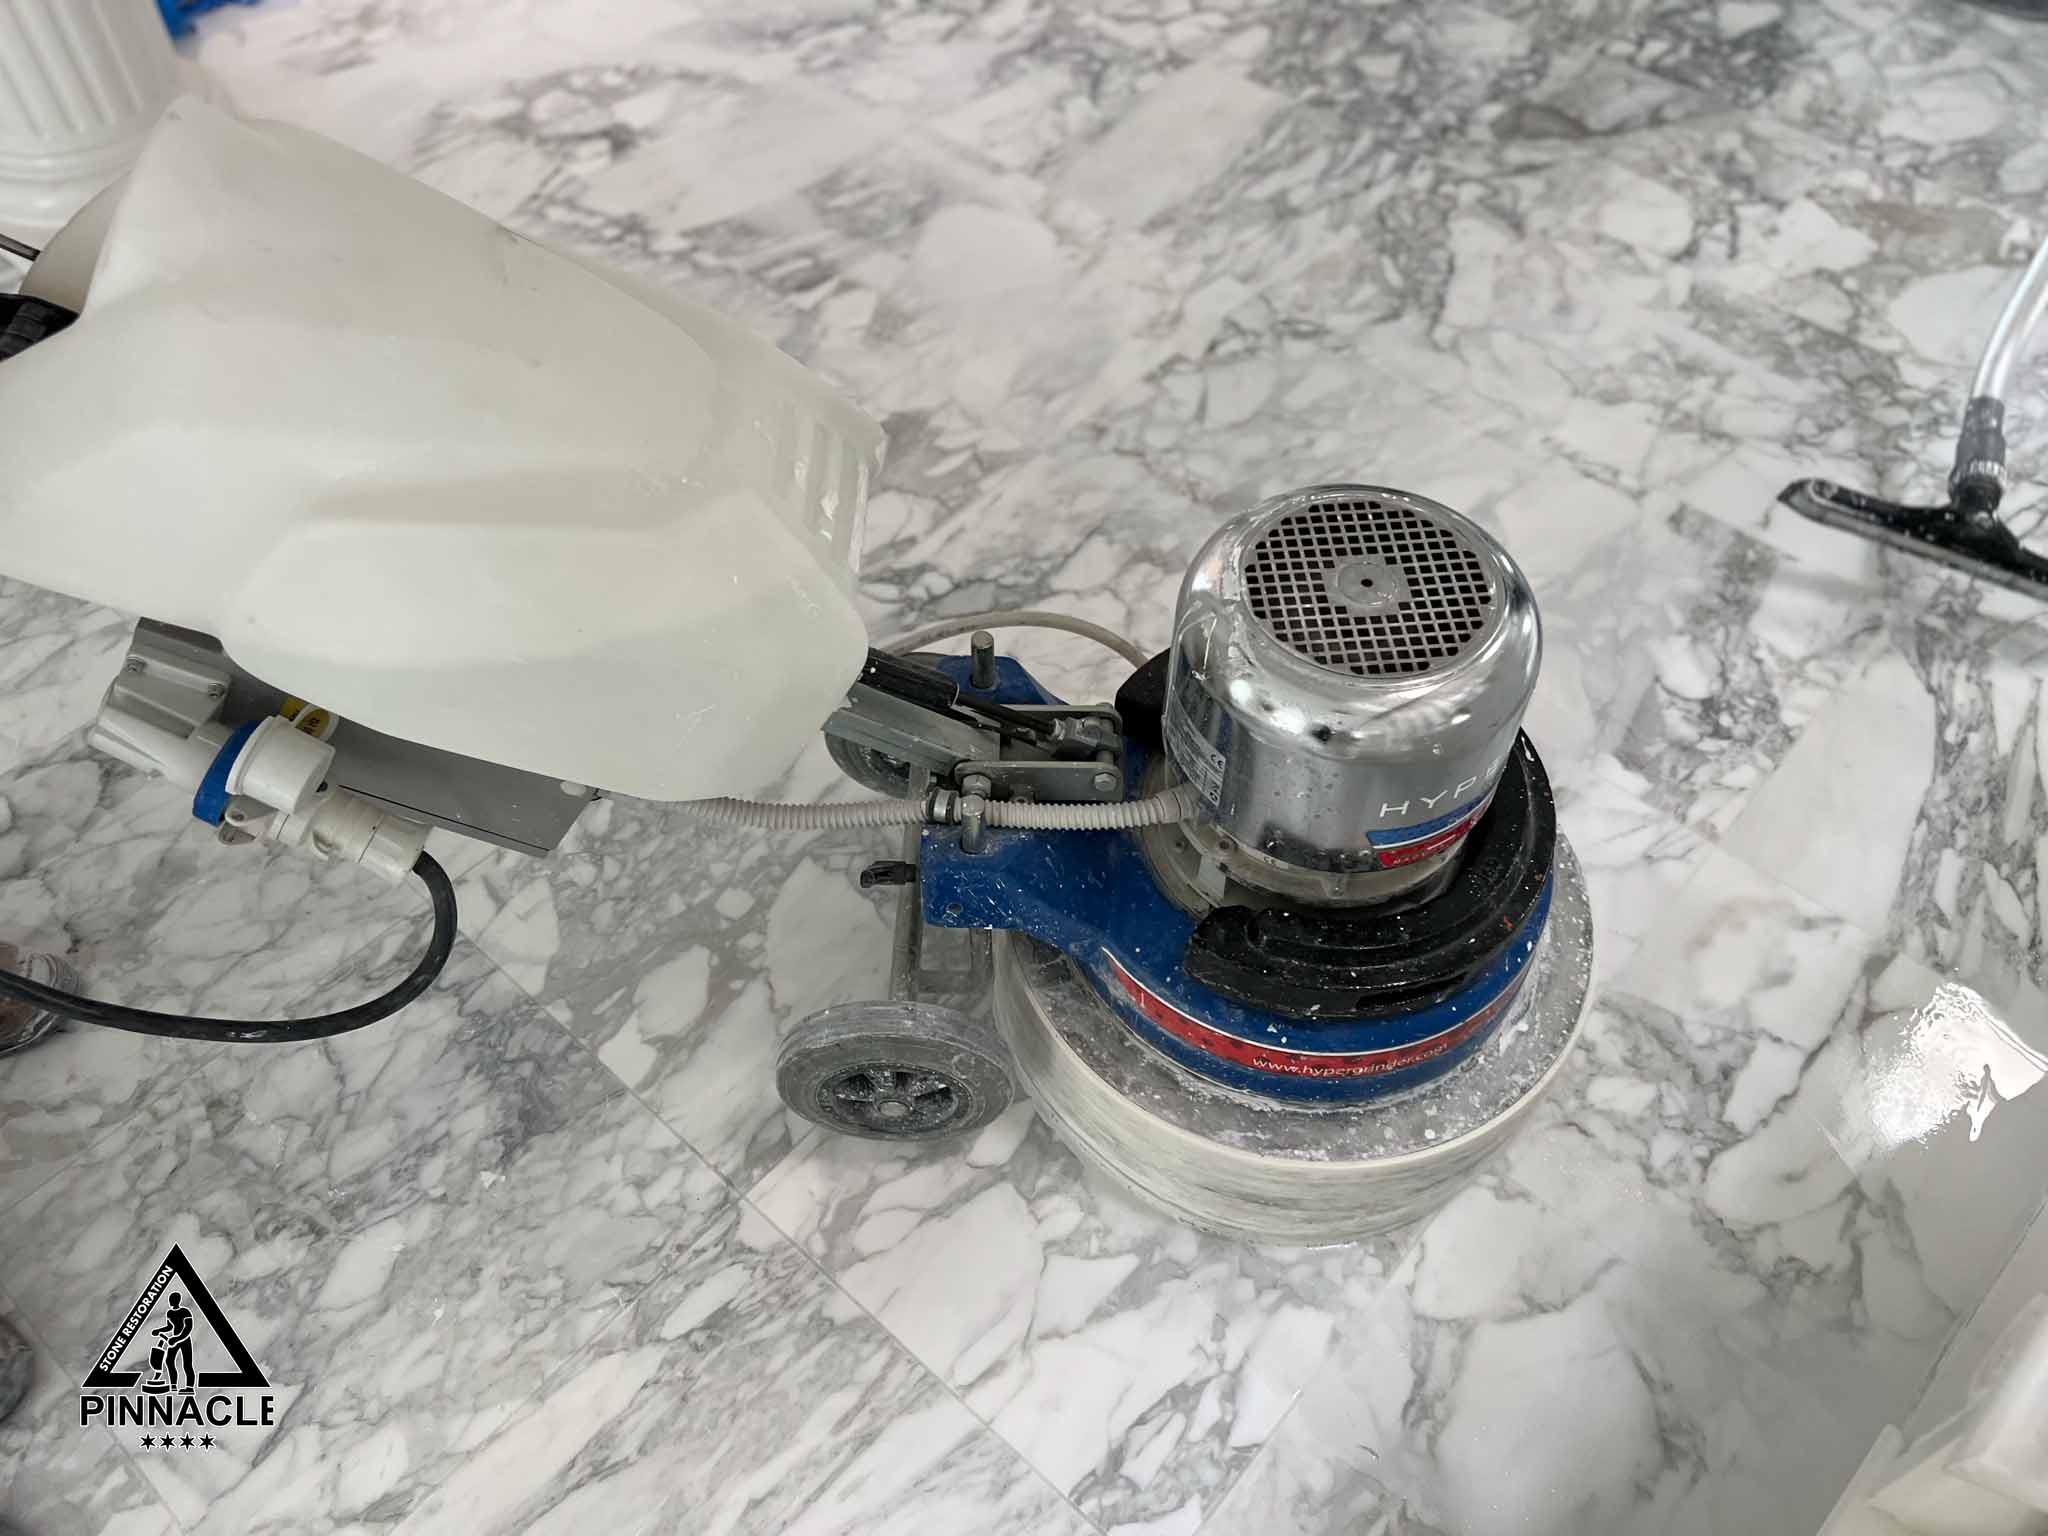
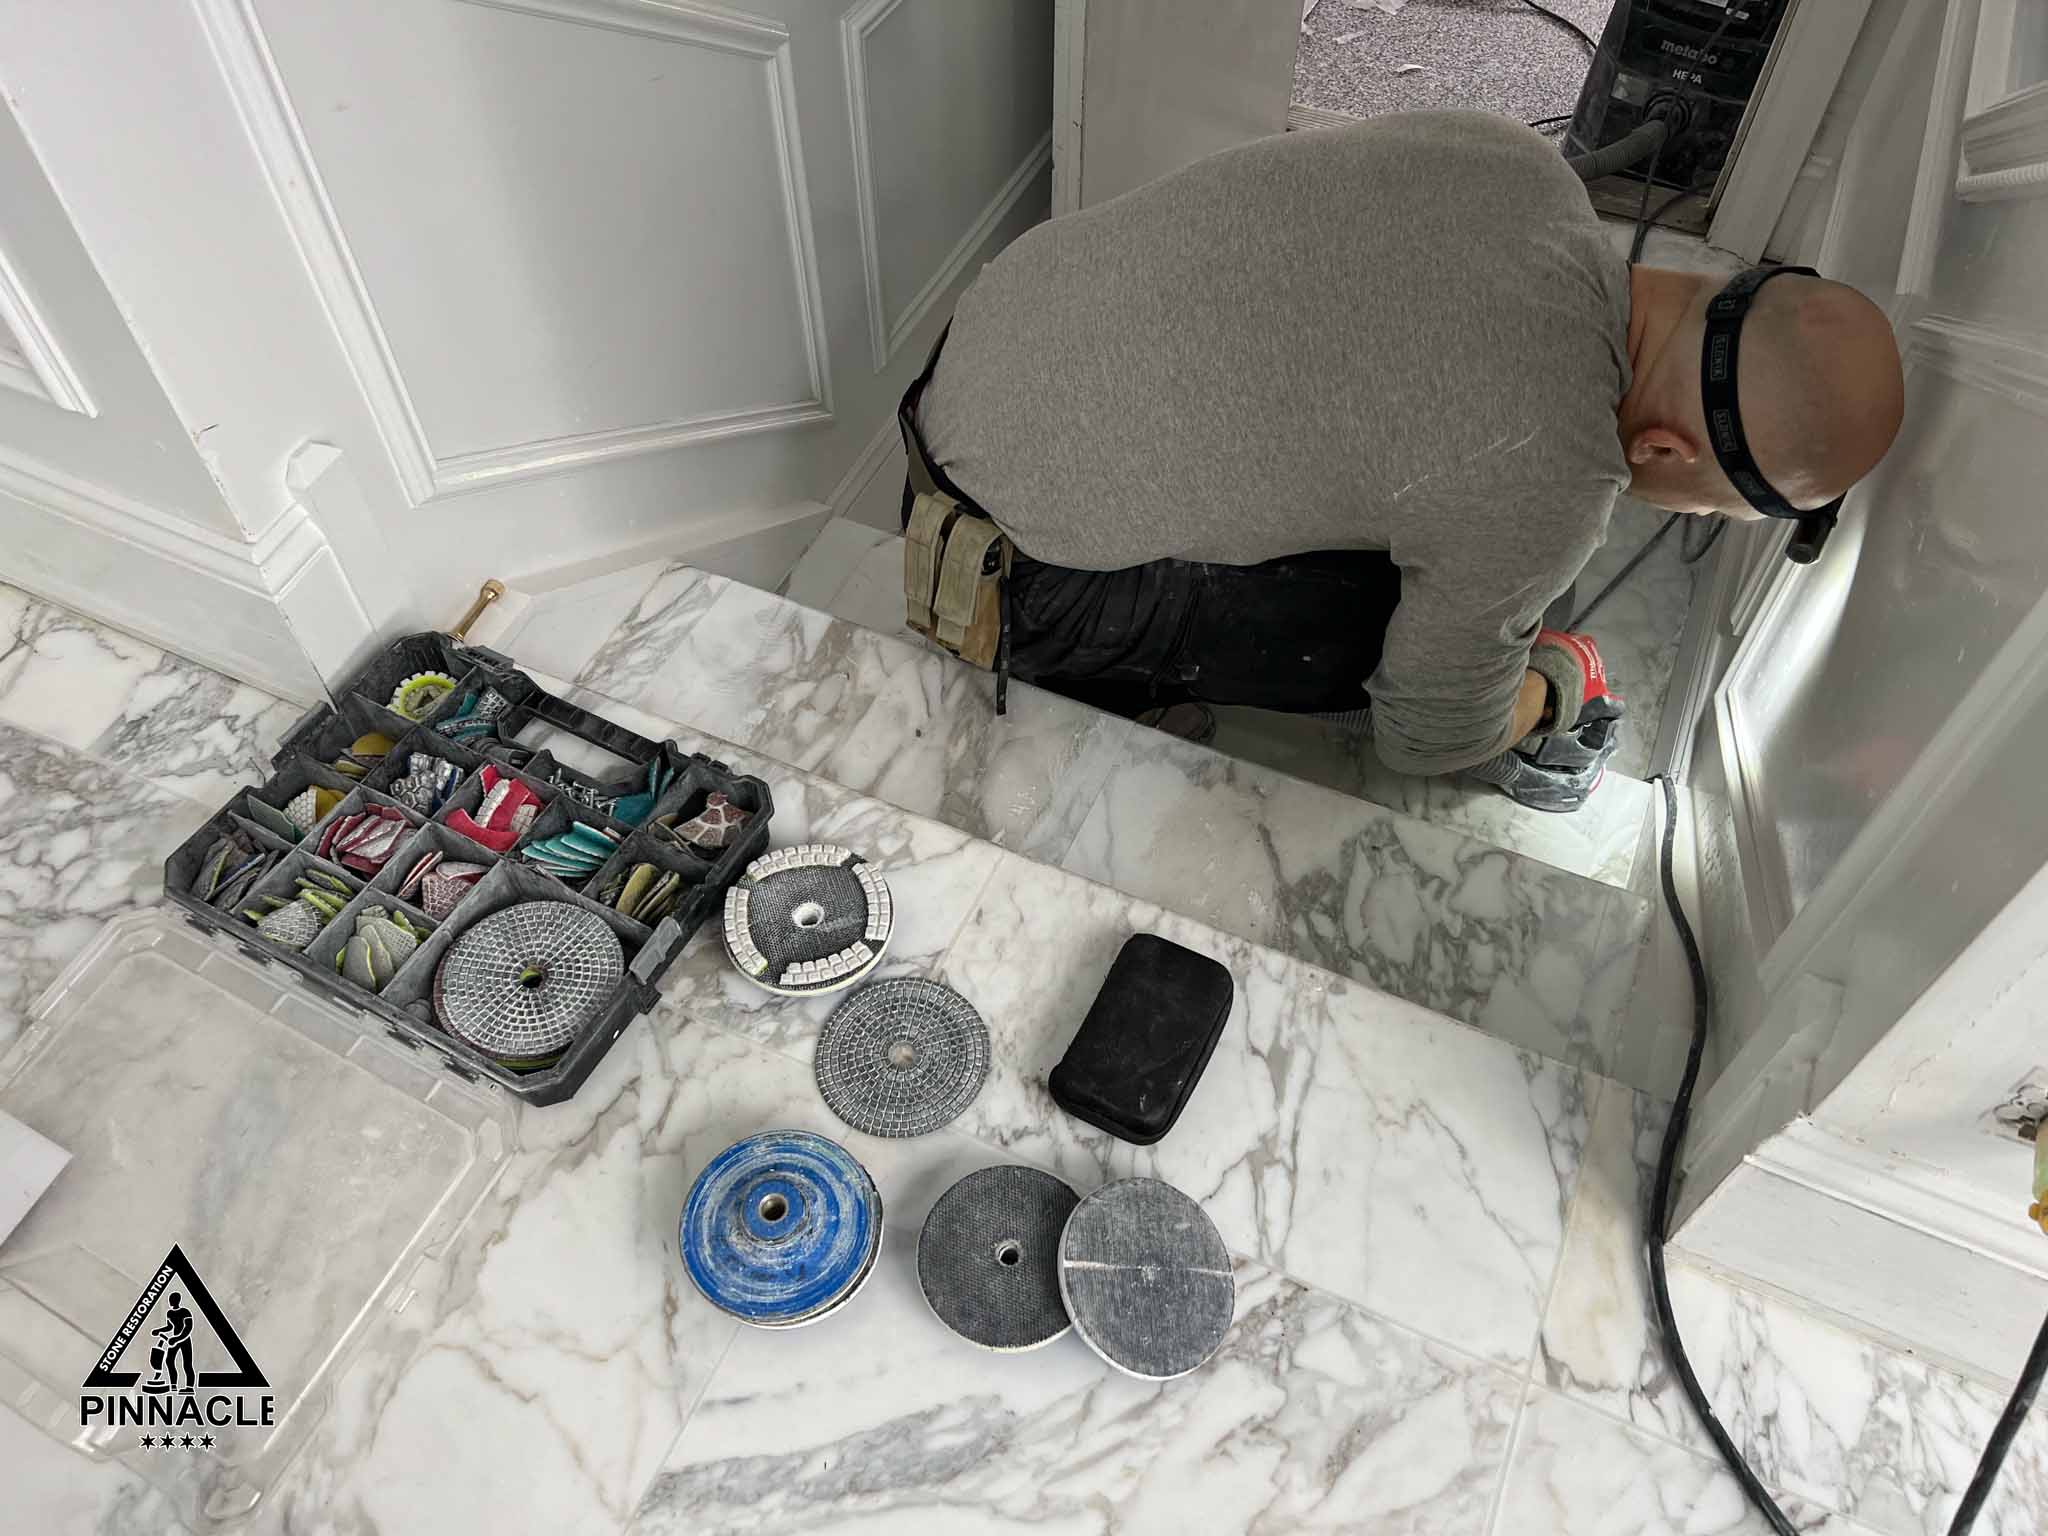
We continue grinding and then hone calacatta marble tile with resin bond diamond pads by gradually increasing grit levels to remove scratches (from heavy grinding, which evened the floor) and make the floor ultra-smooth to touch.
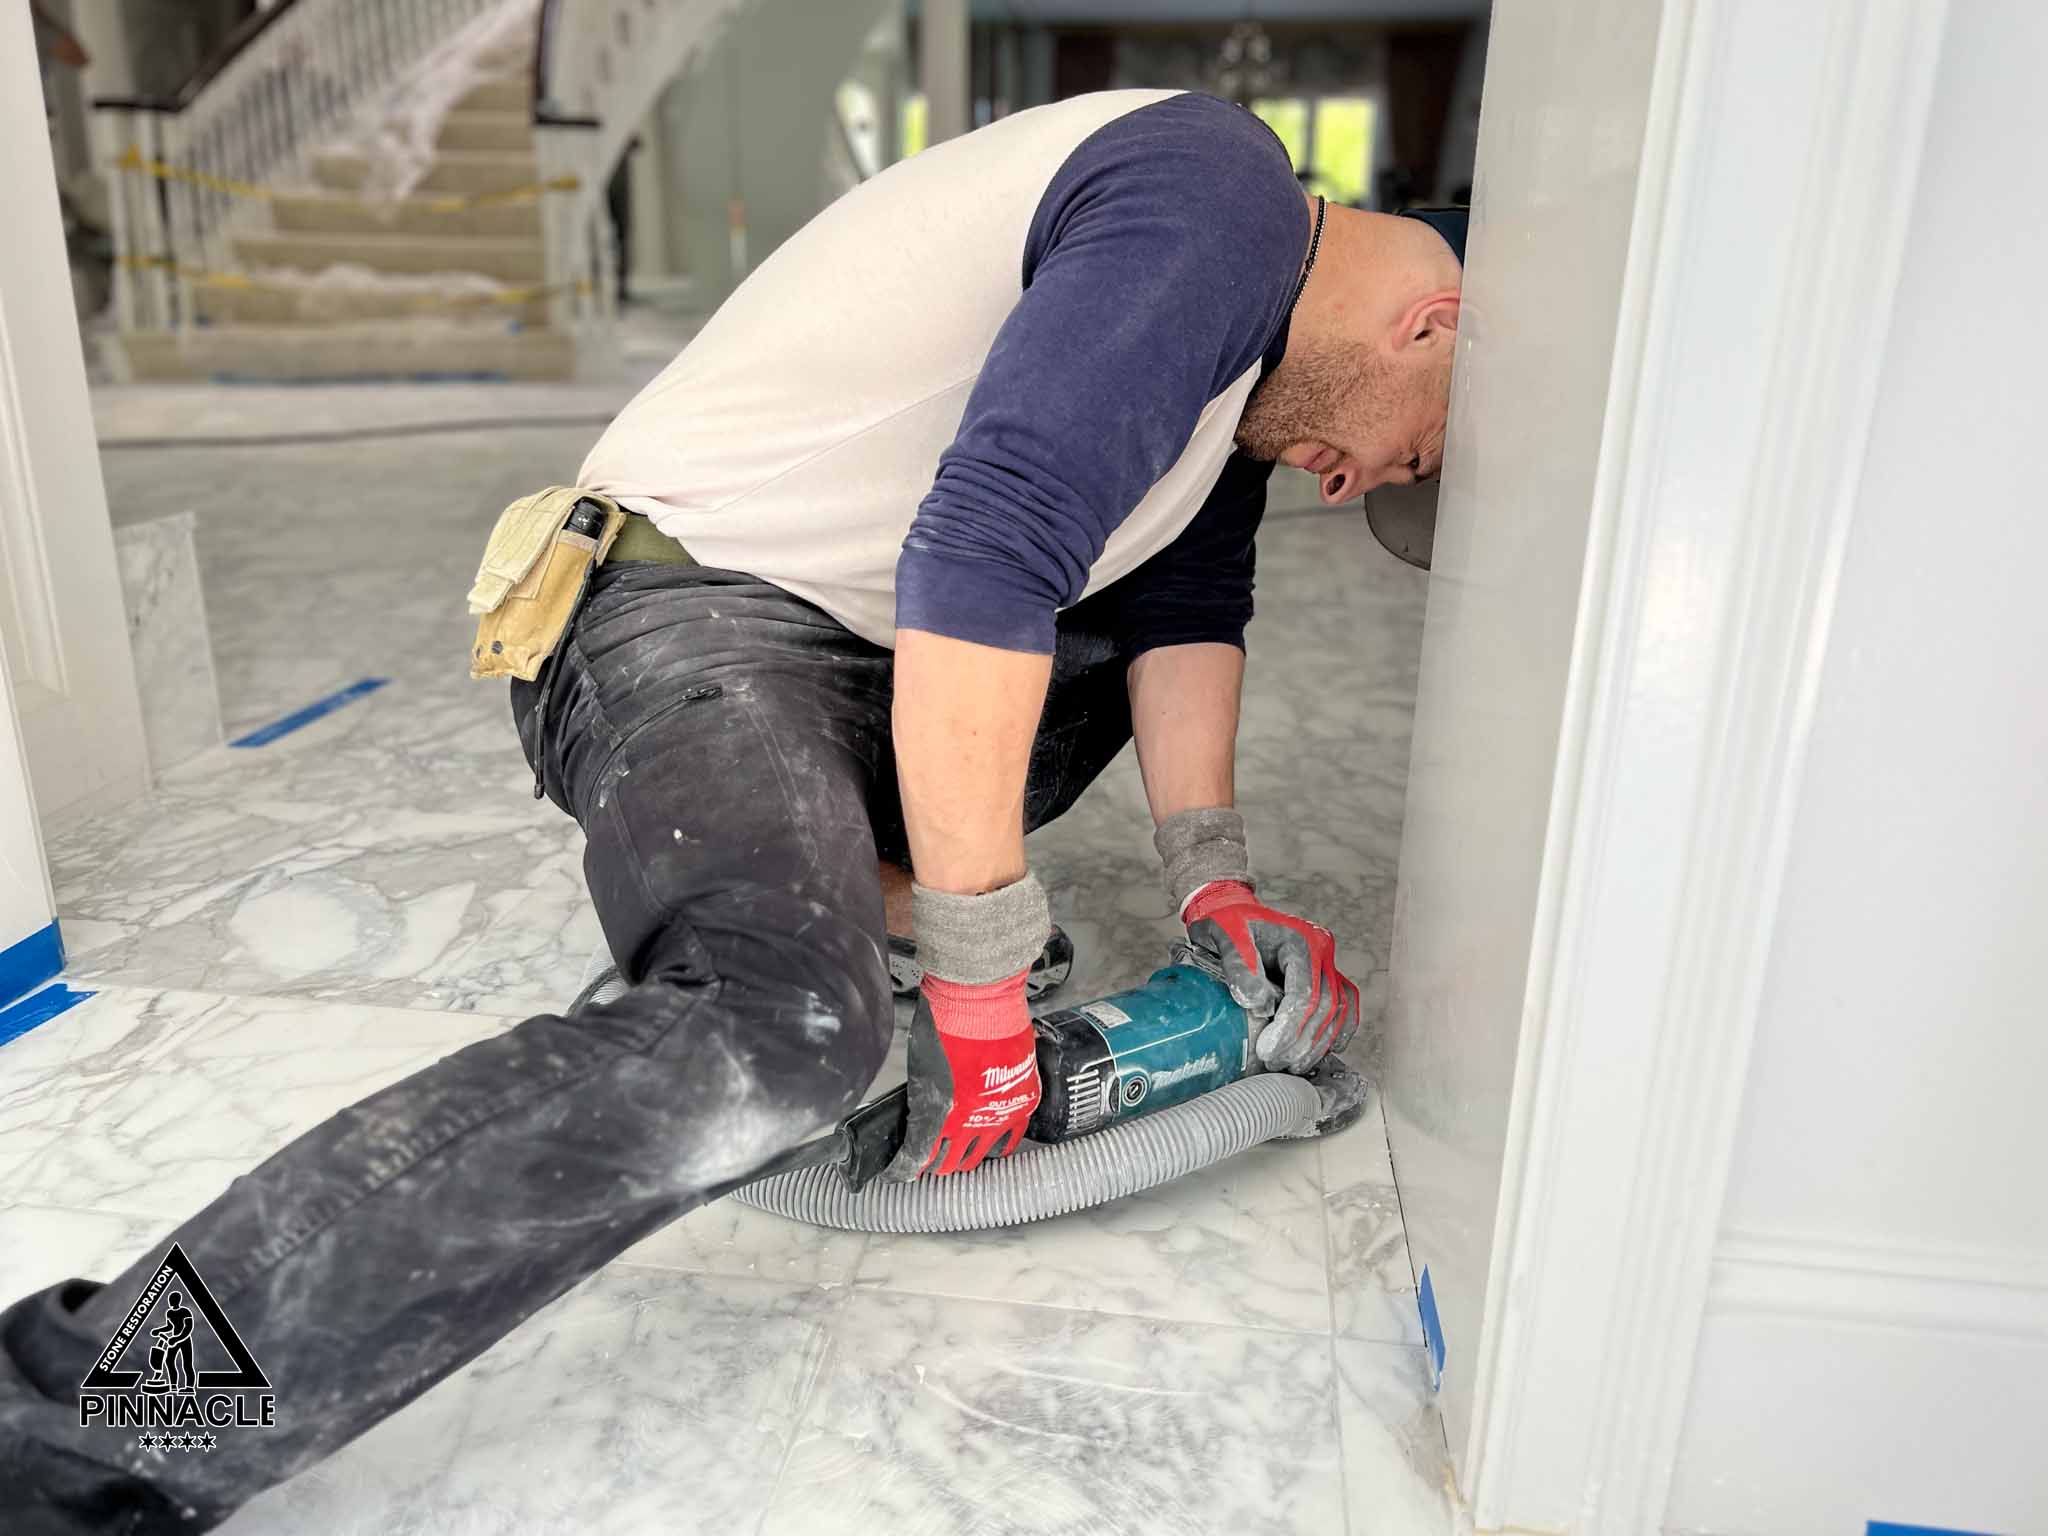
We work on edges and corners with a handheld machine. We gradually increasing grit levels of diamond pads.
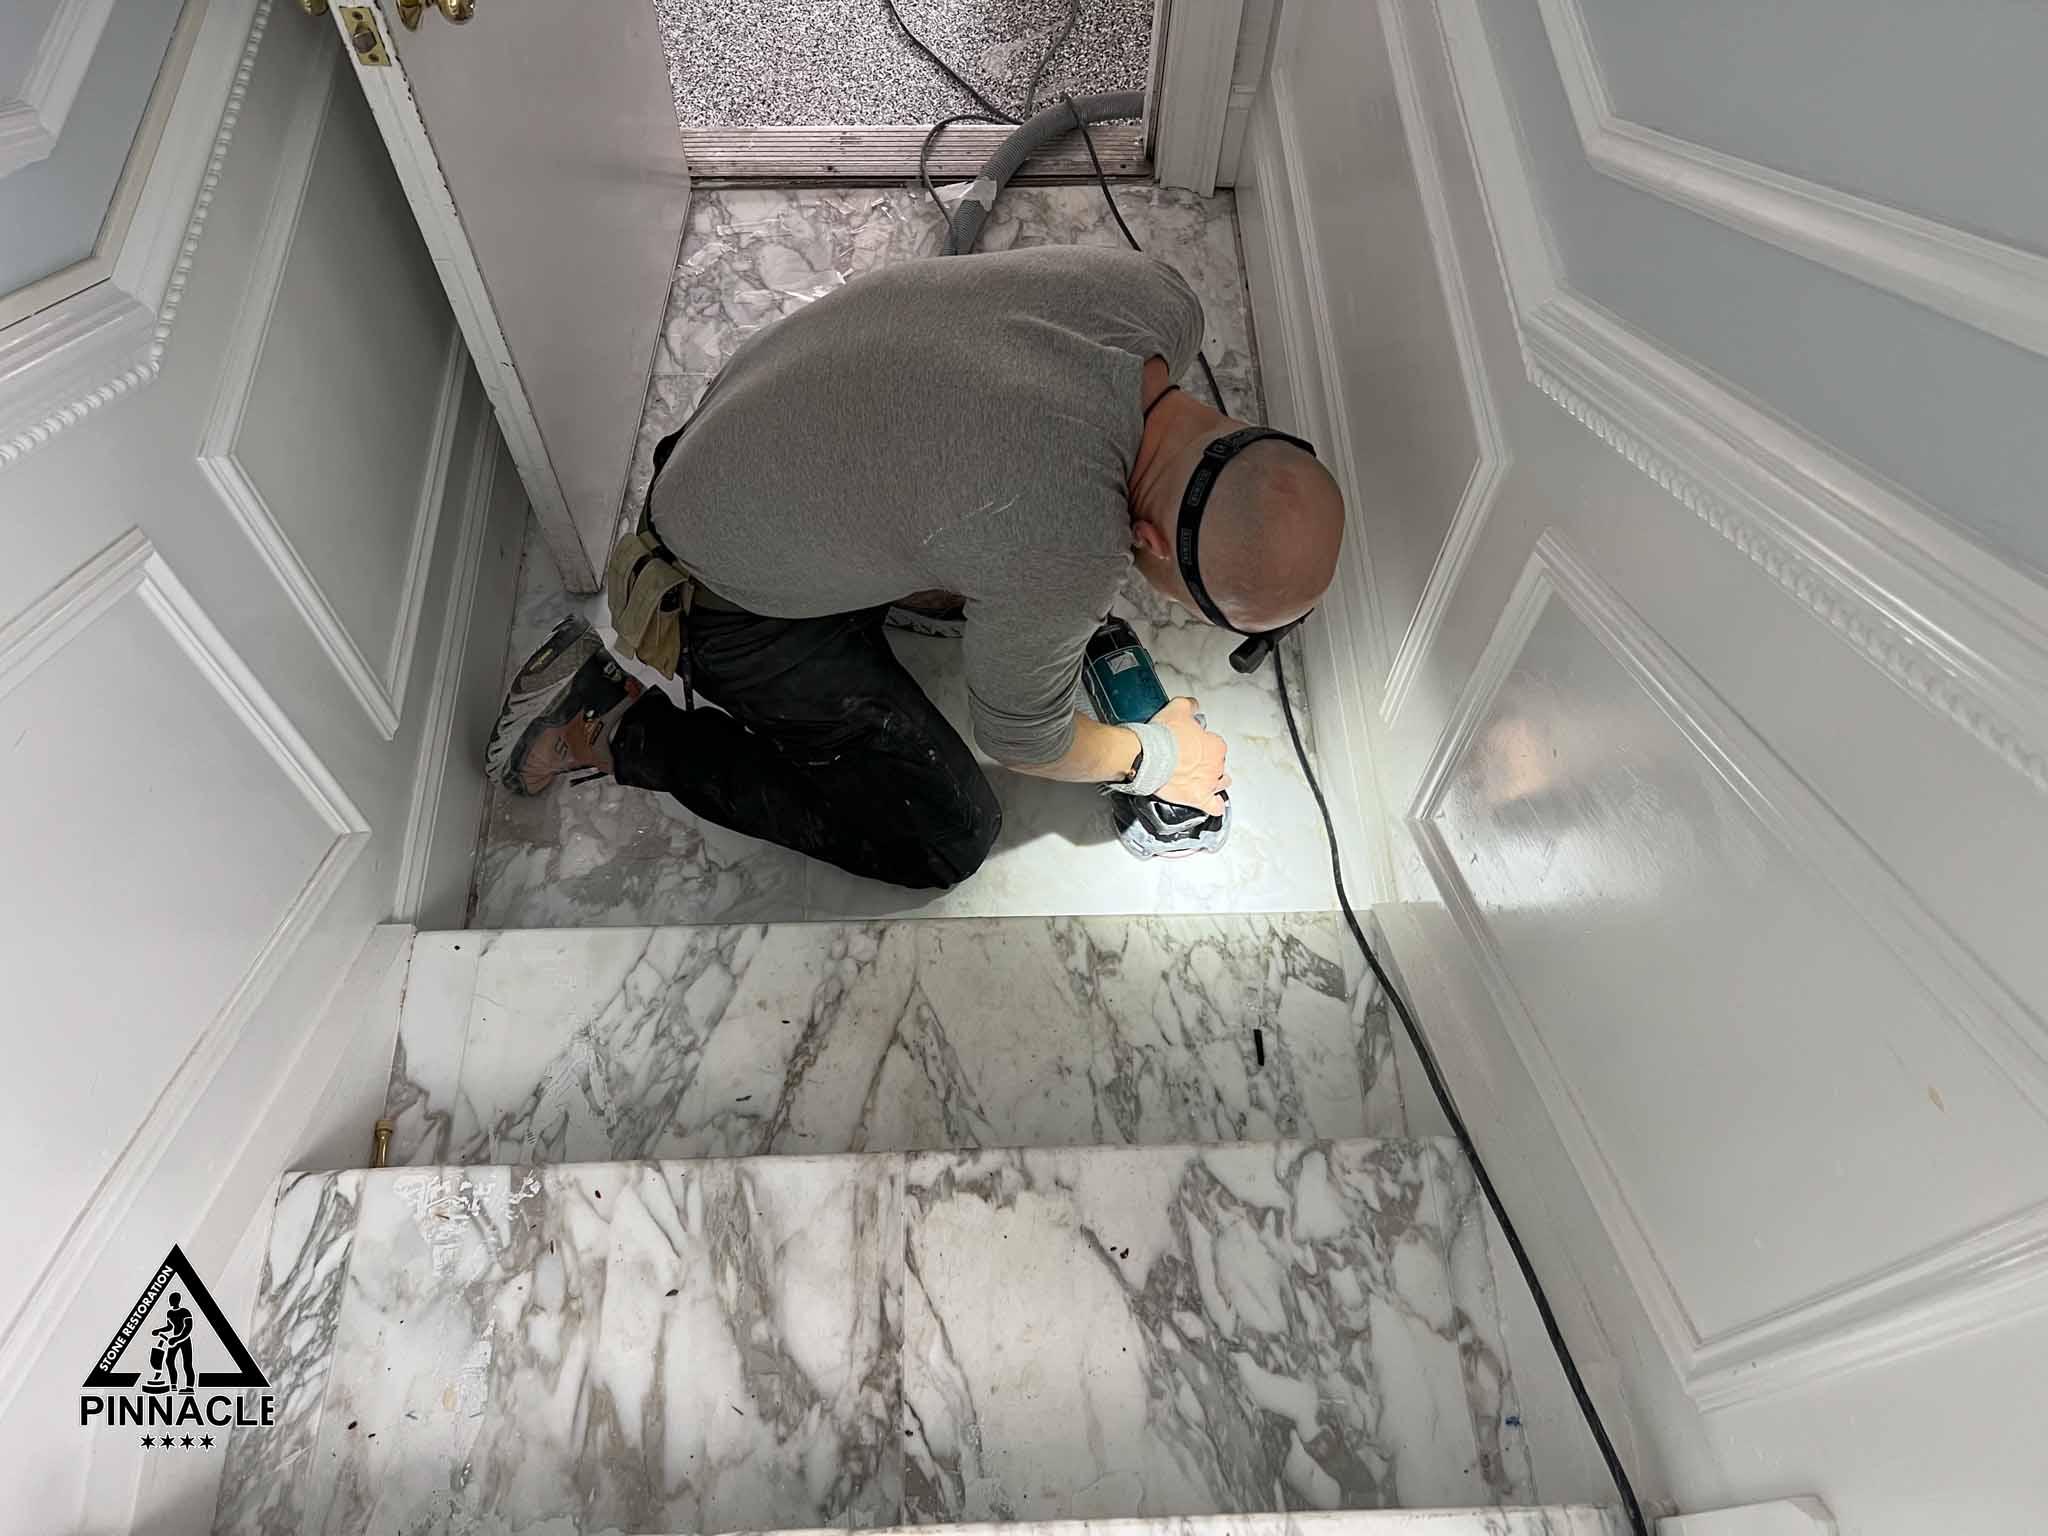
We work on stairs and landings with a handheld machine as well as floor machine by gradually increasing grit levels of diamond pads.
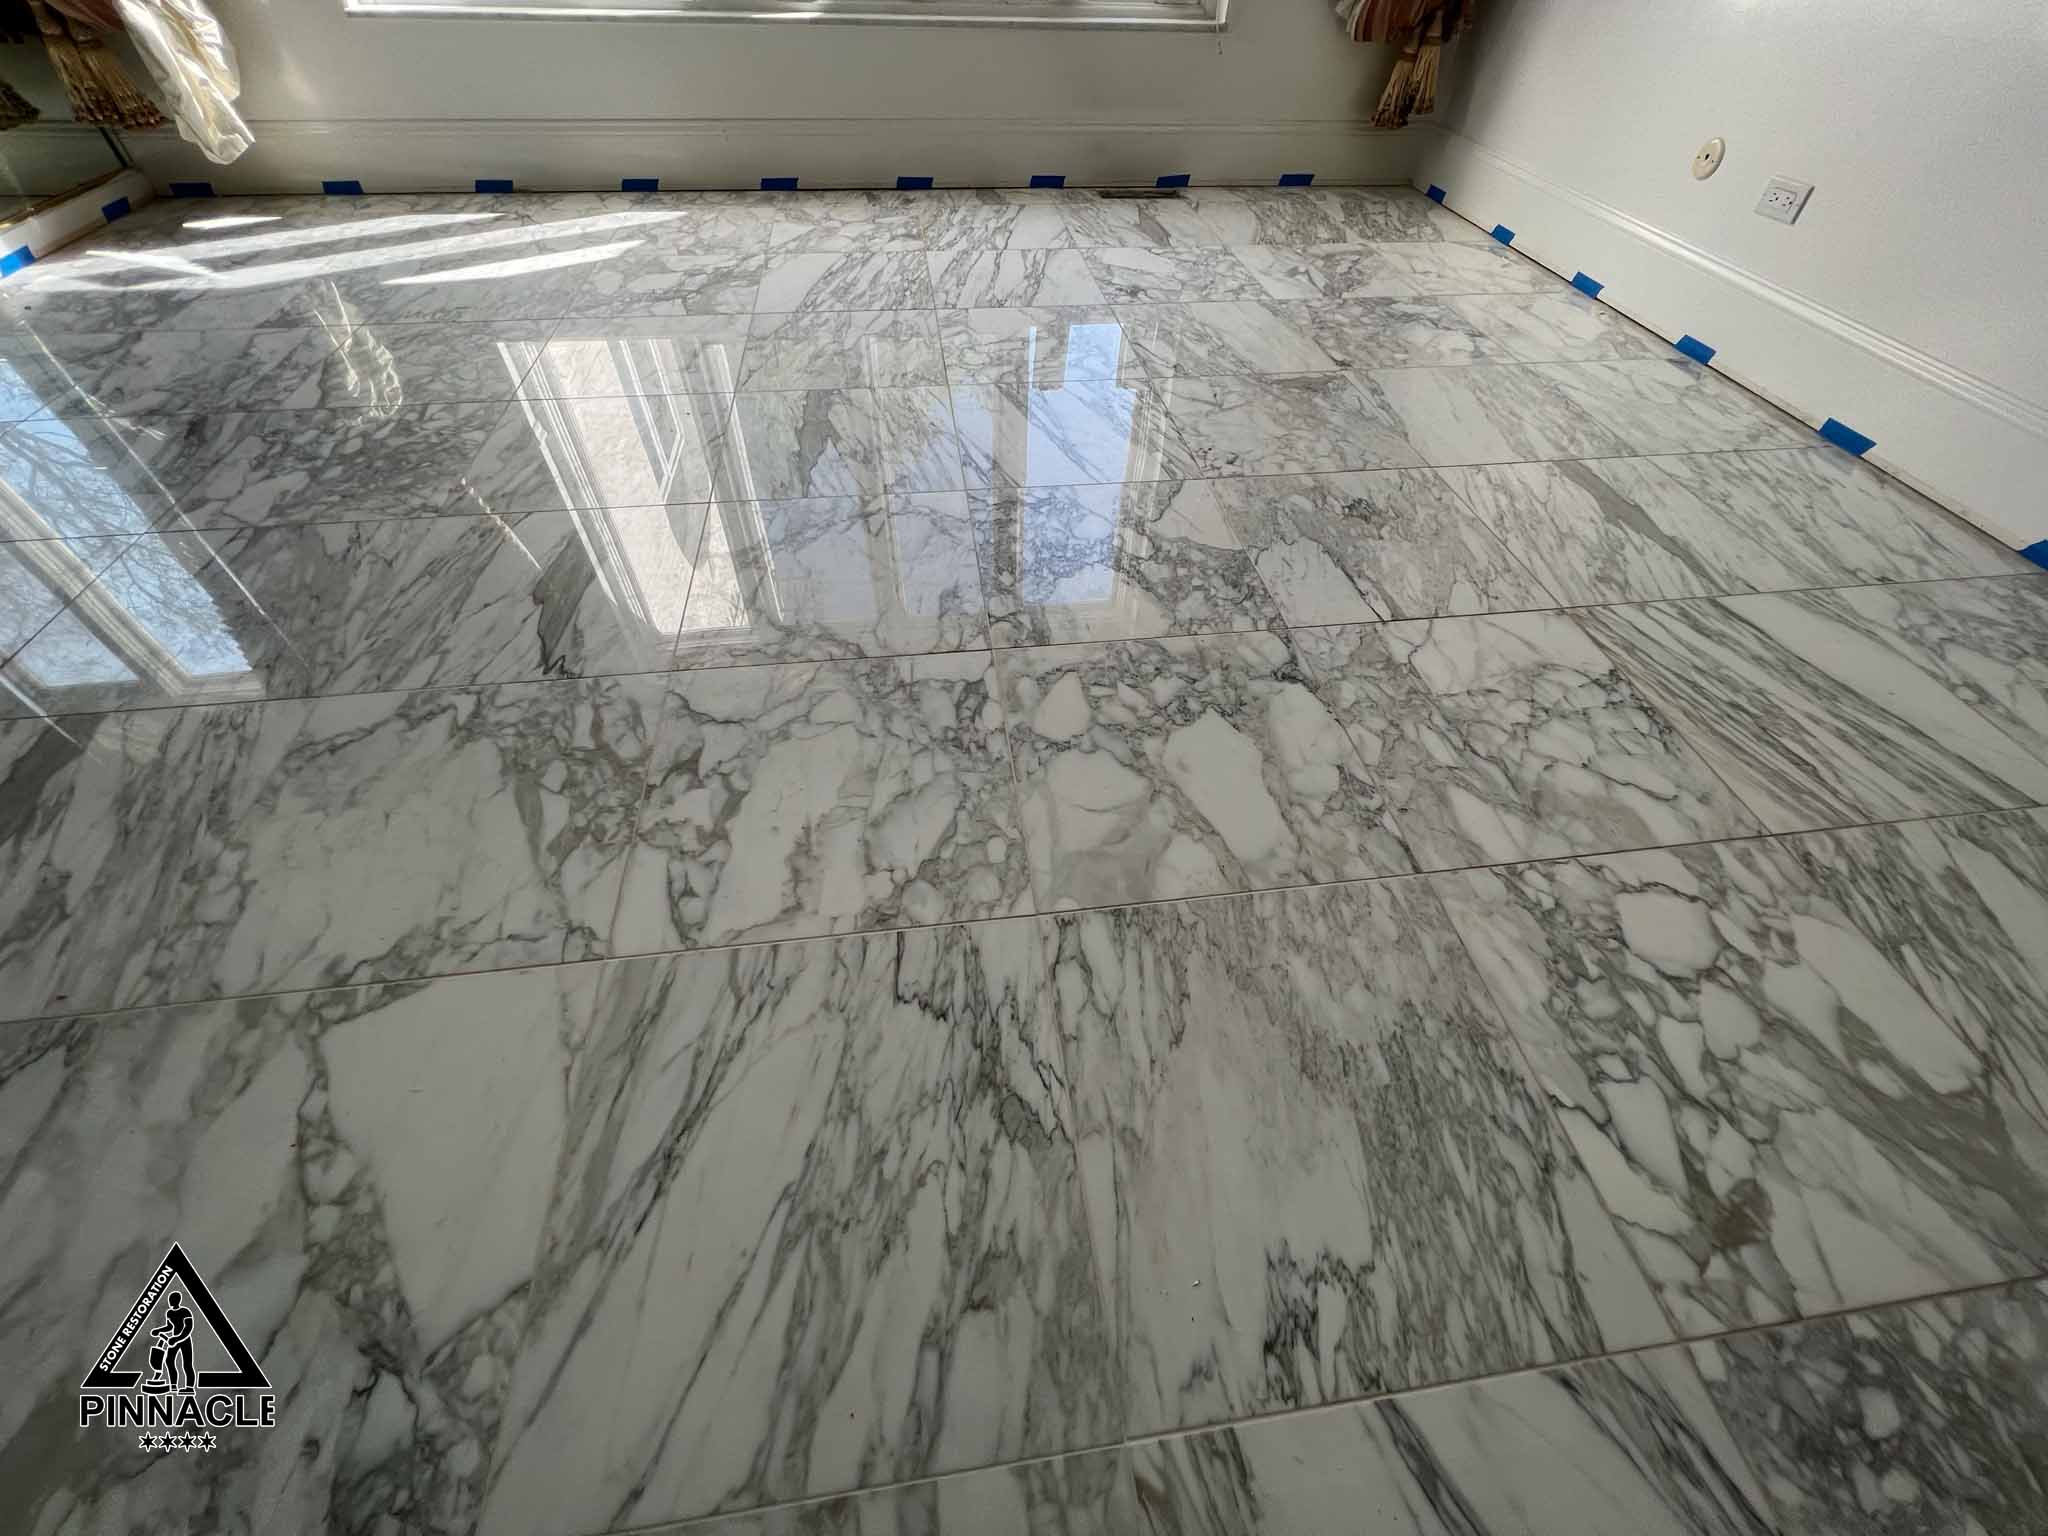
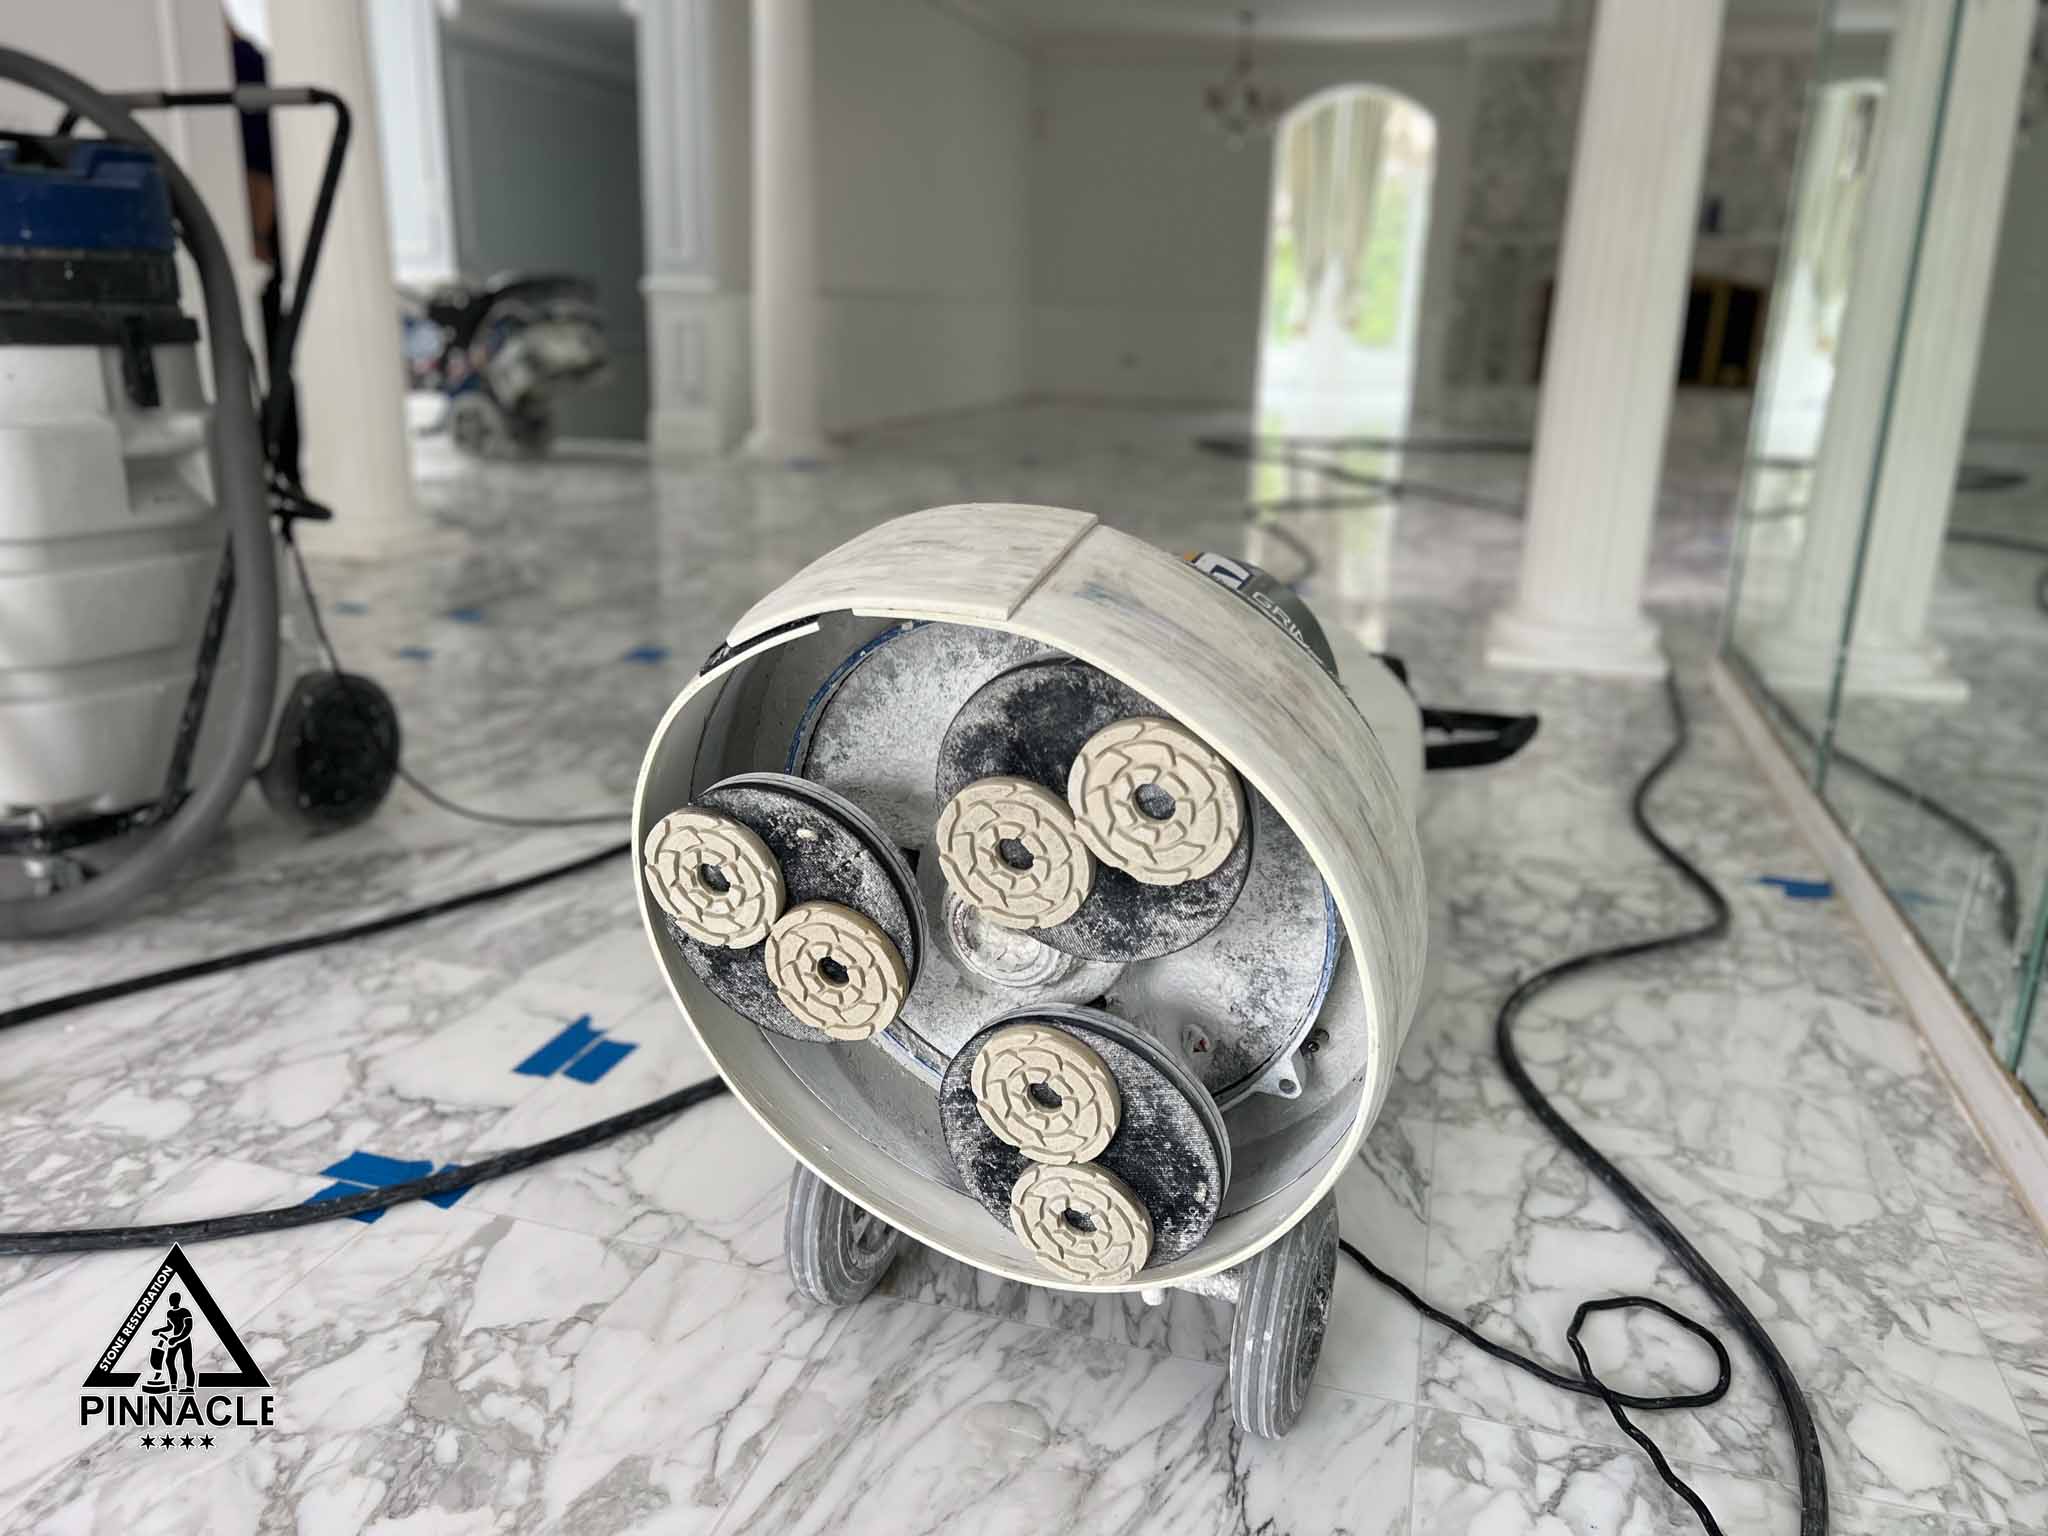
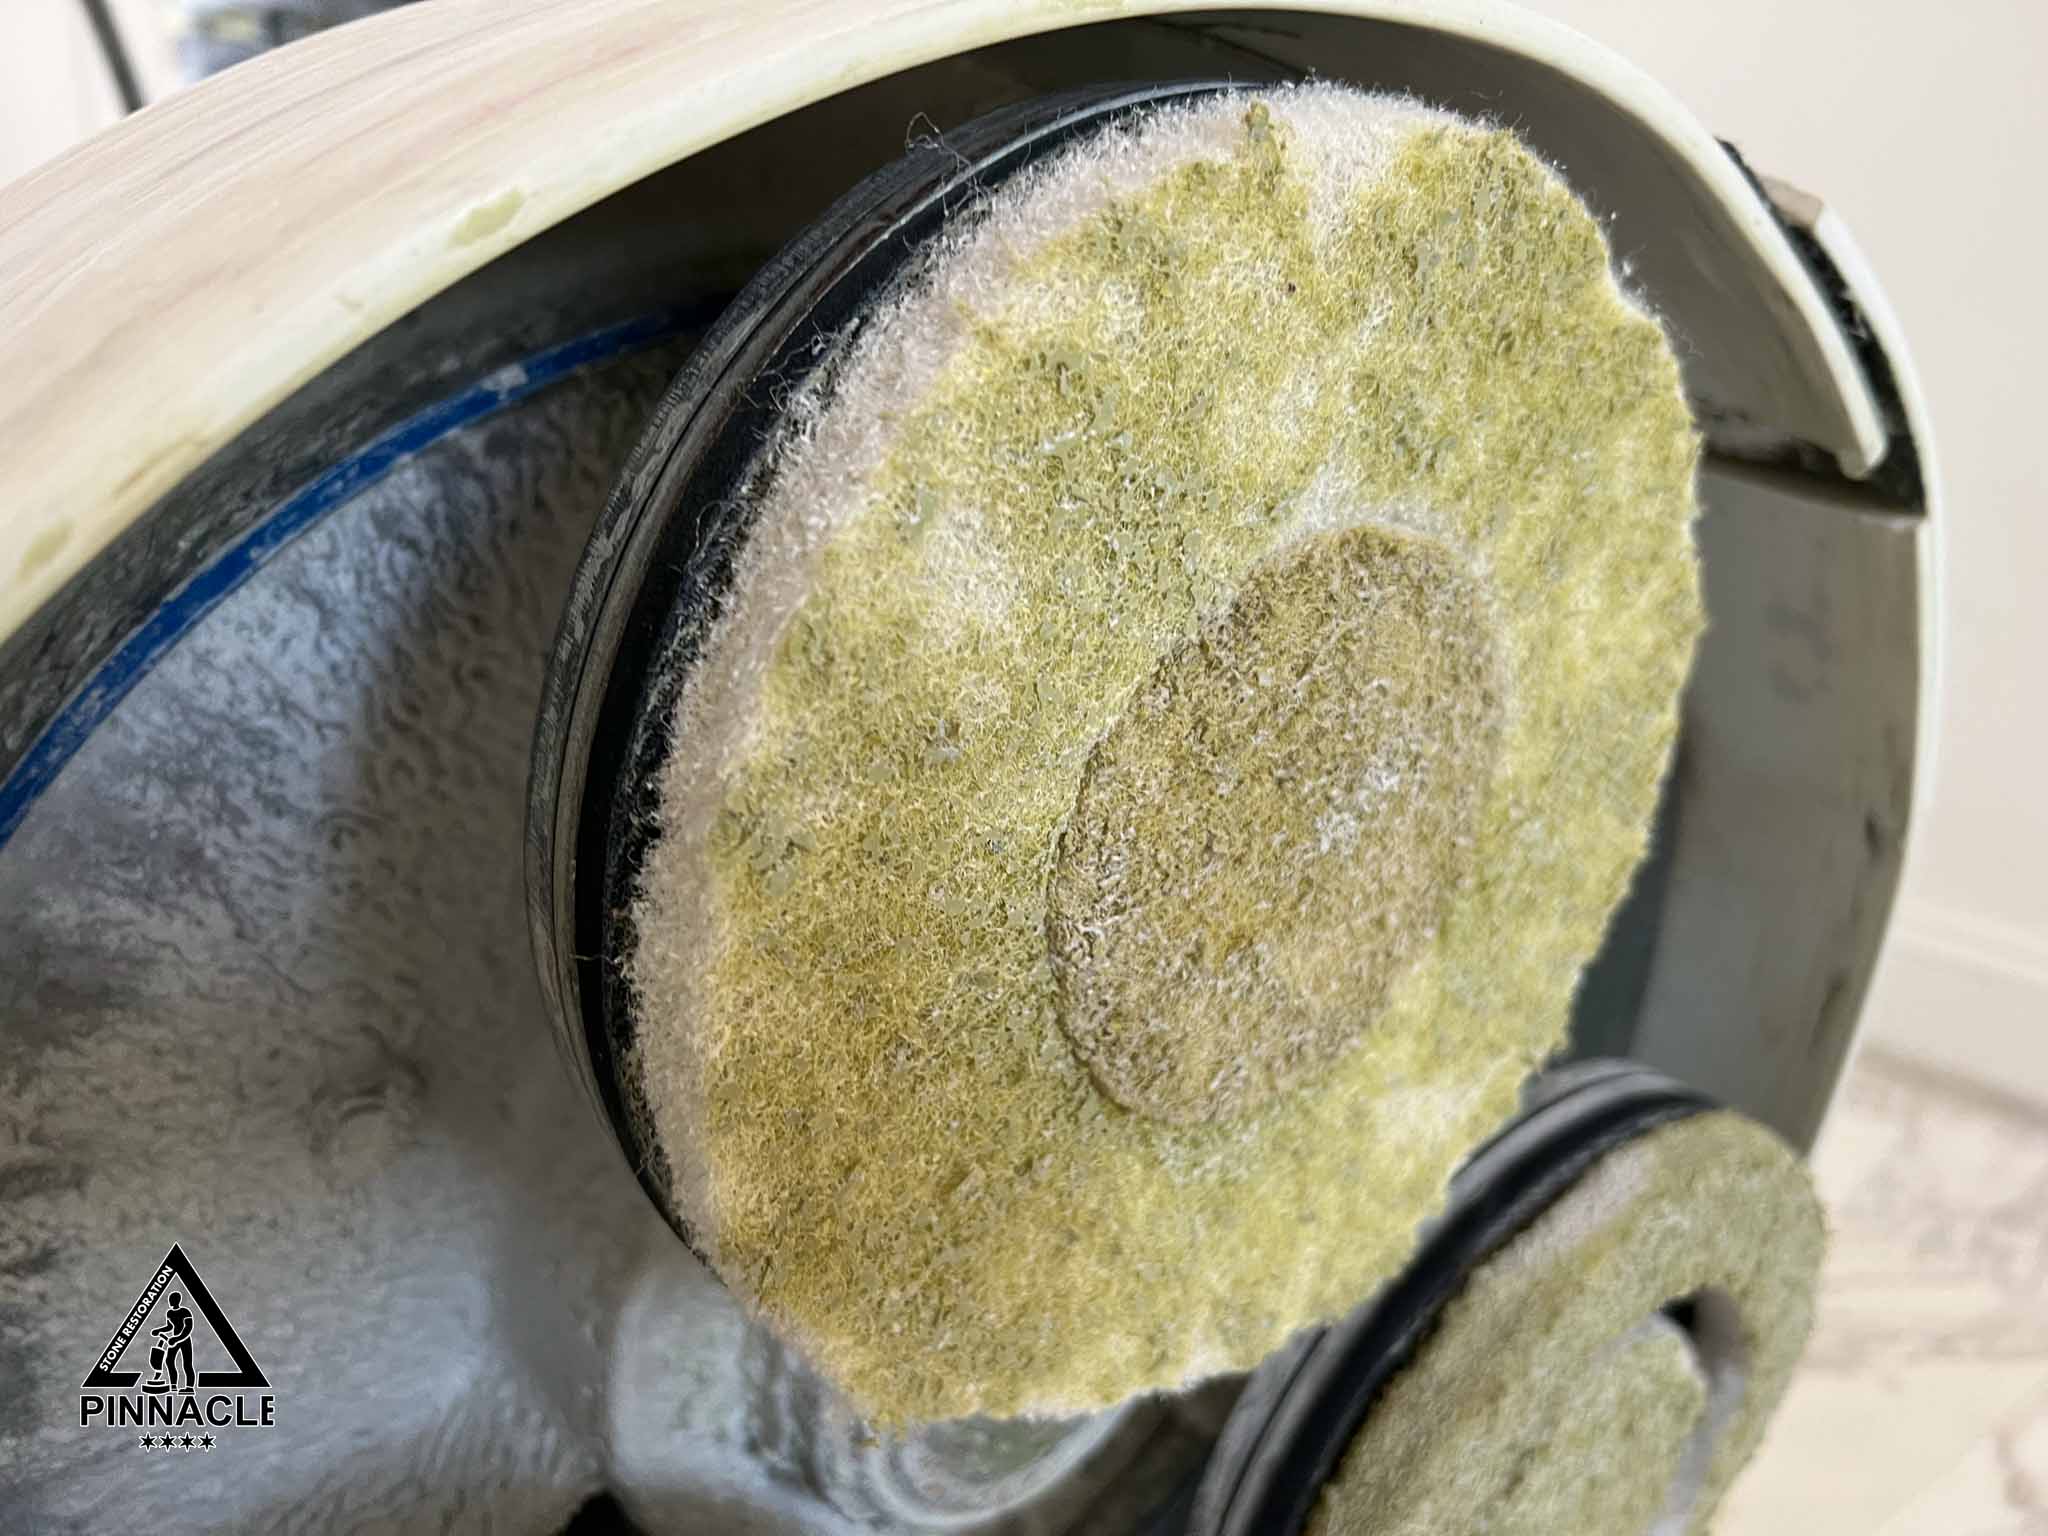
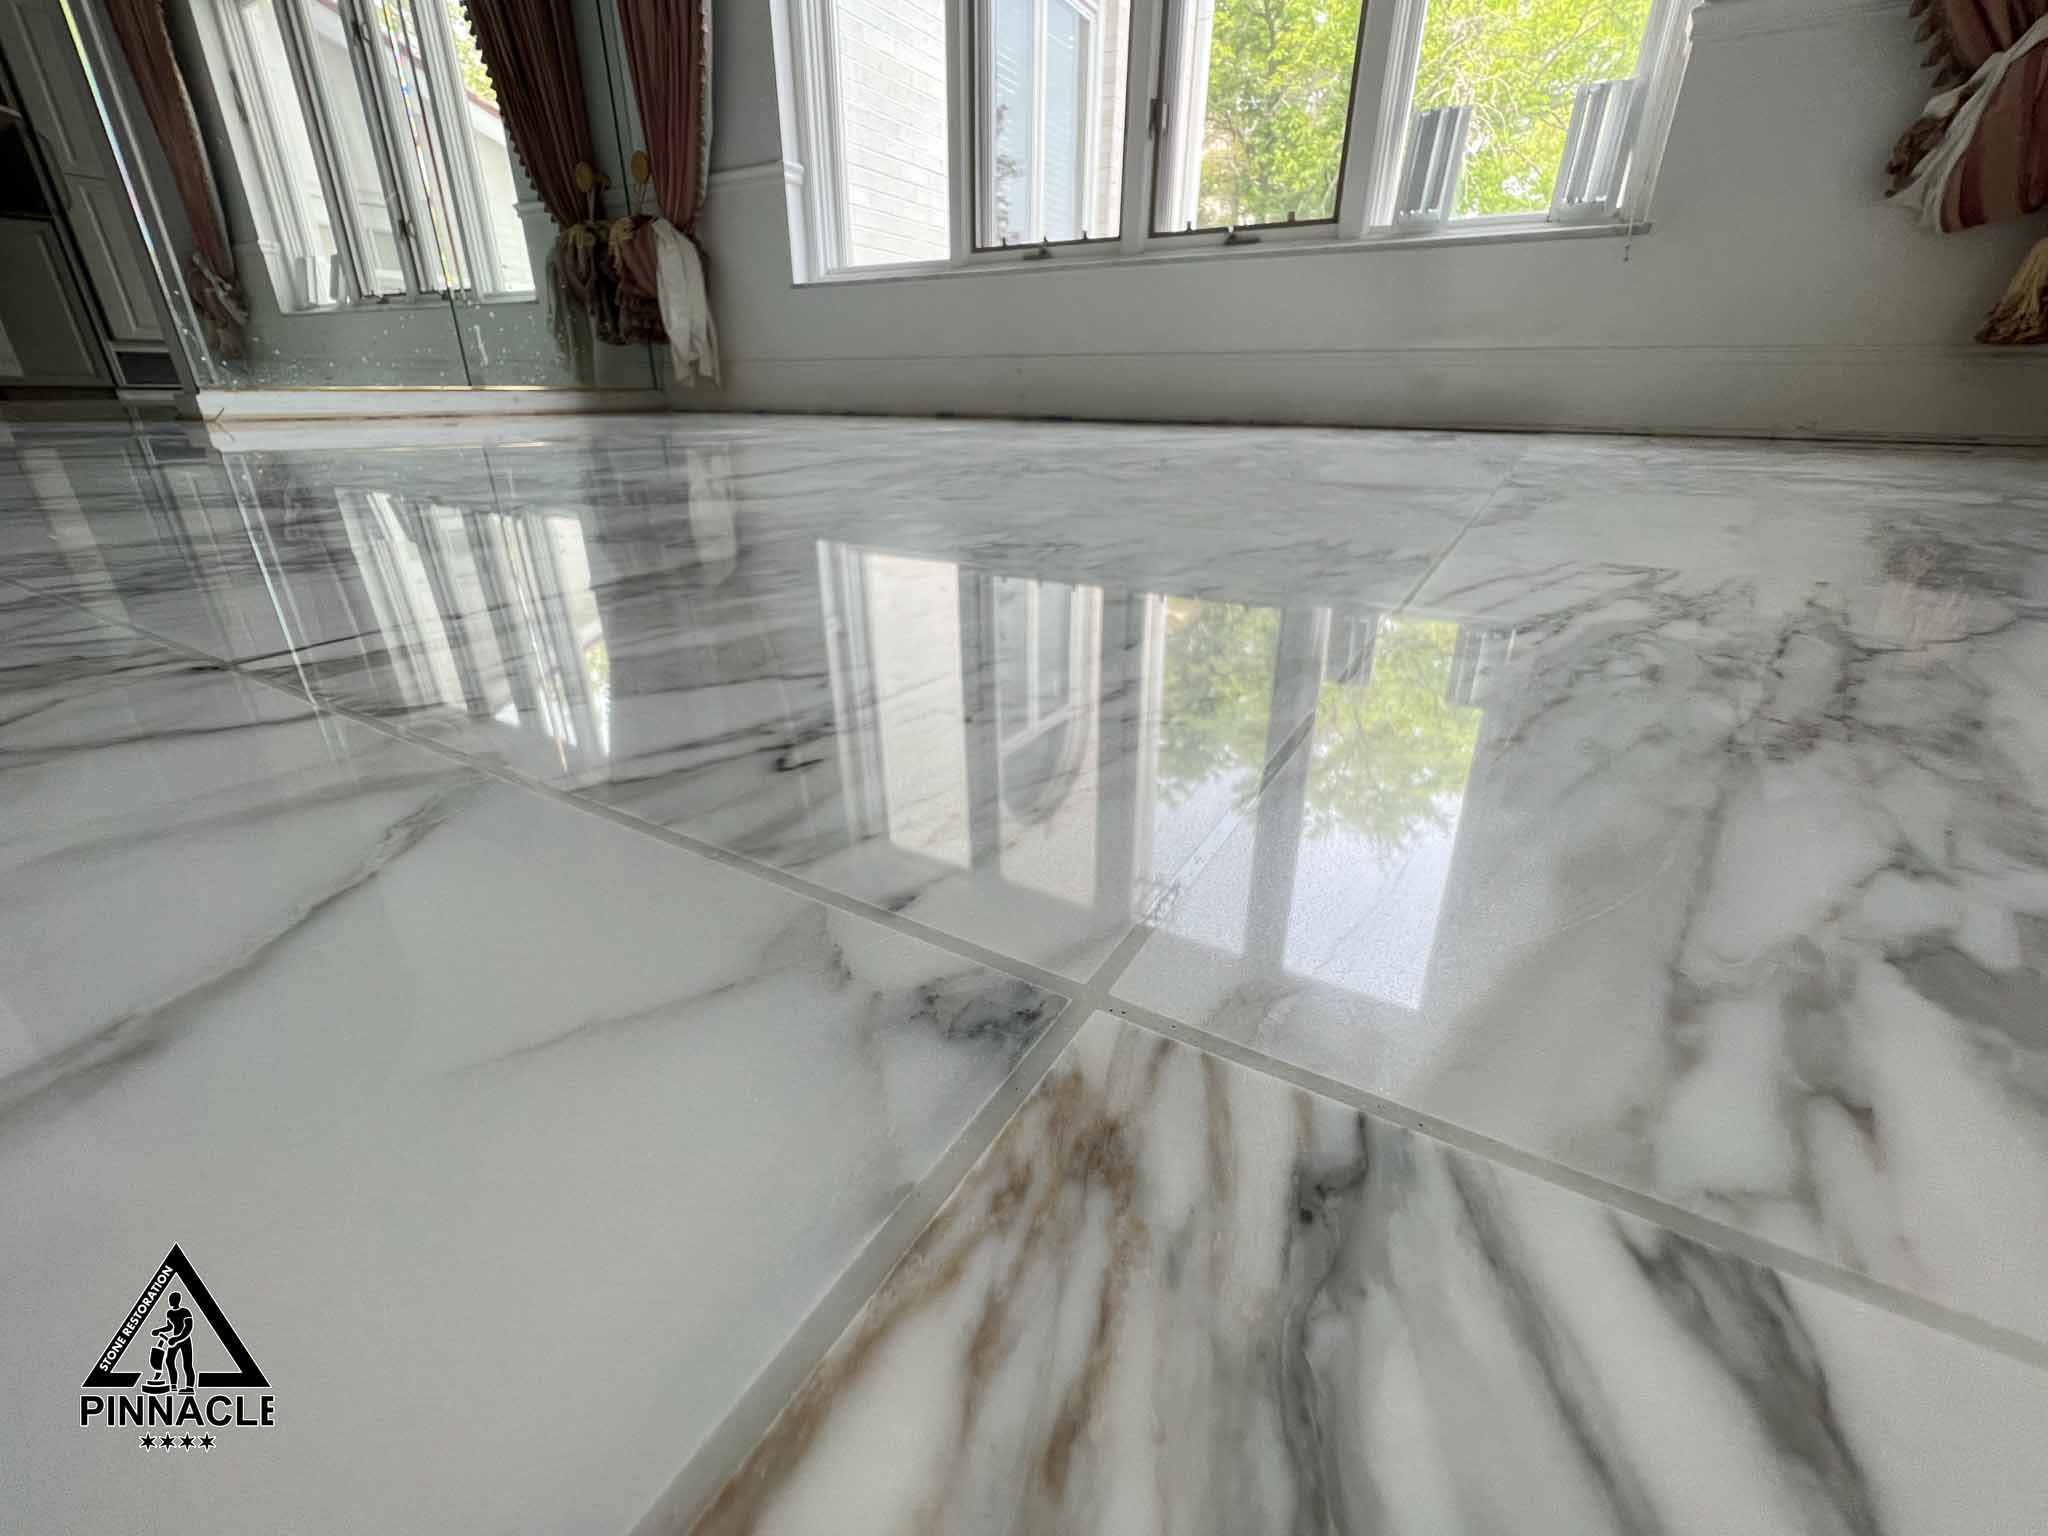
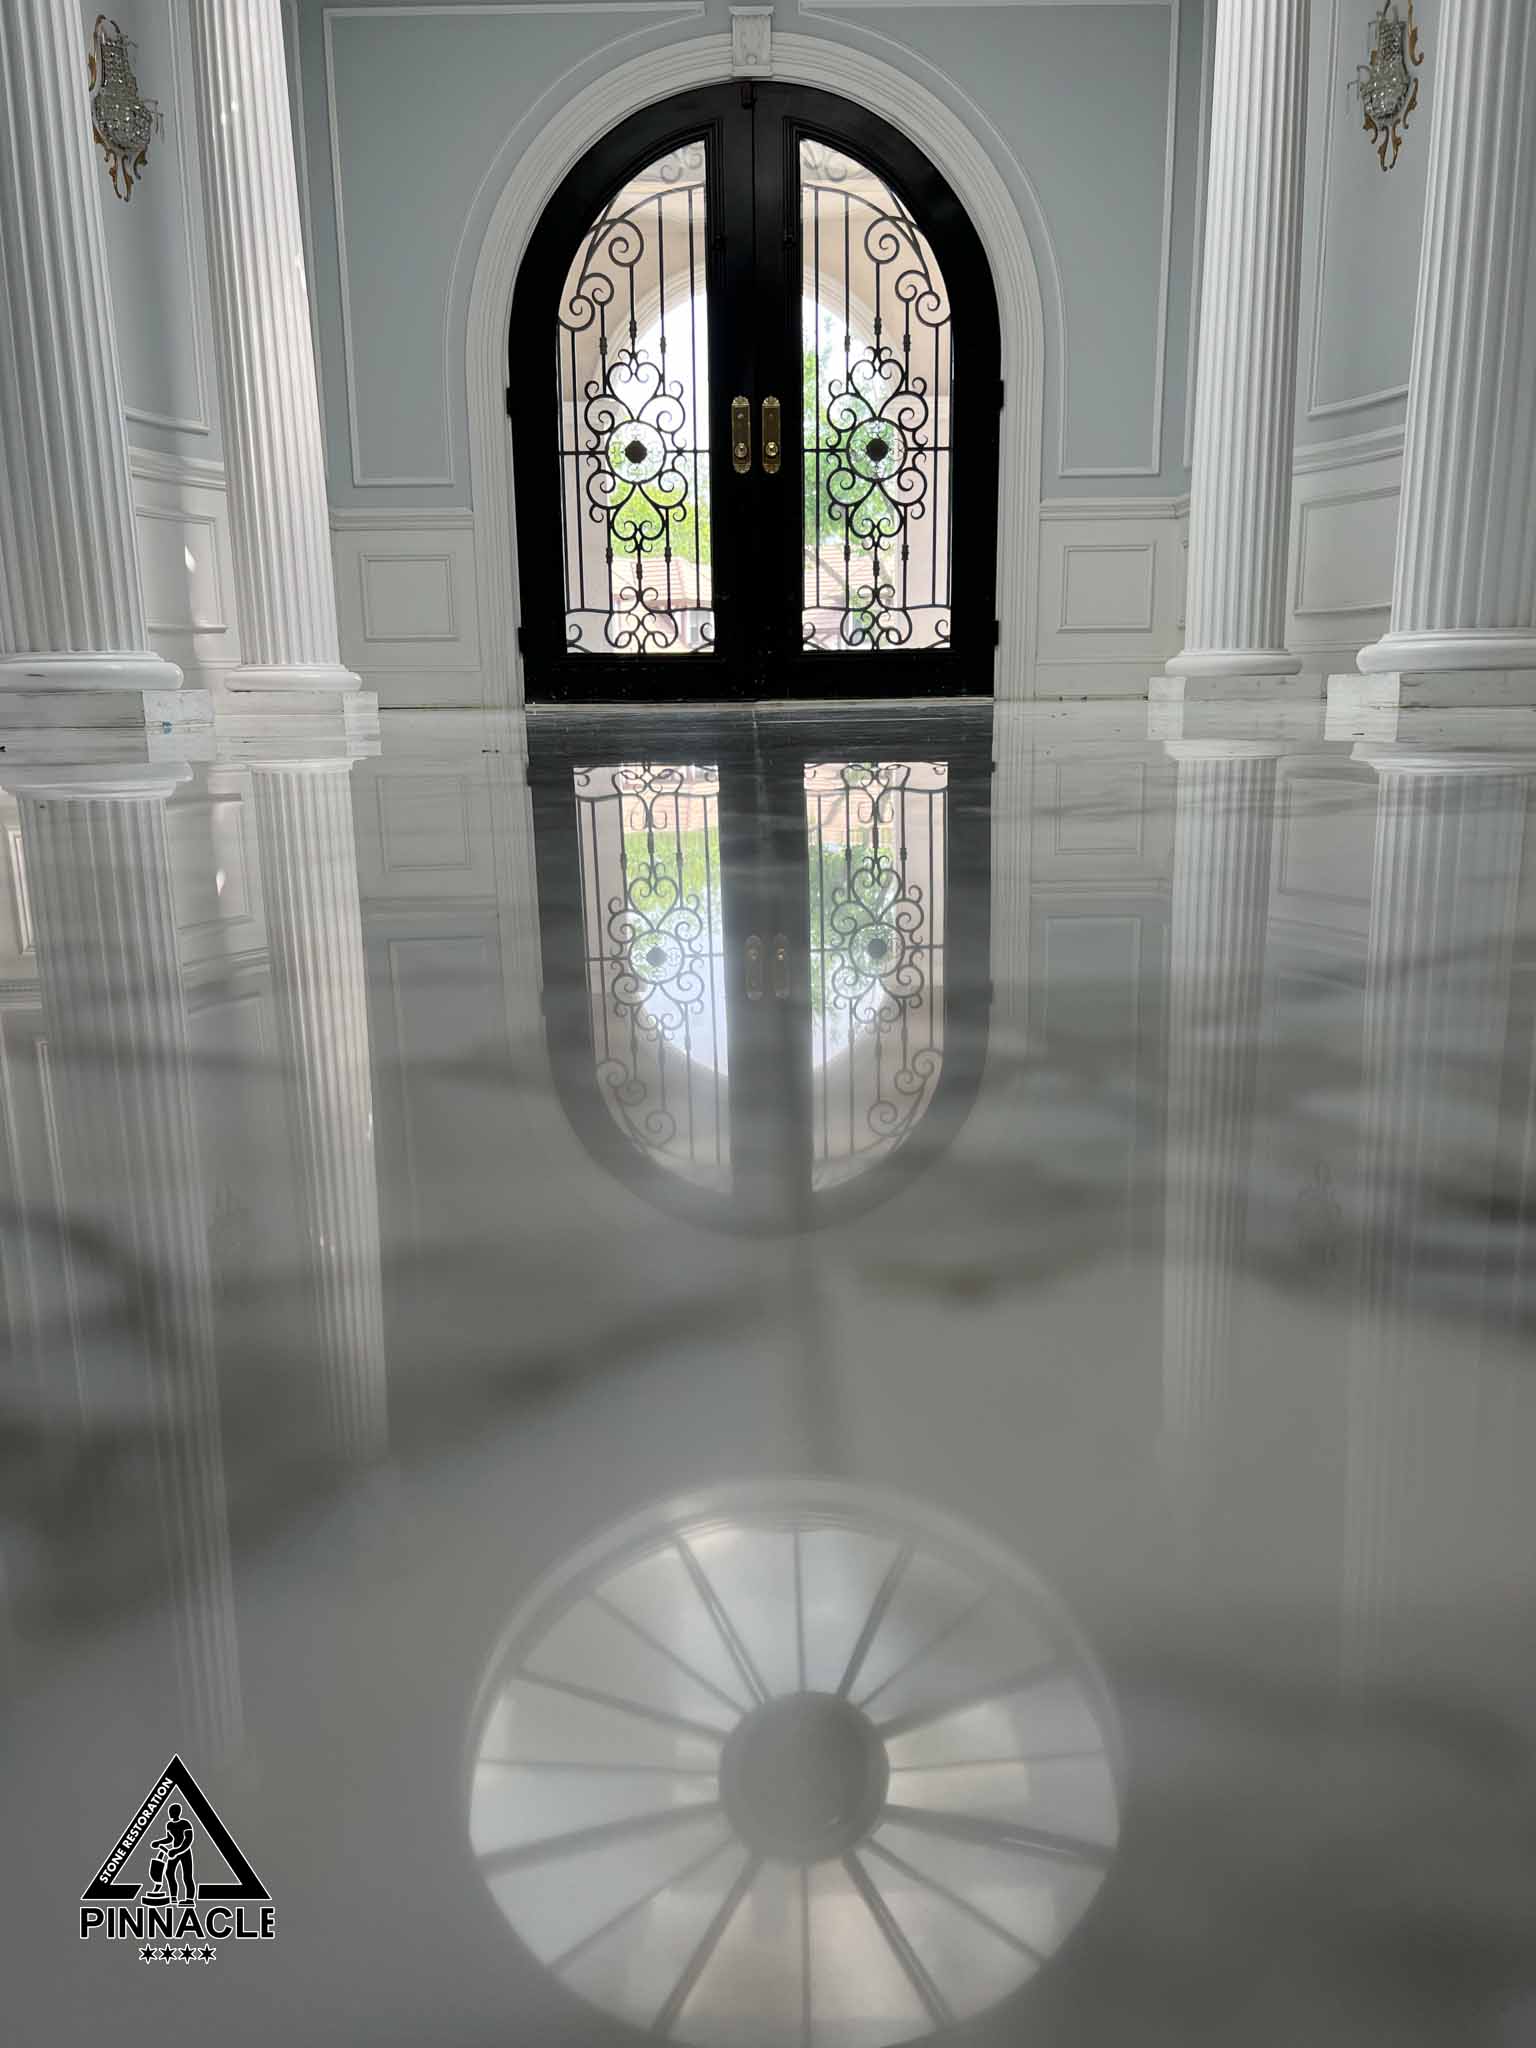
We use 3-step D.I.P system (diamond impregnated pads) to polish marble and bring it to the highest sheen level
We seal calacatta marble tile floor as the last step of our 8+ steps refinishing system of marble tile floor.
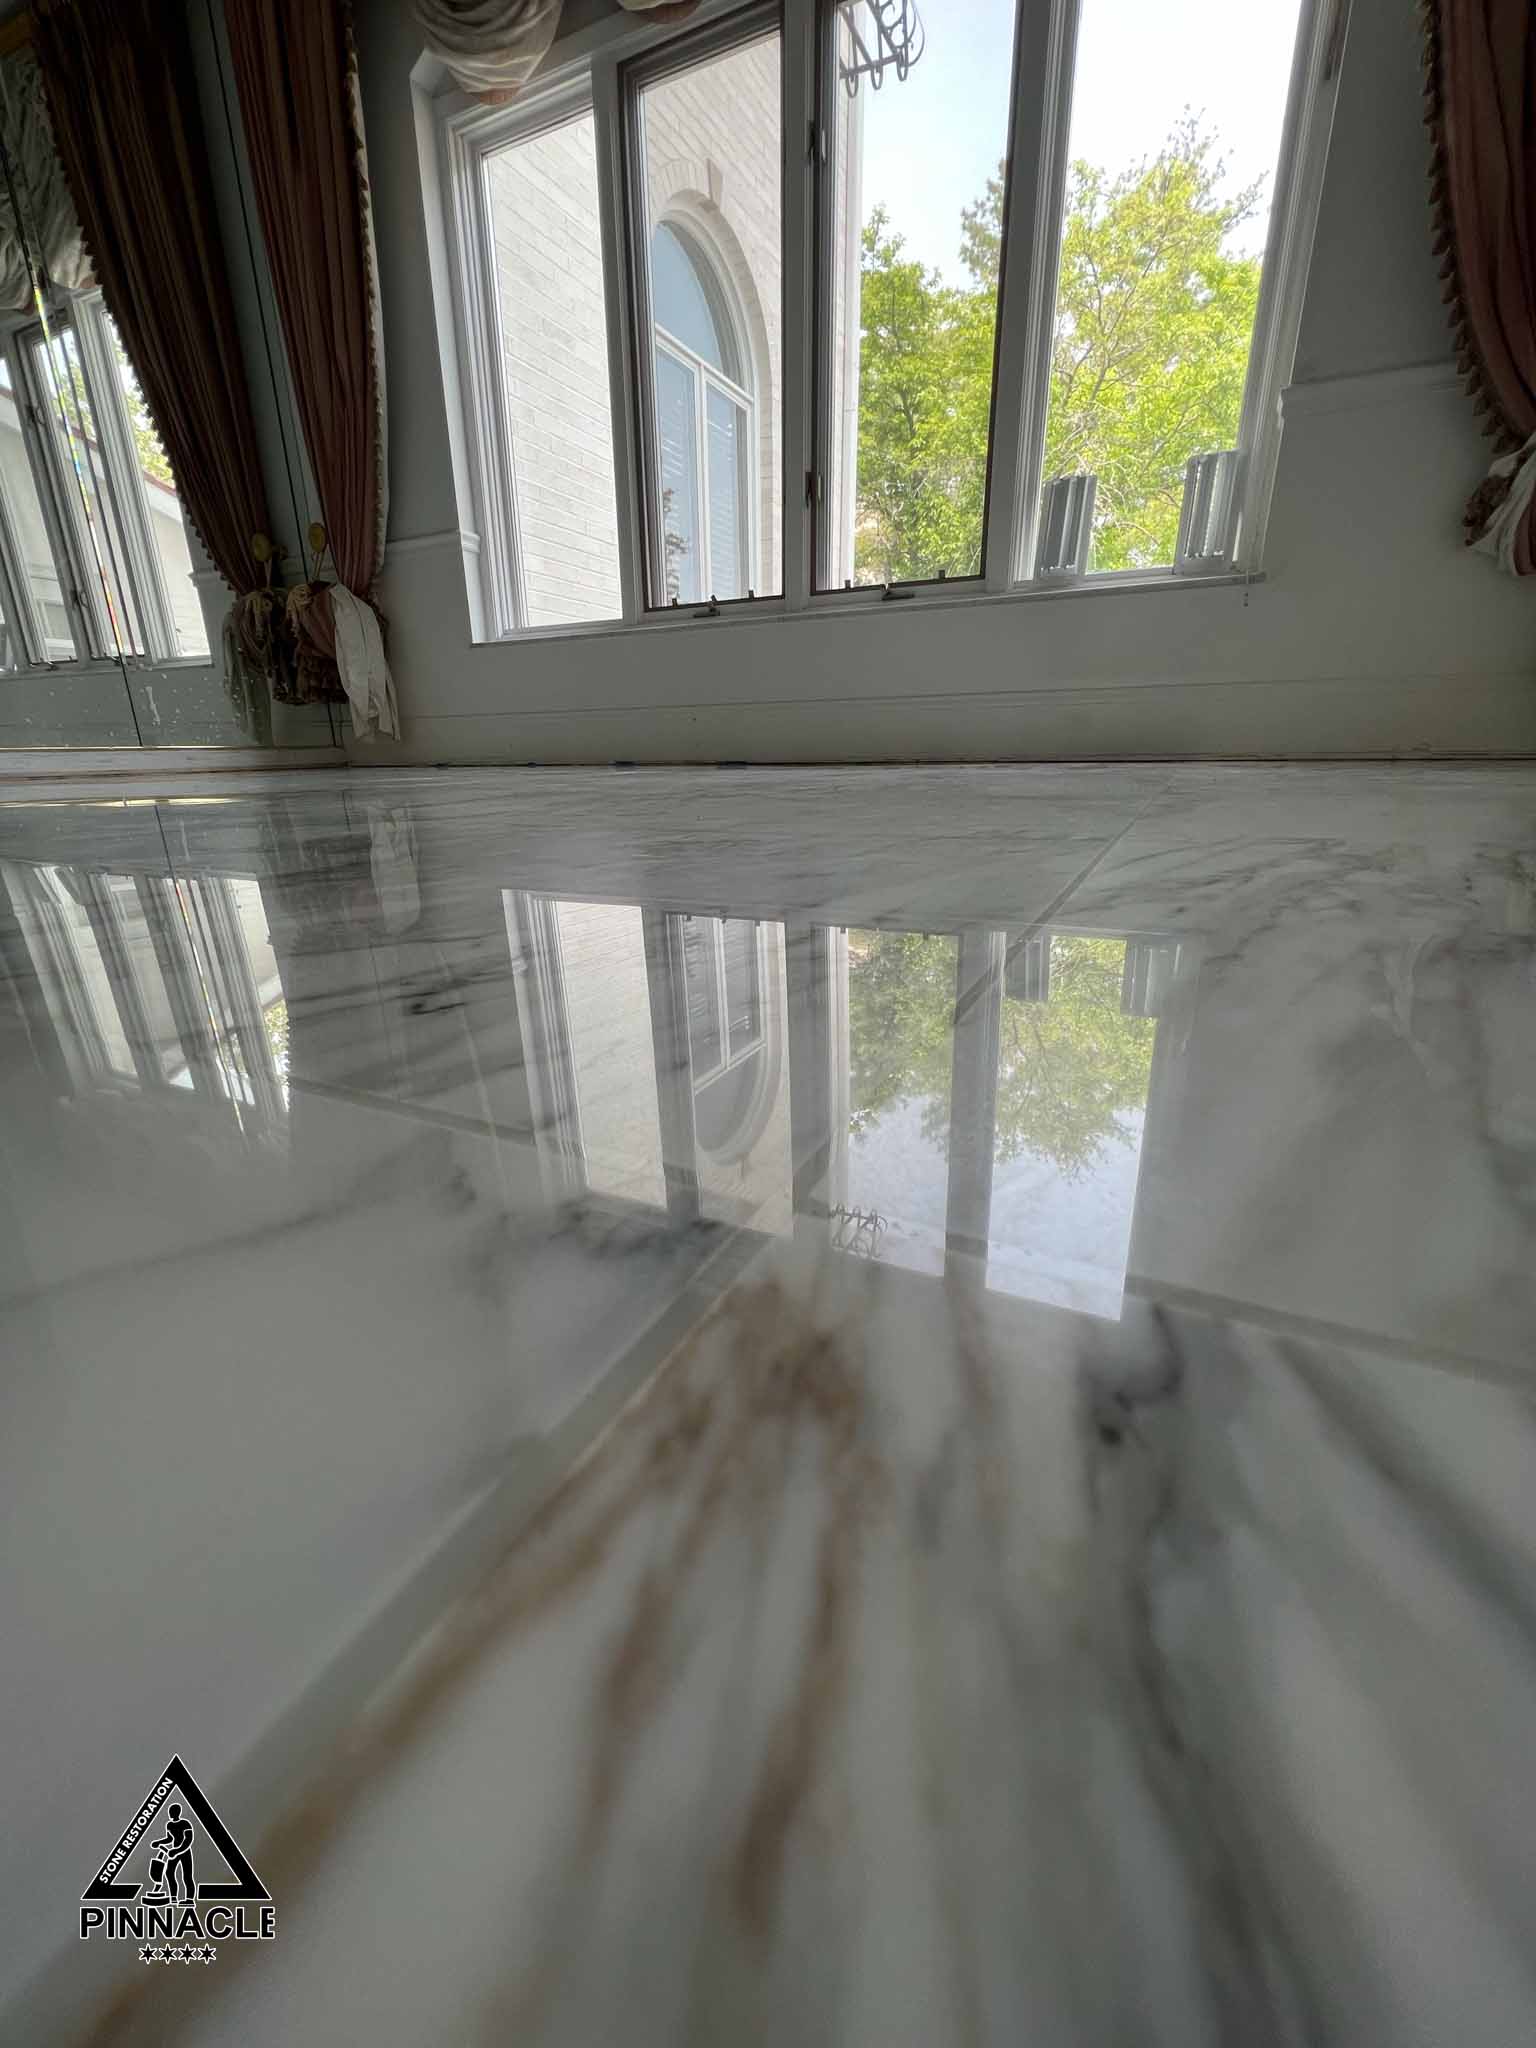
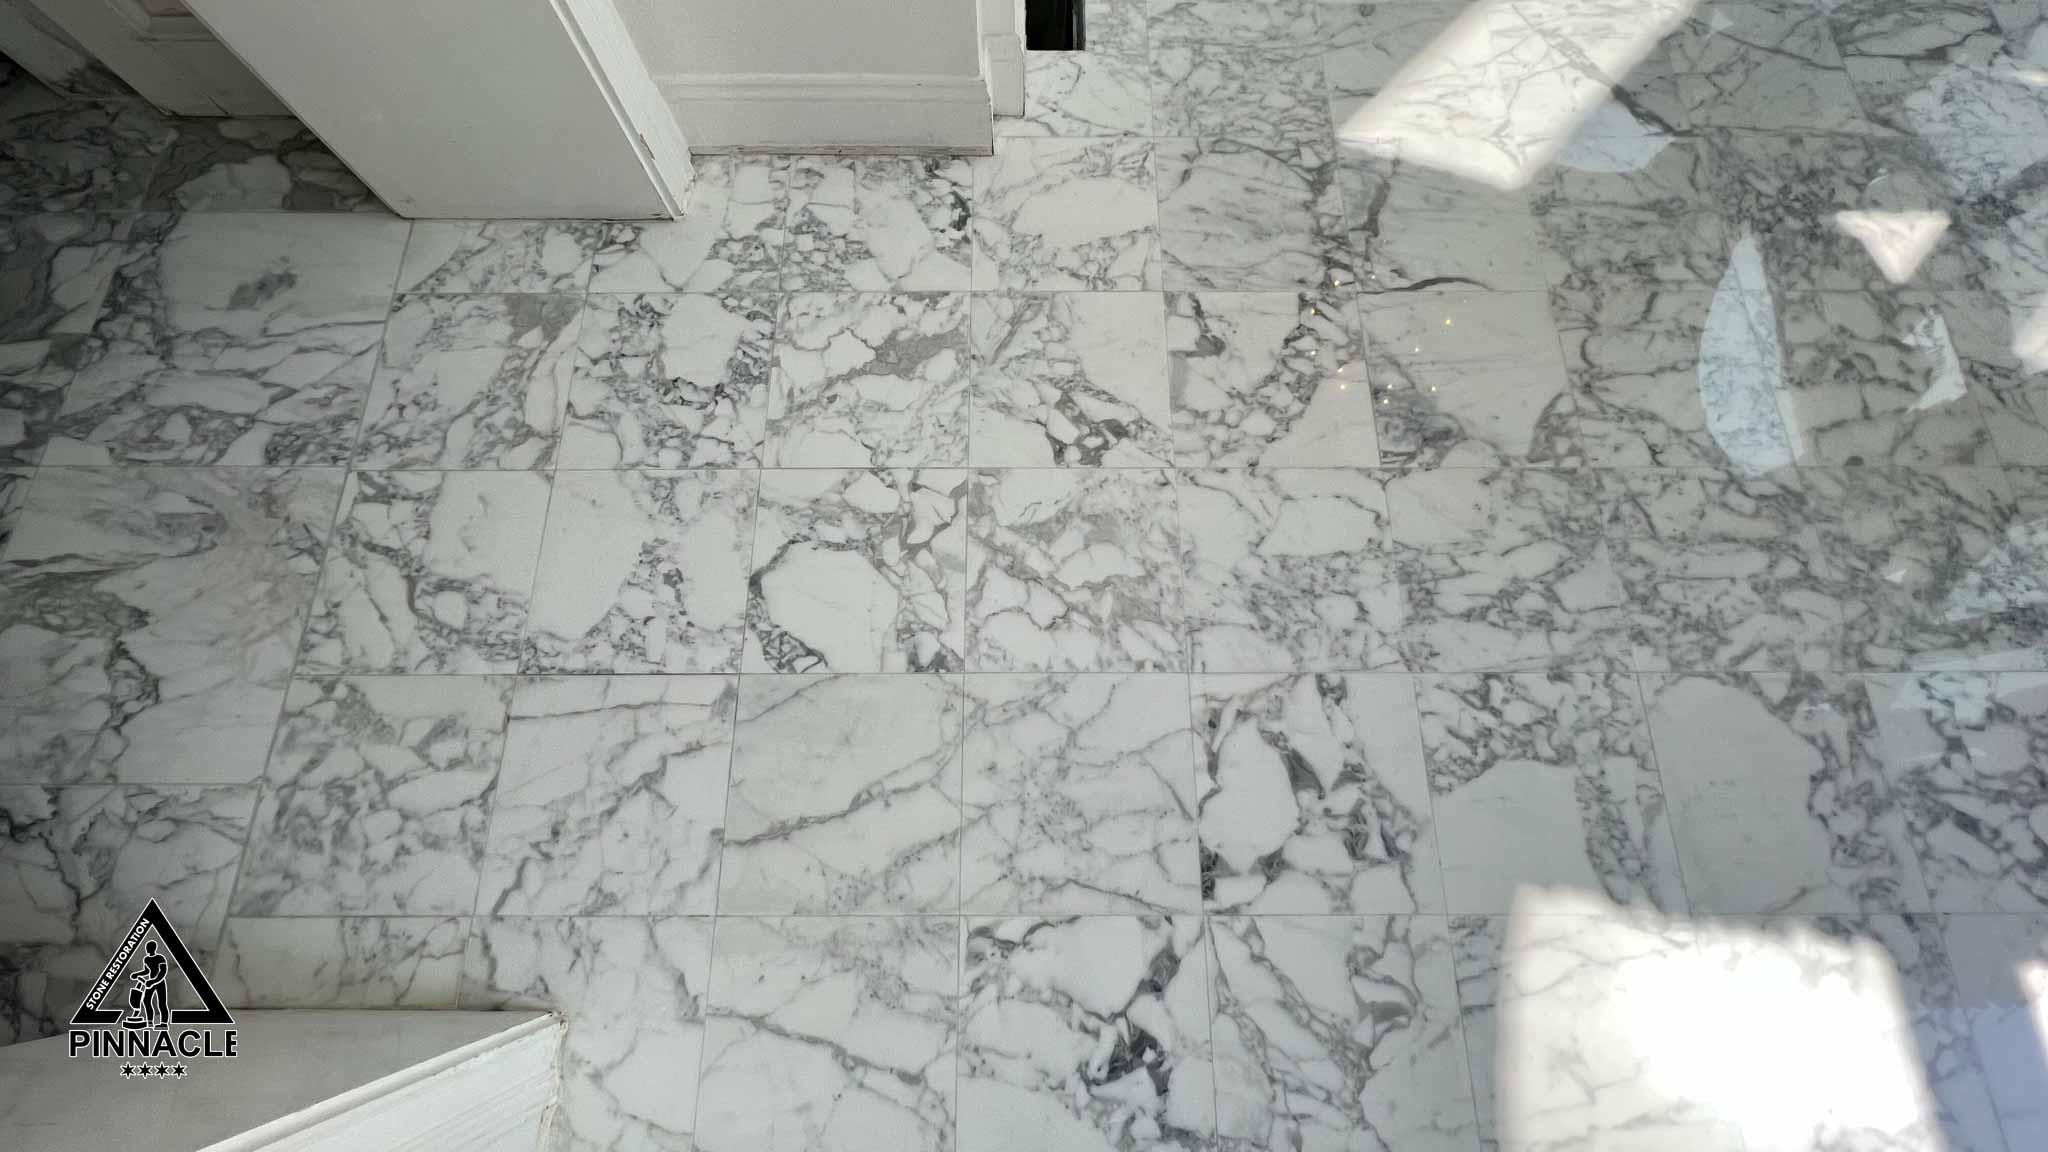
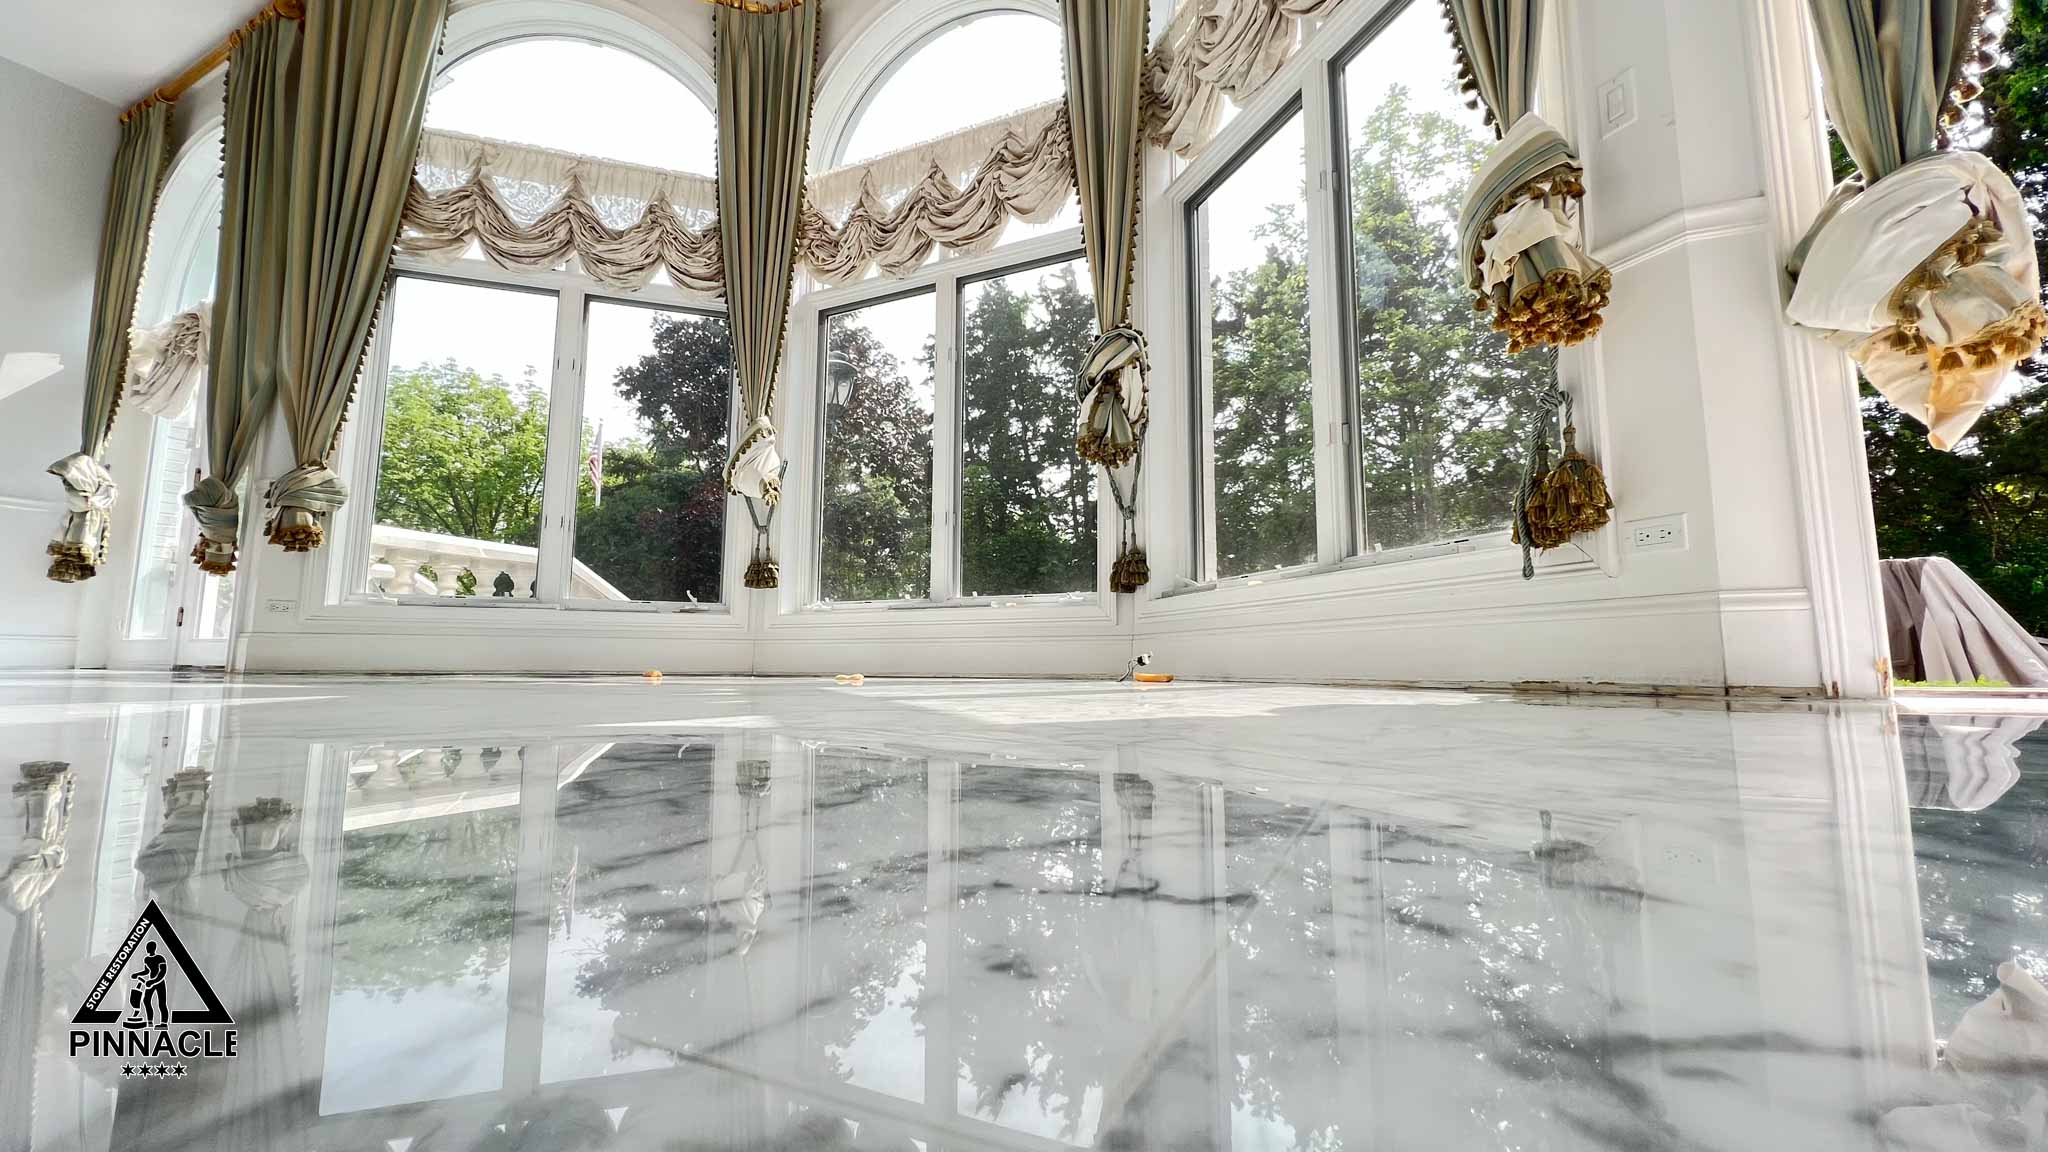
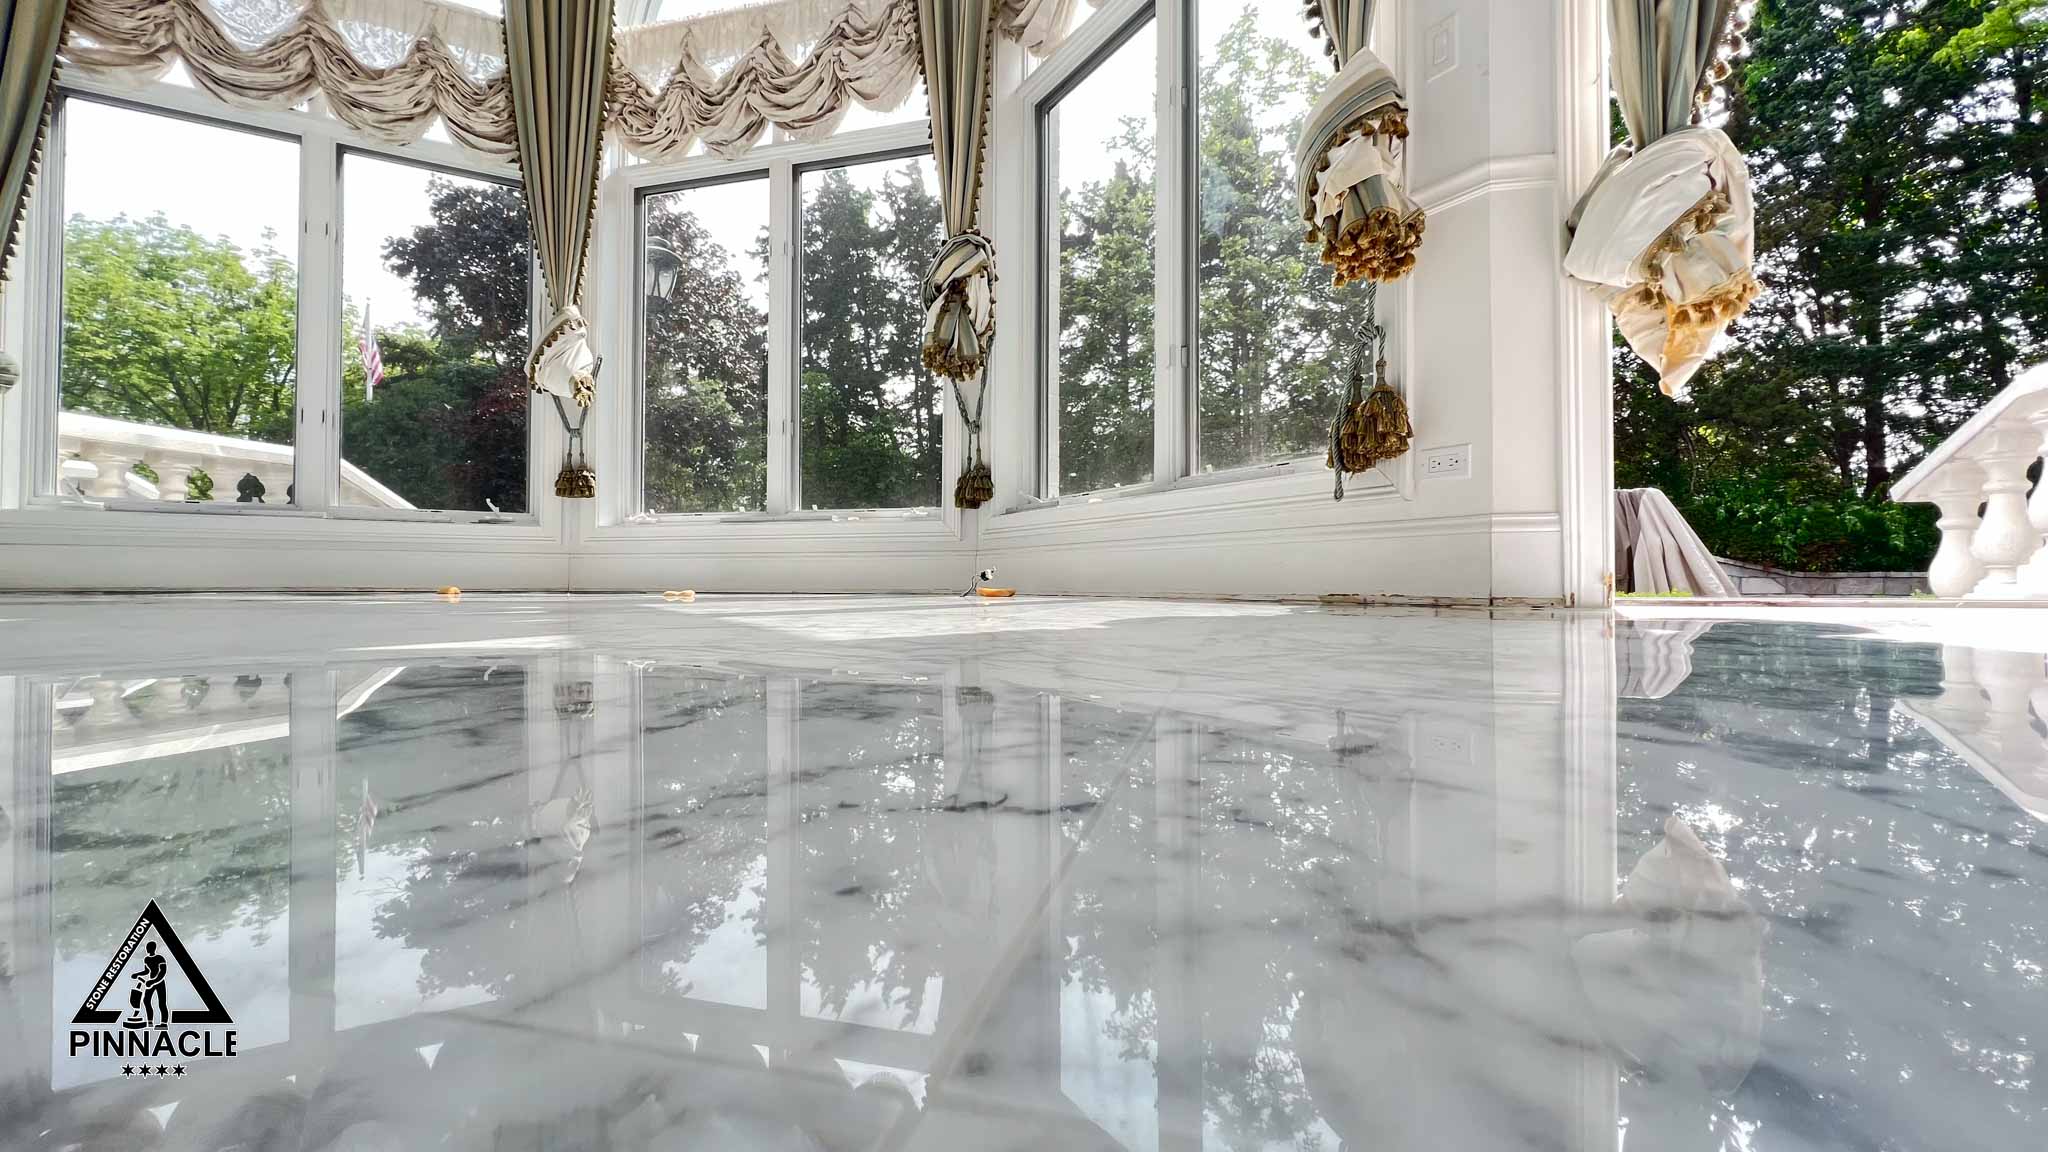
FINAL RESULTS
Here you can watch our project videos to understand the process of our 8+ step refinishing system. If any questions or concerns might arise, please feel free to contact us or ask for a free estimate.
BEFORE AND AFTER CALACATTA MARBLE RESTORATION