How to repair terrazzo floor (terrazzo patching step by step)
Trendy floor that is a king of durability and a long-lasting beauty, terrazzo is a valuable asset in any modern or historic building. Although terrazzo floors are exceptionally durable, their appearance will be altered based on how well and in which manner they have been maintained over the years. Based on my extensive experience with terrazzo, I would say that an old terrazzo floor without a crack or a hole in it is a rare sight. The unavoidable hole or crack can happen from dropped or dragged heavy items or other impact damage on terrazzo’s flawless surface. Terrazzo repair is needed.
A proper professional terrazzo repair can bring your damaged floor back to life and avoid braking the bank on a costly new floor replacement. In this blog we would like to offer you a step by step process of terrazzo floor repair.
Step by step guide of terrazzo repair:
Note: Before you begin your project, you should have terrazzo mix components ready : best matching color epoxy resin and aggregates (marble pieces, granite chips etc.) Refer to Step 4.
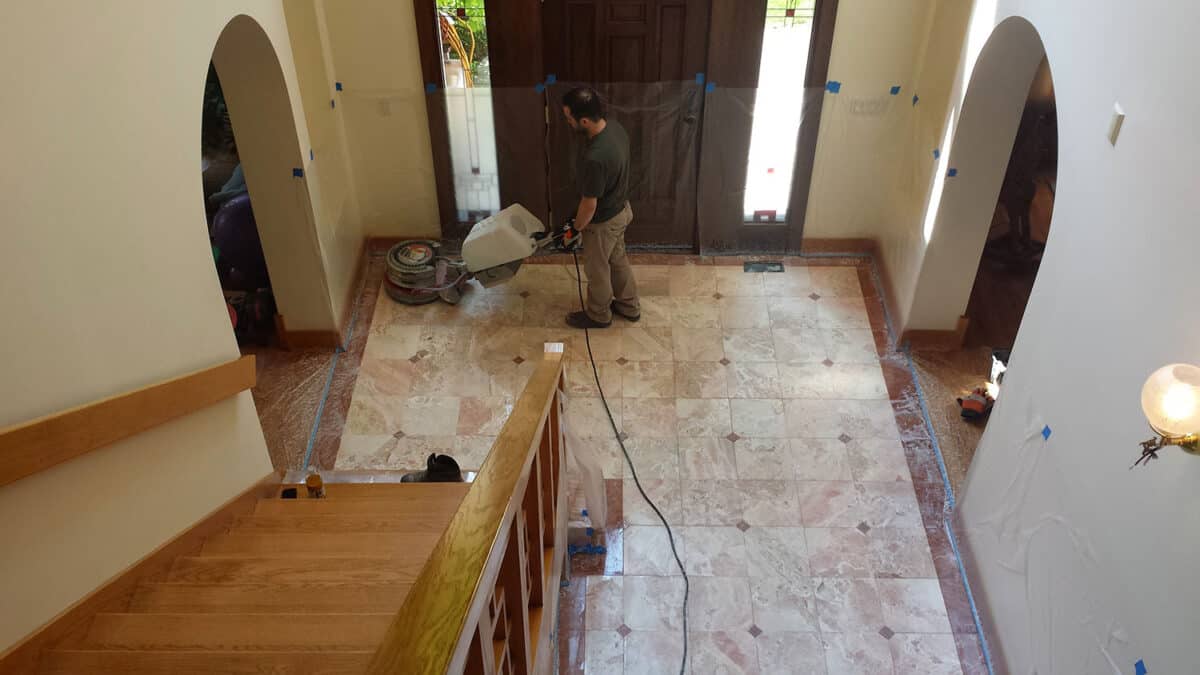
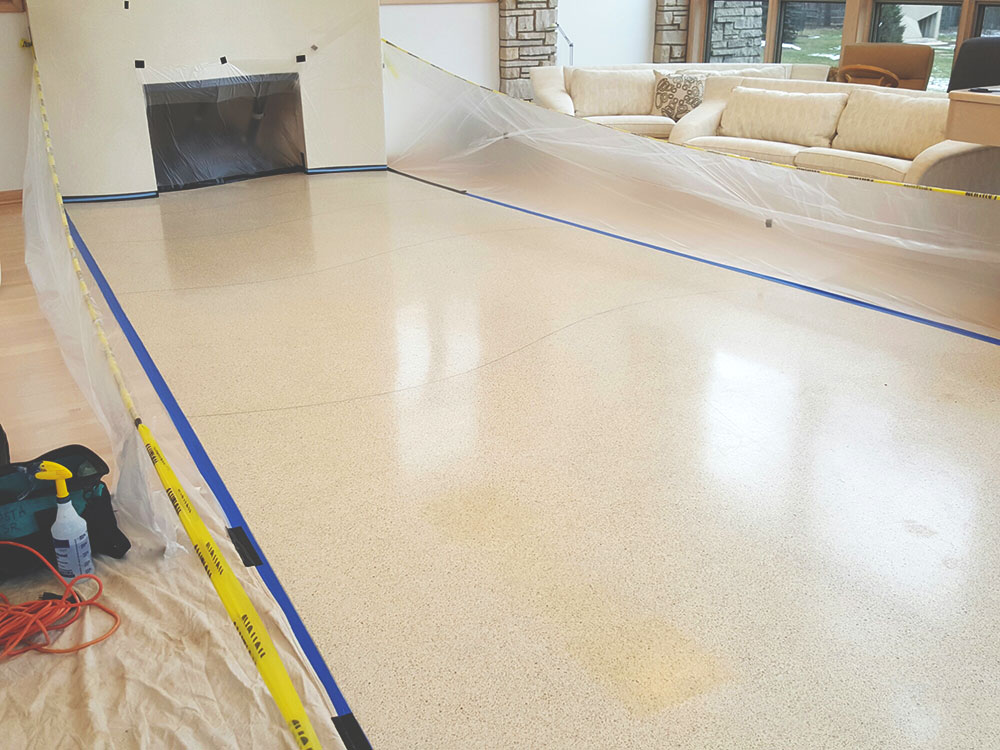
At the beginning of any project, we protect working areas and surroundings.
Now we begin our steps:
Step 1 – Prepare the floor to repair terrazzo
Preparation includes removing existing sealer with stripping agent and proper cleaning.
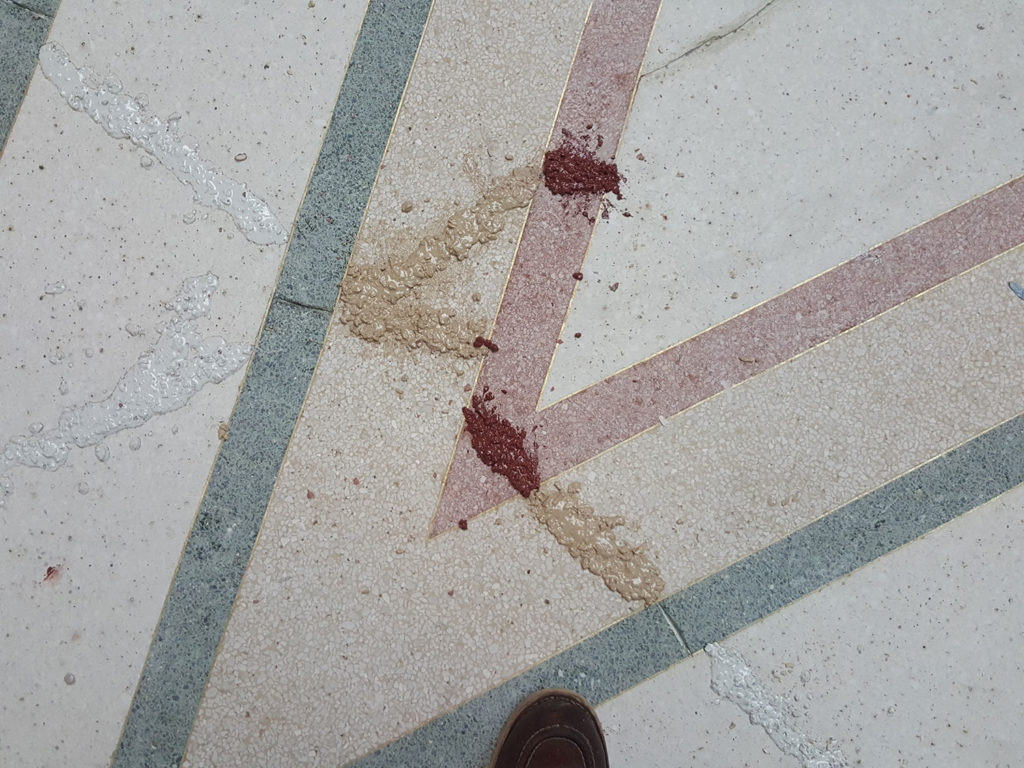
Step 2 – Chiseling
Chisel damaged area in a square shape, and make sure chiseled area has flat vertical walls to pour new terrazzo mix into the damaged area.
Step 3 – Cleaning
Brush, clean with vacuum and wash chiseled area with cleaning liquid to remove dirt and loose debris. Make sure it dries completely. It is always great to use lacquer thinner to eliminate any moisture.
Step 4 – Terrazzo mix
Before beginning the project, you should thoroughly inspect the damaged areas.
Identify matrix color and marble chip origins. Marble chips come in various colors and dimensions.
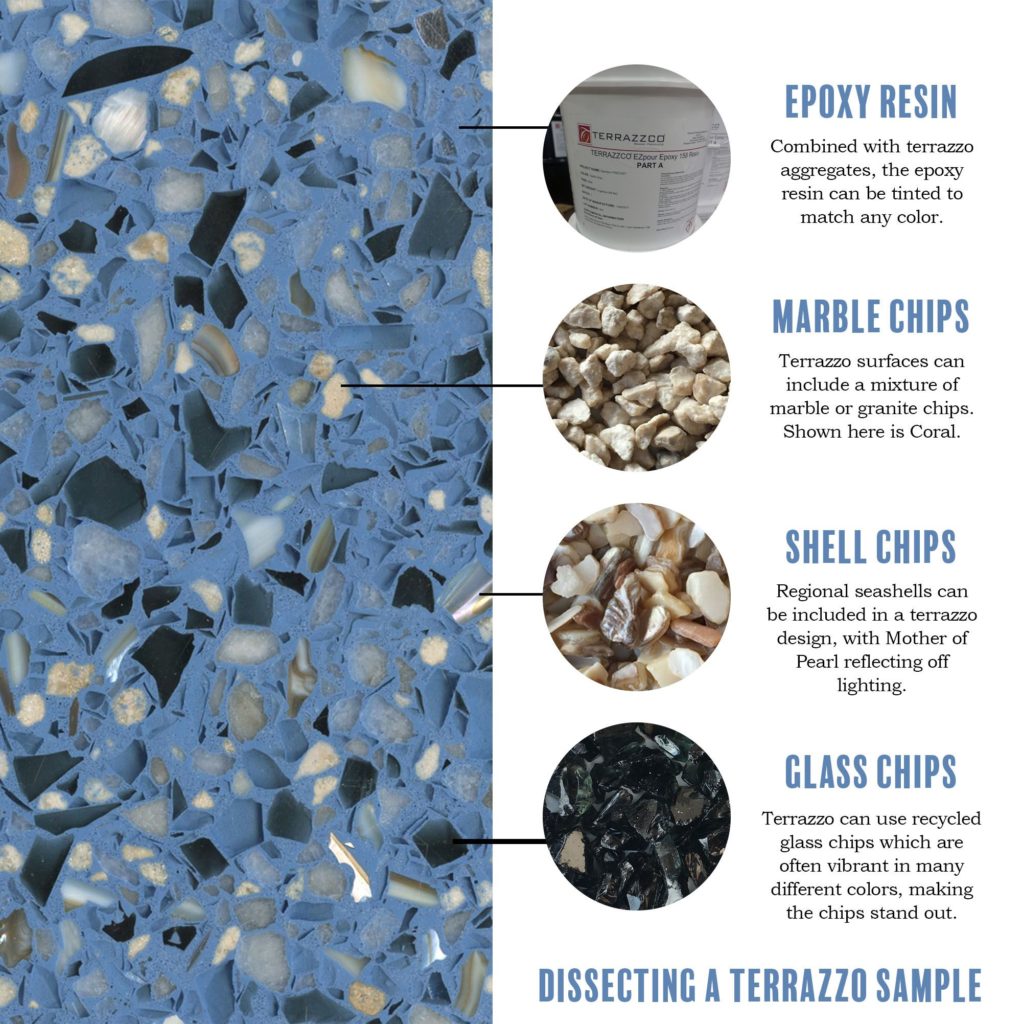
Usually it gets categorized by quarry name and sizes such as #0, #1, #2.
It is extremely important to understand that there is no absolute color matching when it comes to terrazzo patching and repair.
Age has given to terrazzo its unique color fading and characteristics that cannot be copied, or reverse engineered, although with multiple sample tests it is possible to achieve relatively close industry standard color matching.
Every experienced terrazzo professional knows that before actual patching work it’s necessary to create a test sample to insure closets possible matching and to get approval by the party that pays for the patching job.

Mix best matching color epoxy resin, aggregates (marble pieces, granite chips etc.), and a curing agent to create best possible match for existing damaged terrazzo.
Step 5 – Pour the mix
Make sure the aggregates are distributed evenly throughout the floor. It is important to have a balanced amount of aggregates and suitable colors in order to get new patch look uniformly with the existing terrazzo floor.
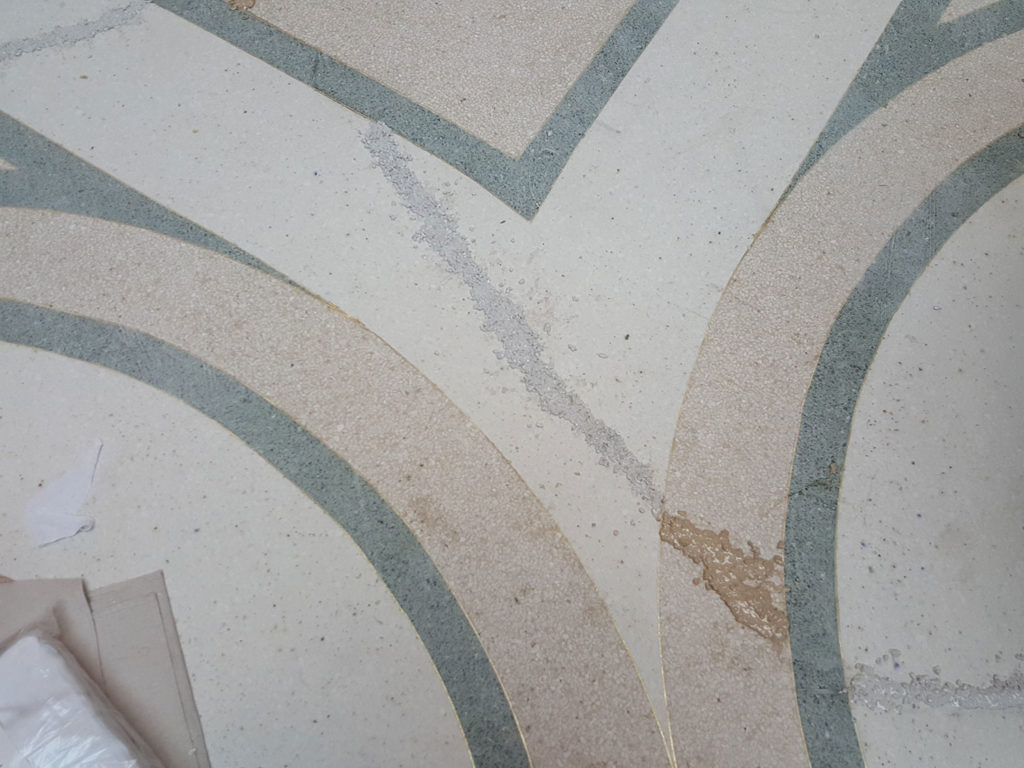
After pouring mix make sure to leave terrazzo mix a bit higher than existing floor surface level. Make sure there are no air bubbles trapped in the mix. After grinding down with diamond pads there will be pinholes (small air pockets) and that is not desirable.
Step 6 – Allow the floor to cure

Poured Terrazzo mix drying process may take up to 24 hours. Make sure it is fully dry, so it is grindable with a dry low grit diamond pads.
Note: We recommend setting room temperature to 70-75 Fahrenheit for curing the terrazzo mix.
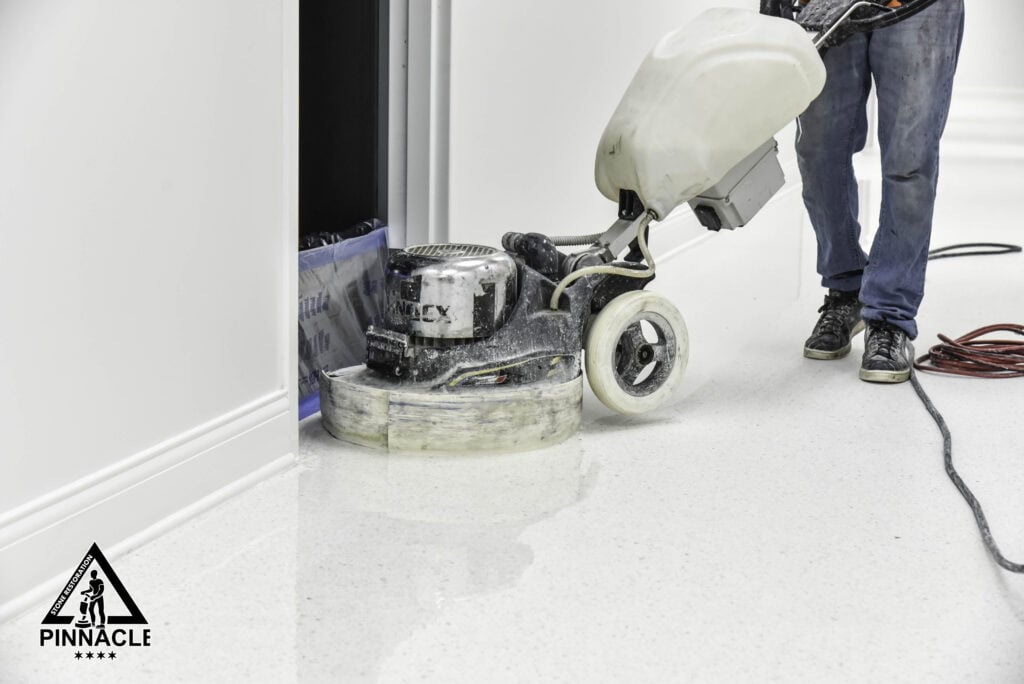
Step 7 – Grinding
Once patching terrazzo mix has hardened, you can start grinding. Carefully grind down fully cured terrazzo mix with low grit diamond, if necessary, using metal or copper bonded diamond pads making sure not to leave groove lines.
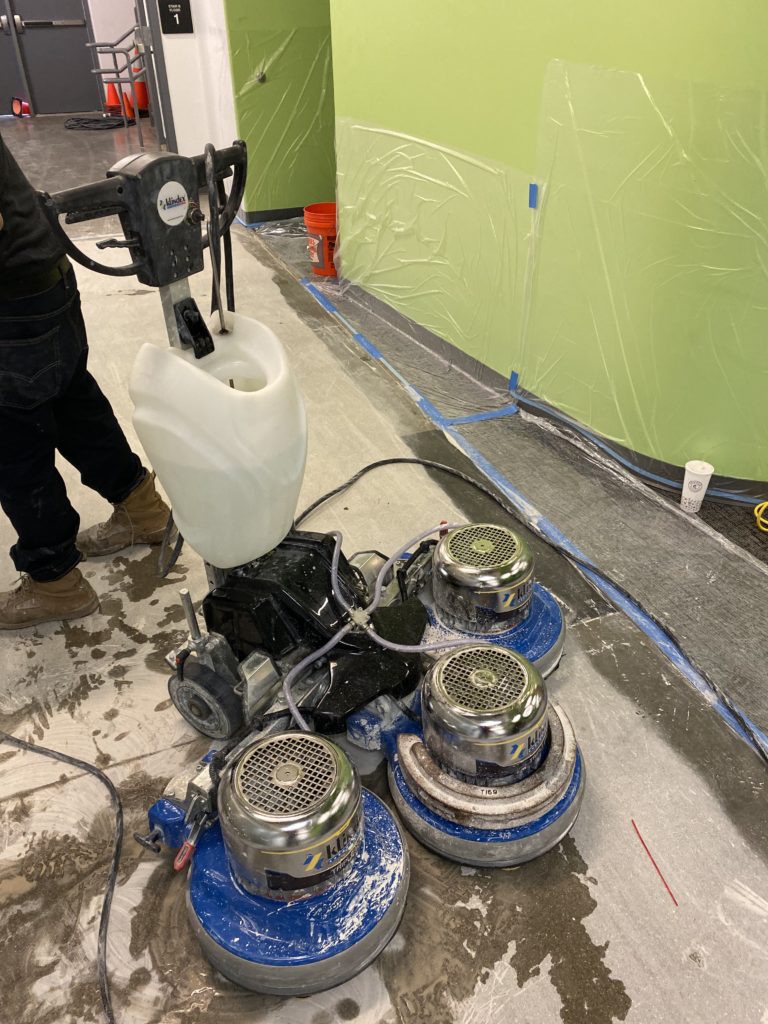
Step 8 – Transition to resin pads
Once you achieve smooth level surface with existing terrazzo floor, it is time to switch to resin diamond pads. Sometimes it is good to start with a low grit resin diamond pads to make sure we eliminate metal/copper diamond pad marks/scratches.
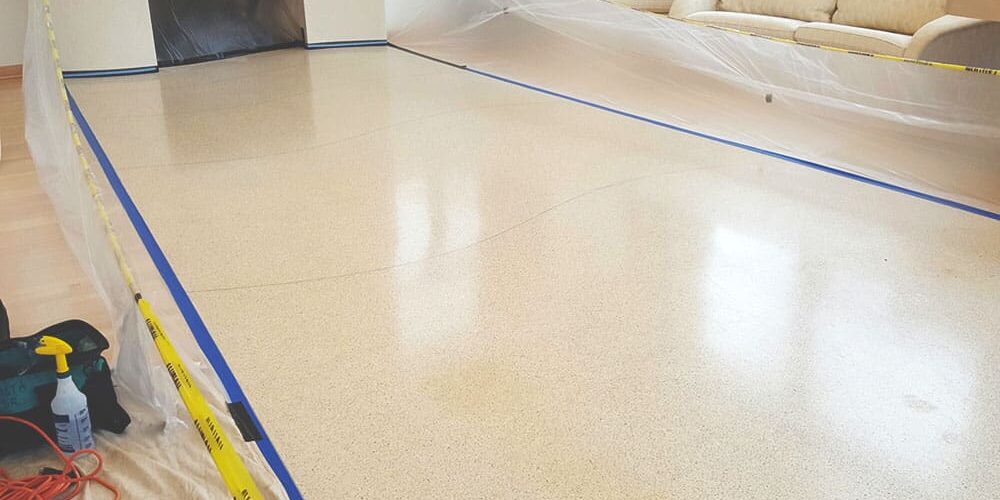
Step 9 – Densify/crystallize terrazzo
Terrazzo is densified for added durability and protection against wear and tear.
Note: Densifying only works for cement based terrazzo.
After you finish using 200 grit diamond pads vacuum clean and wash area thoroughly, make sure there is no dust. Apply densifier, this will crystallize and harden the terrazzo. Wait for terrazzo to become completely dry.
Once fully dry continue resin diamond pads up to 1500/3000 grit to achieve high polish effect.
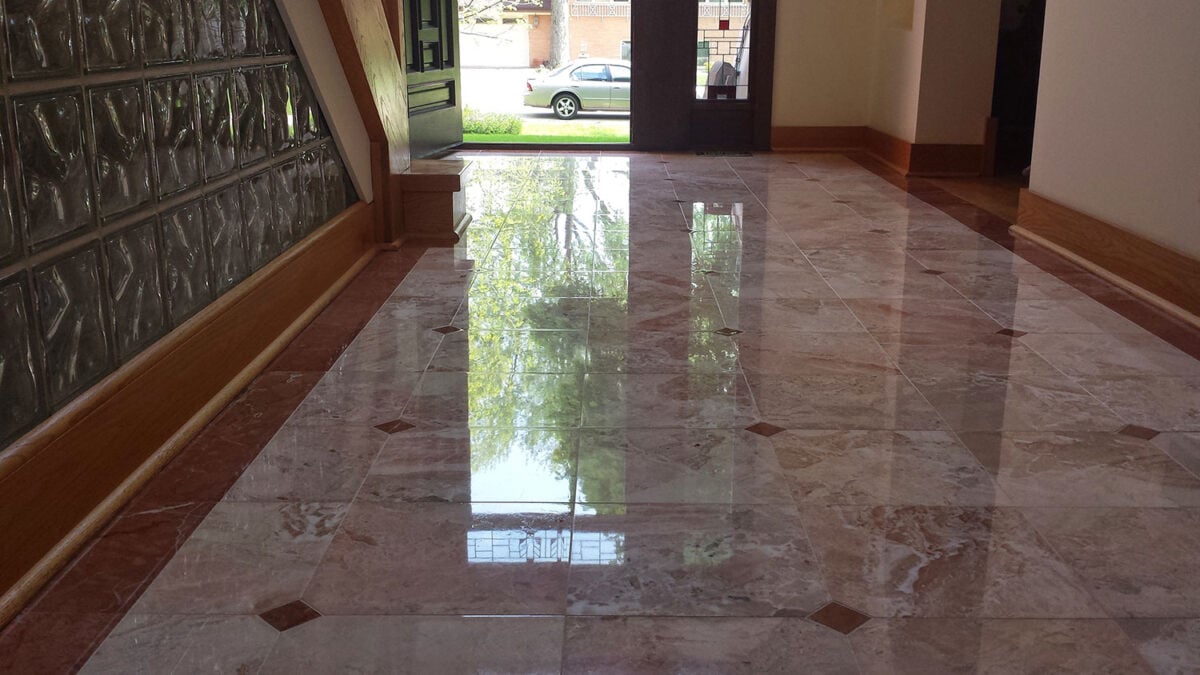
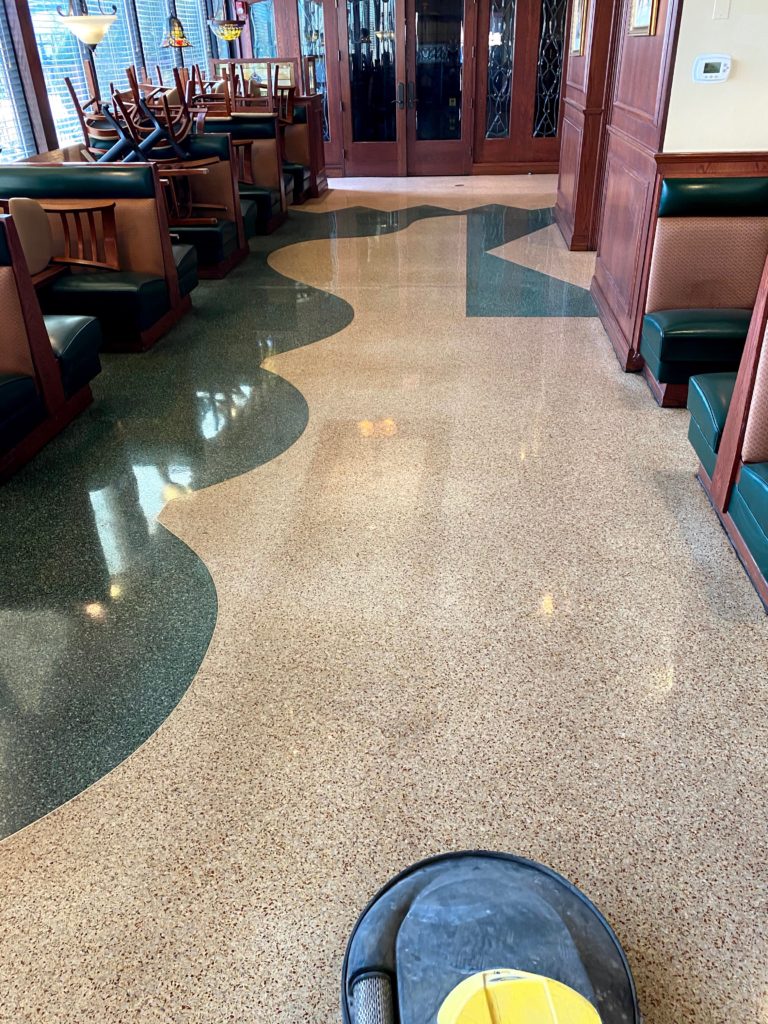
Step 10 – Clean, seal, buff
Clean and wash repaired terrazzo floor. Once it is fully dry, apply sealer and wait for it to completely cure.
Buff the first coat sealer once it is dry. If you desire a high polish mirror effect – repeat this step. Sealing terrazzo floor is essential because sealer protects your floor from high levels of foot traffic, harmful chemical spills and other adhesives.

Conclusion:
In this blog you learn from Chicago’s best terrazzo experts the process of how to repair damaged terrazzo floors. This valuable step by step guide will enrich your knowledge on how to professionally fix terrazzo holes, make patches and bring your terrazzo back to life.
As this intricate process is not a simple DIY project, we highly recommend hiring professional terrazzo experts to get your terrazzo floor back to its sheen like-new look.
At Pinnacle Stone Restoration we offer professional terrazzo repair of cracks, holes, gauges and other imperfections. Contact us for estimates and consultation on terrazzo refinishing and repairs.

Kosta Ebanoidze
Kosta Ebanoidze is a stone and terrazzo restoration expert specializing in professional stone restoration, terrazzo repair, and surface preservation. With a background in fine arts and professional athletics, he brings precision, discipline, and craftsmanship to every restoration project, ensuring high-quality results and long-lasting surface durability.