The typical marble floor description list contains the following items.
- The tiles are installed relatively flat but still, each tile represents its own individual degree of levelness that is comparatively different from other neighbor tiles.
- The grout joint width varies from 1/16" to 1/4" and different types of grout can be used such as cement or epoxy-based.
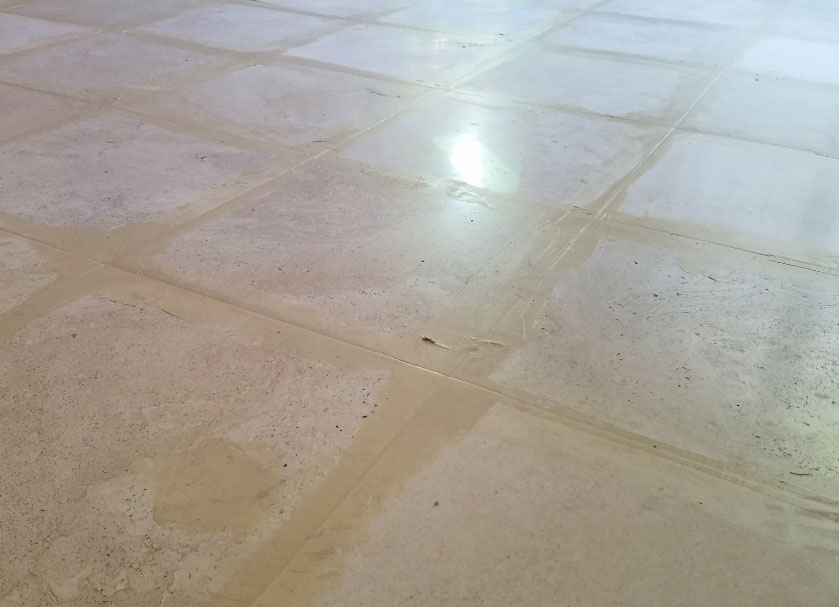
- Due to distressed grout joints, the dirt deposits are constantly presented showing dark grout joints in traffic areas.
- After a certain period of time a marble floor develops the surface scratches, etched marks and other types of wear and tear that reflect on finish consistency.
In the old days, the marble floor installation was done differently from today's standards. Italian stone masters that came into the United States have brought their skills and experience with them. They were excellent tile and terrazzo setters. In their minds, the marble floor had to be seamless and flawless. What is the seamless floor?
The seamless marble floor is first of all tile edges that are installed very close to each other and joints are filled with filling material such as epoxy and ground down with mechanical diamond grinding techniques creating an unbroken surface condition. Transitional evidence from tile to tile is taken to the minimum or to zero tolerance.
Unfortunately, we don't see seamless marble floors installed these days. It has a lot to do with today's building rates and design.
Can we transfer regularly installed floor into seamless floors? The Answer Is YES...
In fact, sometimes it becomes the only system to save the floor from been removed due to its unstable status. For example when tiles at loose and grout are falling apart. In those cases, 8+System is the only option besides complete removal.
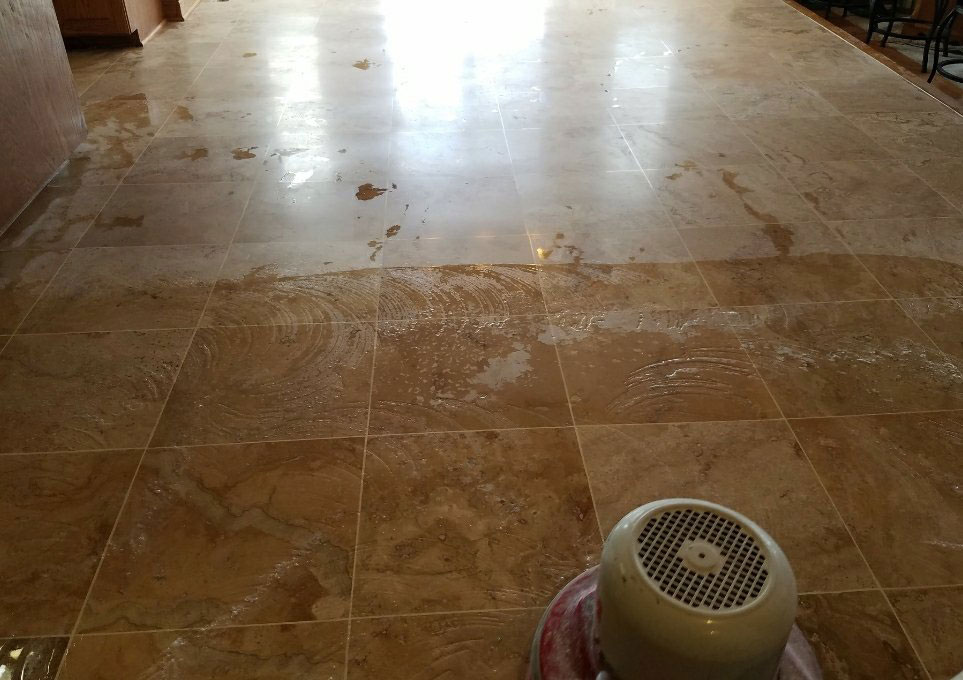
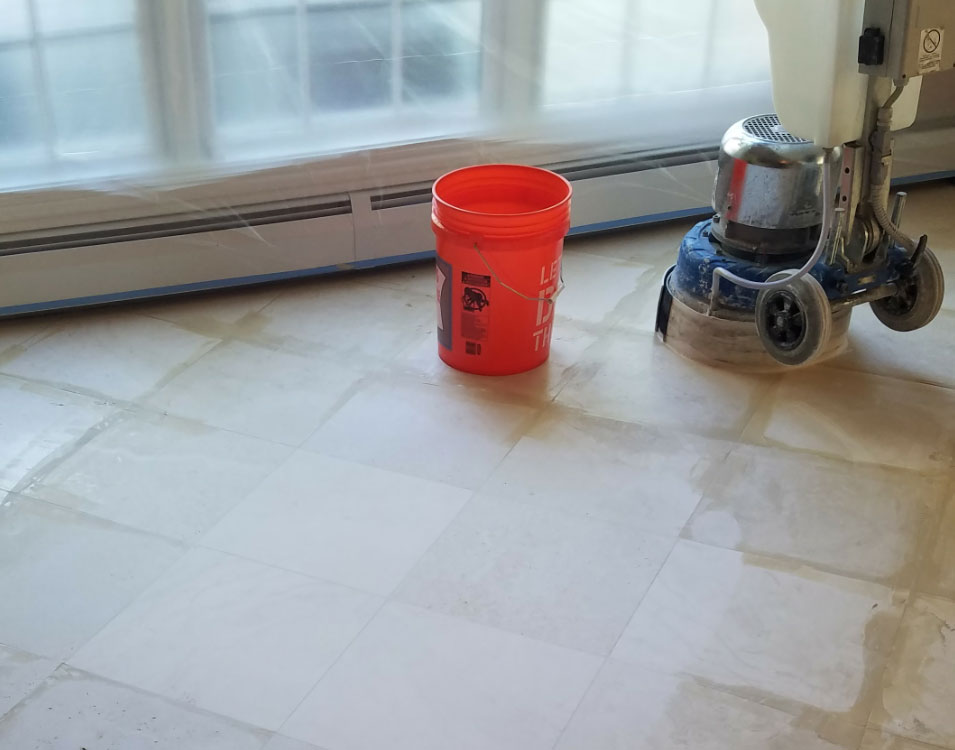
Step 1. The process starts by takings off the grout from grout joints. Diamond saw and grinder with vacuum shroud will ensure dustless and accurate grout removal. The tight corners will require oscillation Dremel and hand-held grout tools.
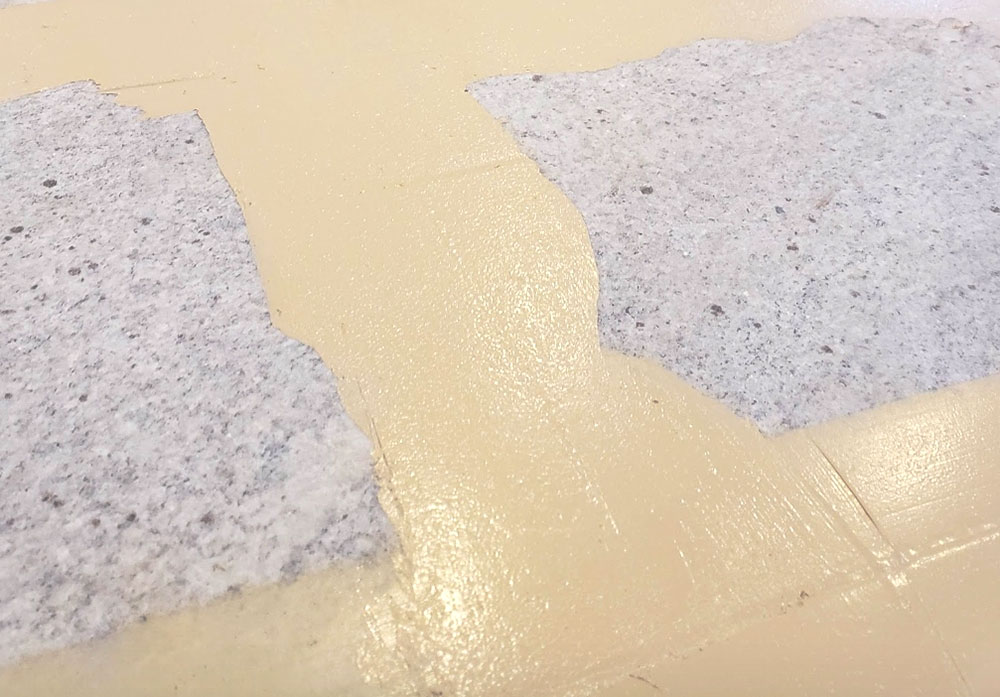
Step 2. After the grout is completely removed and grout joints are cleaned it is time to insert epoxy material into it. The knife grade epoxy material color-matched with a stone background is pressed down into grout joints with hand spatula tools leaving approximately 1/16" thick layer above the tile surface. There will be epoxy curing time involved as well and usually, we leave it overnight to ensure complete curing process.
Step 3. The excess epoxy material has to be removed with a diamond grinding process along with lippage. This particular step completes two tasks. Removing excess material and leveling the surface seamlessly flat.
Step 4. The stone technician will inspect the surface for any missing grout and will patch with epoxy material accordingly.
Step 5. After the first aggressive diamond grinding follows the medium and fine metal bond diamond system. The idea is to remove scratches caused by previous diamond sets.
Step 6. Before moving to resin bond diamonds it is very important to use a transitional copper bond diamond system to guarantee no scratches left behind the metal bond system.
Step 7. Honing and polishing is done with resin bond diamond pads. From 120 grit to all the way 3000 grit that involves 6 sets of diamonds. 120/220/400/800/1500/3000. The first 3 grits are considered as honing grits and the remaining 3 are for polishing steps.
Step 8. Powder polishing is used to develop reflective depth into the surface similar to glass or mirror reflections. It requires accurately calculated techniques of friction and heat. The ideal components for polishing stone surfaces.
Step 9. Sealing natural stone surfaces are done with various types of sealers and applications. We prefer impregnating sealers that are applied with a floor machine instead of microfiber pads.